Turning off the automatic check for Windows Updates can make your computer work better and stop unexpected interruptions when you're doing important things. When it's turned on, Windows Updates happen in the background without you knowing, using up your computer's resources and possibly making it slower.
Also, sometimes Windows Updates can create problems like conflicts or errors in your system. This could affect how your software works, your internet connection or even cause you to lose data. By turning off automatic updates, you can prevent these issues and have more control over when and how Windows Updates happen on your computer.
Even though it's important to keep your operating system updated for security and performance, manually checking for updates from time to time lets you control the update process. This way, you can make sure your system stays stable and secure. Think about turning off automatic updates to make your computer run better and avoid interruptions when you're doing important tasks.
Today, we'll learn how to stop automatic updates on Windows Server 2019/2016. Here's one way to do it:
Solution 1: Turn off Windows Update Service
This guide explains how to disable automatic updates on Windows Server 2016/2019.
Step 1: Press Win + R to open the Run dialog, type services.msc, and press Enter.

Step 2: Look through the list of Windows services and find "Windows Update."'

Step 3: In the new window that appears, change the Startup Type to "Disabled" and click "Stop." Then click "Apply."
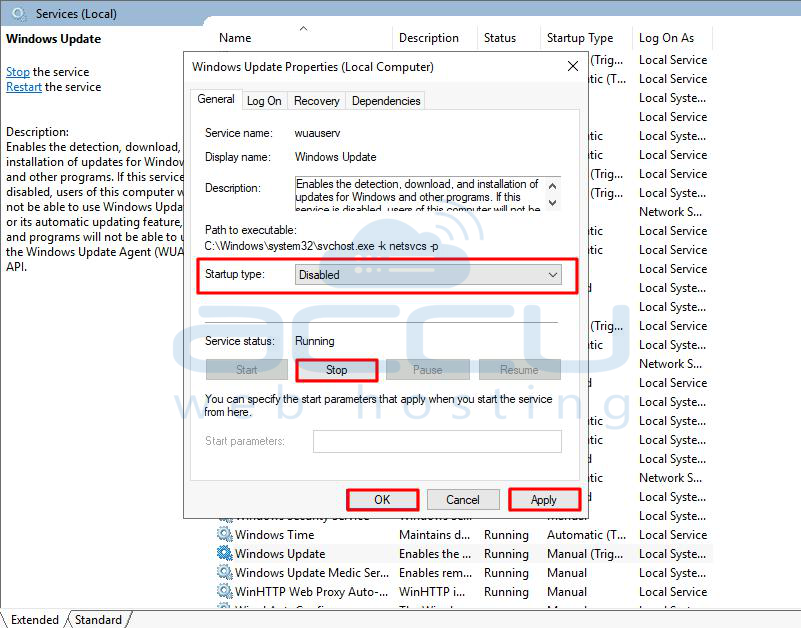
Step 4: Now that you've turned off system updates, press OK.
Solution 2: Disable Automatic Updates through PowerShell
Here's an easier way to stop automatic updates on Windows Server 2019/2016 using PowerShell:
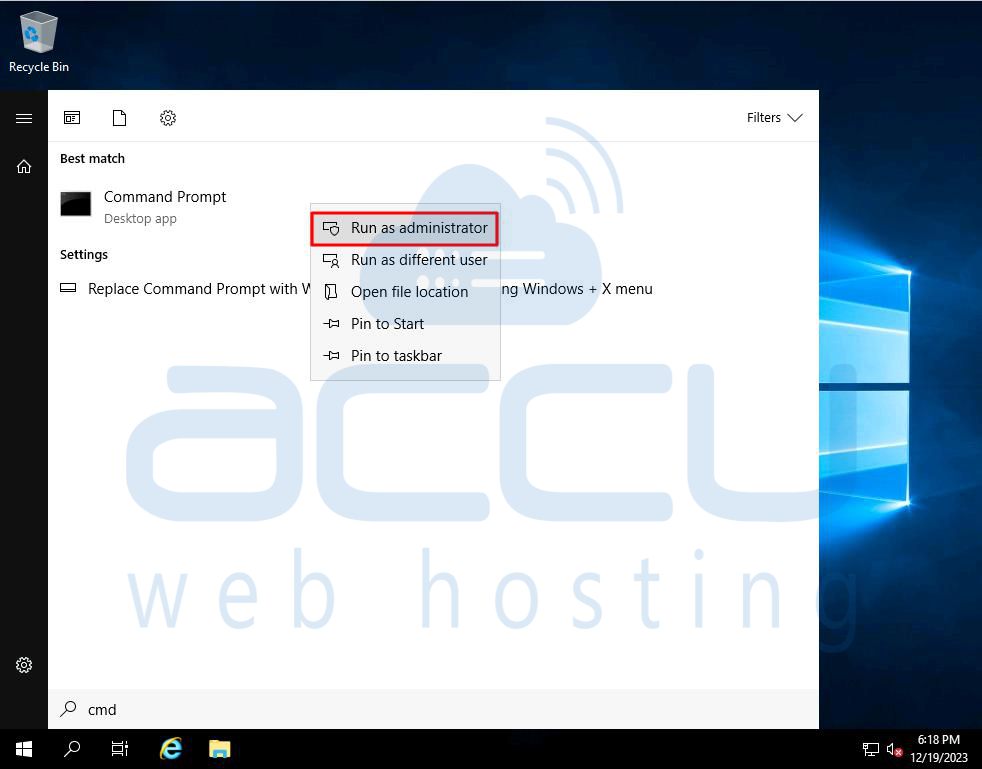
Step 1: Open a Command Prompt window as the Administrator. You can find it in the start menu by searching for cmd, then right-click and select "Run as administrator."
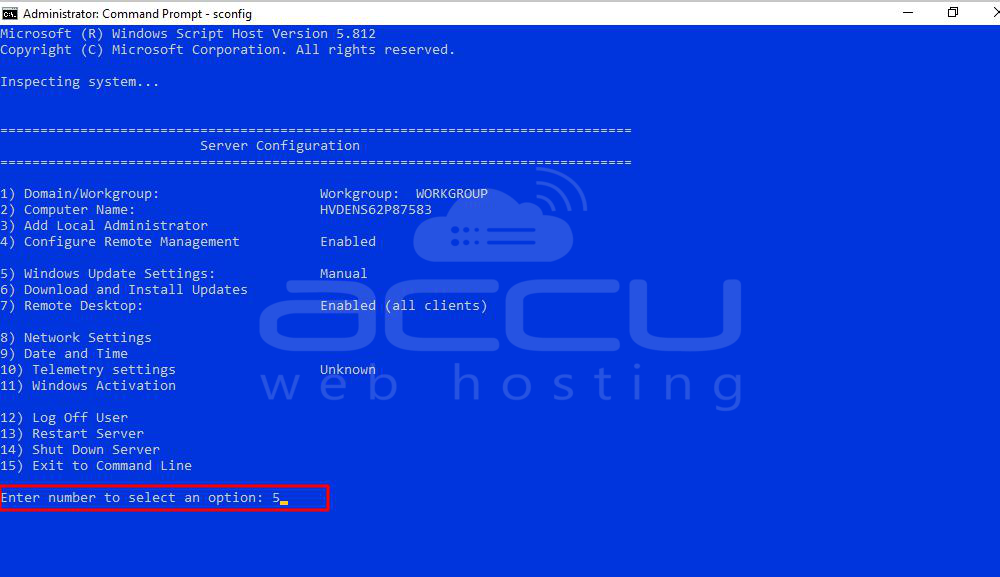
Step 2: Run the command called 'sconfig.'

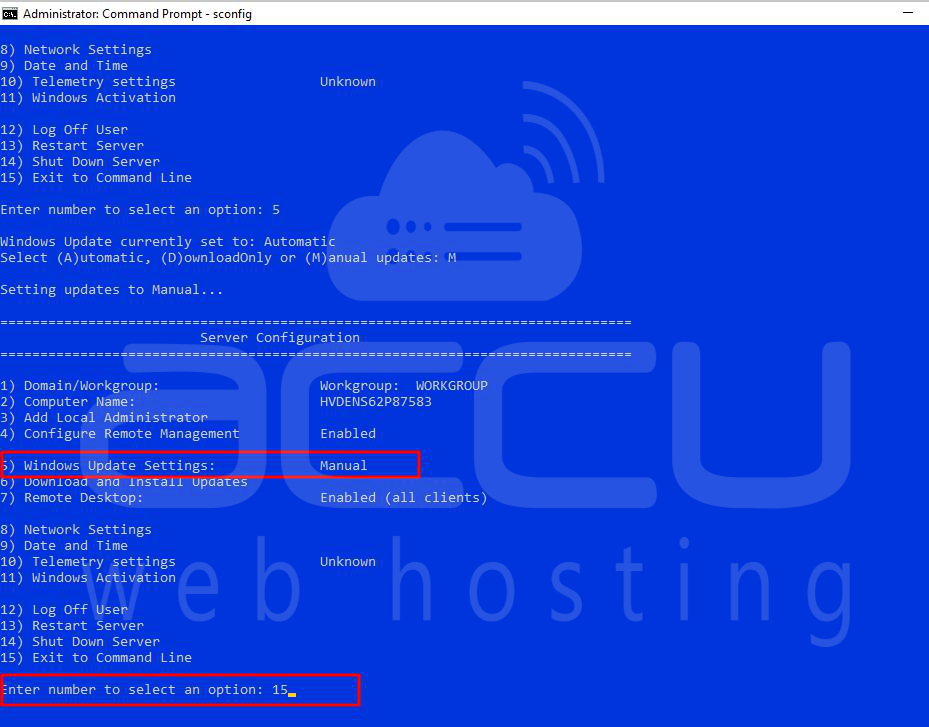
Step 3: After running the command, a window will appear to manage system settings. Choose option 5, which is related to Windows Update configuration.
Step 4: Once you select option 5 and press Enter, two things will show up:
The current status of Windows Update.
Different options to be set.
Here are the options:
A: Automatic (Downloads and installs updates automatically).
D: Download Only (Downloads updates but doesn't install them).
M: Manual (No automatic downloads; the administrator decides when to download and install updates).
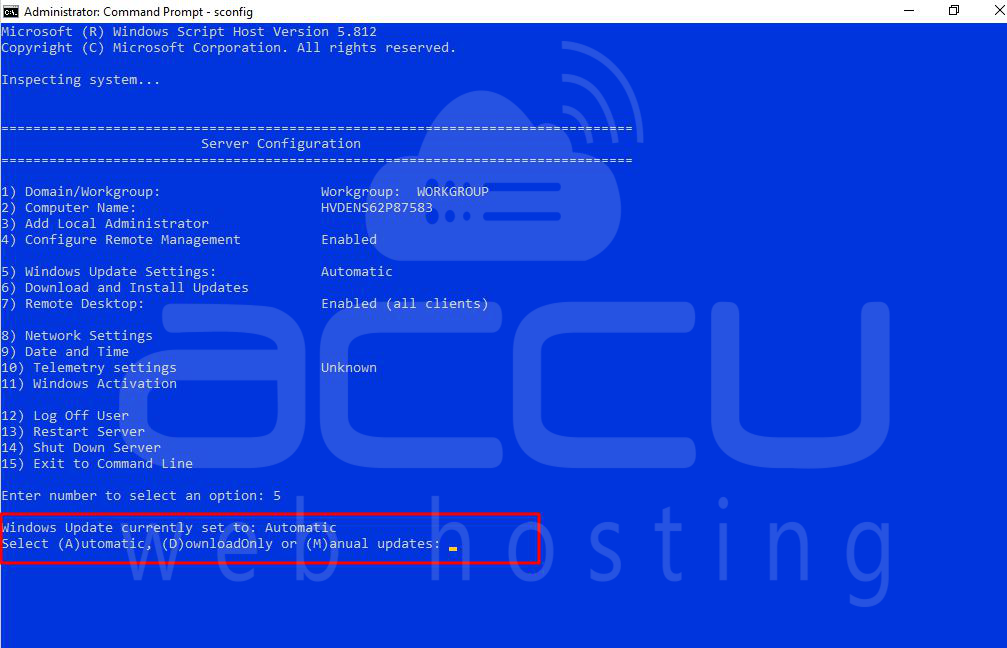
Step 5: Type the letter 'M' to set updates to manual mode.
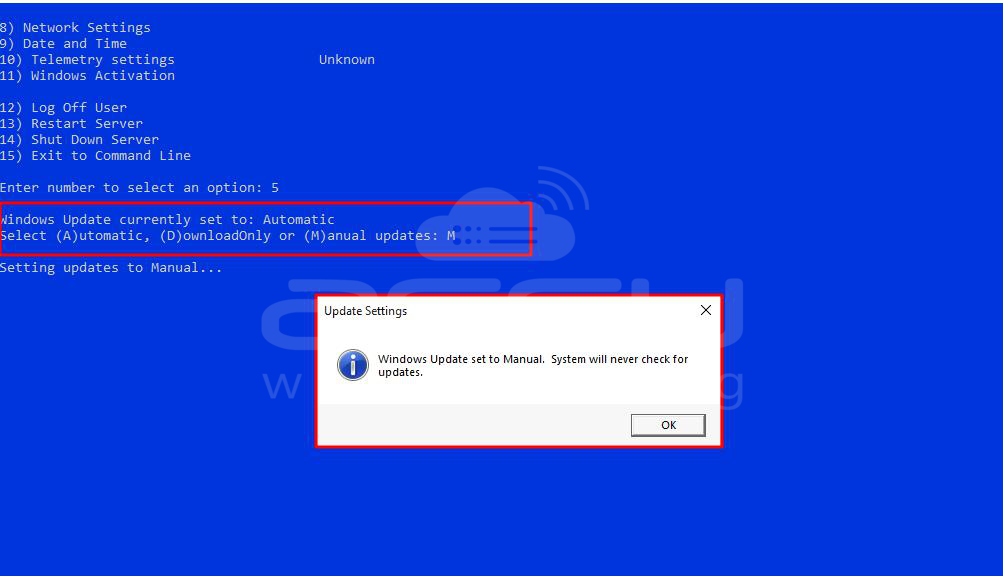
Step 6: A message will confirm that Windows Update is now set to manual mode. Click OK to close the message.
Step 7: Exit the configuration menu by entering 15.
Step 8: Close the Command Prompt window.
Solution 3: Change Group Policy Editor Settings
Here's an easier way to stop automatic updates using the Group Policy Editor:
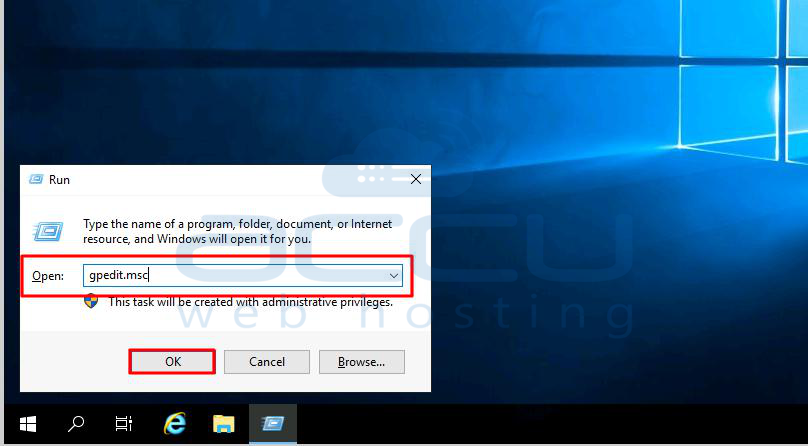
Step 1: Click on Start and then choose Run.
Step 2: Type gpedit.msc and click OK.
Step 3: Open Computer Configuration > Administrative Templates > Windows Components > Windows Update.

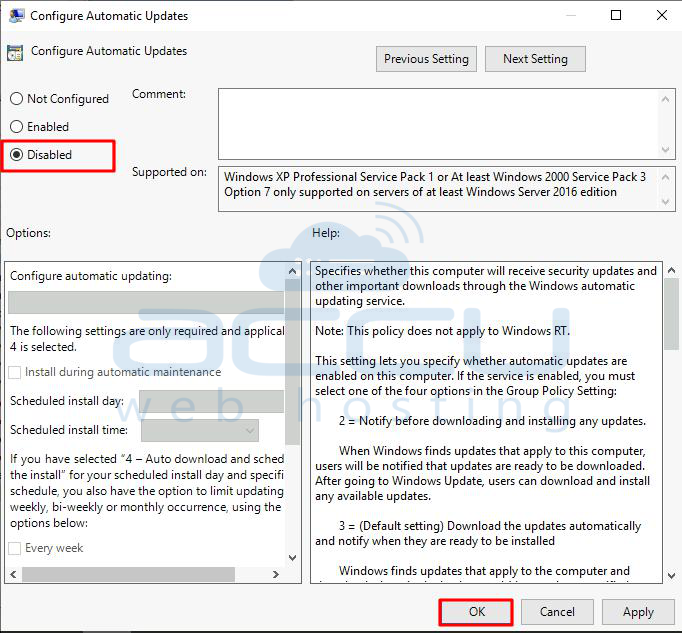
Step 4: Choose Configure Automatic Updates, set it to Disabled, and click OK.
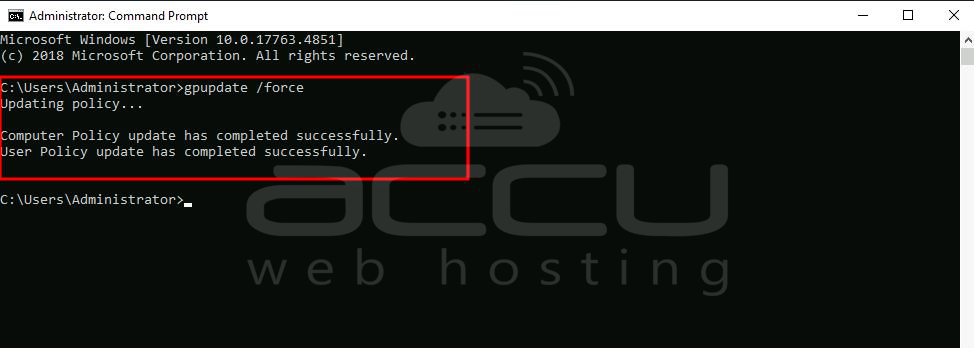
Step 5: Since Group Policy updates every 90 minutes, you can make this change take effect right away by running the following command: gpupdate /force.
Solution 4: Modify Windows Updates through Registry
Here's a simpler way to change how Windows updates using the Registry:
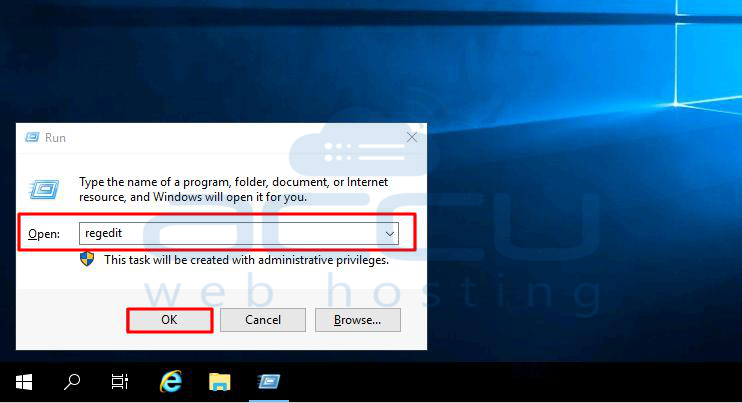
Step 1: Press the Windows key + R to open the Run command.
Step 2: Type regedit and click OK to open the Registry.
Step 3: Go to this path: HKEY_LOCAL_MACHINE\SOFTWARE\Policies\Microsoft\Windows.
Step 4: Right-click on the Windows (folder) key, choose New, and click Key.
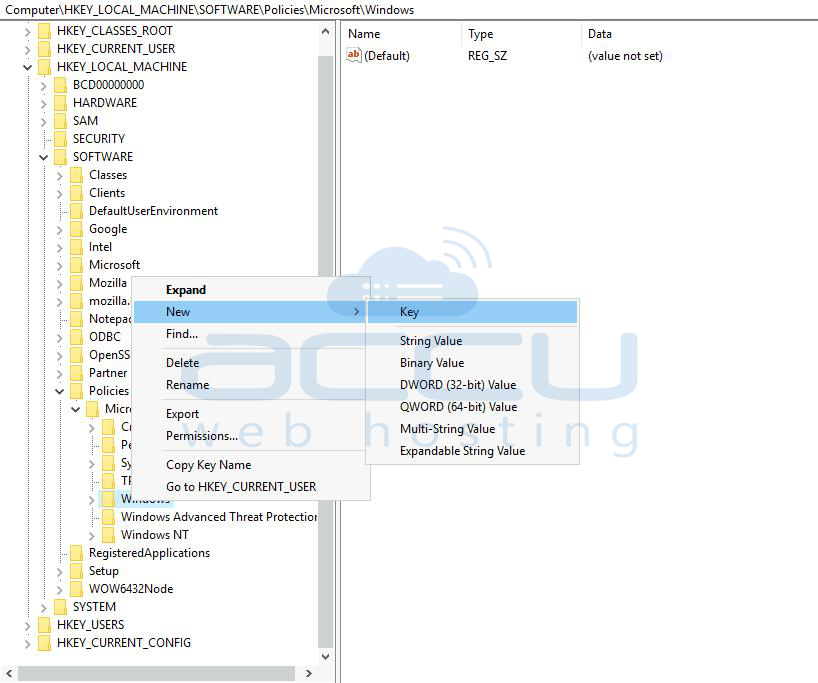
Step 5: Name the new key WindowsUpdate and press Enter.
Step 6: Right-click on the new key, choose New, and click Key.
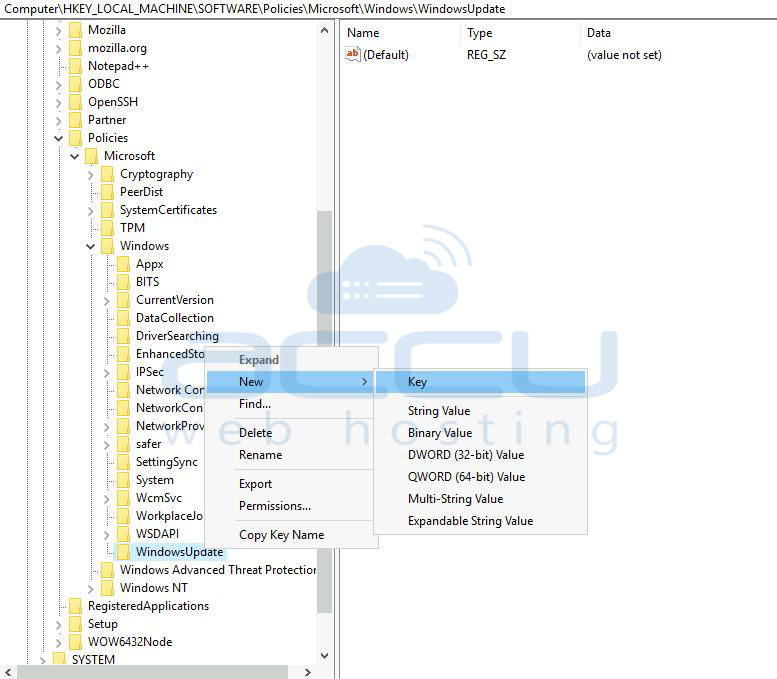
Step 7: Name the new key AU and press Enter.
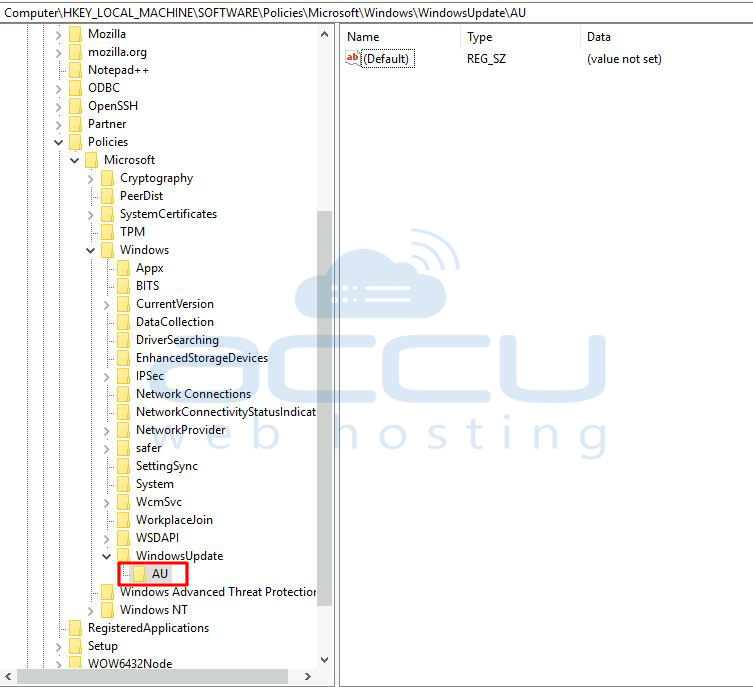
Step 8: Inside the new key, right-click on the right side, choose New, and click DWORD (32-bit) Value.

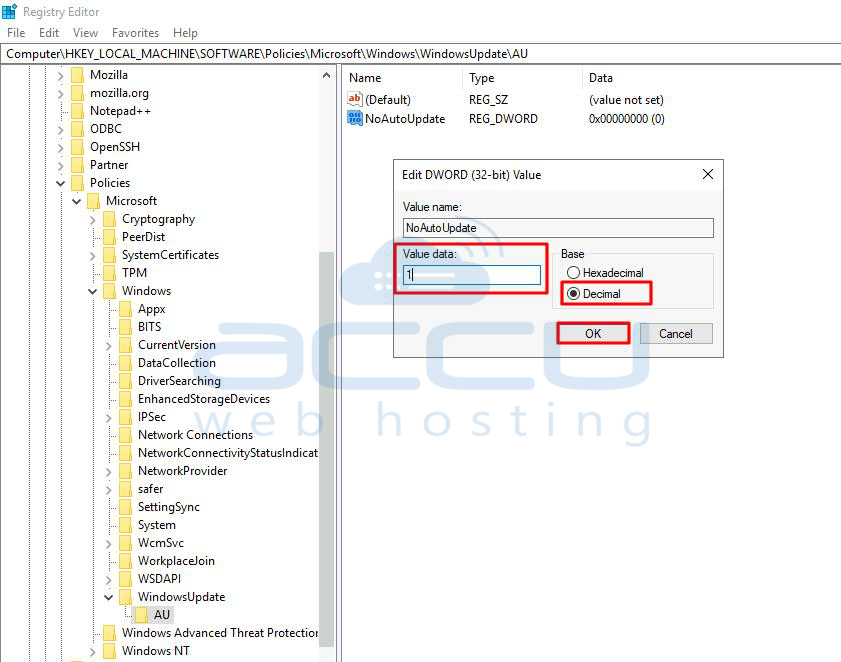
Step 9: Name the new key NoAutoUpdate and press Enter.

Step 10: Double-click the new key and change its value to 1. Click on the OK button.
Step 11: Again inside the new key, right-click on the right side, choose New, and click DWORD (32-bit) Value.
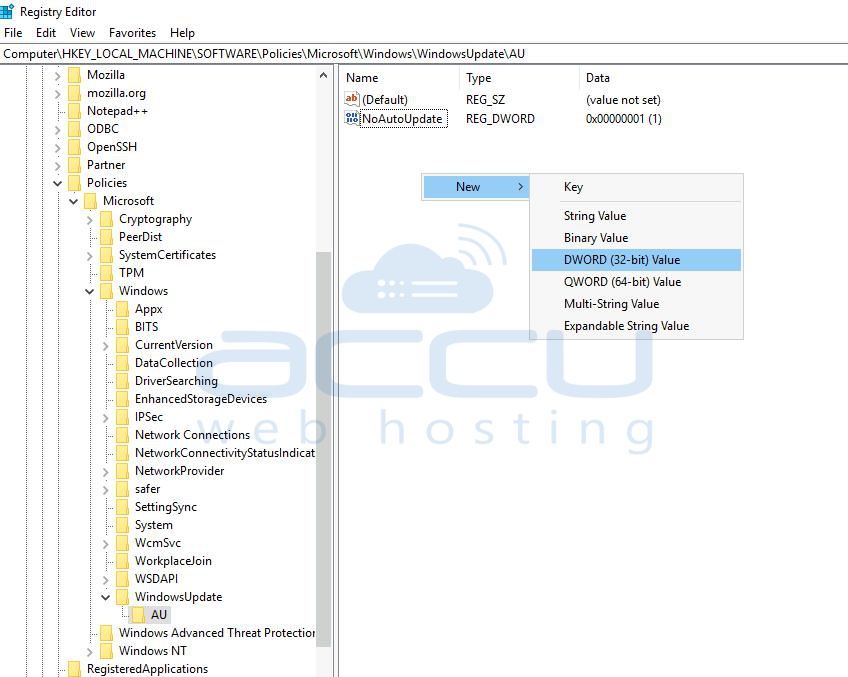
Step 12: Name the new key AUOptions and press Enter.
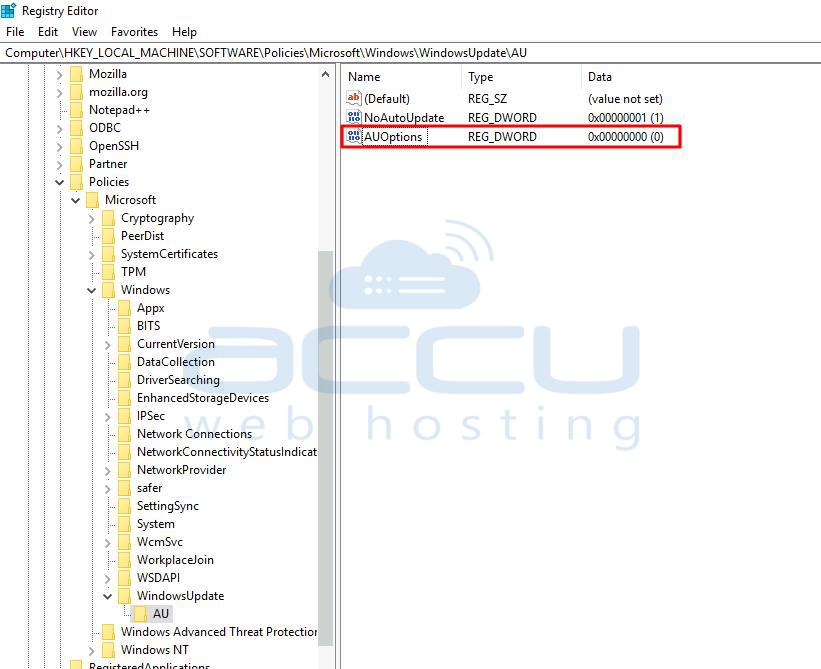
Step 13: Double-click the new key and change its value to 1. Click on the OK button.

Step 14: Close the Registry to finish the task.
Conclusion:
In conclusion, there are several methods available to disable Windows updates on Windows Server 2019. However, it's crucial to approach this with caution, as regular updates are essential for maintaining the security and stability of your system. Disabling updates should only be considered as a temporary measure for specific scenarios, and it is highly recommended to re-enable updates as soon as possible.
The methods discussed include using Group Policy, Registry Editor, Services, PowerShell, and the Group Policy Editor. Each method provides a different approach, allowing users to choose the one that best fits their preferences and technical comfort. Remember that turning off updates may expose your system to potential security risks, and it's essential to stay vigilant and manually manage updates if automatic updates are disabled.
