Virtualmin is a domain hosting & website control panel enabling users to establish and oversee multiple domains, web applications, mailboxes, and databases. Constructed atop Webmin, Virtualmin offers nearly universal compatibility with a wide range of UNIX-based operating systems.
There are two types of Virtualmin:
Virtualmin GPL: This one is free and open for anyone to use, and you don't need a special permission.
Virtualmin Professional: This version has more features, but you have to pay a fee to use it.
Features of Virtualmin:
Virtualmin has these features:
Database Management: It helps you control databases easily. You can add, delete, move, and copy database information from a simple interface.
Webmin Integration: Virtualmin is built on top of Webmin. This means it works well with Webmin's user management, monitoring tools, software management, security features, and other stuff.
Linux Firewall Management: It can also help with managing the system's firewall. This keeps your system secure.
Better Security: Virtualmin comes with tools that make sure your system and data are safe. It's easy to update because it uses standard package repositories.
Alerts, Graphs, and Logs: You can easily check system and web server logs, get alerts through email or text, know when software or web apps need updates, and see how your system is being used.
Customizable: You can make Virtualmin work the way you want. You can add new features and change how it looks with scripts and themes.
Kindly follow the below-mentioned steps to install Virtualmin in AlmaLinux 8.
Step 1: Log in to your server via SSH using the root user.
Step 2: Download VirtualMin using the below command.
# wget https://raw.githubusercontent.com/virtualmin/virtualmin-install/master/virtualmin-install.sh

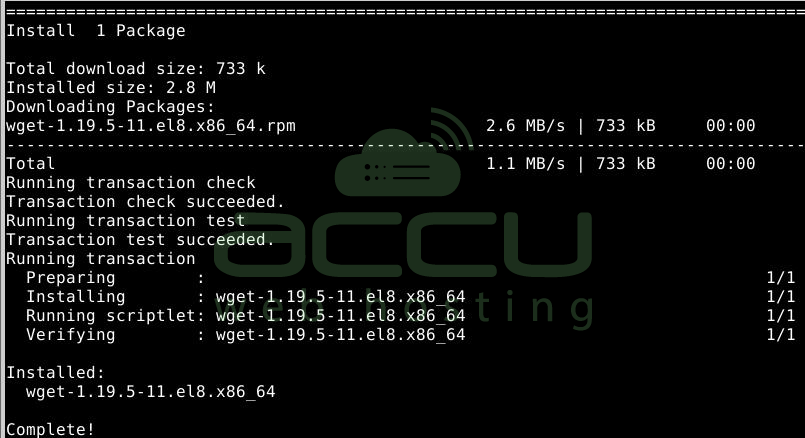
If you see an error like "command not found," it means you need to install wget. To do that, run this command:
# sudo dnf install wget -y

After a successful installation, you'll receive a message confirming it.
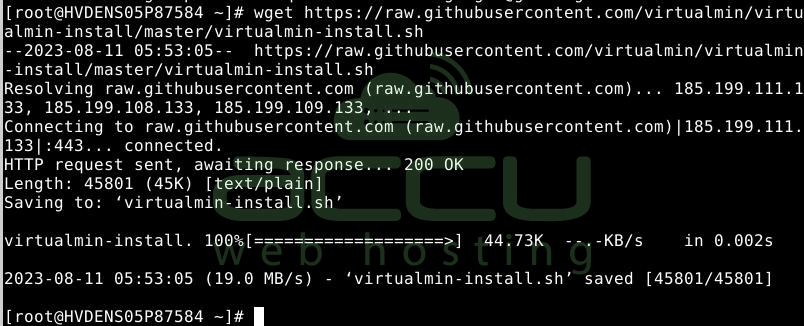
Now, use the wget command to download the Virtualmin installation script.
# wget https://raw.githubusercontent.com/virtualmin/virtualmin-install/master/virtualmin-install.sh
After downloading, you need to make the script execute using the below command.
# chmod a+x virtualmin-install.sh

Step 3: Run the installer script. We'll use the downloaded script to automate the Virtualmin installation on AlmaLinux. Start the installation process with this command.
# sudo ./virtualmin-install.sh
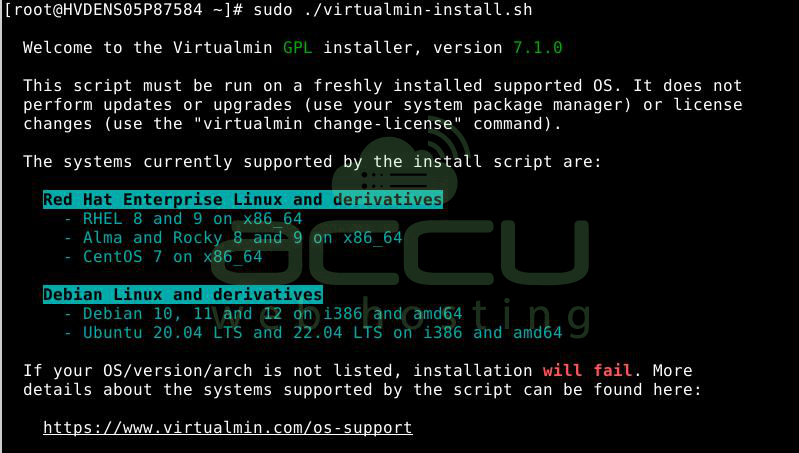
Step 4: The installation process will begin once you agree to continue, as shown in the screen capture below.

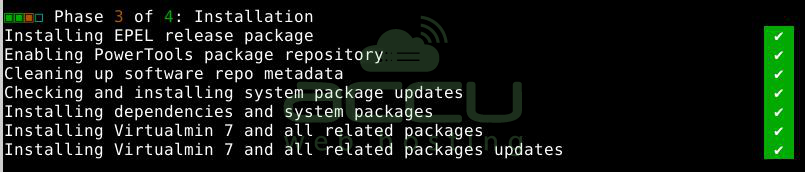
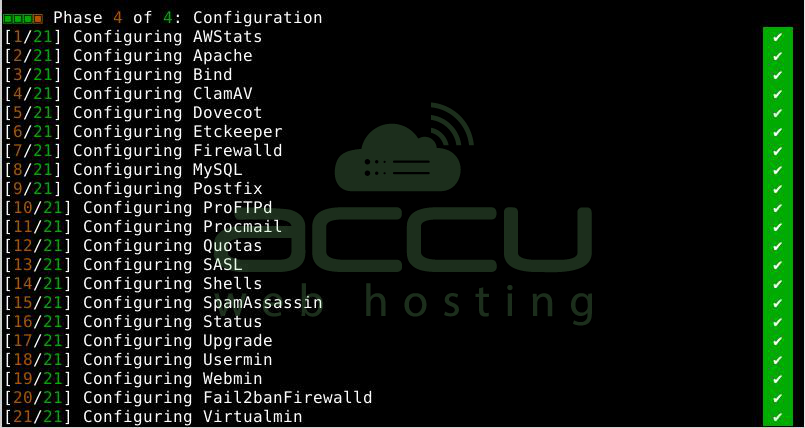
During the installation, the installer will go through four phases, and you won't need to do anything during those phases.
Phase 1: Verification

Phase 2: Setup

Phase 3: Installation
Phase 4: Configuration
Completion & Success Message
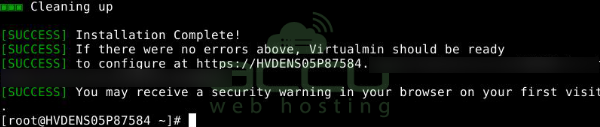
Please note that the installation process may take between 20 and 30 minutes.
Step 5: We need to allow the Virtualmin port through the firewall. Kindly execute the below commands to allow it.
# firewall-cmd --add-port=10000/tcp --permanent
# firewall-cmd --reload

Once we have completed the necessary steps, we will be able to access Virtualmin by using the server's IP address and its corresponding port, such as https://173.248.xxx.xx:10000/.
Step 6: Log in to the Virtualmin panel using the root credentials of the server.

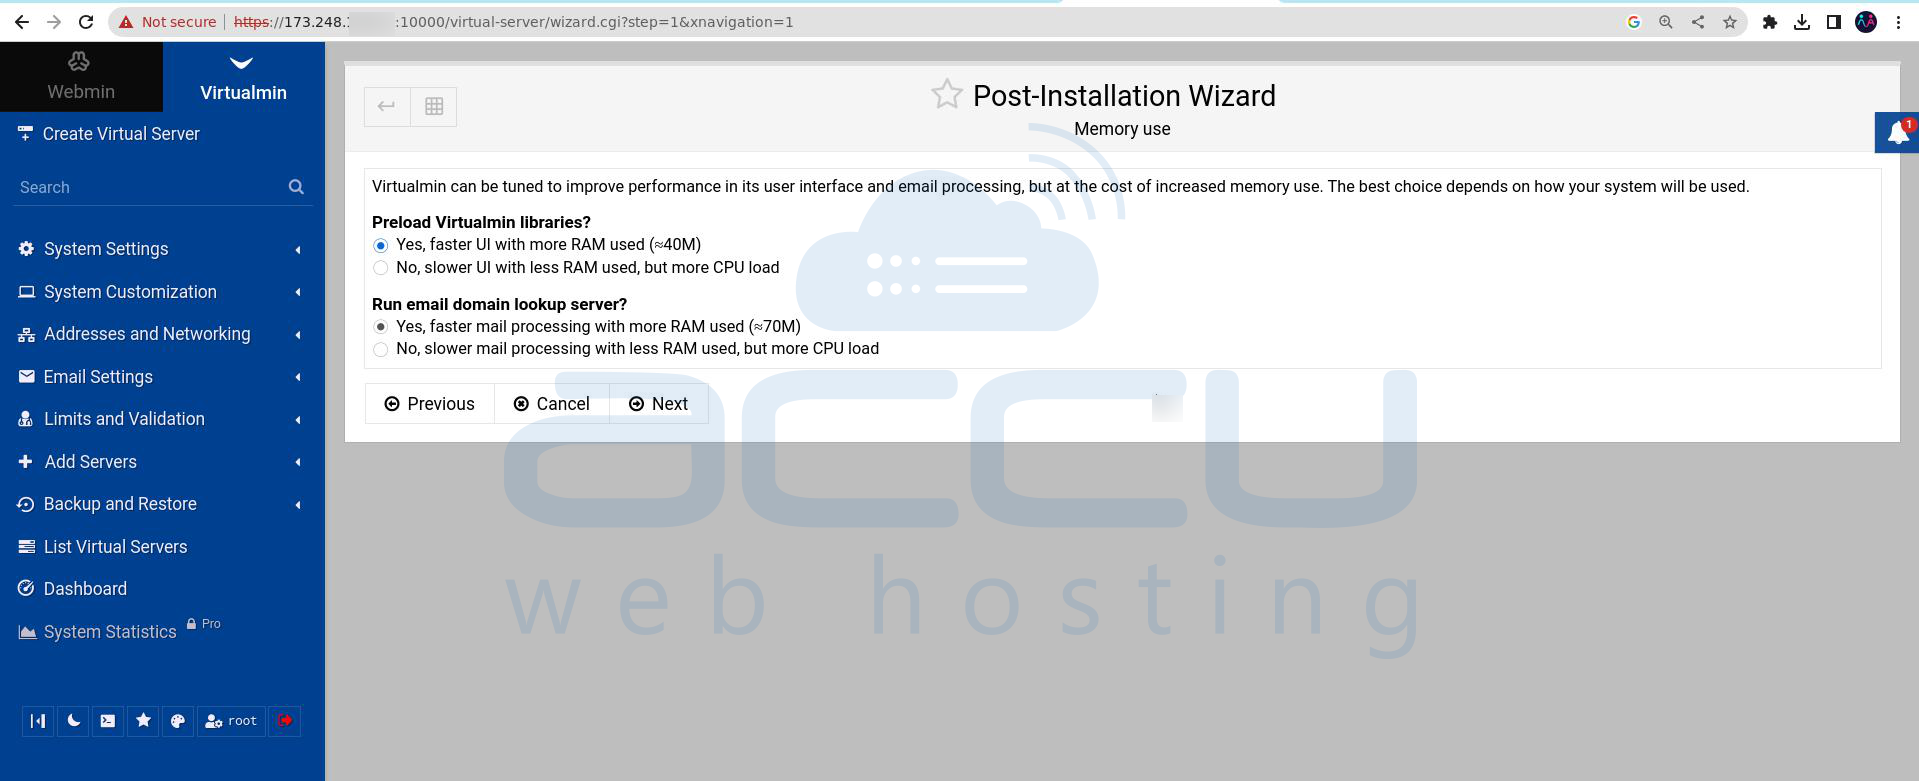
Step 7: Now configure the Virtualmin and run Post-Installtion Wizard.

Step 8: To reduce issues with slow UI, allow the Virtualmin panel to be loaded.
Step 9: You can enable or disable the ClamAV Virus scanning feature.

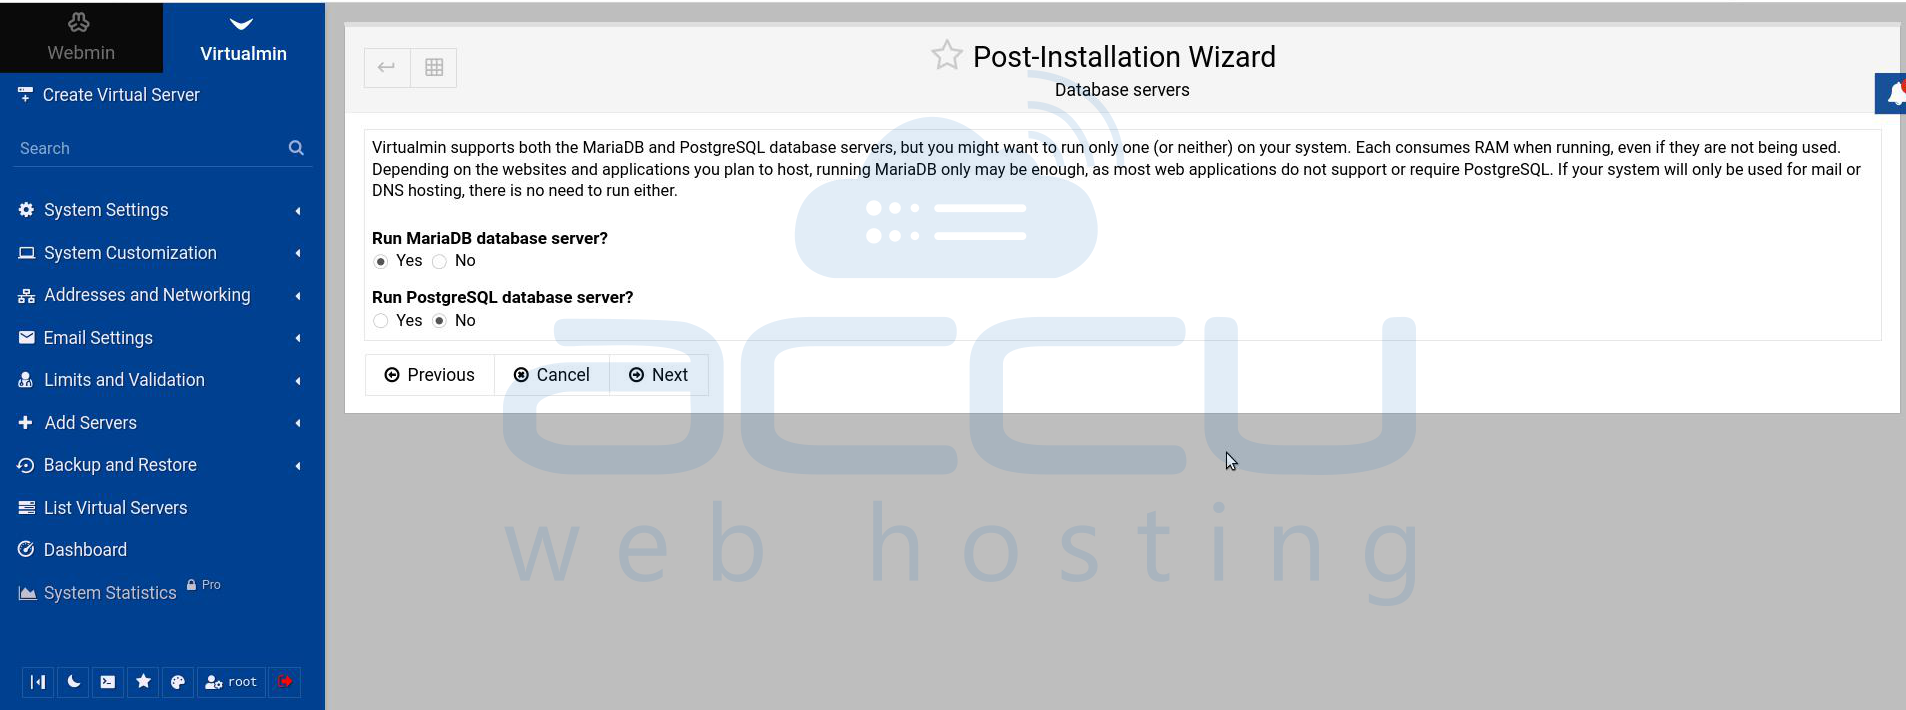
Step 10: Choose the database that you want to use and click on Next.
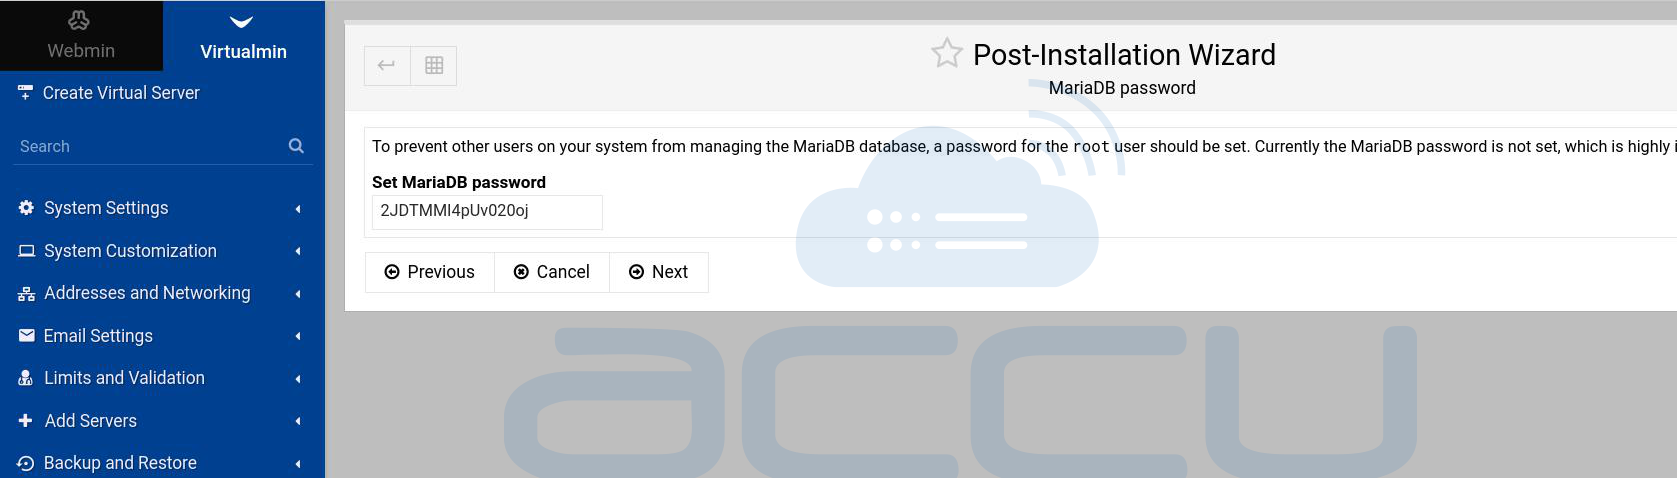
Step 11: Create a database root password and click on Next.
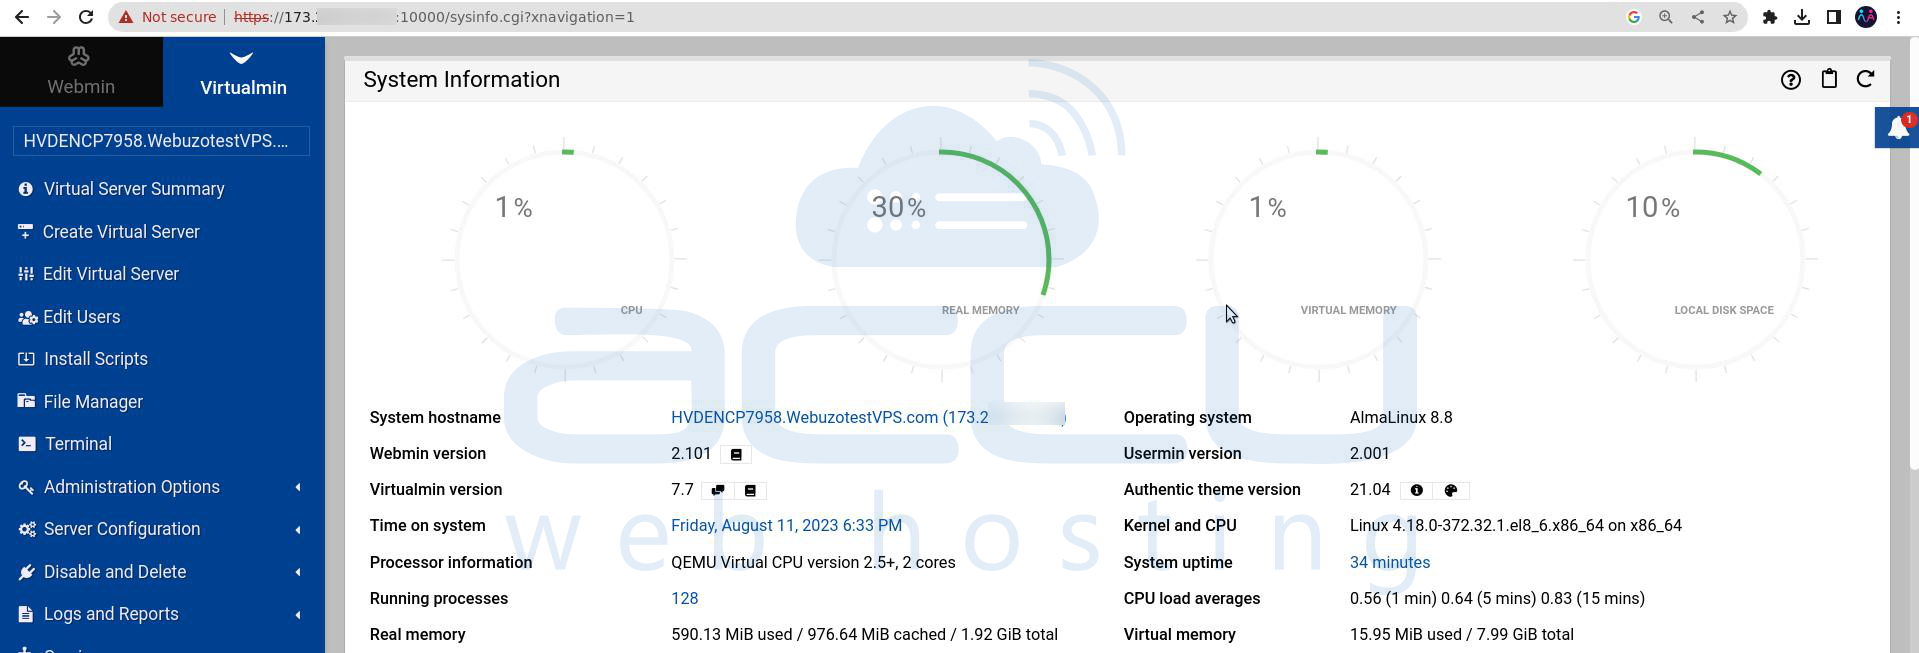
Step 12: Now that the installation process has finished. You will see the Virtualmin dashboard after the configuration of the installation wizard.
That's all.
