Do you want to improve multimedia features on your WHM/cPanel server? FFMPEG can help! It handles various audio and video formats.
Whether you use a cloud server or a regular server such as VPS, FFMPEG allows you to easily process, convert, and edit audio and video files.
This article will guide you through the simple steps to install FFMPEG on your WHM/cPanel server.
Note: cPanel has discontinued FFMPEG Service. So, you won't see the option for FFMPEG in the cPanel/WHM Panel. You'll need to manage it using the terminal.
Why do we use FFMPEG?
FFMPEG is a user-friendly tool that lets you edit digital audio and video clips. With FFMPEG installed, you can easily convert file types, resize videos, extract audio, and perform many other tasks. This enhances your server's multimedia capabilities, making it ideal for hosting various multimedia content.
How to Install FFmpeg on cPanel / WHM server with Linux 8 / Almalinux 8?
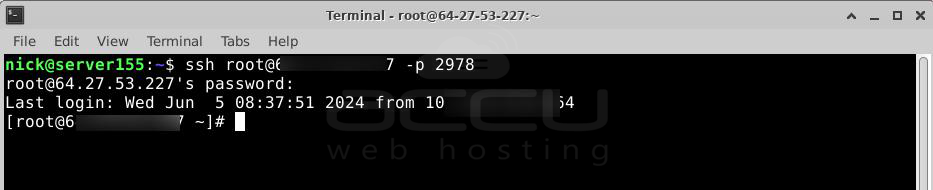
Step 1: Log in to your WHM/cPanel server using your SSH client. Make sure you have root access to run commands effectively.
Step 2: Update your server's packages to ensure compatibility and security. Run the following command:
# dnf -y update
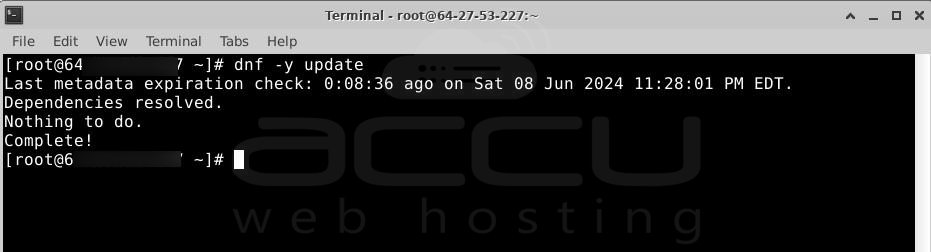
This will update all installed packages to their latest versions.
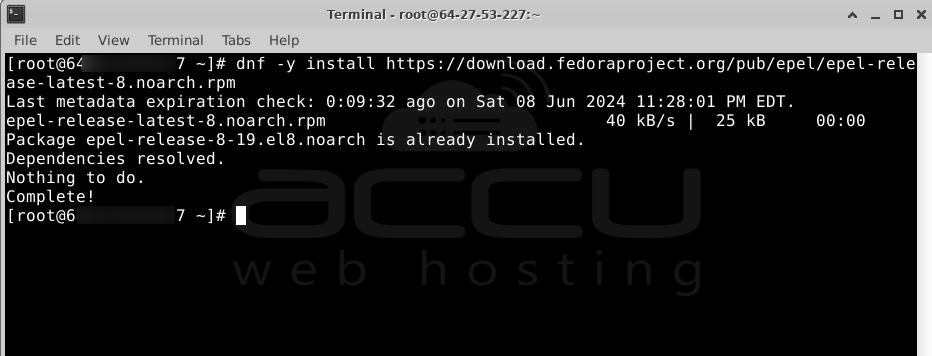
Step 3: The FFMPEG package is not available in the default AlmaLinux 8 repositories. To access FFMPEG, you need to install the EPEL (Extra Packages for Enterprise Linux) repository. Use the following command to install the EPEL repository:
# dnf -y install https://download.fedoraproject.org/pub/epel/epel-release-latest-8.noarch.rpm
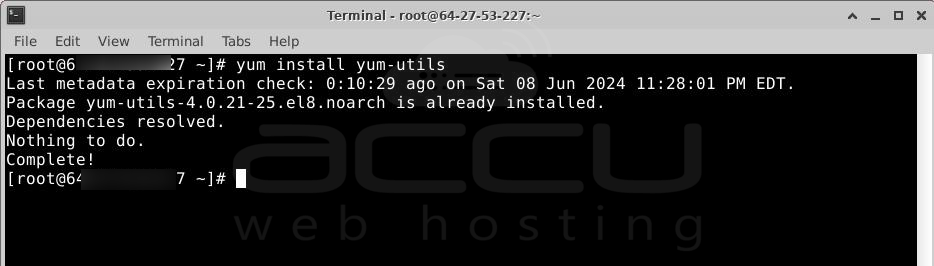
# yum install yum-utils -y
# yum-config-manager --enable powertools

Next, we need to add the RPM Fusion repository:
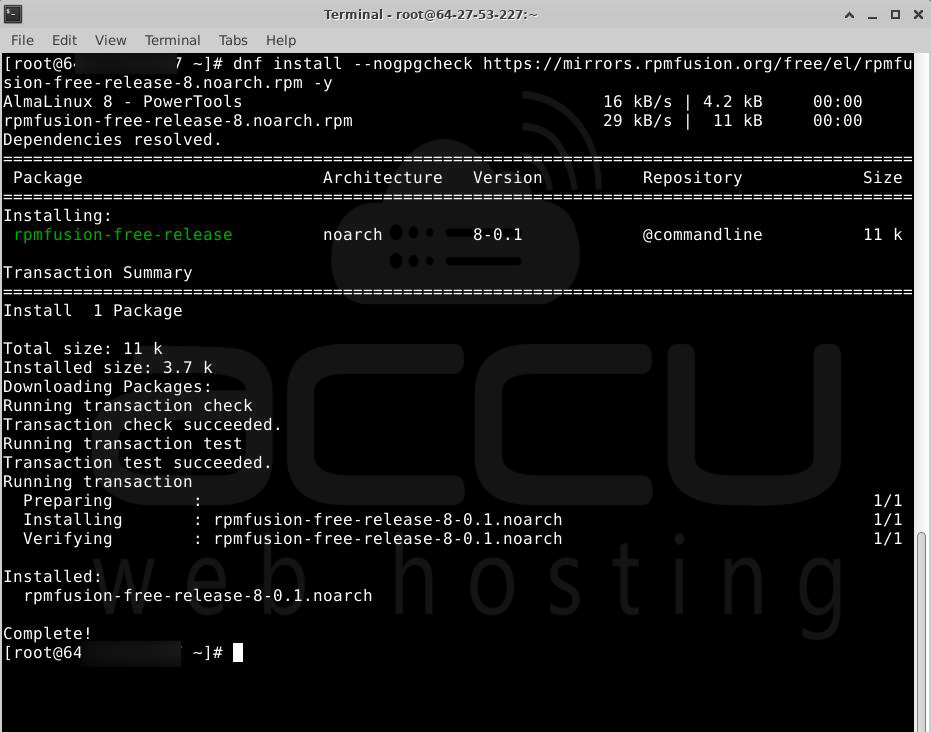
# dnf install --nogpgcheck https://mirrors.rpmfusion.org/free/el/rpmfusion-free-release-8.noarch.rpm -y
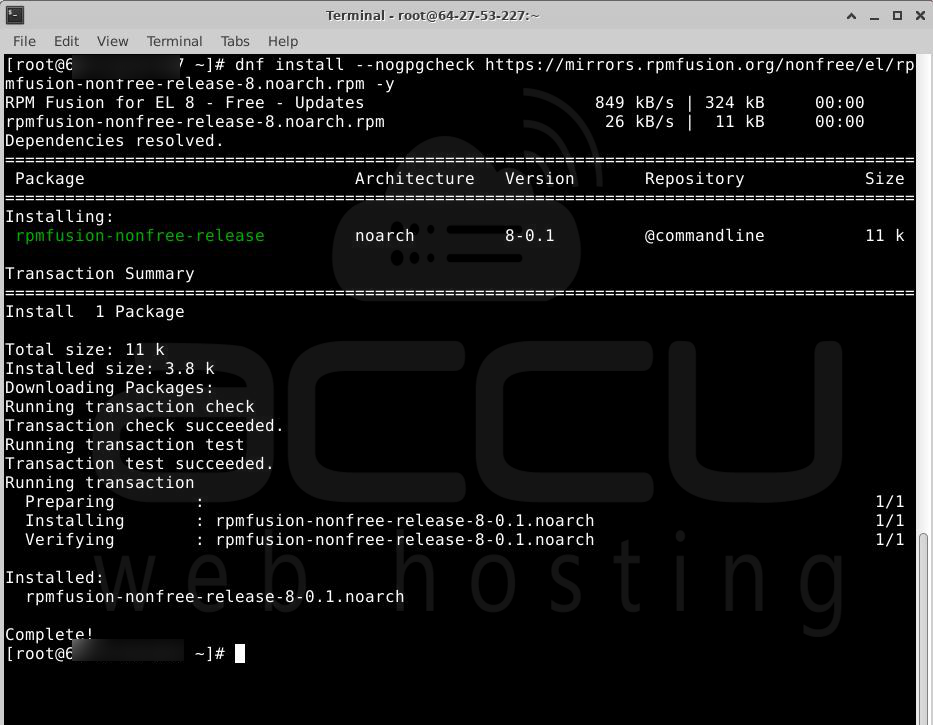
# dnf install --nogpgcheck https://mirrors.rpmfusion.org/nonfree/el/rpmfusion-nonfree-release-8.noarch.rpm -y
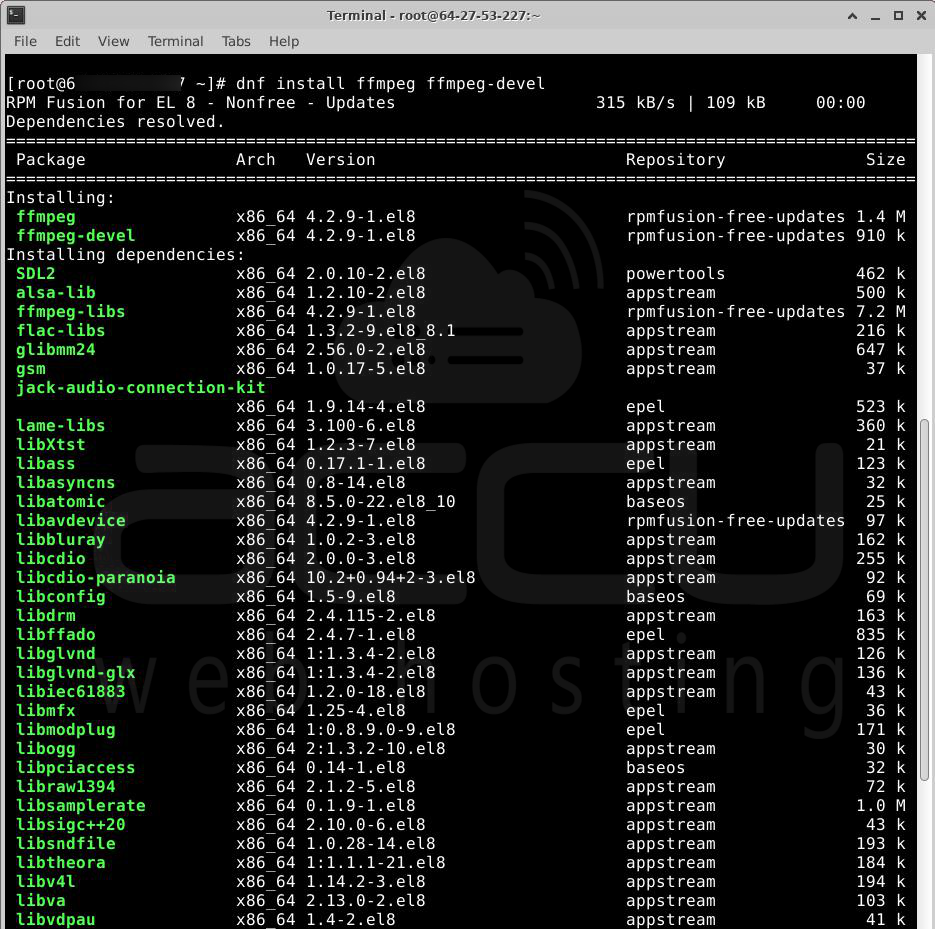
Step 4: With the EPEL repository enabled, you can now install FFMPEG and its development libraries. Execute the following command:
# dnf install ffmpeg ffmpeg-devel -y
This will install FFMPEG and its development libraries.
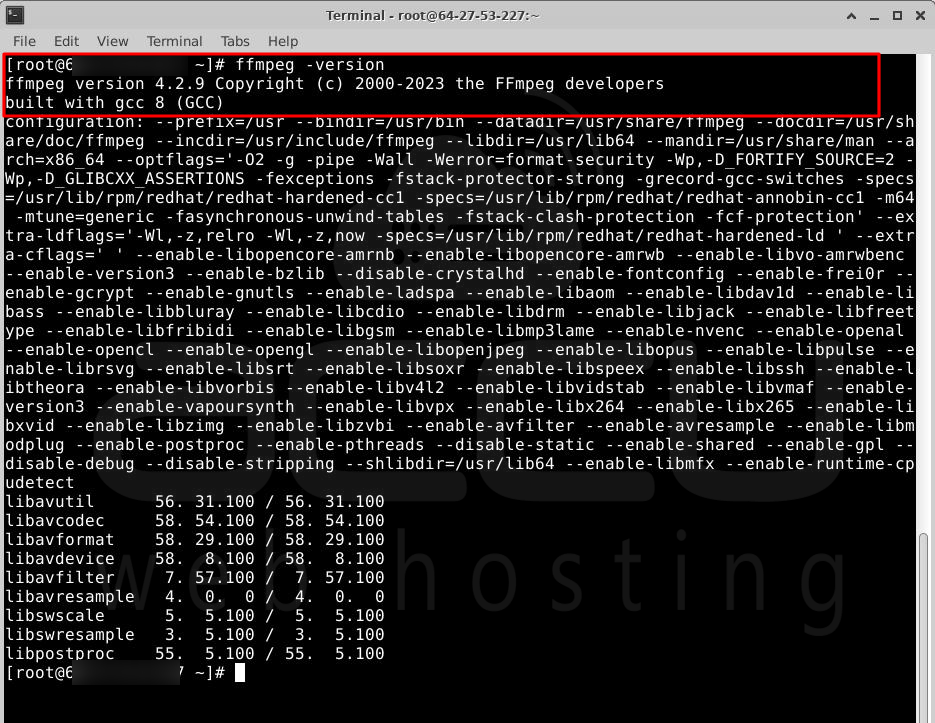
Step 5: After the installation is complete, it’s important to verify that FFMPEG has been installed correctly. To do this, run the following command:
# ffmpeg -version
This command will display the installed version and other information. If FFMPEG is installed correctly, you'll see the version details without errors.
Step 6: Set appropriate permissions and paths to make FFMPEG accessible to cPanel users.
Ensure FFMPEG is in the system PATH: This allows users to run FFMPEG from any directory.
# echo "export PATH=$PATH:/usr/local/bin" >> /etc/profile
# source /etc/profile

Create a symlink if necessary: This ensures compatibility with applications expecting FFMPEG in a specific location.
# ln -s /usr/bin/ffmpeg /usr/local/bin/ffmpeg

Once the build process is complete, FFMPEG will be integrated with WHM/cPanel, and you can start using it through the control panel. This integration allows you to manage multimedia files more effectively on your server.
Verify the FFMPEG version from the cPanel user
To verify the FFMPEG version from the cPanel user, perform the following steps.
Step 1: Log into cPanel.
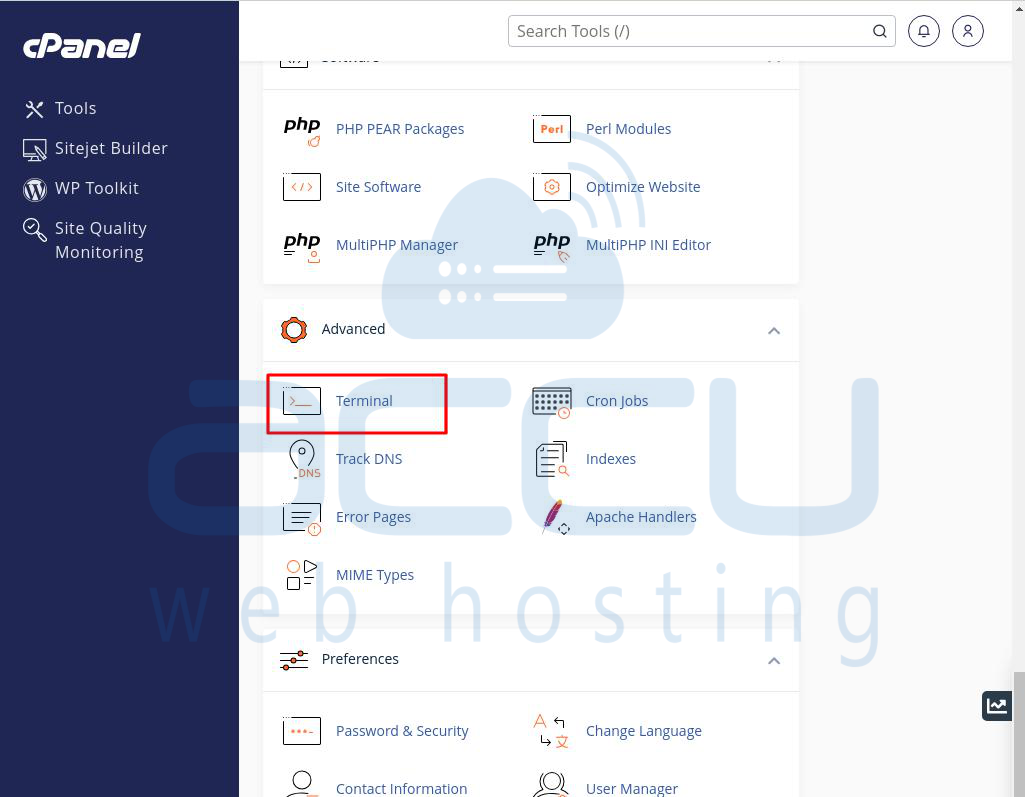
Step 2: Go to the Advanced section and click on the Terminal option.
Step 3: In the Terminal window, type the following mentioned command.
$ ffmpeg
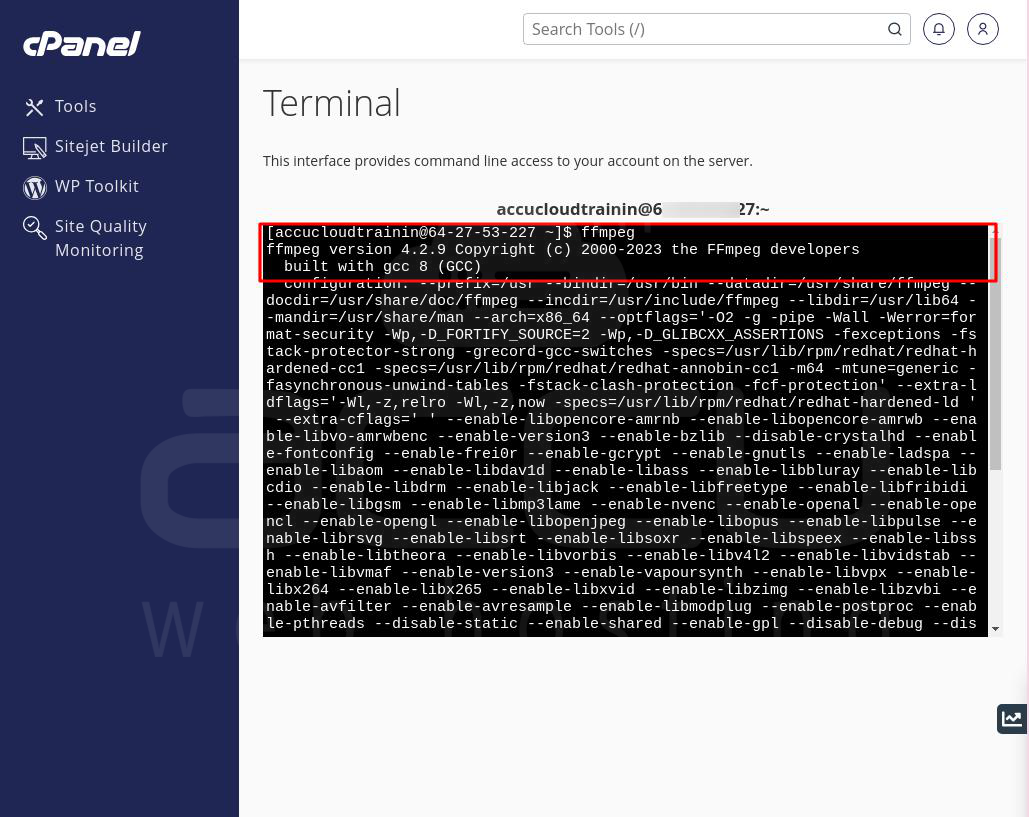
If you are getting the FFMPEG version details, it means that FFMPEG is enabled for the user and can be used.
Congratulations! You have successfully installed FFMPEG on your WHM/cPanel server. You can now utilize the power of FFMPEG to handle multimedia files on your websites and applications.
Conclusion:
By following the steps in this guide, you can easily process, convert, and edit audio and video files, making your server an excellent choice for hosting multimedia content. Whether you have a cloud-based server or a standard hosting setup, FFMPEG integration improves your multimedia management options.
