Umbraco, an open-source content management system, is relatively less well-known compared to popular systems like WordPress, Joomla, and Drupal. One reason for this is that it was developed by the Microsoft team and requires components such as .NET and MS SQL Server for data storage.
Despite its lower profile, Umbraco boasts over 500,000 active installations worldwide and has a dedicated community of over 220,000 members.
Umbraco is not only open-source but also royalty-free and secure. It offers scalability from small websites to high-performance systems and is cost-effective and highly available in cloud environments. This CMS is fully engaged in frontend development, extensively documented, and supported by a thriving community.
Umbraco's strength lies in its clean CMS core that doesn't incorporate every trendy feature that surfaces in tech news each year. If you need a specific feature, it can be developed to align with your exact requirements. The structure of grids and grid editors in Umbraco makes it easy to add features, though this doesn't mean Umbraco lacks a wide range of built-in functionalities.
Now, let's explore the steps to install Umbraco CMS on Ubuntu 20.04 LTS:
Prerequisites:
To follow this tutorial, you'll need Ubuntu 20.04 Linux, .NET 5.0, SQL Server 2019 (or a higher version), a non-root user with sudo access, and an internet connection.
Step 1: Install .NET 5 on Ubuntu 20.04
Begin by installing .NET 5, a crucial requirement for setting up Umbraco CMS on Ubuntu. Microsoft provides an official script to simplify the process:
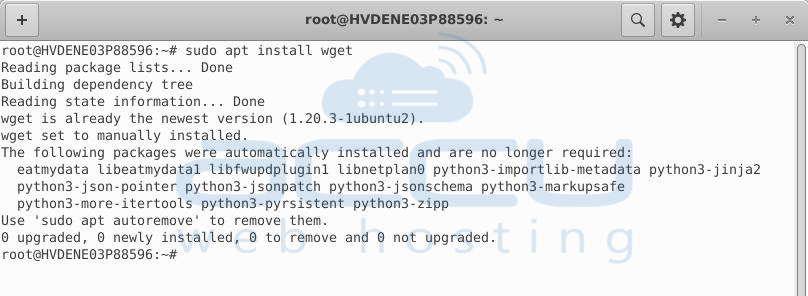
Install wget if not already installed:
# sudo apt install wget
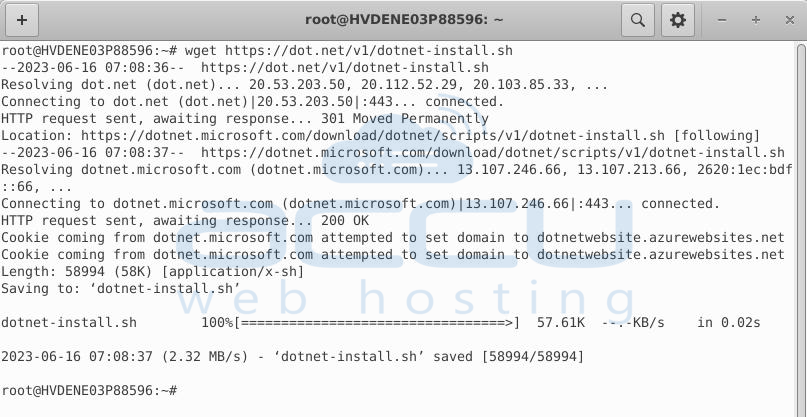
Download the DotNet installation script:
# wget https://dot.net/v1/dotnet-install.sh
Make the script executable:
# chmod +x dotnet-install.sh

Install DotNet version 5:
# ./dotnet-install.sh -c 5.0

Add the installation path to your system variables to enable global access to the dotnet command line:
# echo 'export PATH="$PATH:/home/$USER/.dotnet/"' >> ~/.bashrc

Reload the Bash:
# source ~/.bashrc

Step 2: Install Microsoft SQL Server on Ubuntu 20.04
Umbraco requires SQL Server to store its data. Here's how to install SQL Server on Ubuntu:
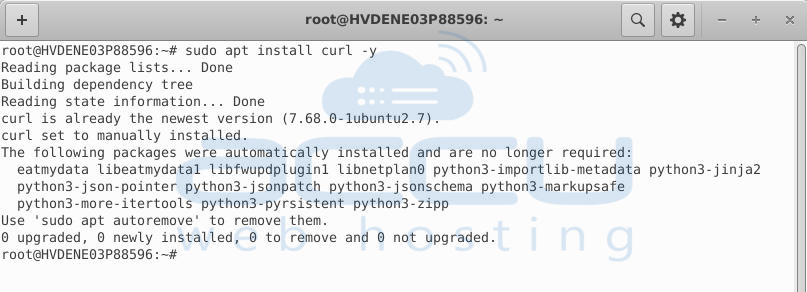
Install curl if not already installed:
# sudo apt install curl -y
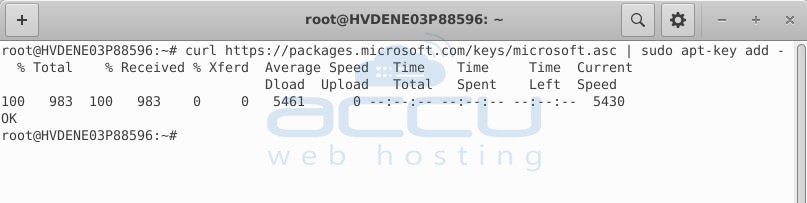
Add the Microsoft repository key:
# curl https://packages.microsoft.com/keys/microsoft.asc | sudo apt-key add -
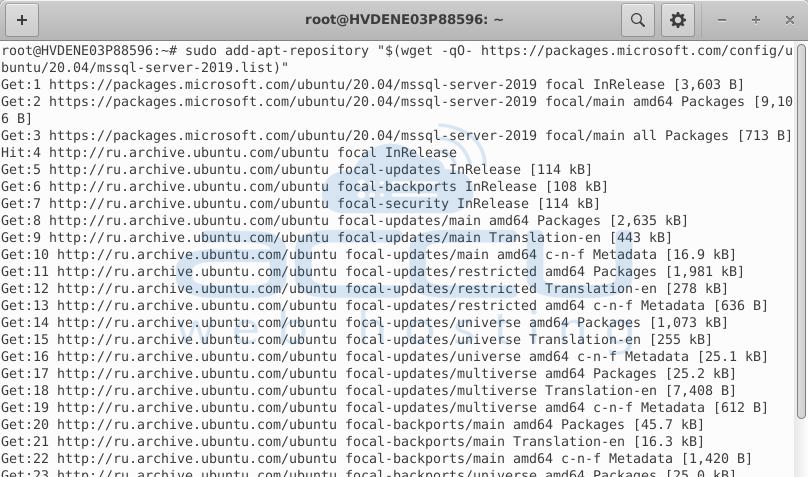
Add the repository:
# sudo add-apt-repository
"$(wget -qO- https://packages.microsoft.com/config/ubuntu/20.04/mssql-server-2019.list)"
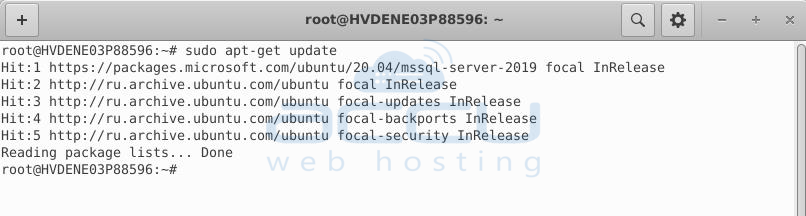
Update the package list:
# sudo apt-get update
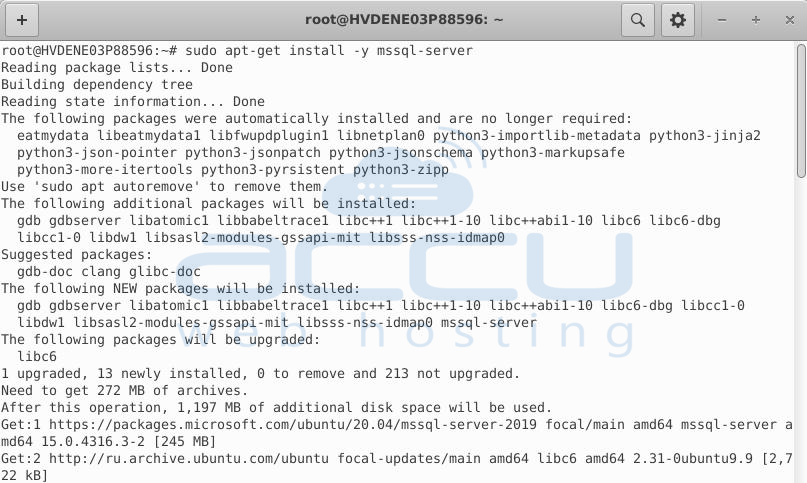
Install SQL Server:
# sudo apt-get install -y mssql-server
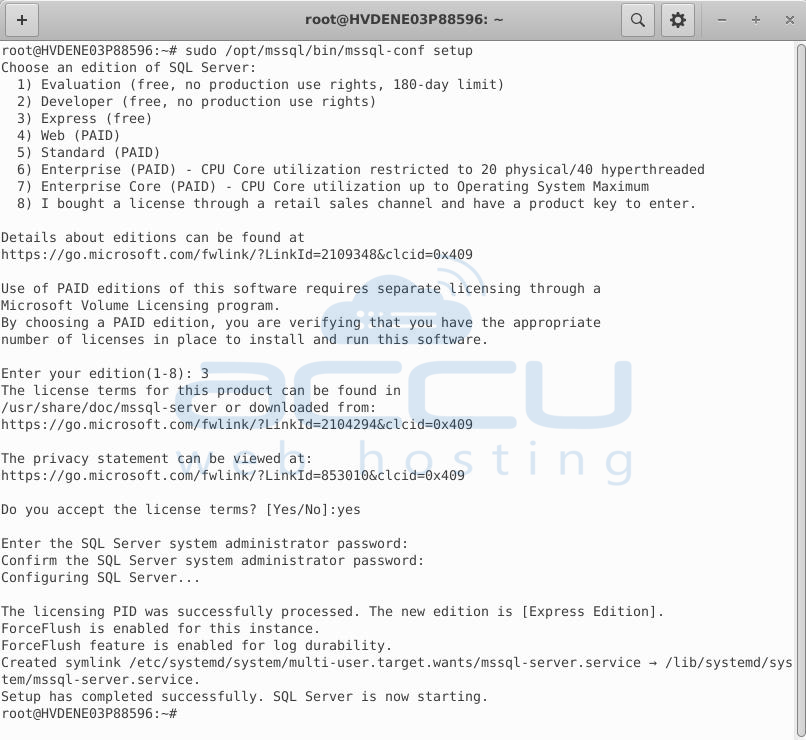
Set up the SQL Administrator (SA) account password:
# sudo /opt/mssql/bin/mssql-conf setup
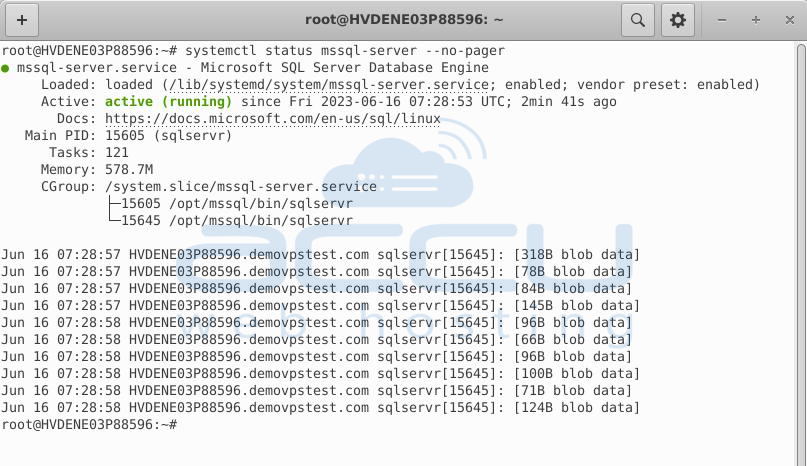
Verify the SQL Server service status:
# systemctl status mssql-server --no-pager
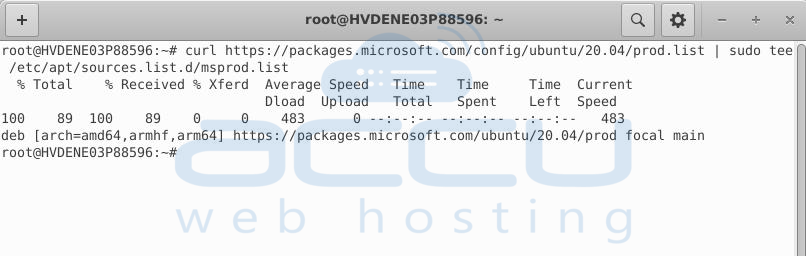
Install the SQL Server command-line tool:
# curl https://packages.microsoft.com/config/ubuntu/20.04/prod.list
| sudo tee /etc/apt/sources.list.d/msprod.list
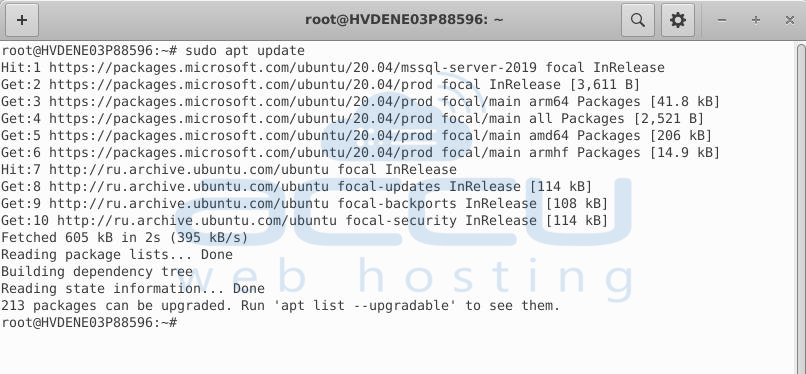
# sudo apt update
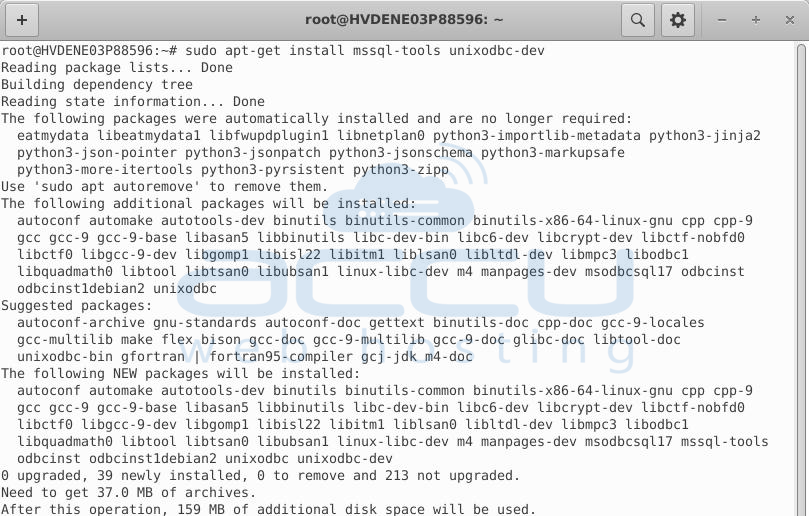
# sudo apt-get install mssql-tools unixodbc-dev
Integrate the MSSQL installation folder to your path:
# echo 'export PATH="$PATH:/opt/mssql-tools/bin"' >> ~/.bashrc

# source ~/.bashrc

Step 3: Create an MS SQL Database for Umbraco
To store data generated by Umbraco CMS, you need to create a database:
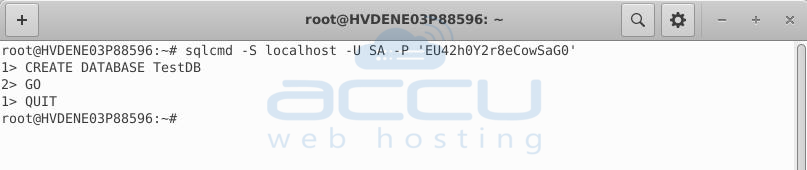
Login to the SQL Admin user:
# sqlcmd -S localhost -U SA -P 'YourPassword'
Note: Replace 'YourPassword' with the password you set while configuring Microsoft SQL Server.
Create a new database:
# CREATE DATABASE TestDB
Note: Replace 'TestDB' with your desired database name.
Execute the command:
# GO
Exit the SQL command line:
# QUIT
Step 4: Install Umbraco templates
Next, install the Umbraco templates using the dotnet command:
# dotnet new -i Umbraco.Templates
Step 5: Create a new project
Create a project directory where you'll store the necessary files for installing and using Umbraco:
# dotnet new umbraco --name MyCMS
Note: Replace 'MyCMS' with your preferred project name.
step 6: Run and build your project
Navigate to the project folder and build it using the dotnet command:
# cd MyCMS
# dotnet run
Running the project's .csproj file with the dotnet command will start the server and display a localhost link in the terminal. You can access the Umbraco CMS web interface using that link.
Step 7: Install Umbraco CMS on Ubuntu 20.04
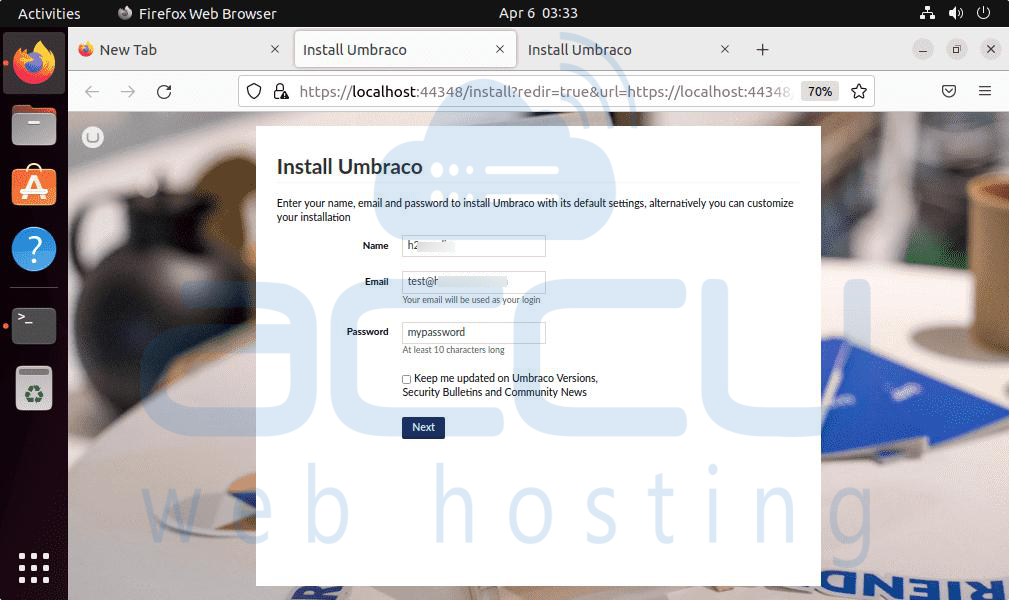
Open your local system's browser and enter the localhost URL shown in the terminal (e.g., http://localhost:44348).
On the Umbraco CMS installation page, provide the necessary details, such as your name, email, and password. This will be used to set up Umbraco with its default settings.
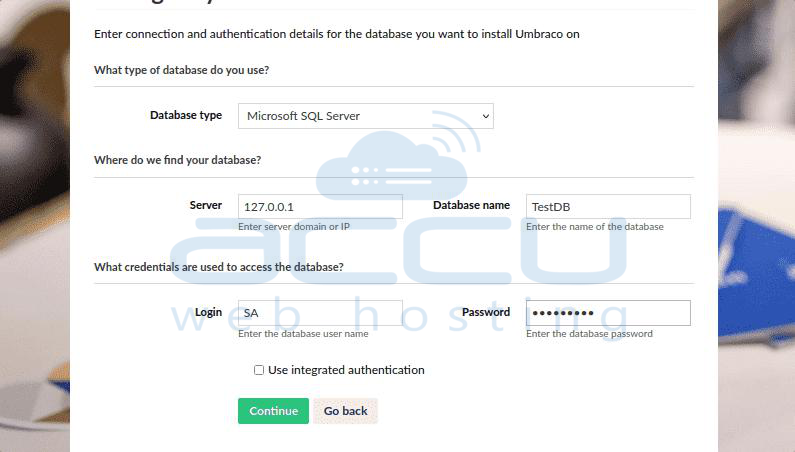
Proceed to the database configuration section. Select the following options:
Type: Microsoft SQL Server
Server: 127.0.0.1
Database name: Use the name you previously set for your database.
Login user: sa
Password: Use the password you set for the SQL Administrator (SA) account.
After entering the SQL server database details, click on the installation button to continue.
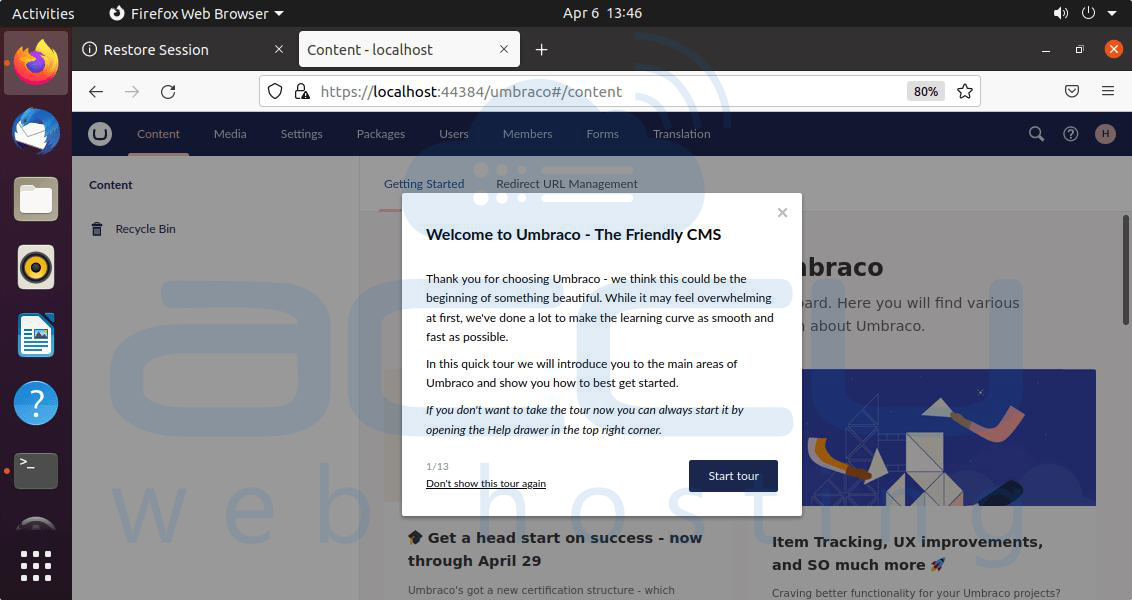
The Umbraco CMS-friendly web interface will then be accessible in your browser. You can explore and manage Umbraco CMS using the web interface.
That concludes the tutorial for getting started with Umbraco on Ubuntu 20.04 LTS. Refer to the official documentation page for more in-depth information on creating websites, posting content, and managing the CMS.
Conclusion:
By following this guide, you’ve successfully installed and launched Umbraco CMS on a Linux environment, proving it’s not just a Windows-native solution. With the power of .NET 5, the reliability of MS SQL Server, and the flexibility of Ubuntu 20.04, Umbraco becomes a viable CMS choice for businesses prioritizing performance, customization, and scalability.
From installing critical dependencies to configuring your database and initializing the CMS interface, you’ve covered all the essential steps. Now, you can begin building dynamic content, managing your site, and tailoring features to suit business needs — all within Umbraco’s clean and developer-friendly interface.
