ConfigServer eXploit Scanner (CXS) is a Linux-based security utility that detects possible server exploits. ConfigServer Services, which specializes in providing security technologies for Linux-based web hosting servers, created it.
CXS checks servers for suspicious files, scripts, and instructions that might result from a malicious assault. It identifies known and undiscovered threats by combining signature-based detection with heuristics. The application also examines weblogs for possible assaults and suspicious conduct.
CXS includes an easy-to-use web-based interface with real-time warnings and thorough information on discovered threats. It allows users to adjust parameters such as the sorts of files to scan and the folders to avoid scanning.
CXS's ability to quarantine discovered files is one of its most significant capabilities. When a possible danger is detected, CXS moves the file to a quarantine directory, preventing it from being executed on the server. This functionality aids in the prevention of malware proliferation and server damage.
CXS also offers automatic signature database upgrades, ensuring it can detect the most recent threats. The utility is compatible with common Linux distributions such as CentOS, Debian, and Ubuntu, and it is simple to install via package management or by downloading the installation script from the ConfigServer website.
Overall, ConfigServer eXploit Scanner effectively protects Linux-based web hosting servers against vulnerabilities and malware threats. It is a popular choice among system administrators and web hosting providers due to its user-friendly interface and adjustable settings.
Follow the instructions below to install ConfigServer eXploit Scanner (CXS) on a cPanel server:
Step 1: Log in as the root user to your server using SSH.
Step 2: Run the following command to get the CXS installation script from the ConfigServer website:
# curl -sSL https://download.configserver.com/cxsinstaller.tgz | tar -xzf -
The CXS installation script is downloaded and extracted using this command.

Step 3: Now use below command. This will install the cxsinstaller.
# perl cxsinstaller.pl ipv4
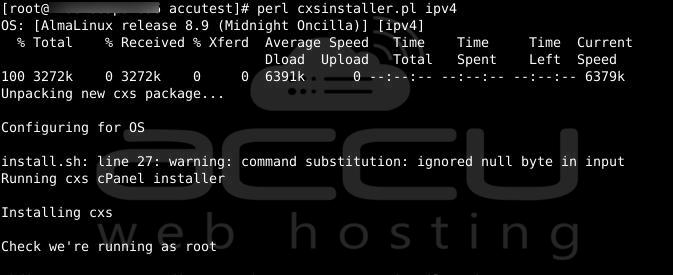
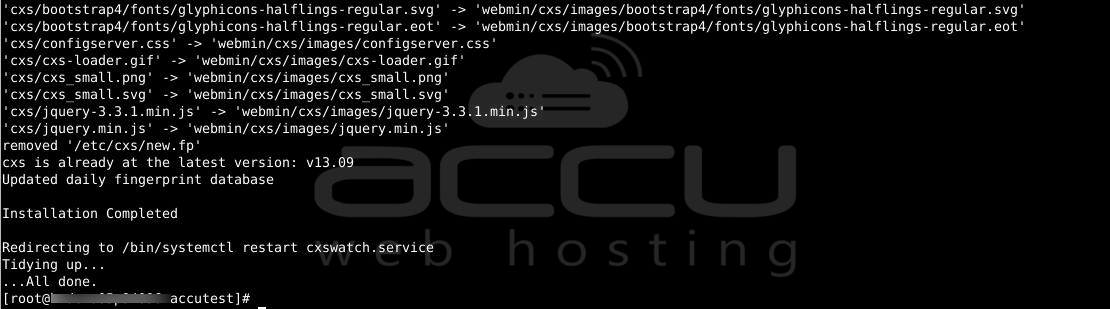
The installation script will identify and set up CXS to operate with the cPanel installation.
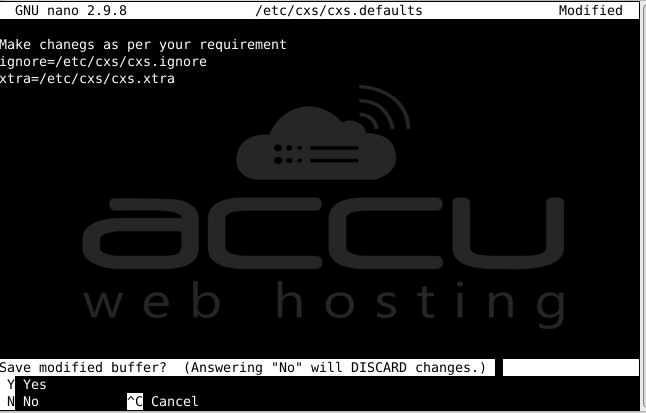
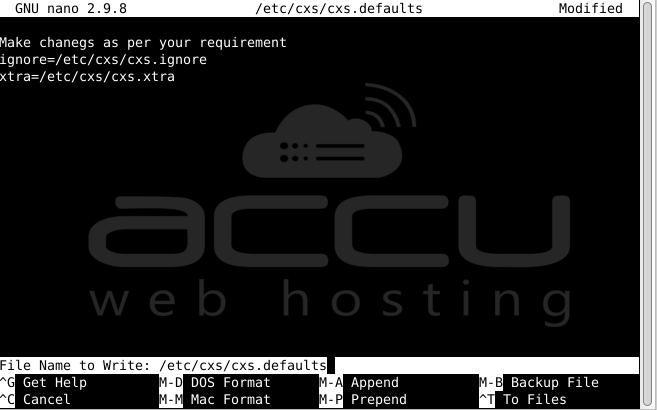
Step 4: Once the installation is complete, open the CXS configuration file and make the following changes according to your tastes.
# nano /etc/cxs/cxs.defaults

Some critical parameters to consider are:
AUTOREPAIR: This option controls whether CXS attempts to fix infected files automatically. To allow automated repairs, set this to 1.
QSCAN: This option controls whether CXS scans quarantined files for malware. To enable quarantine scanning, set this to 1.
QuarantineGroupWritable: This option controls whether or not CXS allows group writes rights on quarantine files. To disable group write rights, set this to 0.
VirusScanners: This option specifies which virus scanners CXS should employ. CXS by default employs ClamAV and Maldet.
Step 5: Make the required changes and then press CTRL+X, then Y, then ENTER to save and quit the CXS configuration file.
Step 6: Restart CXS by issuing the command:
# service cxswatch restart

While the command line is the most typical way to install CXS, there are other ways to install CXS on your cPanel server. Here are a few examples:
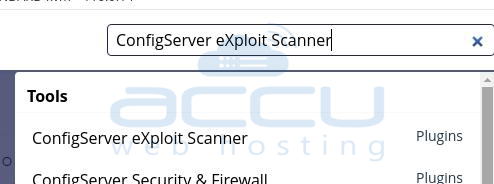
1. WHM: You can search for "ConfigServer eXploit Scanner" in the top-left search bar and press Enter.
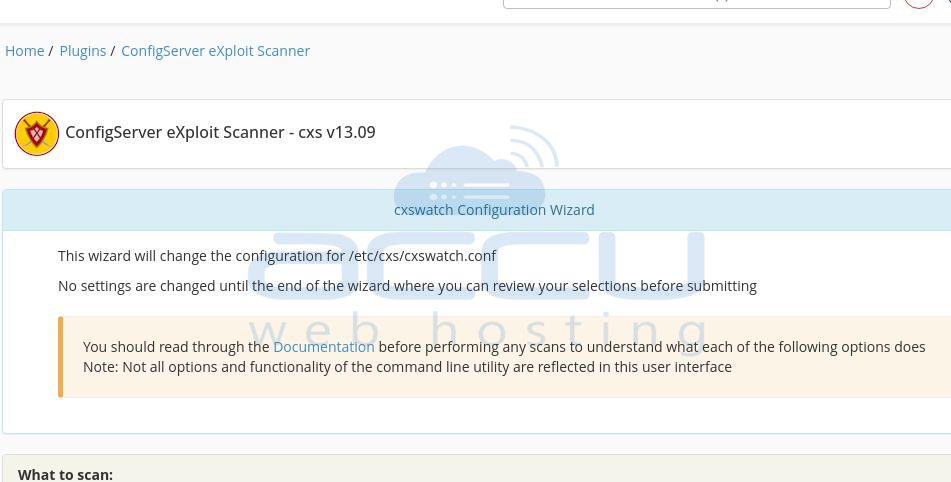
Select ConfigServer eXploit Scanner. You will see the page below:
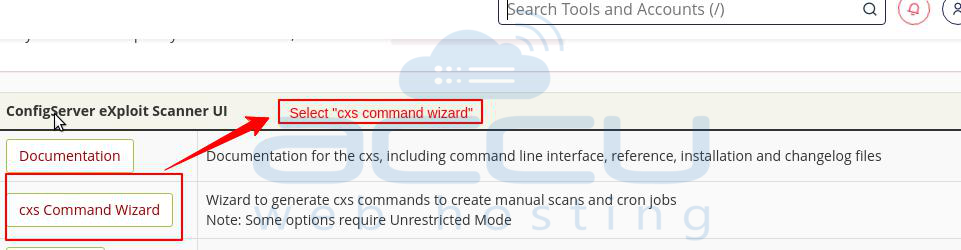
Now, select "cxs command wizard".
You will see the screen below. Here to see all the steps, click on the "Display All Steps" button.
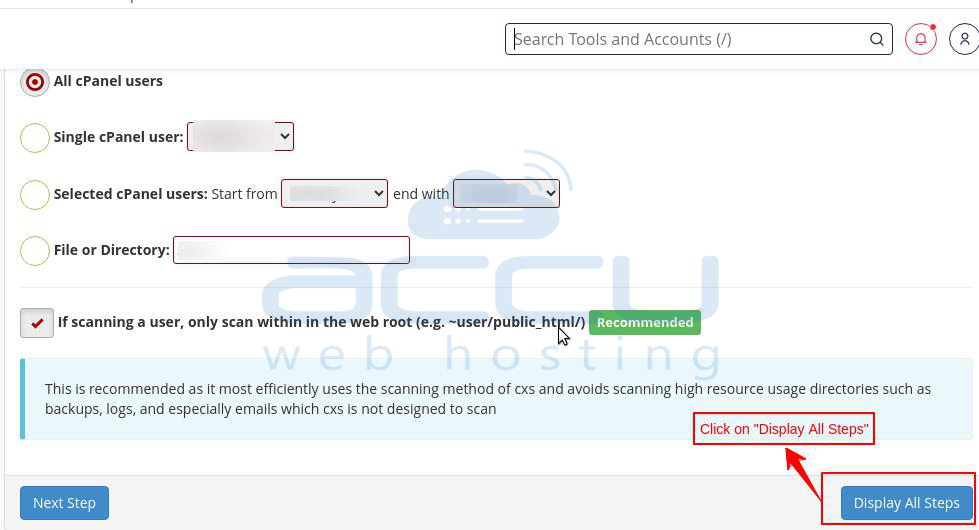
Make sure to tick all the "Recommended" checkboxes as per your requirement. Here, you need to enter your email address if you want to receive scan alerts.

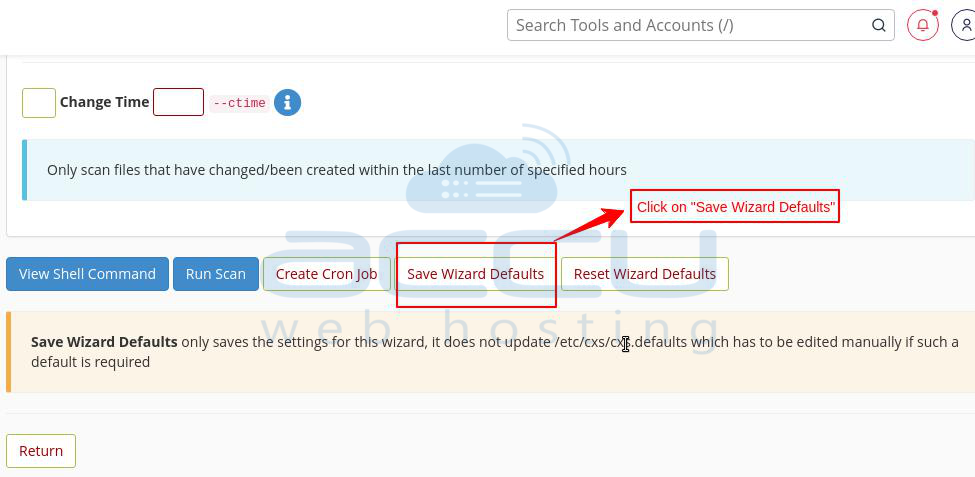
After you have ticked all the recommended checkboxes, click on the "Save Wizard Defaults" button to save the changes.
2. FTP Upload: You may also manually install CXS by FTP uploading the files to your cPanel server. To begin, obtain the most recent version of CXS from the ConfigServer website. Finally, upload the CXS files using FTP to your server's /usr/src/ directory. You may execute the installation script from the command line when you've submitted the files.
CXS should be installed and configured on your cPanel server once these steps are completed. Check the CXS log file, which is stored at /var/log/cxs/cxs.log, to ensure that CXS is operating. This log file will provide a list of any files that CXS has identified as possibly dangerous.
Finally, ConfigServer eXploit Scanner (CXS) is a sophisticated security tool that aids in the protection of cPanel servers against potential exploits and malware threats. CXS assists in identifying known and undiscovered threats on the server by scanning for suspicious files, scripts, and instructions. CXS detects possible threats using a combination of signature-based detection and heuristics and can quarantine compromised files to avoid further damage.
Conclusion:
Installing CXS on a cPanel server is a simple process that entails downloading and running the installation script from the ConfigServer website. CXS may be set up to function with cPanel after installation, and its settings can be tailored to the user's requirements. CXS delivers real-time warnings and thorough information on detected threats once installed and configured, making it a vital tool for system administrators and web hosting providers.
