ntopng is an open-source network monitoring tool. It is a security network monitoring tool that also passively monitors web activity. It is also used for packet capture, traffic recording, and network testing. Many companies use ntop, including Google, HP, Cisco, and IBM. It acts as a central network monitoring console. ntop has a packet capture capacity of 10 Gbit. It supports major operating systems such as Unix, Windows and macOS X.
All flows are stored in a SQL database. Hence, REST API integration is effortless to achieve. Ntopng is a product of the Ntop team, which includes many other products like ntopng edge for high availability.
Installation of ntopng in Ubuntu
Ntopng is not included in the Ubuntu OS repositories. So, the official ntop repository, available on the ntop.org website, must be added to your system's repositories.
Prerequisites
-> A server with Ubuntu 20 as OS
-> User privileges: root or non-root user with sudo privileges
Step 1: Update the Server
Before starting the installation, the packages should be updated to the latest available versions. Run the following command to update your system.
# apt update -y && sudo apt upgrade -y

Step 2: Install the required packages:
Enter the following command to install the required packages in your server.
# apt install software-properties-common wget -y

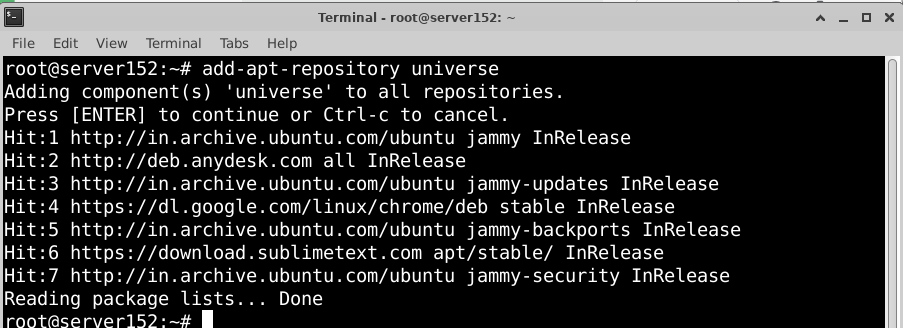
step 3: Add the Universe repository
Now let's add the repository containing the ntopng program.
# add-apt-repository universe
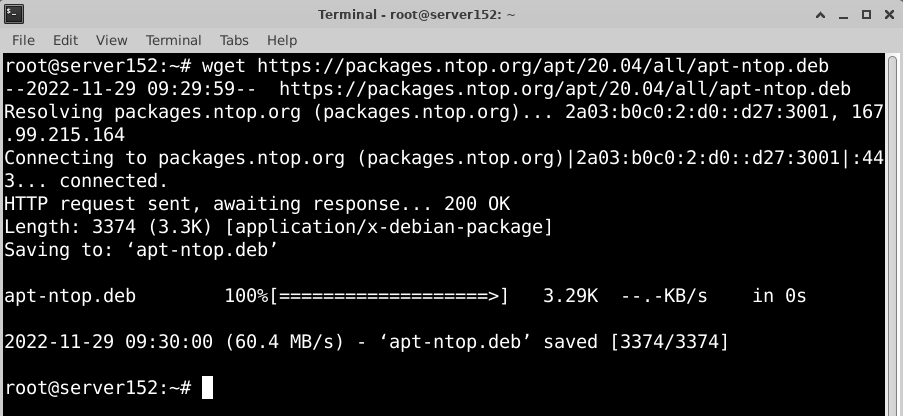
Step 4: Download ntopng repository
Visit the ntop.org download page to download the Ntopng repository for Ubuntu, or download the ntop repository for Ubuntu 20.04 from the command line using the following command:
# wget https://packages.ntop.org/apt/20.04/all/apt-ntop.deb
Step 5: Install ntop repository
After downloading the package, please install it using the following command.
# apt install ./apt-ntop.deb

Step 6: Update the local repository index
After the installation is complete, update the local repository index. Enter the following command in the terminal to update the repository index.
# apt update -y

If you did everything right, you could see the added repository in your terminal output.
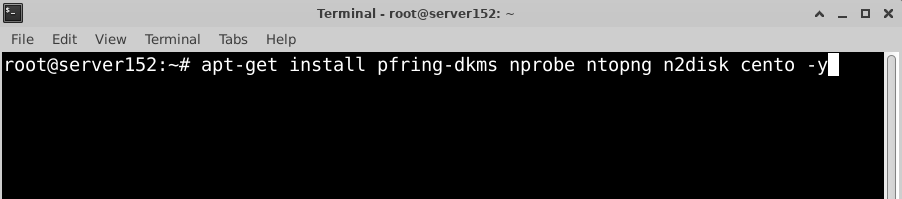
Step 7: Install the ntopng and other required packages
To install the ntop package run the following command in the terminal.
# apt-get install pfring-dkms nprobe ntopng n2disk cento -y
Step 8: Configuring Ntopng
After installing ntopng you need to use the IP command to check which network interface you are using.
# ip -a
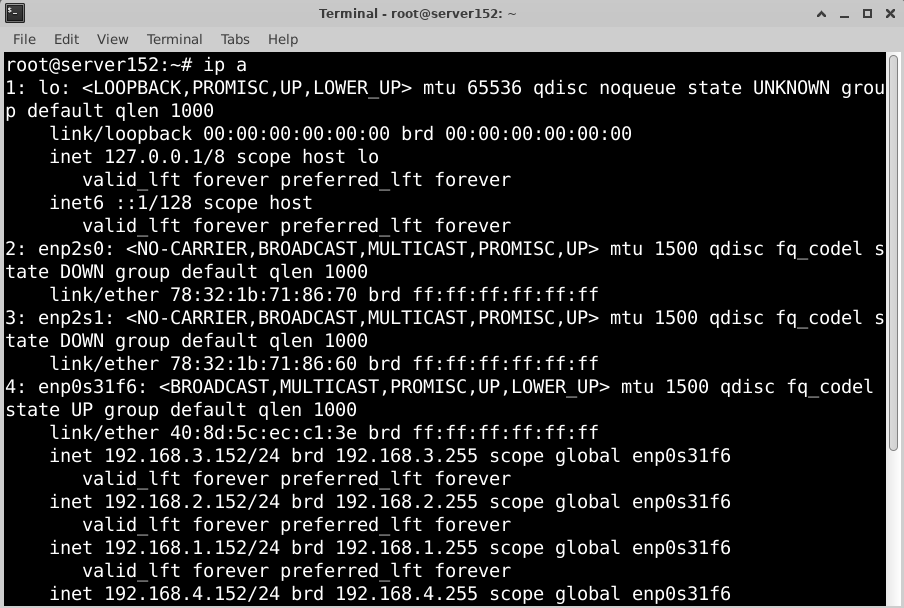
We have used enp0s31f6 network interface for the local network, but you should find your own.
Now you need to edit the ntopng configuration located at /etc/ntopng/ntopng.conf and enter the network interface, port and PID location.
# nano /etc/ntopng/ntopng.conf

Now you need to adjust the configuration file according to your needs. Make the following changes to reflect your settings: The most critical parameter is the network interface, the port -w parameter.
-G=/var/run/ntopng.pid
-i=enp0s31f6
-w=3000

So, in this article, we have configured the ntopng service to monitor traffic on the enp0s31f6 interface. You can change it as per your network interface name.
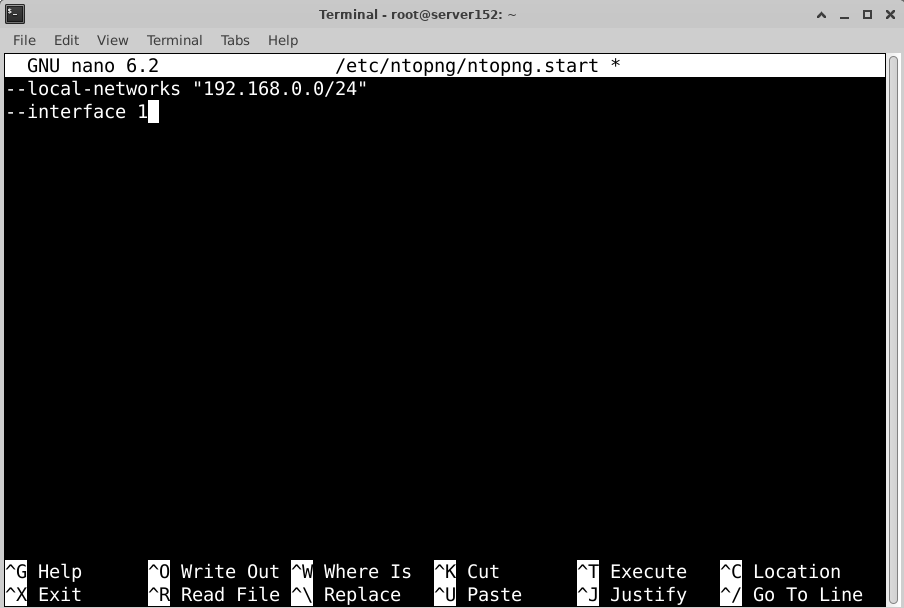
Next, create a new configuration file and define the IP address ranges for your local network.
# nano /etc/ntopng/ntopng.start

Add the following line and change it to your local starting IP address (/24 indicates all IP addresses from 0 to 255 in your local subnet):
--local-networks "192.168.0.0/24"
--interface 1
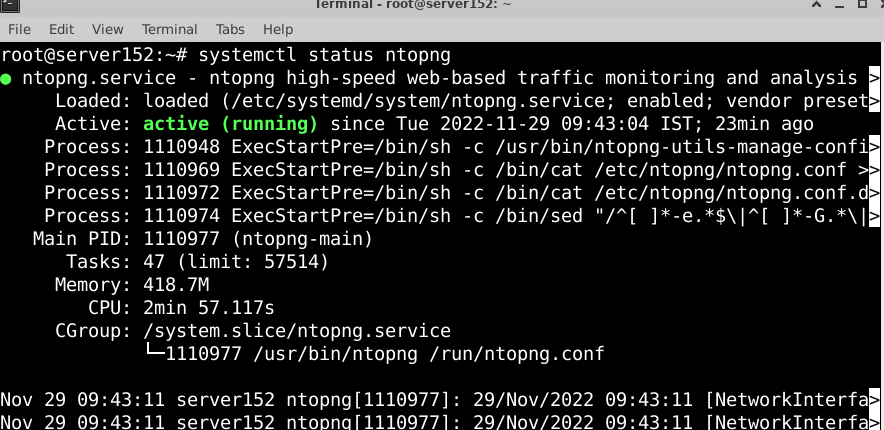
Next, we need to restart the Ntopng service and allow it to start on boot.
# systemctl start ntopng
# systemctl enable ntopng

You can check the service's status by entering the command in the terminal.
# systemctl status ntopng
Output:
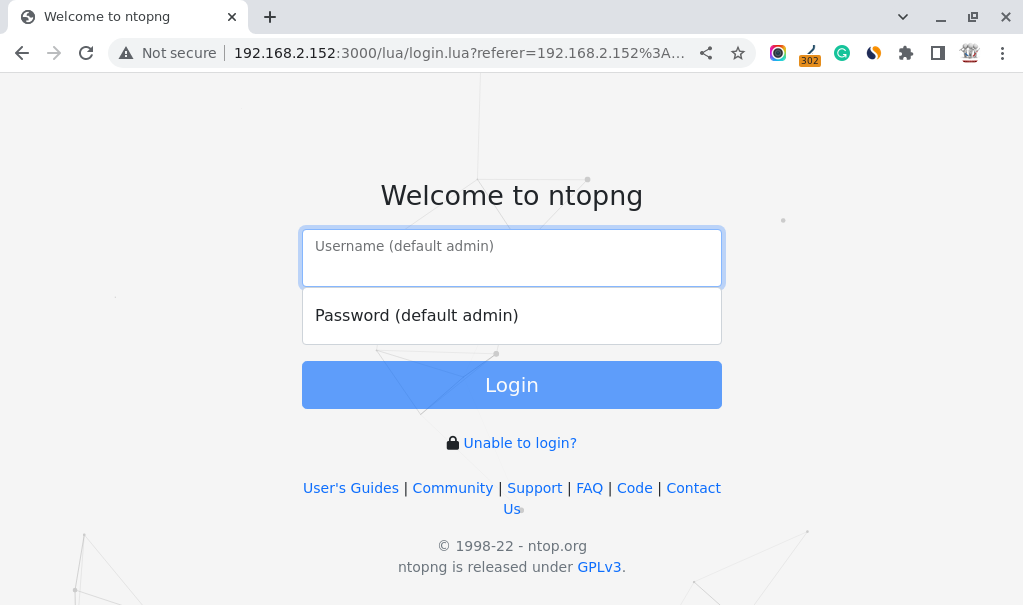
Step 9: Access ntopng Web Interface
To access the ntopng web interface, go to the browser and enter http://IP_address:3000. The following welcome page will open in your browser. Log into the ntopng with the default admin (username and password).
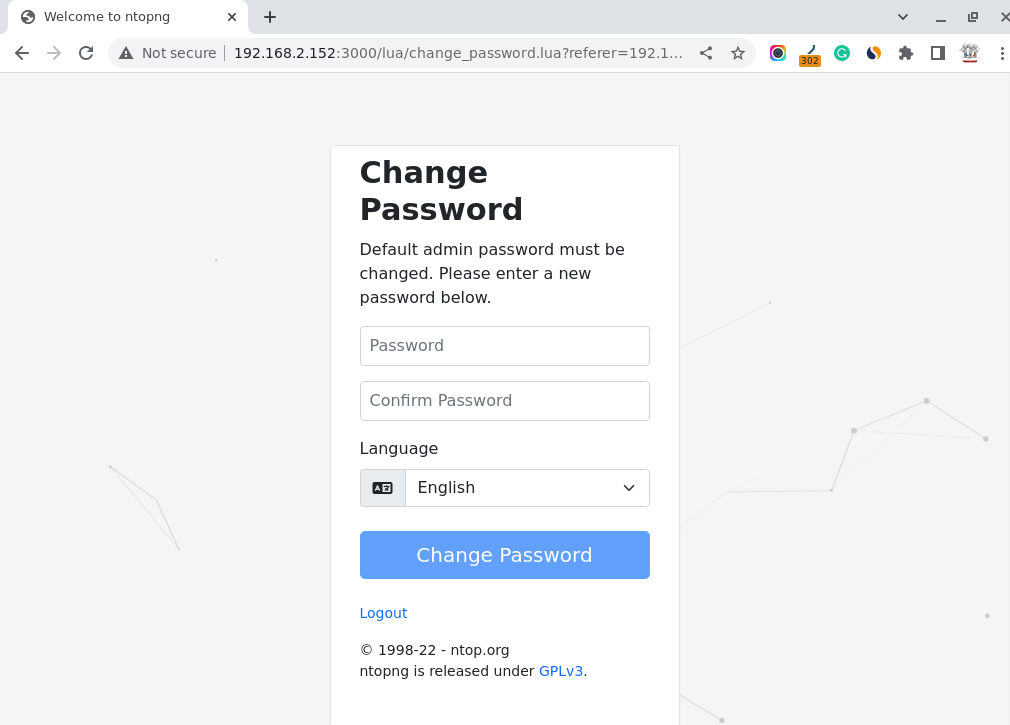
After entering the default credential (username as admin and password as admin), you will be prompted to change the default password to access the ntopng dashboard.
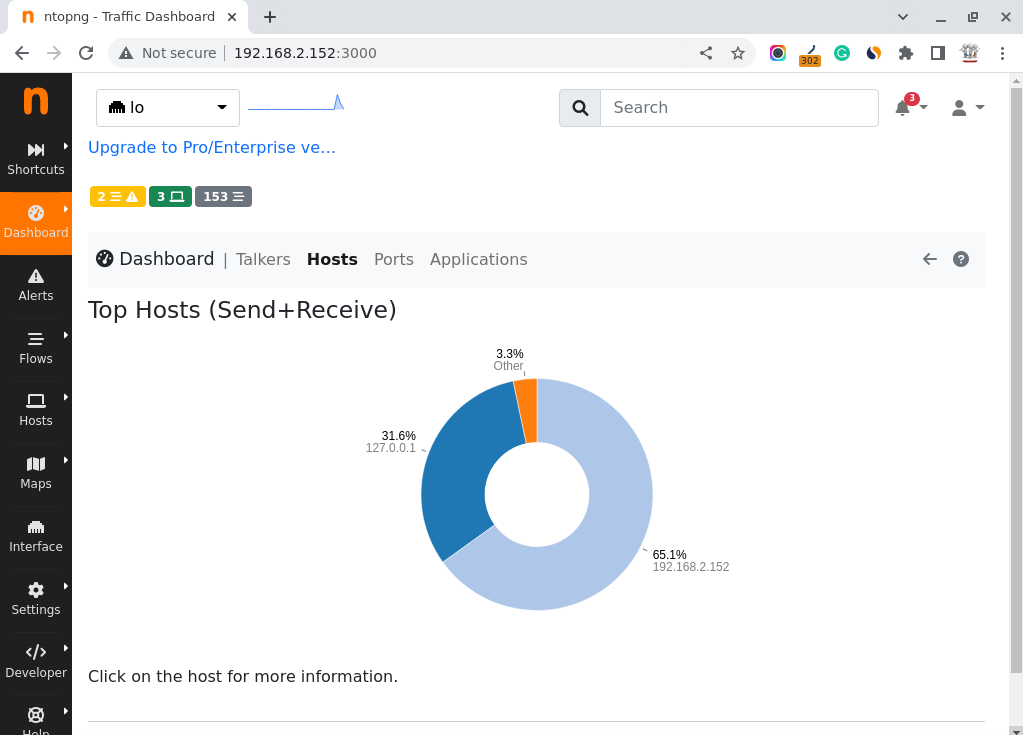
You will see the ntopng dashboard like this:
That's all.
