SFTP stands for Secure File Transfer Protocol. It is a secure file transfer protocol that uses secure shell encryption to provide a high level of security for sending and receiving file transfers.
To enable SFTP for a domain from WHM/cPanel, you need to perform the following steps.
Create SSH Keys for a domain from WHM/cPanel
Step 1: Log into your WHM/cPanel account.
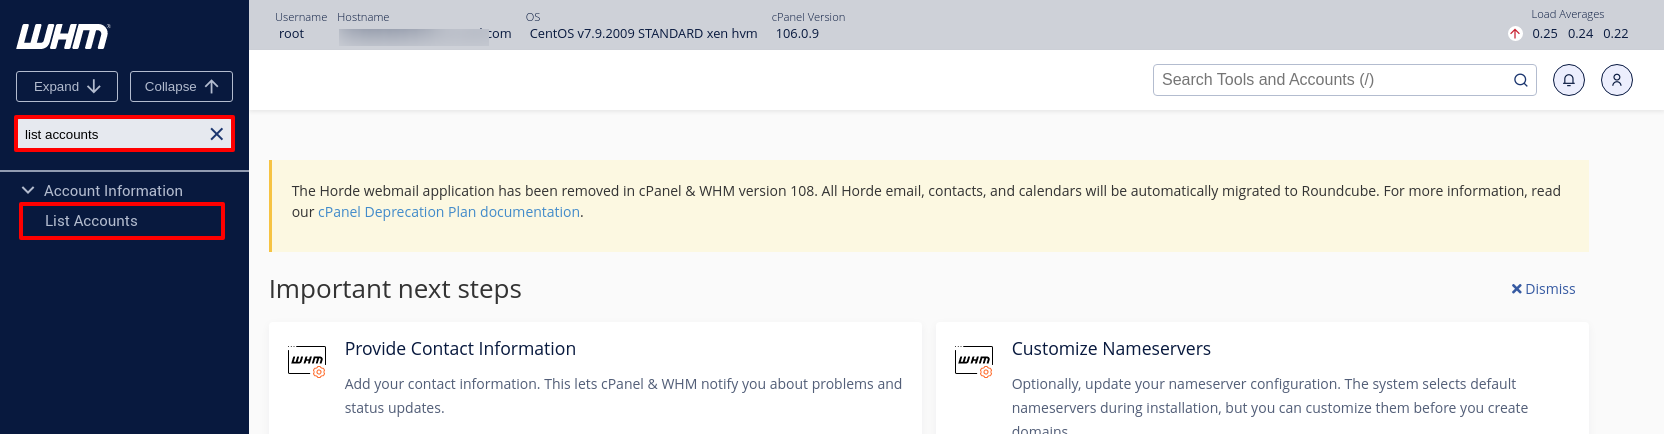
Step 2: Go to the Search box and type List Accounts on it. Click on the List Accounts option to list down the cPanel account which you have created under the WHM panel.
Step 3: Select the domain name for which you want to enable SFTP and click on the cPanel logo to login into the cPanel account.

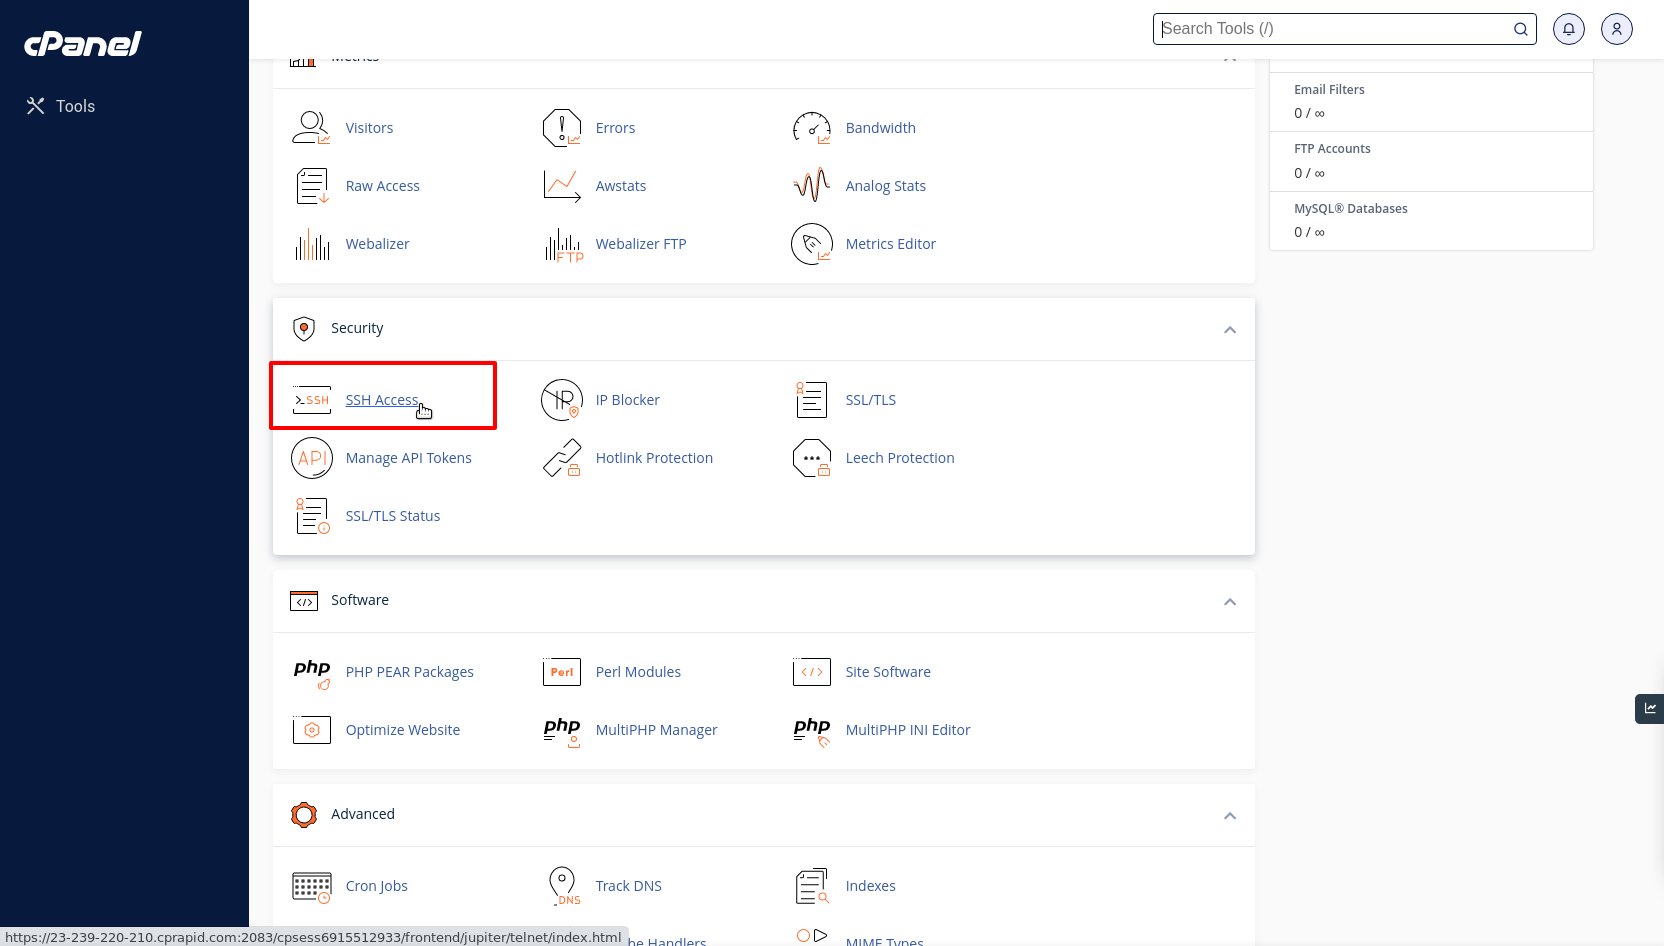
Step 4: Once you click on it, you will be login into the cPanel account. Search the SSH Access option and click on it.
Step 5: Click on the Manage SSH Keys button.

Step 6: After then, click on the Generate a New Key located at the left side of the screen.

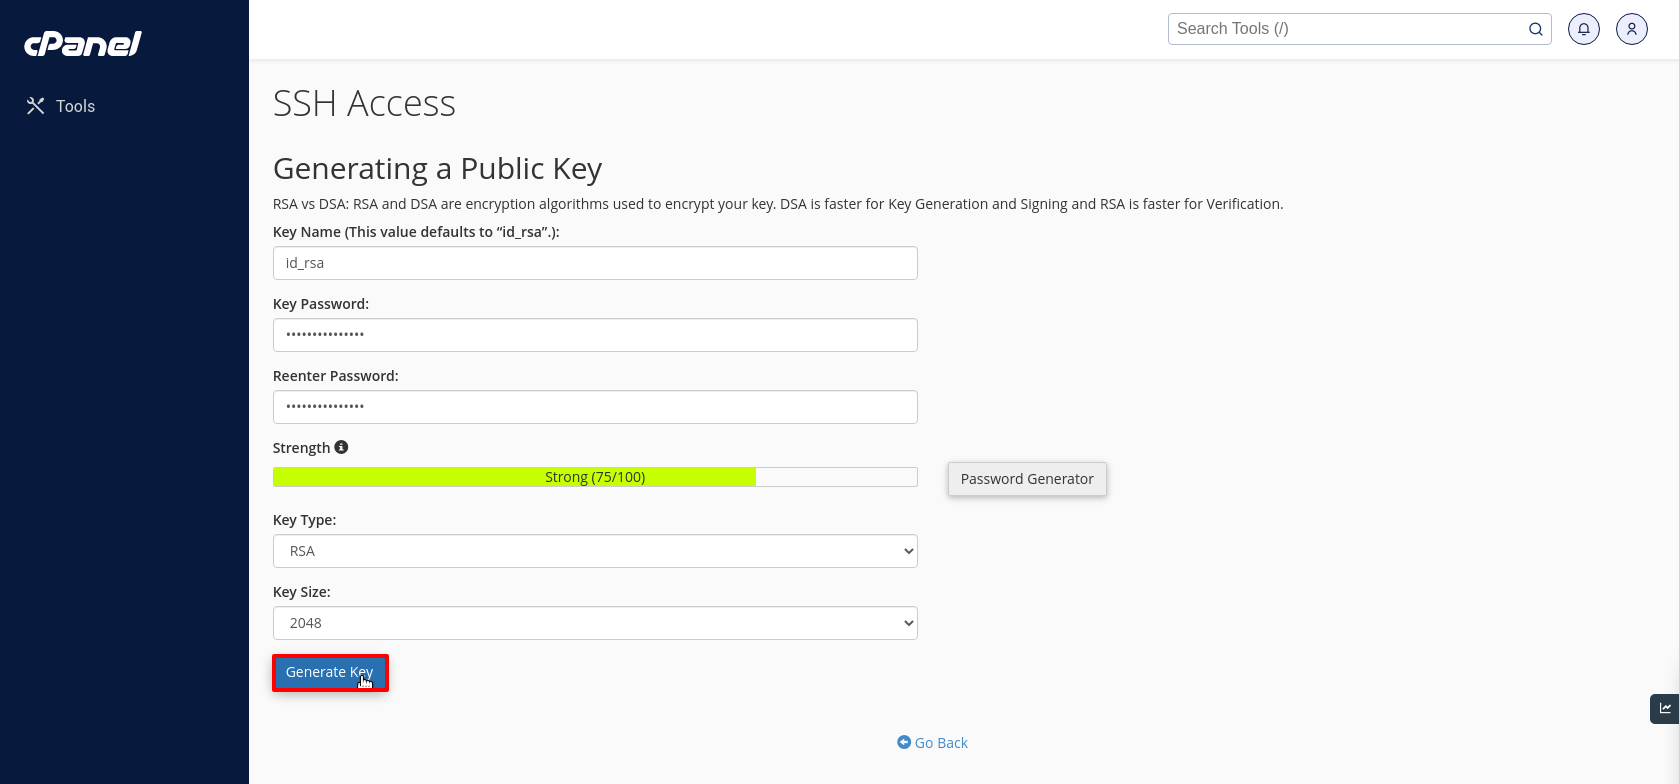
Step 7: Fill in the requested information and click on the Generate Key button to generate the key.
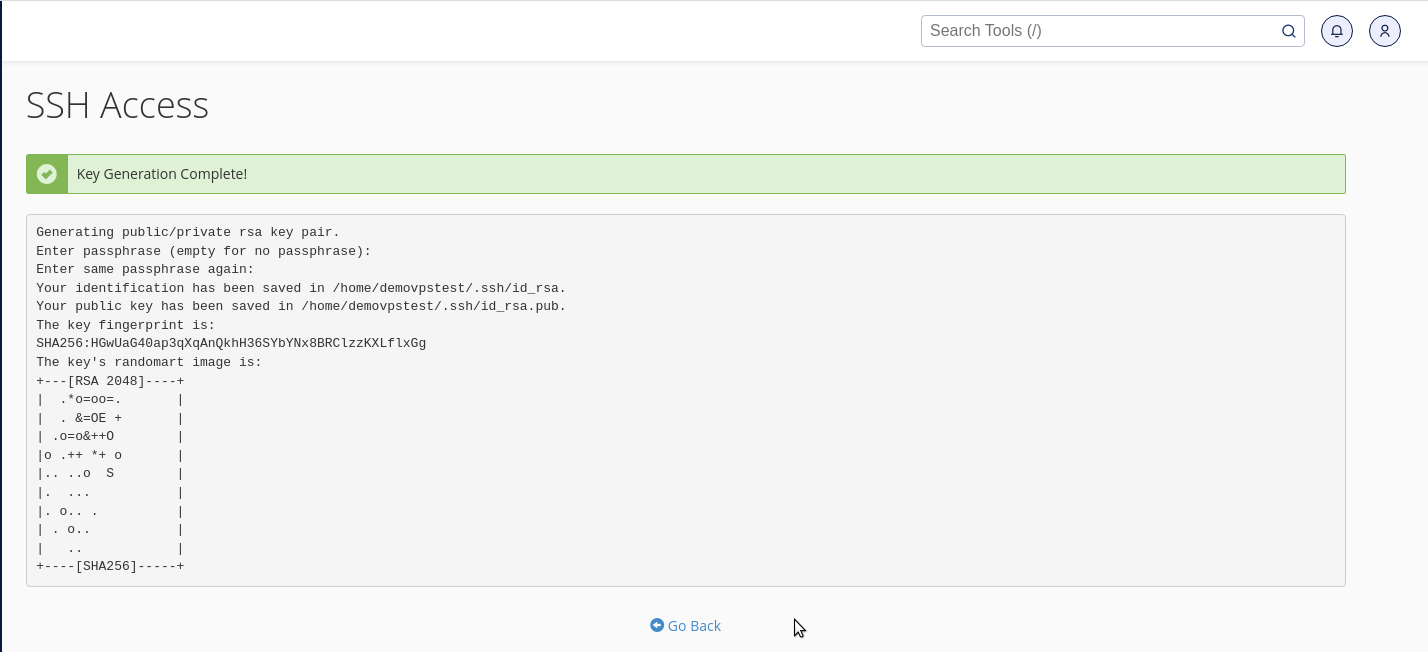
Step 8: By clicking on it, the key will be generated and stored in the following location.
Private key will be stored on this location /home/cPanel_username/.ssh/id_rsa.pub
Public_key will be stored on this location /home/cPanel_username/.ssh/id_rsa
You will need to copy both keys and store it in your local system.
Setting the FTP client to use SFTP
Here, we have used FileZilla as an FTP client to use SFTP.
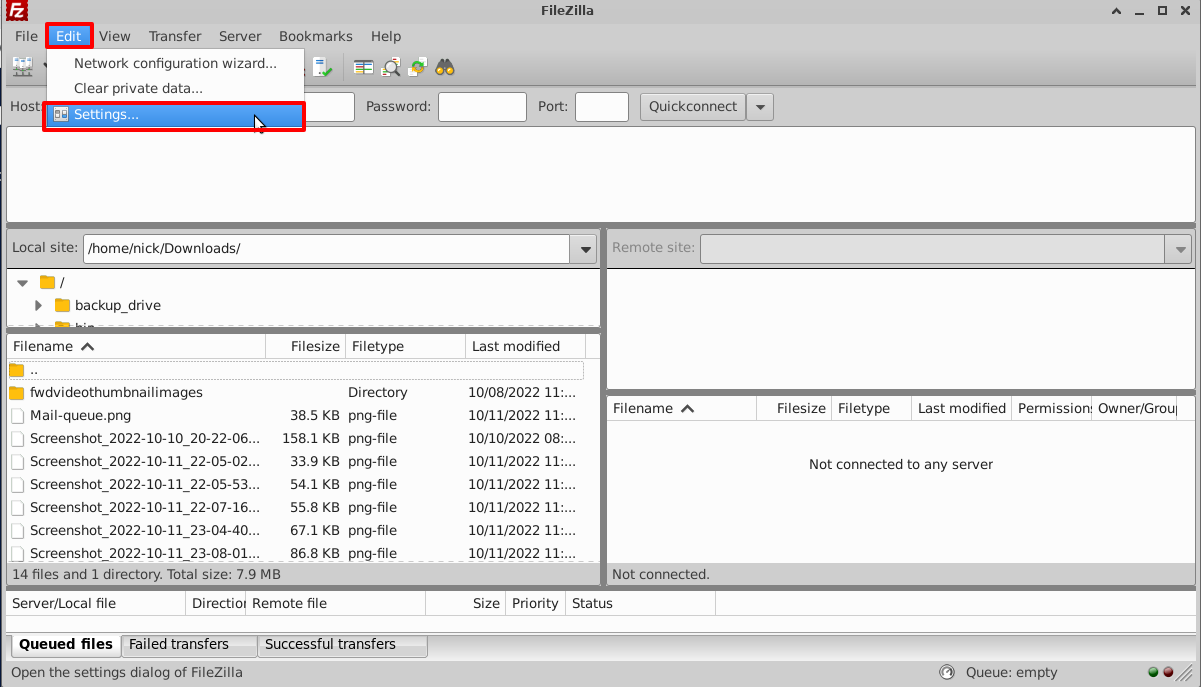
Step 1: Open the FileZilla client and go to Edit -> Settings.
Step 2: Select the SFTP in the options menu and click the Add Key button.

Step 3: Browse for the Key you recently downloaded from WHM/cPanel.
Note: If your key is already a .ppk file you should be fine if not FileZilla will ask to convert it.
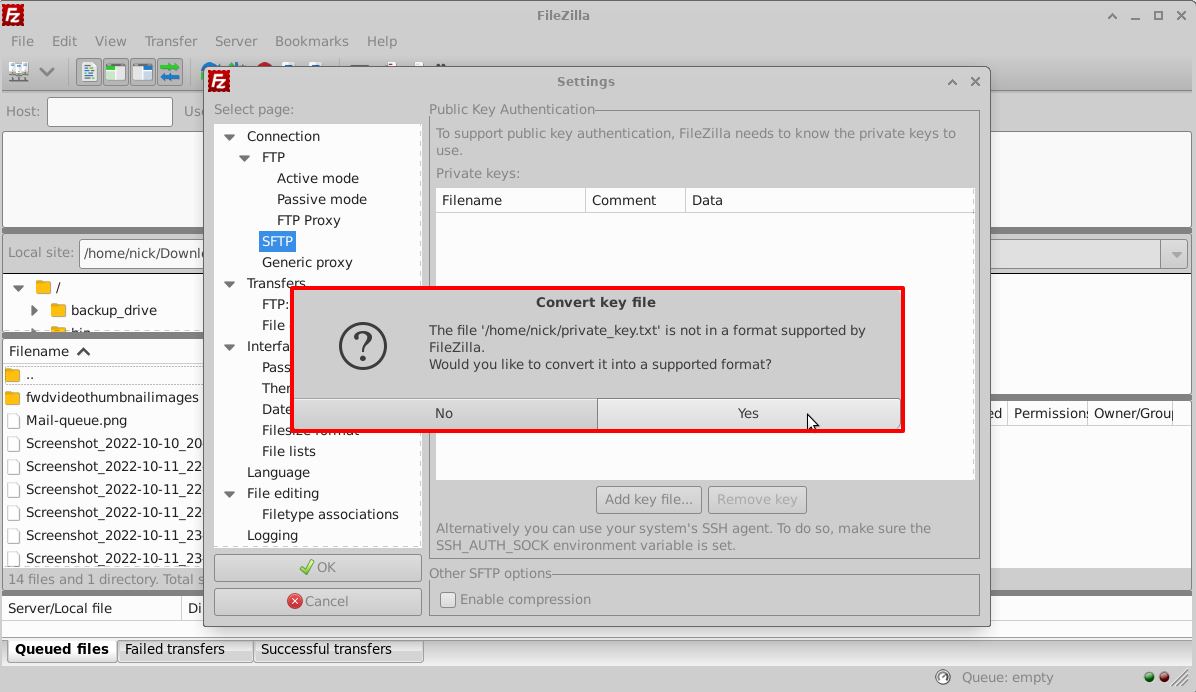
Step 4: Click Ok to save the settings.

Now you can begin to start your SFTP connection using port 22 with your other normal FTP credentials.
How to enable Jailed Shell from WHM Panel?
Jailed Shell doesn't allow users to view the files and contents of other users. It means that you can't see the file and folders of other users.
Below are the steps on how to enable Jailed Shell from WHM Panel.
Step 1: Login into WHM Panel.
Step 2: Go to the Search box located at the left side of the screen and type Account Functions on it.

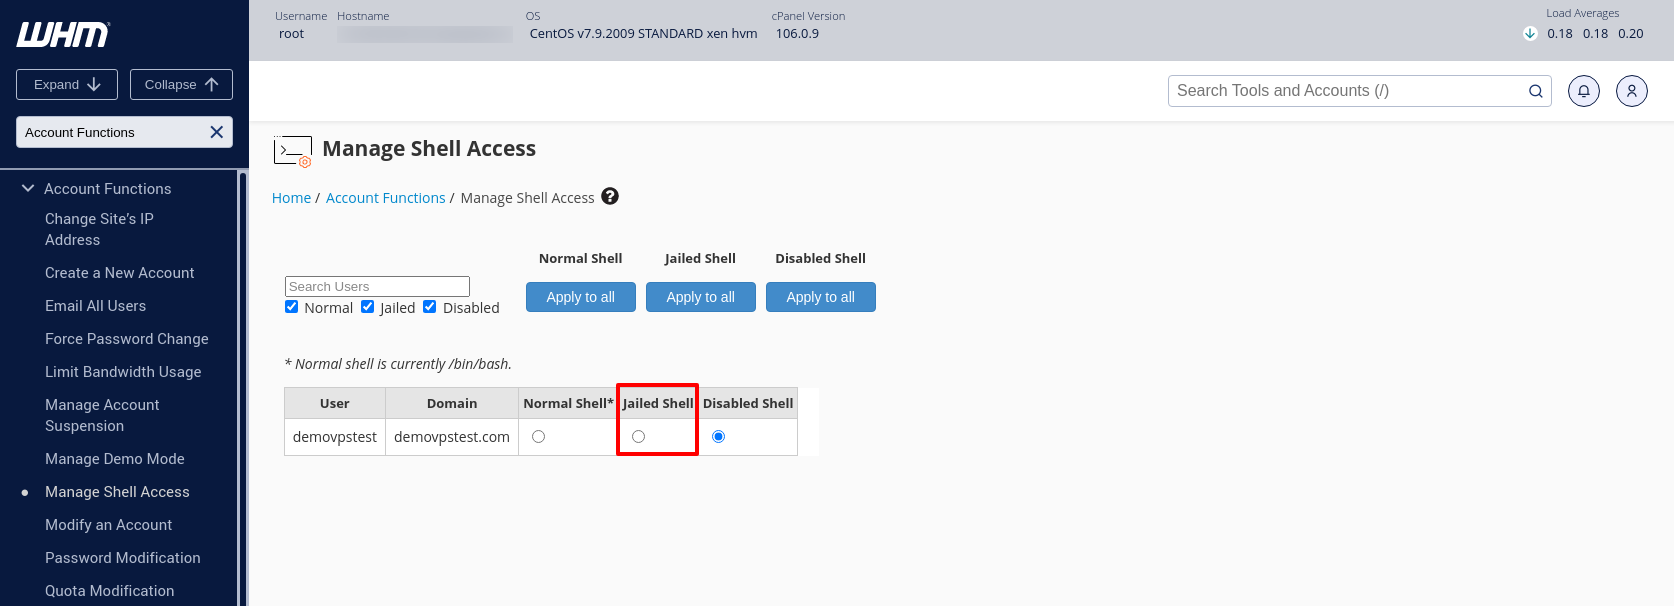
Step 3: After then, click on the Manage Shell Access option.
Step 4: Once you click on it, the Manage Shell Access window will be opened.
Step 5: Select the user name or domain name on which you want to enable Jailed Shell and click on the Jailed Shell circle to enable it.
Description of the shell:
Normal Shell — Select this option to give the user full access to the shell.
Jailed Shell — Select this option to allow a user access to a Jailed shell that limits the user's ability to execute certain commands that can harm the server.
Disabled Shell — Select this option to deny the user shell access.
