cPanel is a widely used web hosting control panel known for its user-friendly interface and powerful features that allow users to manage websites, servers, files, databases, and more. One of the essential features within cPanel is the File Manager, which enables users to perform file-level operations without needing FTP or SSH access.
Organizing your website files into proper folders (directories) helps maintain a clean and manageable file structure. This makes updates, backups, and troubleshooting far more efficient. Below are step-by-step instructions on how to create a new folder using the cPanel File Manager.
Steps to Create a New Folder in cPanel File Manager
Step 1: Log in to cPanel
Access your hosting account and log in to the cPanel dashboard using your credentials.
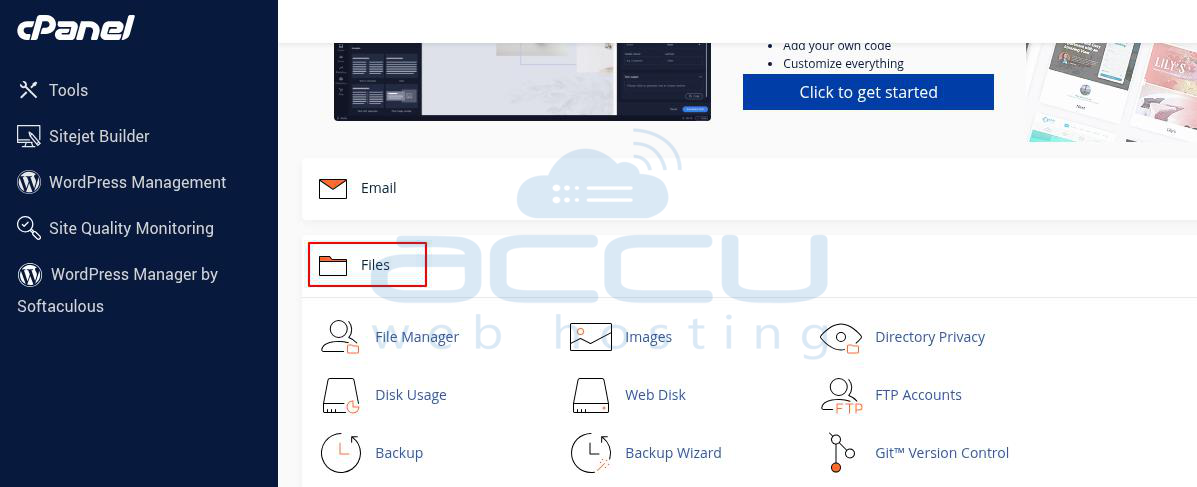
Step 2: Access File Manager
From the cPanel home screen, navigate to the Files section. Click on File Manager to open the file management interface.
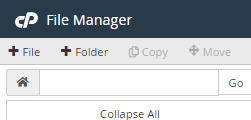
Step 3: Open the Folder Creation Dialog
In the File Manager toolbar (top-left), click on the + Folder button.
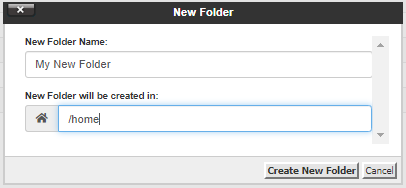
Step 4: Enter Folder Details
A pop-up window will appear prompting for folder details.
- In the first field, enter the name of the new folder.
- In the second field, specify the destination path where this folder should be created.
Step 5: Create the Folder
After filling in the folder name and destination, click the Create New Folder button.
Step 6: Folder Confirmation
Your new folder will be created at the specified location. You should now see it listed in the File Manager.
Conclusion:
Using folders within the cPanel File Manager is a best practice for keeping your website files structured, secure, and easier to manage. Whether you're organizing HTML files, uploads, logs, or assets, creating folders through this graphical interface requires no technical expertise.
