nopCommerce enables the creation of multiple stores from a single nopCommerce installation. Furthermore, it allows multiple managing stores from the single admin panel.
Here are the steps to create multiple stores in nopCommerce –
1. Log in to your nopCommerce admin area section.
2. Go to Configuration and Stores options.
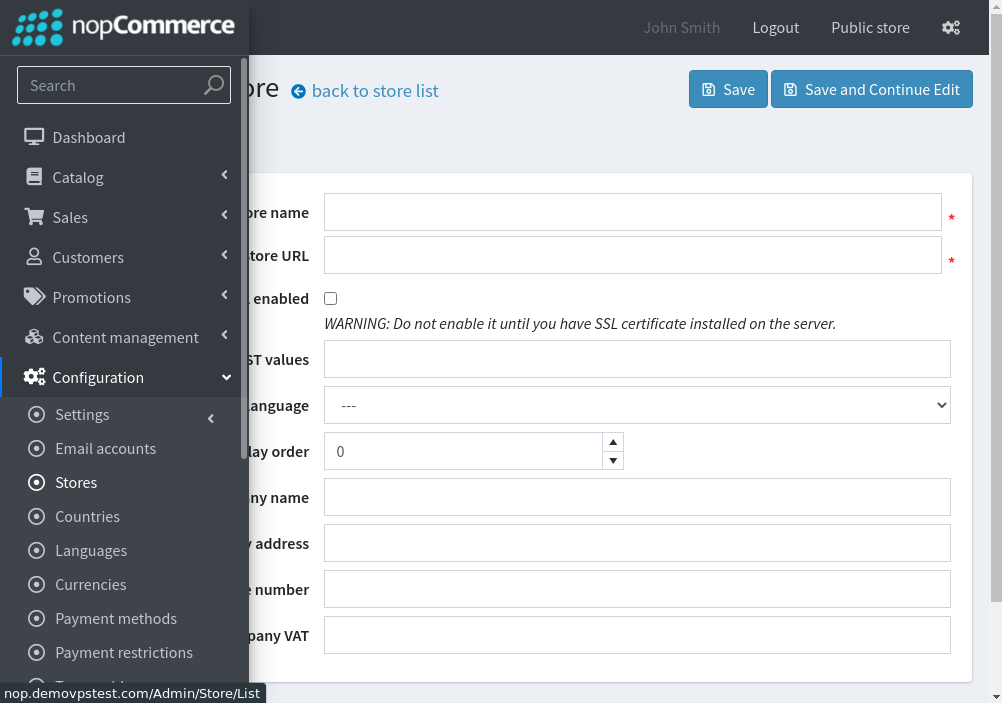
3. Click on the Add a new store option and the Basic button at the top left of the page. Here, enter the required details as listed below –

- Enter Store Name.
- Enter Store URL.
- Tick SSL enabled. Enable this option if you have an SSL certificate issue on a domain.
- Enter the HOST values: this field is used to create multiple stores. This field allows distributing requests to different URLs and determines the current store.
- Default language: select the language.
- Display order: select the order you want to display
- Enter the Company name.
- Enter Company address.
- Enter the Company phone number.
- Enter Company VAT
4. Click on Save Changes to create the store.
