This article will briefly describe generating and using an SSH key in the Linux system.
How to generate the SSH key on a Linux system?
An SSH key is an access credential for the SSH (secure shell) network protocol. This authentication and encryption secure network protocol is used for remote communication between machines on an unsecured open network.
In other words, an SSH key is a secure access credential used in the secure shell (SSH) protocol. SSH keys use pairs based on public key infrastructure technology, the gold standard for digital identity authentication and encryption, to provide a secure and scalable authentication method.
How does authentication work using an SSH Key Pair?
The SSH key pair is used to authenticate the identity of a user or process that wants to access a remote system using the SSH protocol. The SSH public key is used by both the user and the remote server to encrypt messages.
The public key is saved in a file containing all authorized public keys on the remote server side. On the user’s side, the public key is stored in SSH key management software or a file on their computer. The private key remains only on the system used to access the remote server and decrypt messages.
When a user or process requests a connection to the remote server using the SSH client, a challenge-response sequence is initiated to complete authentication. The SSH server recognizes that a connection is being requested and sends an encrypted challenge request using the shared public key information.
The SSH client then decrypts the challenge message and responds to the SSH server. The user or process must respond correctly to the challenge to be granted access. This challenge-response sequence happens automatically between the SSH client and the SSH server without any manual action by the user.
In this article, we’ll focus on setting up the SSH key for the Ubuntu system; you can use these steps to set up the SSH key in all Linux environments.
SSH keys provide a straightforward, secure way of logging into your server and are recommended for all users.
Step 1
Create the RSA key pairs
The first step is to create the key pairs on the local system.
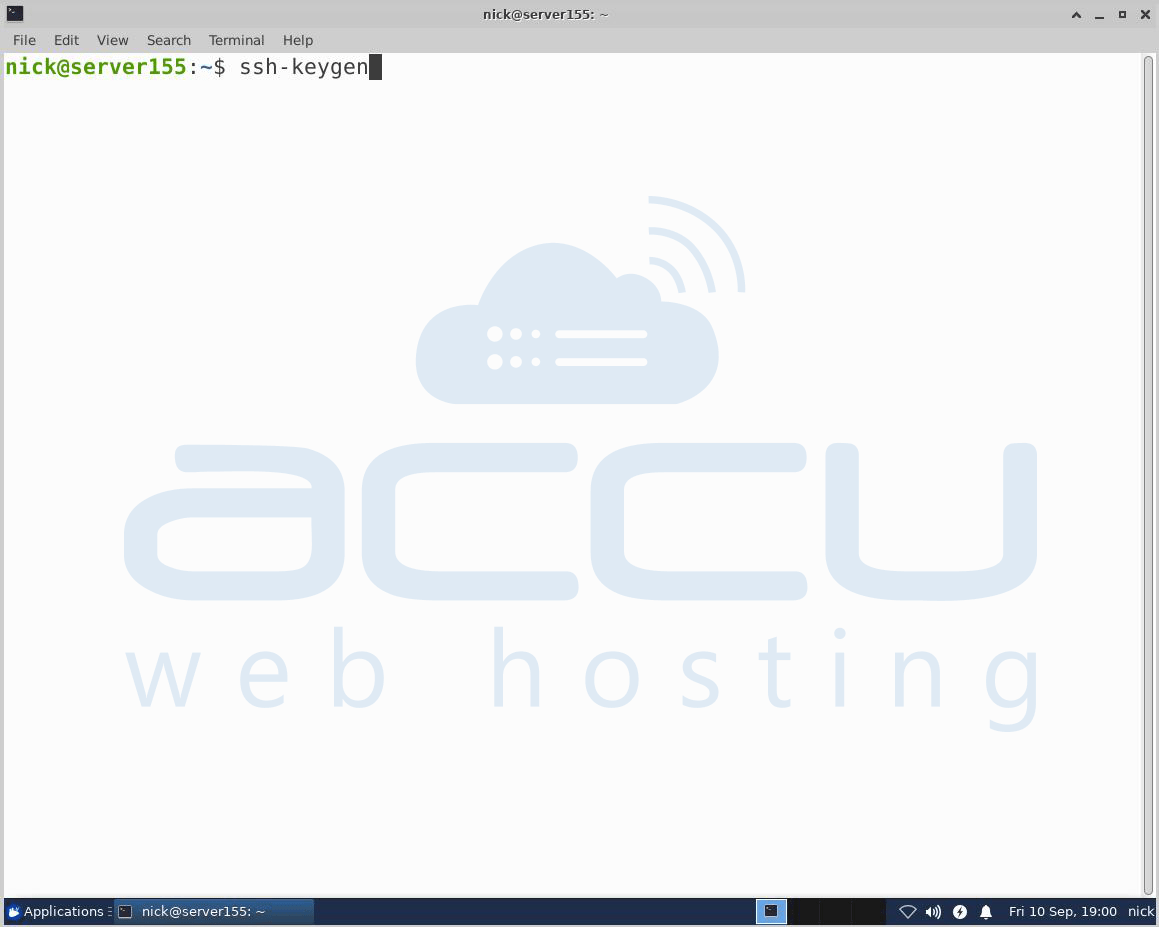
By default, ssh-keygen generates a 2048-bit RSA key pair. You may optionally pass in the -b 4096 flags to create a larger RSA bit key. After entering the ssh-keygen command, you should see the screen as shown below –
Press Enter to save the key pairs into the .ssh/ subdirectory in your home directory or specify an alternative path.
You may see the screen below if you previously generated the SSH key -
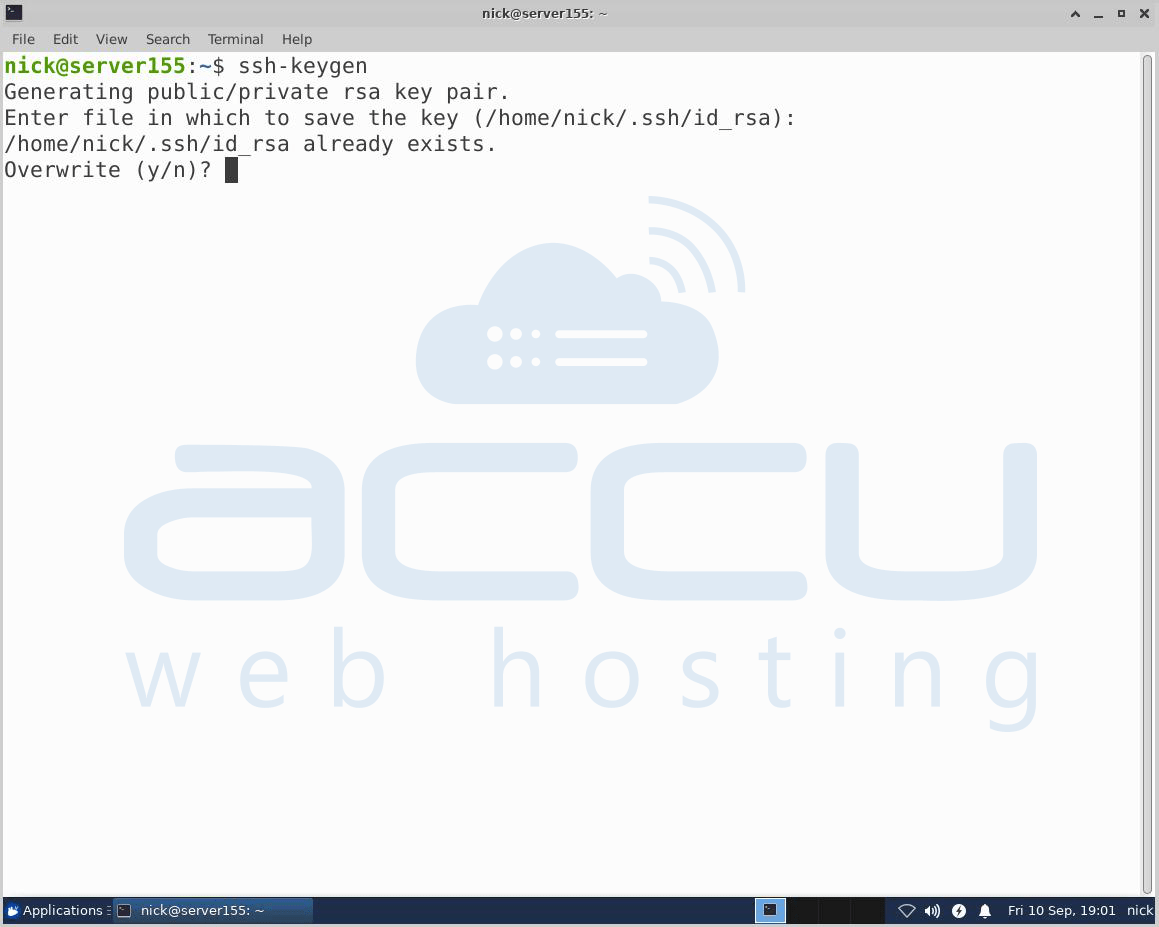
If you select to overwrite the existing key on the server, you will not be able to authenticate using the previous key anymore.
Be careful when selecting yes, as this process cannot be reversed. After this, you will see the below screen –
Here optionally, you can enter a secure passphrase, which is highly recommended. A passphrase is similar to a password; however, a password generally refers to something used to authenticate or log into a system.
An encryption key is derived from the passphrase and used to encrypt the protected resources. In addition, a passphrase adds a layer of security to prevent unauthorized users from logging in. After this, you will see the following screen.
Now, you will have a public and private key that you can use for authentication. The next step is to place the public key on your server so you can use SSH-key-based authentication to log in.
Step 2
Copy the public key to the CentOS server
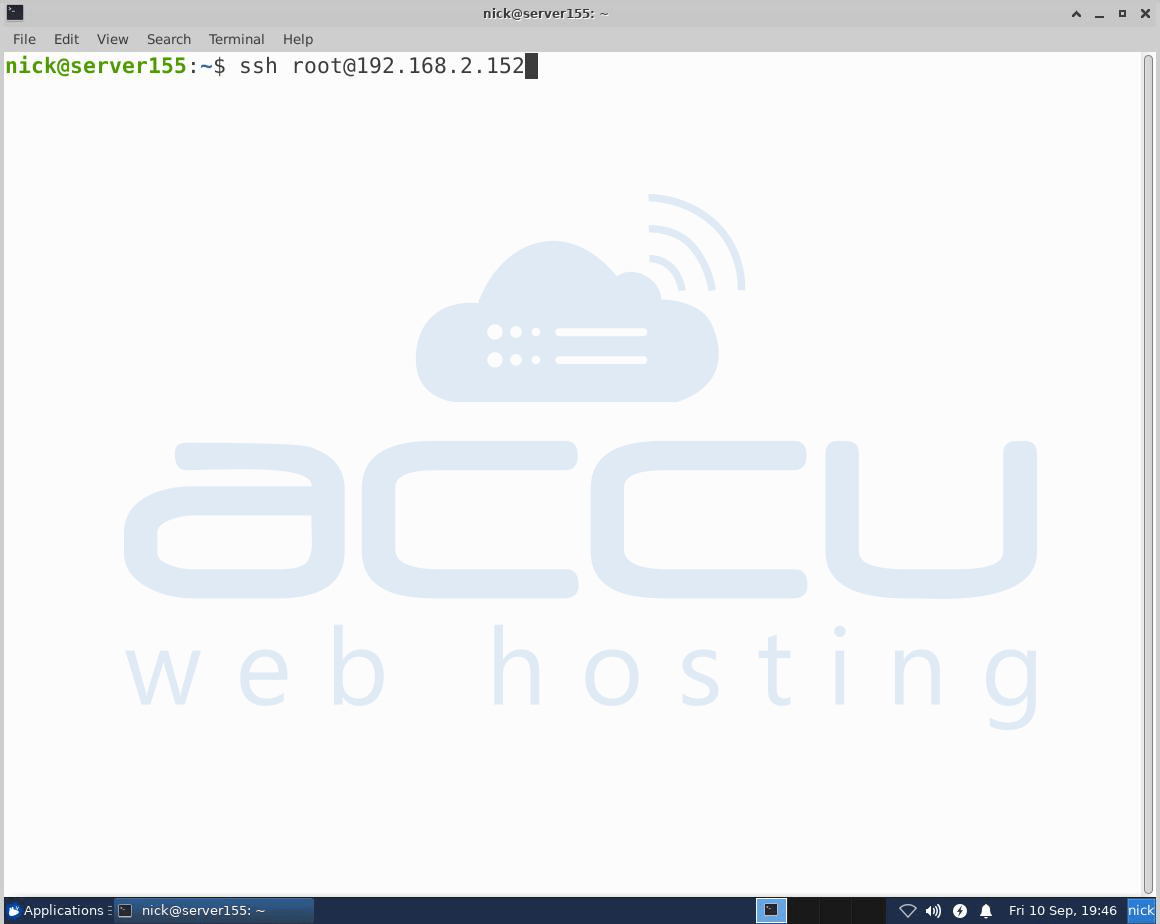
The simplest way to copy the public key to the server is to use the ssh-copy-id command; this command is highly recommended due to its simplicity.
Copy the SSH key using the ssh-copy-id command, and you will have to specify the username and the IP Address/ host server on which you want to paste the SSH key.
ssh-copy-id username@IPaddress/Host server
For example, # ssh-copy-id [email protected] (192.168.2.152 is our internal IP Address which we have used to perform the steps in the article.
(Please replace this IP Address with your actual IP Address.)
After that, you may see this screen – 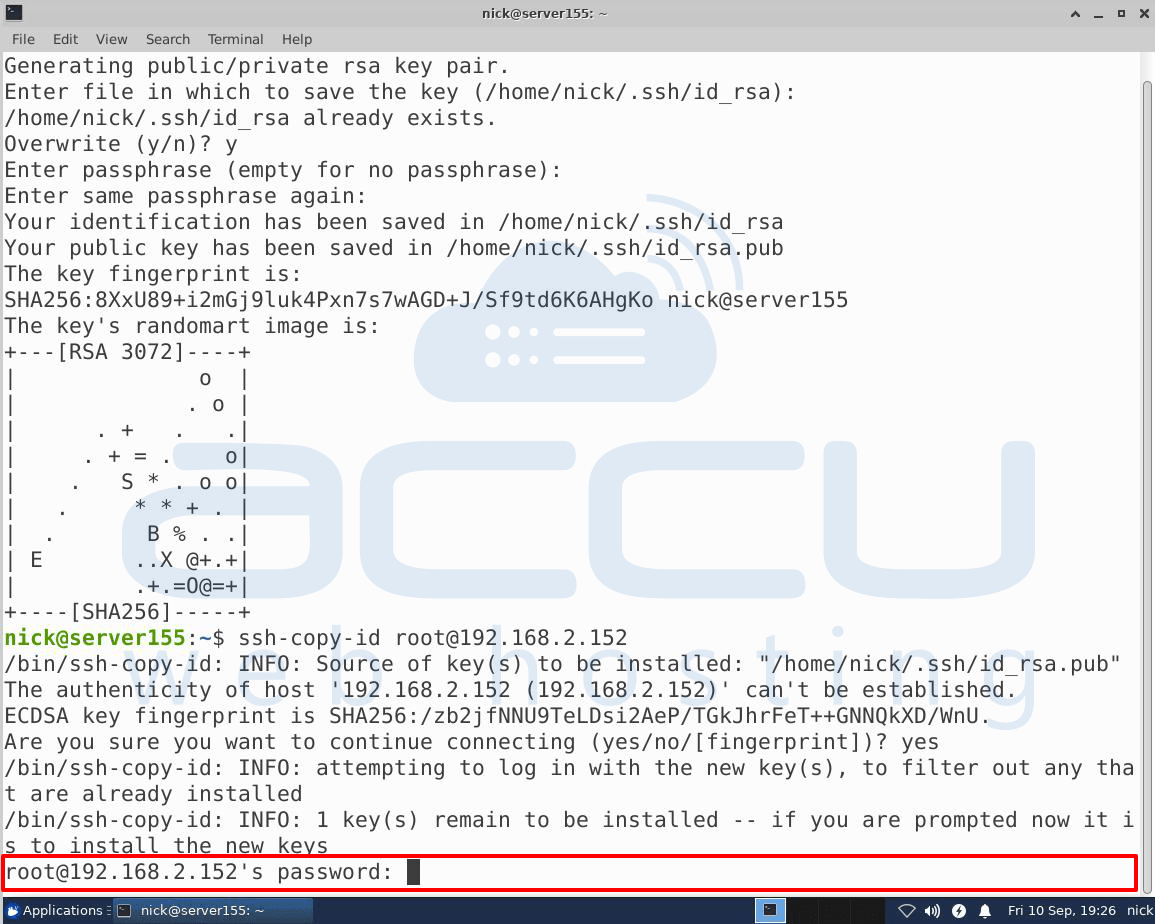
Here, you will have to enter the password of the remote host on which you want to paste the SSH key and press Enter.
Once you press the Enter key, it will connect to the remote host and copy the contents of your ~/.ssh/id_rsa.pub key into a file in the remote account’s home ~/.ssh directory called authorized_keys.
You may see this screen – 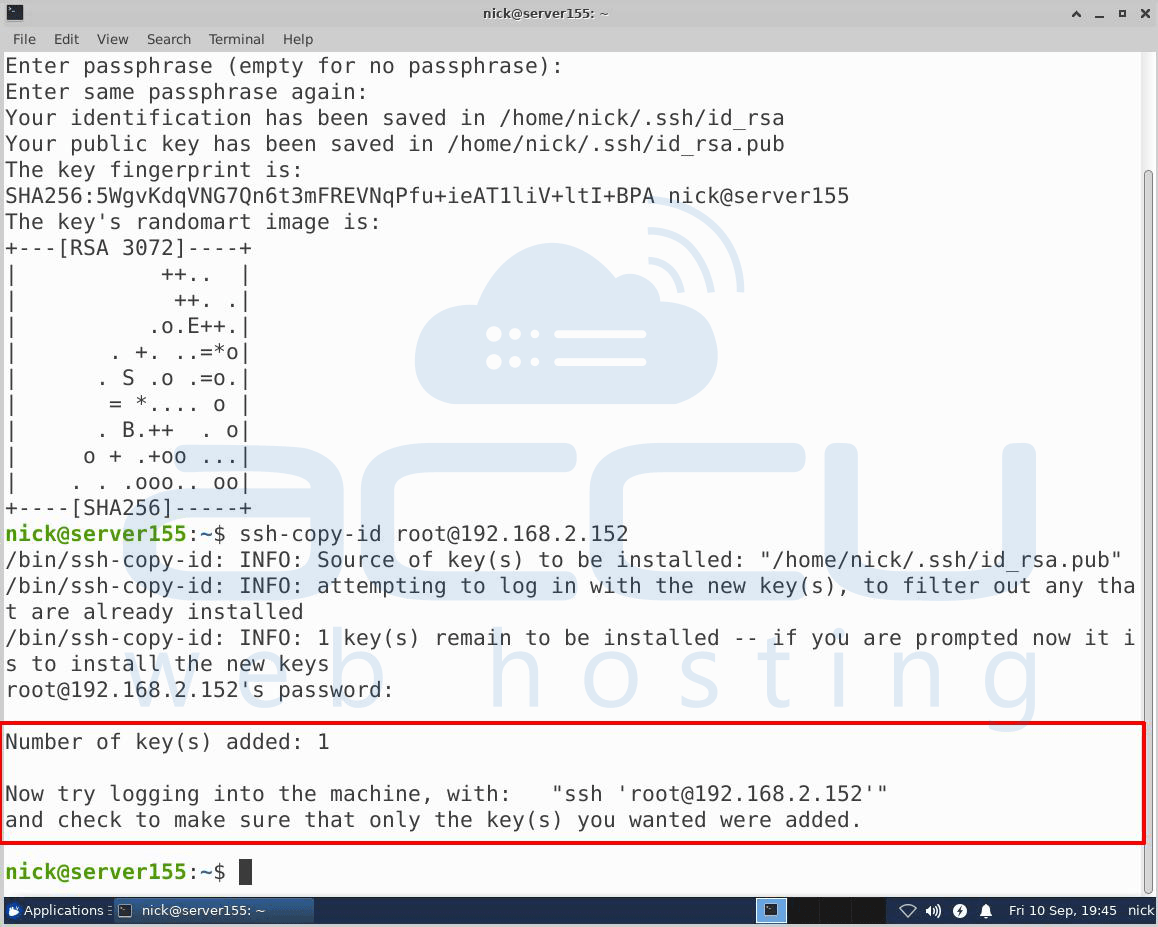
Once your press Enter, you will be logged into the remote host.
Step 4
Disable Password Authentication on your Server
If you have successfully logged into the server, you have configured the SSH key-based authentication. However, your password-based authentication is still active on the server. Unfortunately, this means your server is still exposed to brute-force attacks.
Therefore, you need to disable password authentication on your server to prevent brute-force attacks. For that, make sure your account has administrator (root) privileges.
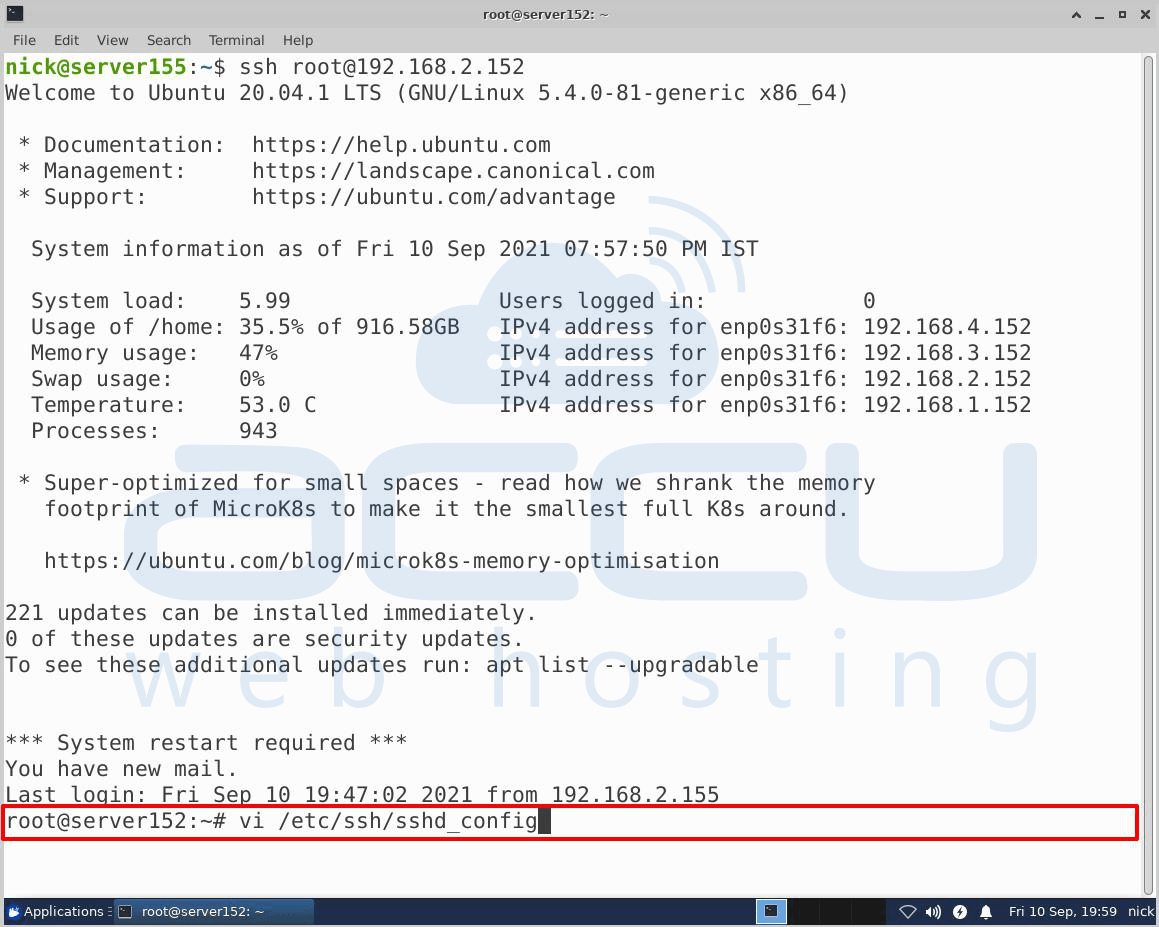
First, log into the server on which you have configured the SSH key-based authentication.
To disable the password-based authentication, you will have to use the command given below –
# sudo vi/etc/ssh/ssg_config
Inside the file, search for the following line - PasswordAuthentication.
Press I to insert the text, edit the line, and set the value to NO. This will disable your ability to log in via SSH using account passwords.
Once you have completed the above procedure, press Esc and type :wq.
Now press Enter.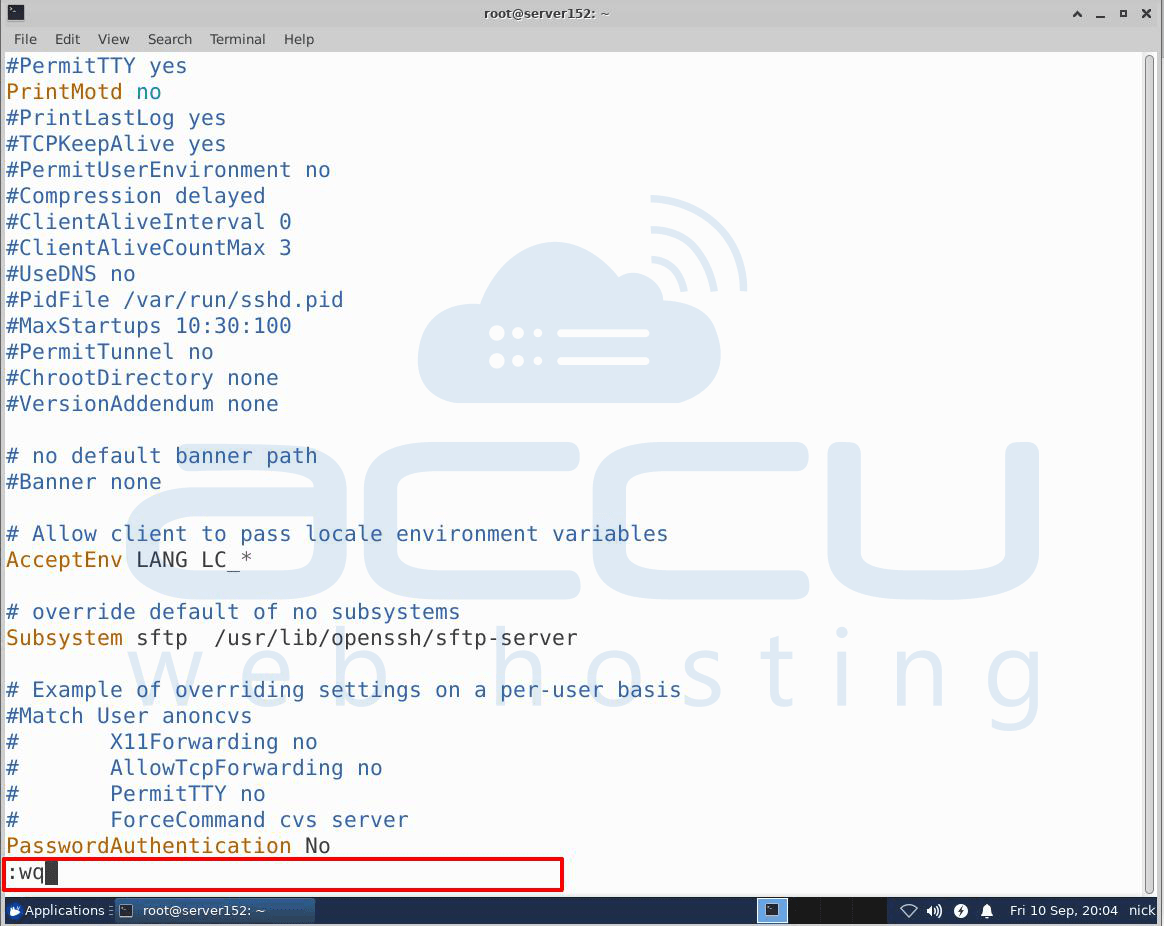
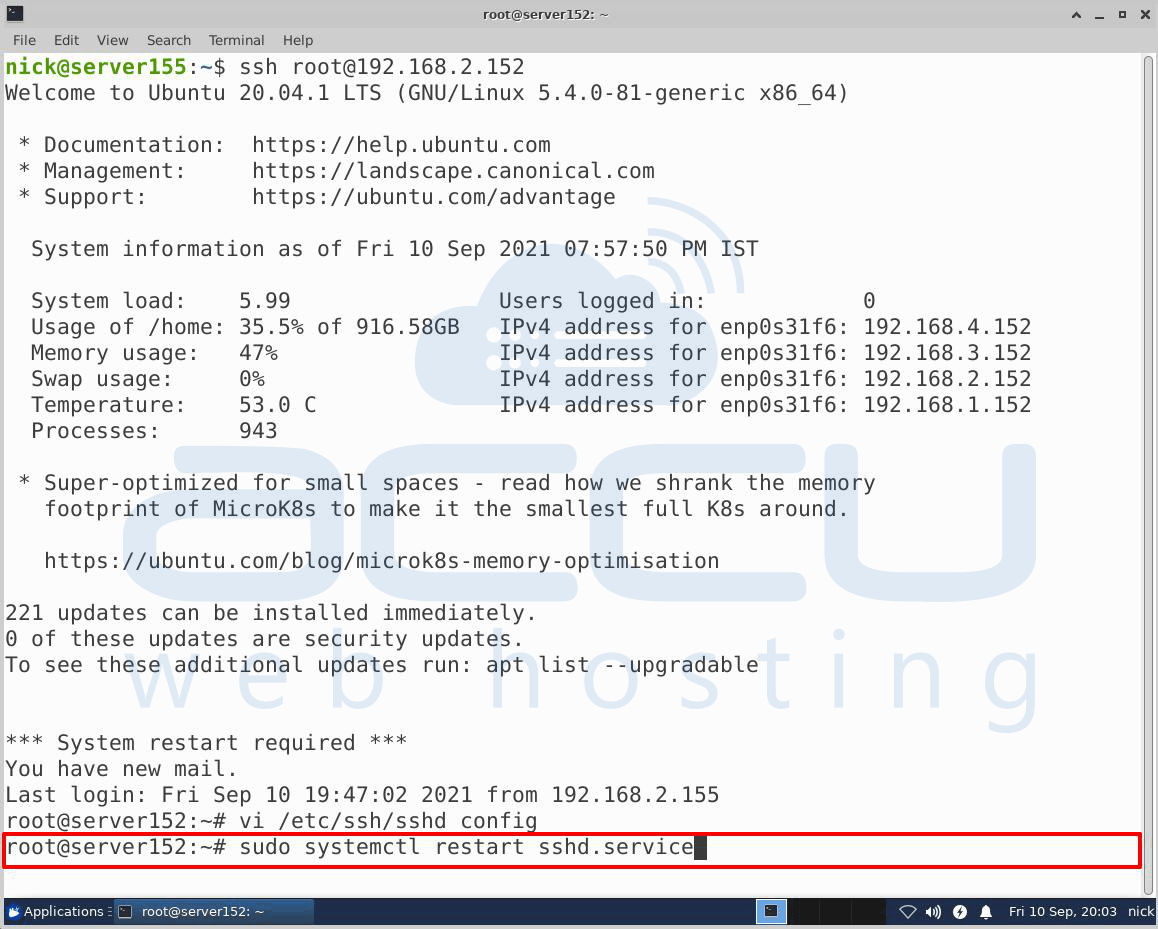
To implement these changes, you will have to restart the sshd service using this command –
# sudo systemctl restart sshd.service
By following all the steps mentioned above, you can generate and use the SSH Key in the Linux system.
