Before you proceed to install Moodle on Windows, you need the Visual C++ Redistributable for Visual Studio 2012 installed on your server. You can download it from this link. Download Visual C++ Redistributable for Visual Studio 2012. Also, you need 1 GB of memory for optimum performance.
Step 1: At first, download the latest stable version of Moodle. Please click on Download Moodle. We suggest you download a zip file.
Step 2: Once you download and extract Moodle, move it to the root of your website.
Step 3: Create a MySQL database and database user. Please refer to Create MySQL DB from SolidCP.
Step 4: Go to the file config-dist.php and update the created database name, db username, and its password. 
Step 5: Rename the file config-dist.php to config.php
Step 6: Now, create a folder and name it moodledata. Now, open the config.php file. Find the variable $CFG->dataroot and set its value to ‘C:\your root path\moodledata’
Step 7: Find variable $CFG->wwwroot in config.php and set its value to ‘http://yourwebsite.com’
Step 8: Find variable $CFG-> dbtype and set its value to ‘mysqli’ or ‘mariadb’ as per your required database.
Step 9: Now, open your website in a browser with the URL HTTP://yourwebsitename.com/install.php, and you will find the page below.
Step 10: Select your English and click on Next. If you are facing the error like $CFG-> dataroot is not writable. You will need to provide write permission to your application for the wwwroot directory.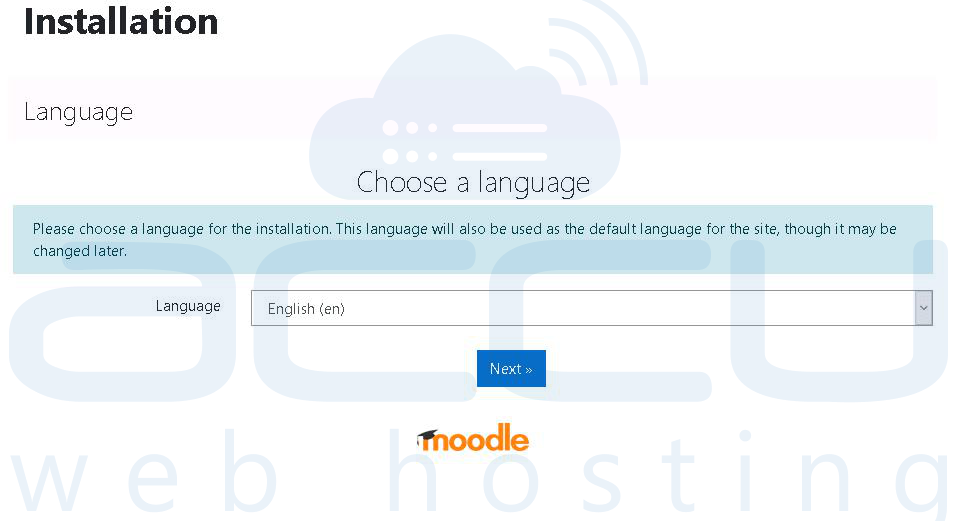
Step 11: Once you fix the error, you will get the page below. Click to continue button.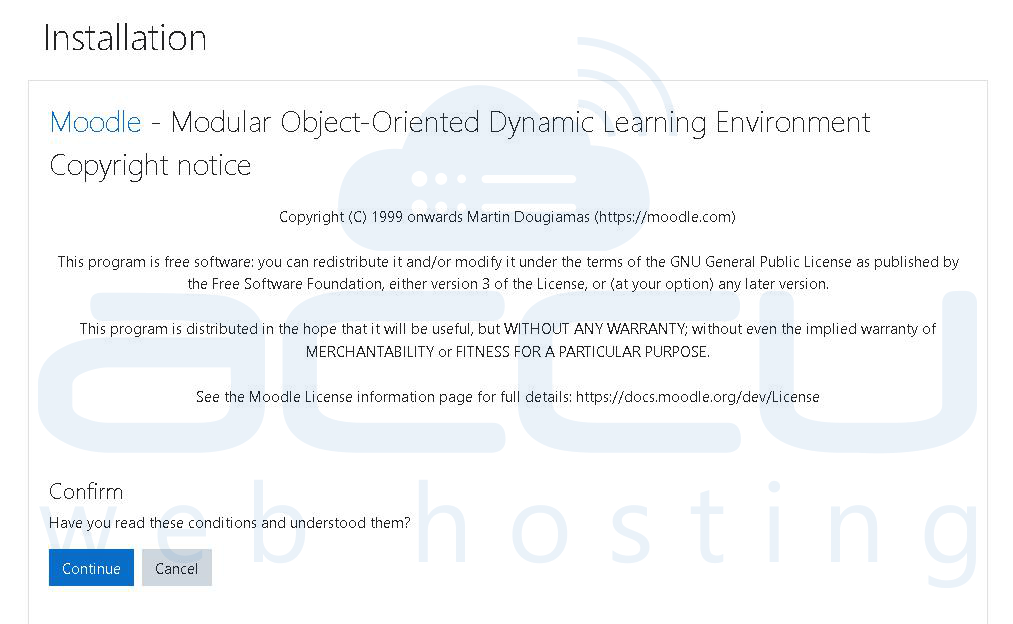
Step 12: You will need to correct all the server checks on the page below. You must have the latest stable version of PHP, or you will not get the continue button.
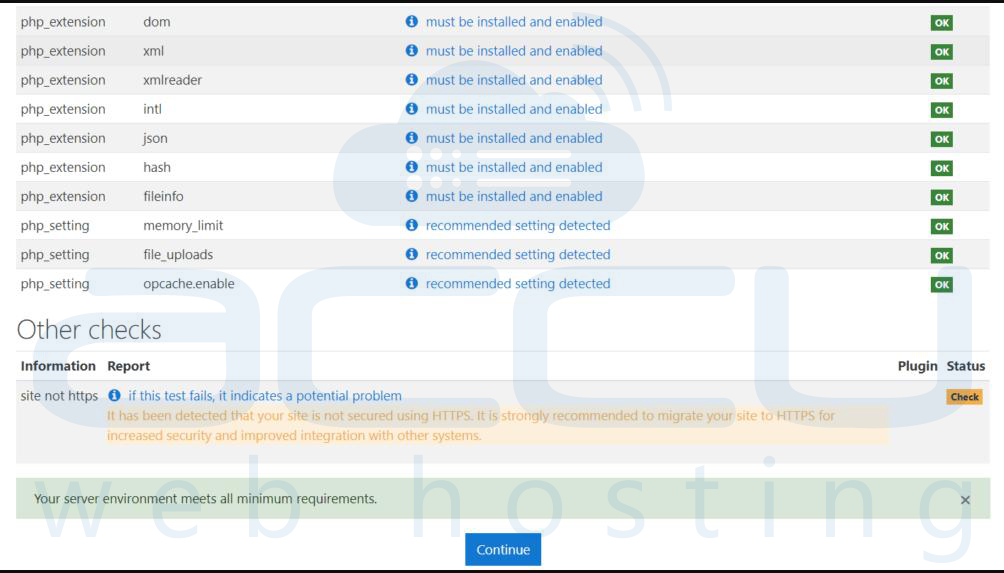
Step 13: Once you are done with all server checks (Ok in green button), click on the continue button. It may take 5-10 minutes to install all the Moodle components.
Step 14: You will be asked for the administrator's details on the next page. Enter all the details below.
- Username: administrator (default username is admin; however, we can change it)
- New Password: your administrator password
- First name: First name of administrator
- Surname: Surname of administrator
- Email Address: Enter the email address of the administrator
- Email Display: Select ‘Hide my email address from non-privileged users’
- City: City of Administrator
- Timezone: Your timezone
Step 15: Now, click on the update profile button.
Step 16: You will see a FrontPage setting. Enter the details below.
- Full Site Name: Enter the required website name.
- Shortname: Set your Moodle website shortname
- Front Page Summary: Add the details of your institute.
- Default timezone: Add your timezone.
- No-reply address: Enter your email ID
Step 17: Click on the Save changes button.
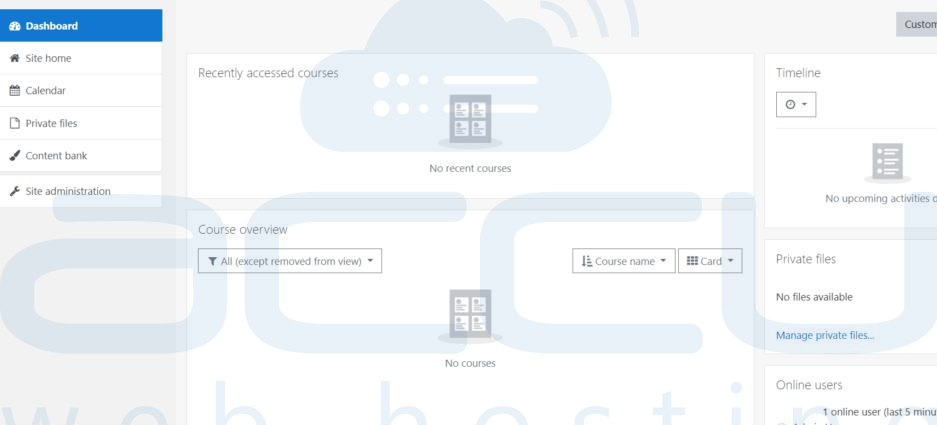
Step 18: You will get the image below once the Moodle installation is completed.