In web applications, it’s often necessary to protect sensitive content such as directories storing confidential documents, configuration files, or PDFs. provides a built-in utility called htpasswd that allows you to restrict access to specific directories using a username and password.
This article guides you through the process of setting up password authentication on an Ubuntu 18.04 server using htpasswd.
Here are the steps to configure password authentication.
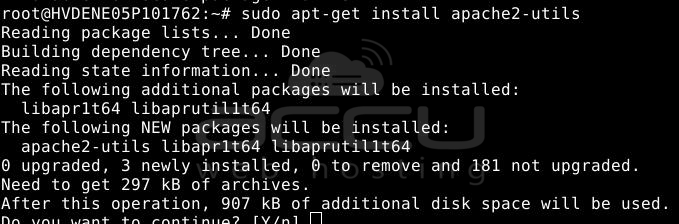
Step 1: Install Utilities
Install the apache2 package, which includes the htpasswd utility:
# sudo apt-get update

# sudo apt-get install apache2-utils
Step 2: Create the htpasswd File
The .htpasswd file stores your usernames and encrypted passwords.
# sudo touch /etc/2/.htpasswd

You can use this file for a single user or multiple users.
Step 3: Add a User to htpasswd
Run the following command to create a user and set a password:
# sudo htpasswd /etc/2/.htpasswd USERNAME

Replace USERNAME with your desired username. You will be prompted to enter and confirm a password.
Use a strong password for better security.
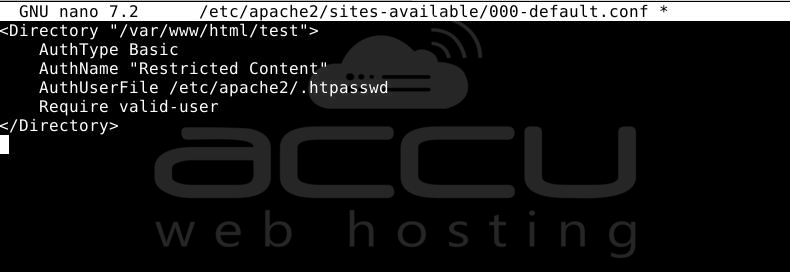
Step 4: Update Virtual Host Configuration
Edit your site configuration file:
# sudo nano /etc/2/sites-available/000-default.conf
Add the following block inside the <VirtualHost *:80> section:
<Directory "/var/www/html/test">
    AuthType Basic
    AuthName "Restricted Content"
    AuthUserFile /etc/2/.htpasswd
    Require valid-user
</Directory>
Replace /var/www/html/test with the directory path you want to protect.
Step 5: Restart
Apply the changes by restarting:
# sudo systemctl restart apache2
Test the Password Protection
Now open your web browser and navigate to the protected directory (e.g., http://yourdomain.com/test). You should be prompted to enter a username and password. Only authenticated users will be allowed to access the content.
Conclusion:
By configuring password authentication using the htpasswd utility, you can easily protect sensitive directories at the web server level. This adds a layer of security to your application without modifying the code. It’s especially useful for staging environments, admin panels, or any confidential resource you wish to restrict access to.
