If you want to run multiple WordPress instances under the same domain, you can install WordPress in a subdirectory. This allows you to keep a separate WordPress installation while still sharing the same root domain.
For example, your main site could run at example.com, while a second WordPress instance runs at example.com/blog or any other subdirectory.
This guide will show you two different methods to install WordPress in a subdirectory:
Method 1: Manual installation
Method 2: Installation via Softaculous
Method 1: Manual installation
Step 1: Create a Sub-Directory
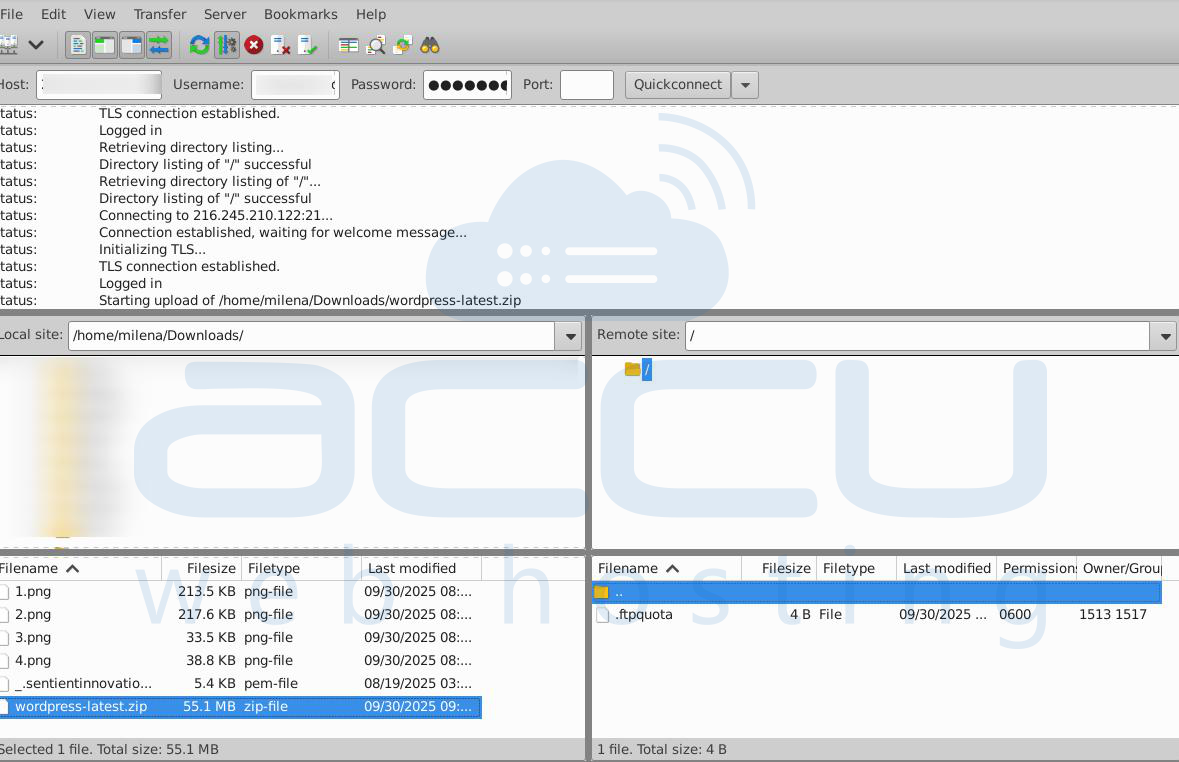
Connect to your hosting account using cPanel File Manager or an FTP client.
Inside your WordPress root directory, create a new folder.
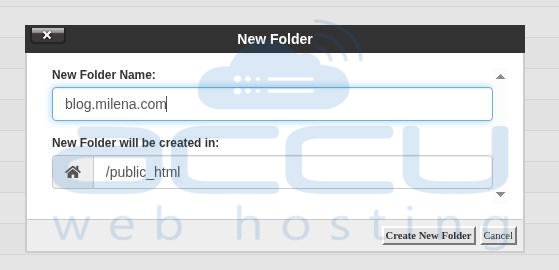
Example: blog, store, or any name you want for the sub-directory.
Step 2: Upload WordPress Files
Download the latest WordPress package from the official site.
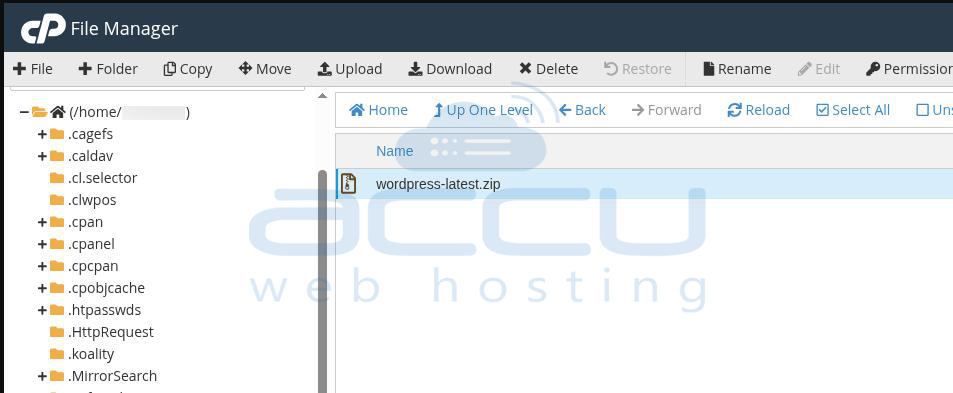
Upload the WordPress ZIP file into the newly created subdirectory.
Extract (unzip) the WordPress files inside the folder.
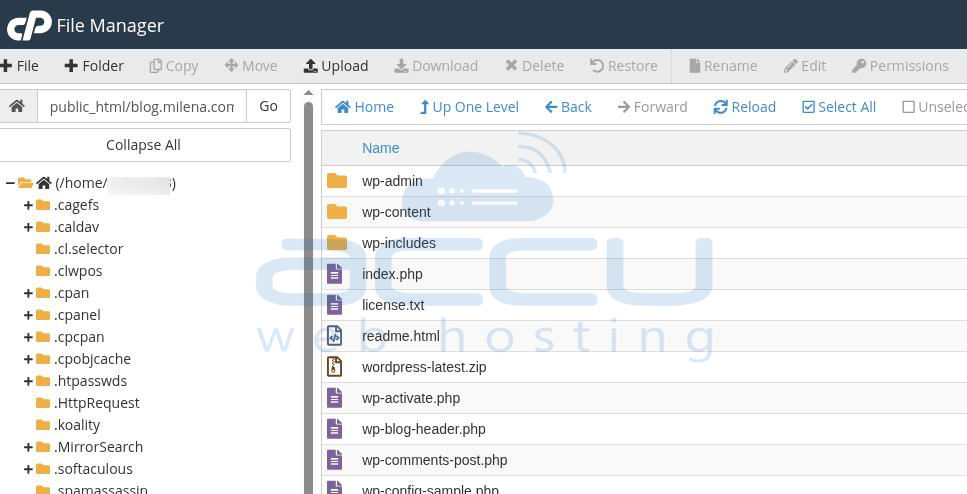
Step 3: Configure Database in wp-config.php
Open the wp-config.php file inside your subdirectory.
Enter your database details:
define('DB_NAME', 'your_database_name');
define('DB_USER', 'your_database_username');
define('DB_PASSWORD', 'your_database_password');
define('DB_HOST', 'localhost');
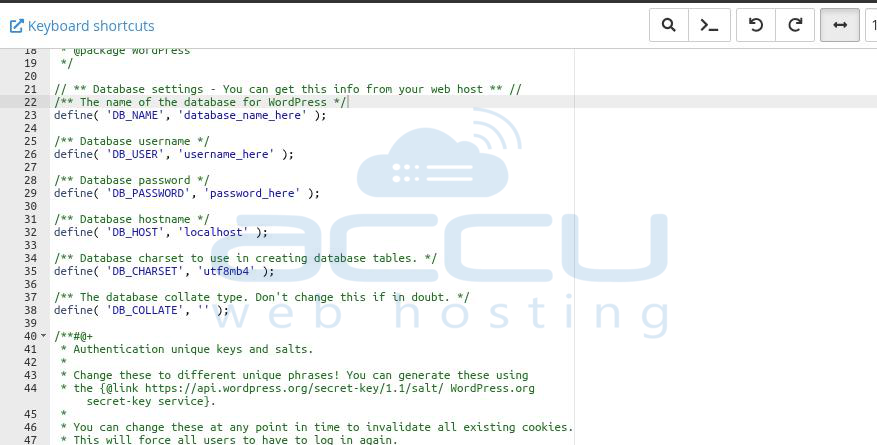
(Replace with your actual database credentials.)
Step 4: Run the WordPress Installation
Open a browser and navigate to your sub-directory URL.
Example: https://example.com/blog
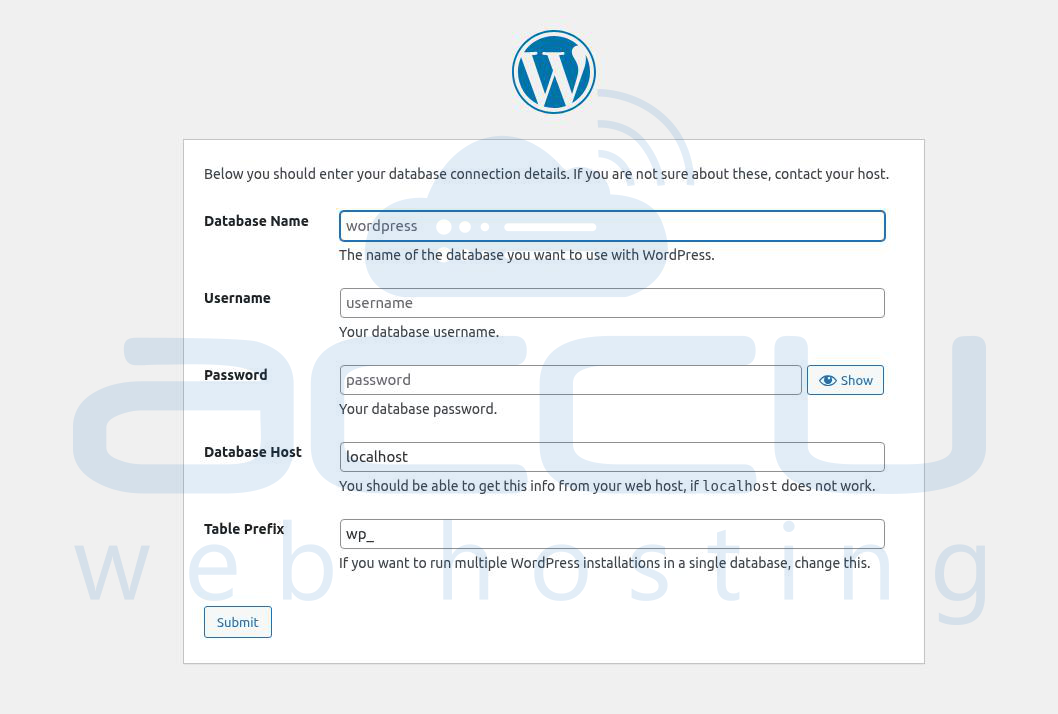
Complete the installation steps (site title, admin username, password, etc.).
Step 5: Configure .htaccess for Sub-Directory (If Needed)
If you also have a separate WordPress installation in the root directory, you need to add the following code to the .htaccess file of your subdirectory:
# BEGIN WordPress
RewriteEngine On
RewriteBase /subdirectory/
RewriteRule ^index.php$ - [L]
RewriteCond %{REQUEST_FILENAME} !-f
RewriteCond %{REQUEST_FILENAME} !-d
RewriteRule. /subdirectory/index.php [L]
# END WordPress
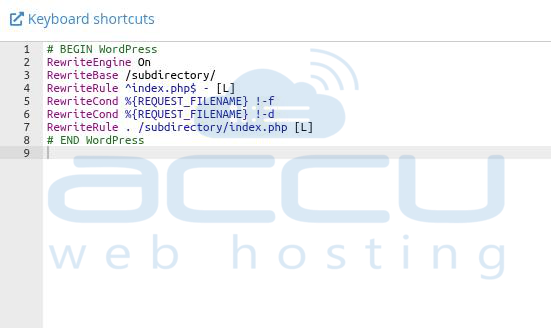
Replace /subdirectory/ with the name of your folder (e.g., /blog/).
Step 6: Access Your New WordPress Site
Once installed, log in to your new WordPress admin panel:
Example: https://example.com/blog/wp-admin
Method 2: Installation via Softaculous
Most cPanel hosting providers include Softaculous Apps Installer, which makes installing WordPress in a subdirectory very simple.
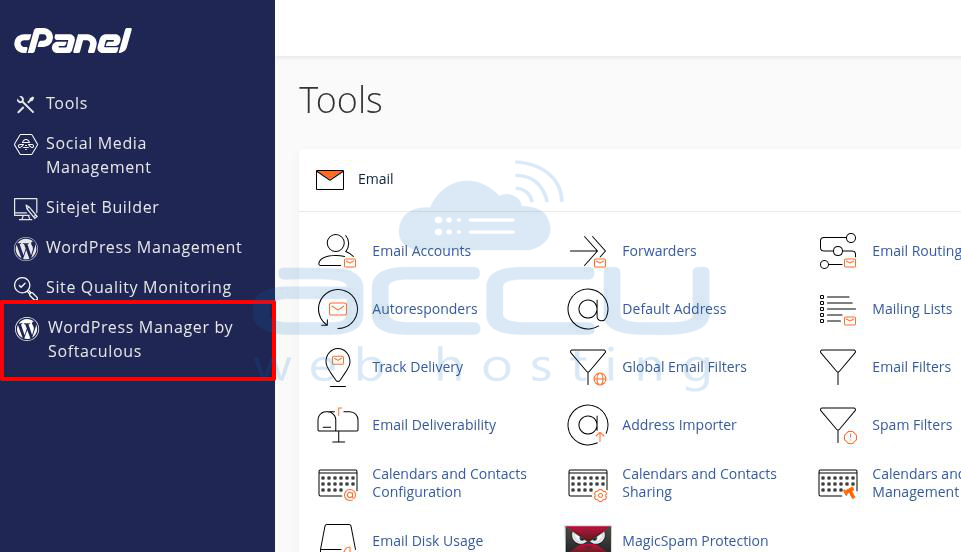
Step 1: Log in to cPanel
Access your cPanel dashboard.
Under Software, click Softaculous Apps Installer → WordPress.
Step 2: Choose Installation URL
In the Installation URL section, select your domain.
In the Directory field, enter your sub-directory name (e.g., blog).
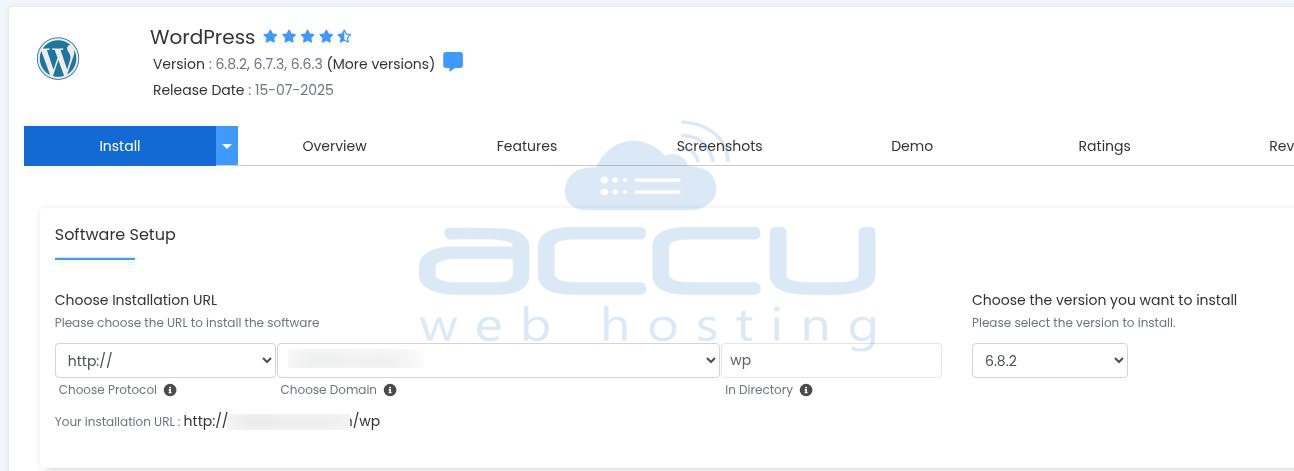
Example: Installing in a blog will create example.com/blog.
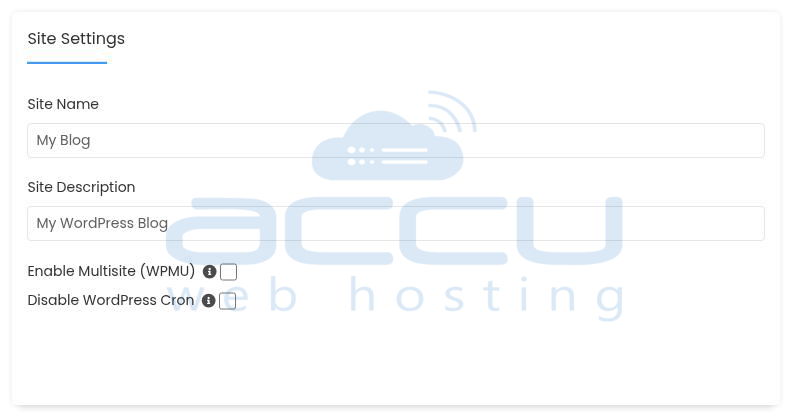
Step 3: Configure Site Settings
Enter your Site Name and Site Description.
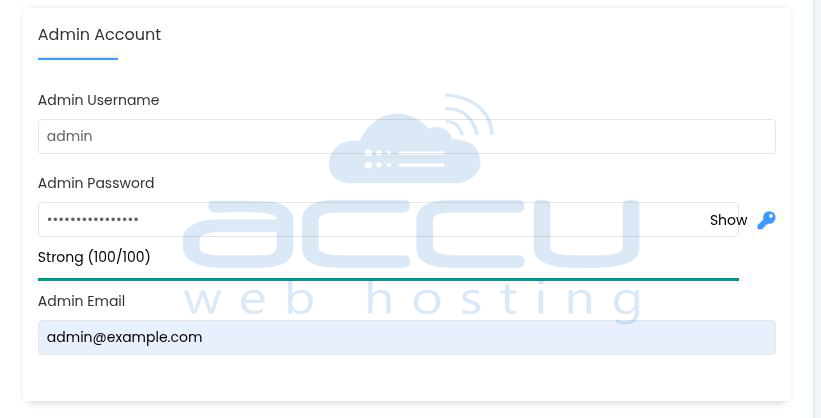
Create an Admin Username, Password, and Email.
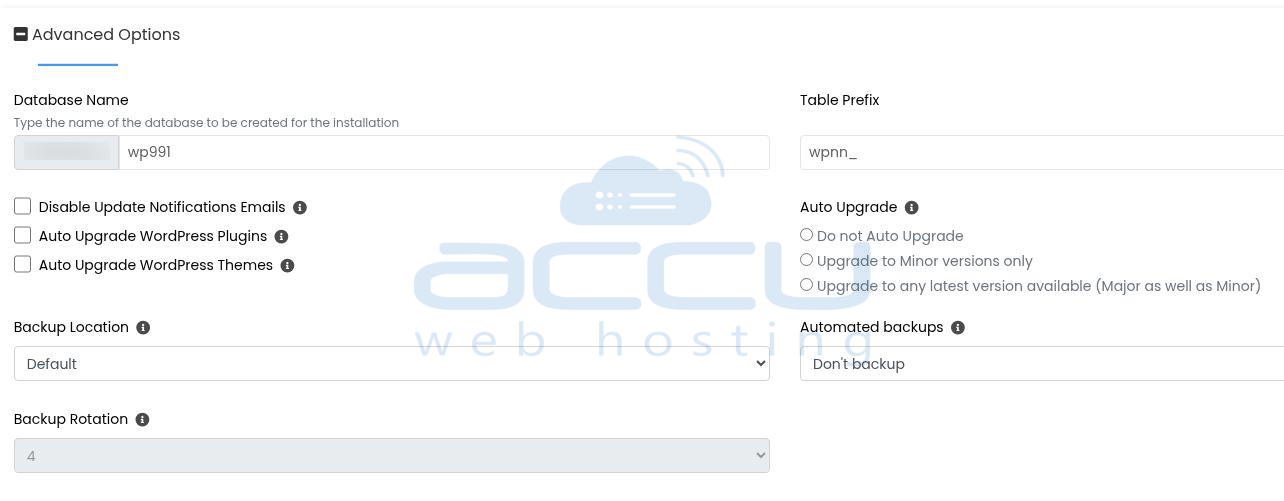
Step 4: Select Database & Options
Leave the database name as default (or customize it).
Choose advanced options like automatic updates or backups (optional).
Step 5: Install WordPress
Click the Install button.
Once complete, you’ll see a success message with your new WordPress login URL:
https://example.com/blog/wp-admin
Conclusion
By creating a subdirectory and installing WordPress inside it, you can easily run multiple WordPress sites under the same domain. This method is useful for separating a blog, store, or documentation site from your main website while still keeping everything under one domain.
