Redis is an open-source in-memory data structure store. It can be used as a DB, cache, and DB server that supports various data structures. You can use Redis with a relational database like MYSQL to speed up your website.
In this article, we will configure Redis as a cache on a WordPress website to load your website faster. In addition, Redis will optimize the time-consuming database queries using its cache.
A default WordPress website without Redis can load at around 800 ms; with Redis, you can lower it to about 450 ms.
How does caching work?
A database query is performed on your server when the WordPress page loads for the first time; Redis will remember or cache this query.
Now, when another user tries to load the same WordPress page, the results will be fetched from Redis without querying the database, resulting in faster performance of your website. The object cache of Redis will cache the SQL queries required to load the WordPress pages.
Let us start with installing Redis on an Ubuntu 18.04 server.
Step 1: First, run the update command given below:
# sudo apt update
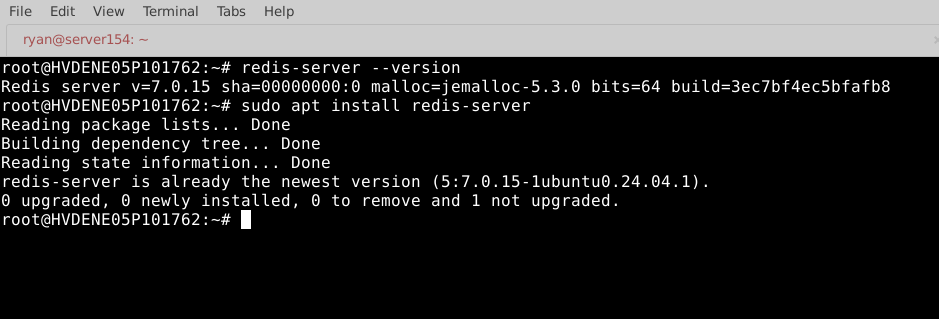
Step 2: Install Redis with the command as shown below:
# sudo apt install redis-server
Step 3: Once Redis is installed, we will need to configure it as a cache.
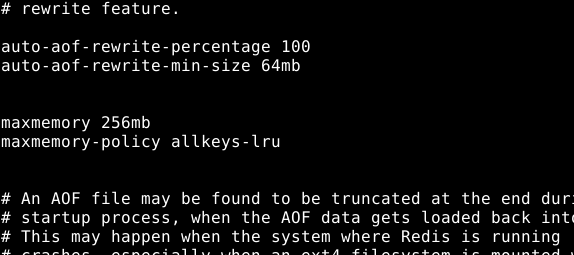
Step 4: Add the below line at the end of your redis.conf file. Use the below command to perform this action.
maxmemory 256mb
maxmemory-policy allkeys-lru
Step 5: Save and close the redis.conf file.
Now, we will download the object-cache.php script file, a third-party script. You can read the comments to see how it works.
# wget http://demovpstest.com/object-cache.php/
Step 6: Move this file to the/wp-content folder of the WordPress installation using this command:
# sudo mv object-cache.php /var/www/html/wp-content/
Step 7: We will enable the cache settings in your WordPress config file. To do this, edit the wp-config.php
# nano /var/www/html/wp-config.php
Step 8: Add the lines below after the *Authentication Unique Keys and Salts. Section:
define('WP_CACHE_KEY_SALT', 'yourwebsite.com');
Step 9: To create a persistent cache with the Redis object cache plugin, add this line after the define('WP_CACHE_KEY_SALT,' 'yourwebsite.com'); line:
define('WP_CACHE', true);
Step 10: Save and close the file.
Step 11: Restart the Redis and Apache files.
Restart Redis:
# sudo service redis-server restart
Restart Apache
#sudo service apache2 restart
Conclusion:
By integrating Redis with WordPress, you significantly reduce database query loads and improve page load times, often cutting load times nearly in half. This means a faster, smoother experience for your visitors and better performance scores for SEO and Core Web Vitals.
Whether you're running a blog or a high-traffic site, Redis object caching helps you scale efficiently without overloading your server. With just a few terminal commands and some simple config tweaks, you've transformed your WordPress into a speed-optimized, cache-powered site.
