DotNetNuke (DNN) is a popular open-source Content Management System (CMS) built on the Microsoft .NET framework. It allows you to easily build and manage dynamic websites, portals, and applications.
This guide will walk you through the steps to install DNN on a Windows Server with IIS.
Prerequisites
- Before starting the installation, ensure that the following components are installed and configured on your Windows Server:
- Windows Server with IIS (Internet Information Services) enabled.
- .NET Framework 4.7+ installed.
- SQL Server (Express, Standard, or Enterprise) with a database created for DNN.
- Appropriate permissions for the IIS App Pool identity to access the website directory.
- Hosting Environment Ready – A domain or subdomain pointed to your server.
The following are the steps to install Dotnetnuke on a Windows server.
Step 1: Download the Latest version of Dotnetnuke from here.
Step 2: Copy all the files and folders to the root folder of your website root directory. and access your Website in the Browser.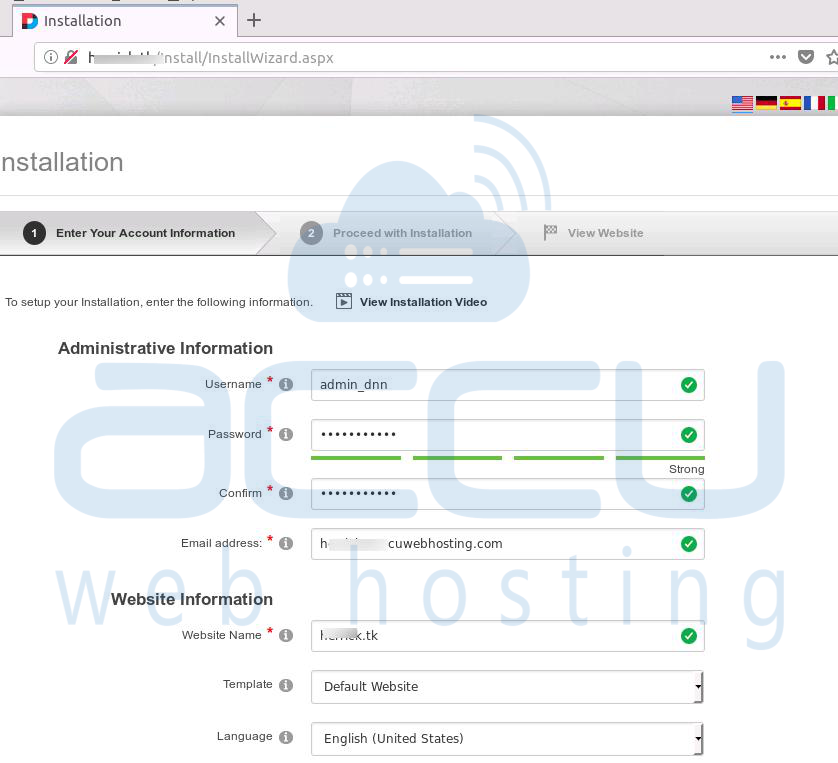
Step 3: Fill in all the required Details like website name, Database details, and click on the continue Button. 
Step 4: You will see the installation process running by clicking the Continue Button.
Step 5: Click on the Visit Website Button to finish the installation. 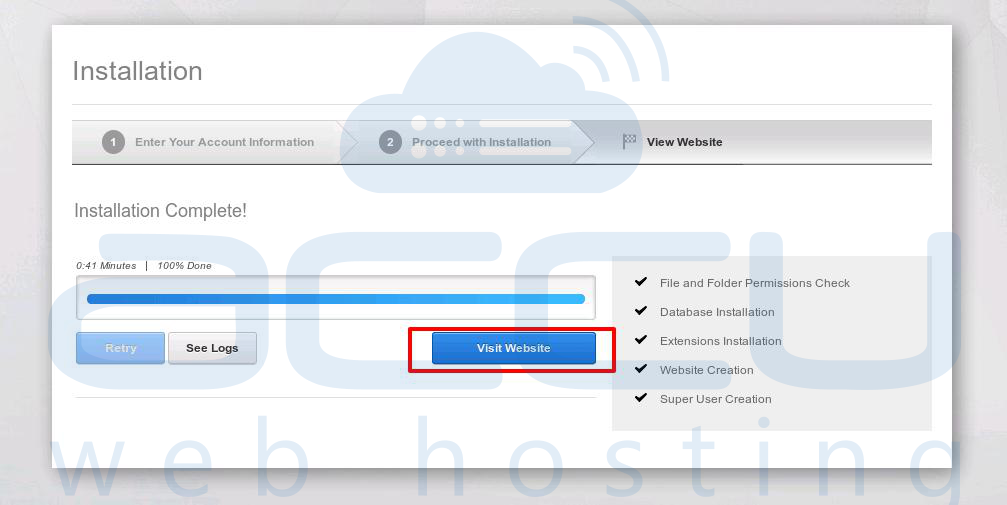
Step 6: Your Dotnet Nuke website page will look like as below.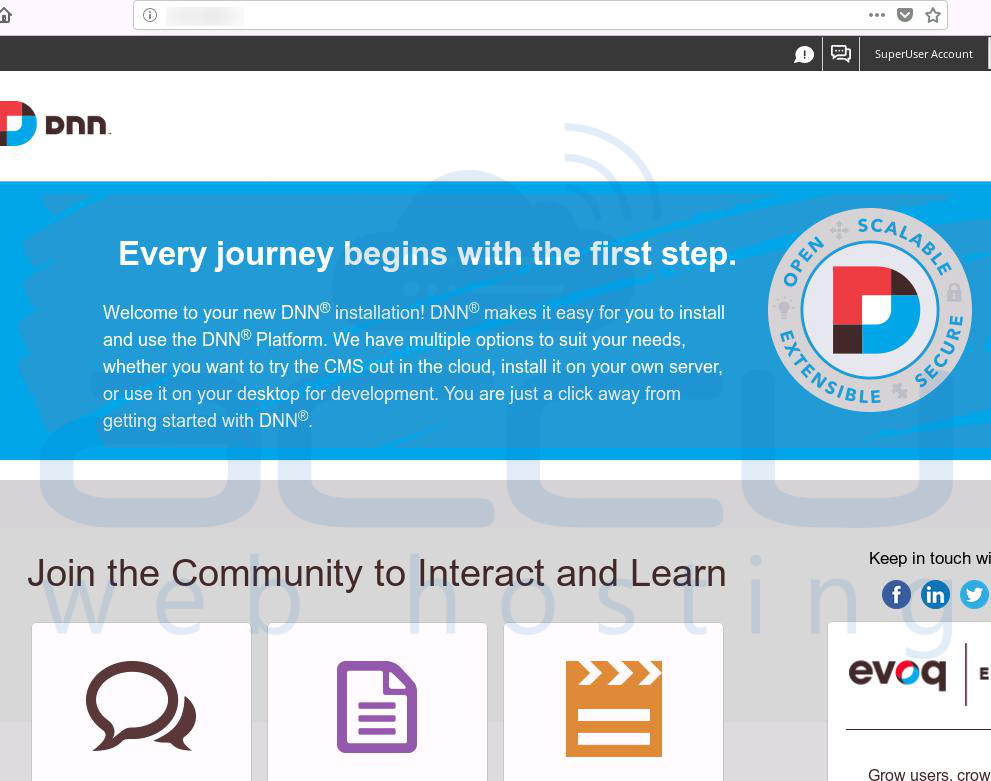
You have successfully installed DotNetNuke (DNN) on your Windows Server. Now you can log in to the administrator dashboard and start customizing your site.
