Nextcloud is an open-source and secure PHP-based content collaboration platform for file sharing and synchronization. Users can share the number of files and folders from their local computers and synchronize with the Nextcloud server.
Before we proceed to install Nextcloud, your Ubuntu system should have installed the LAMP stack (Linux, Apache, MySQL/ MariaDB, PHP).
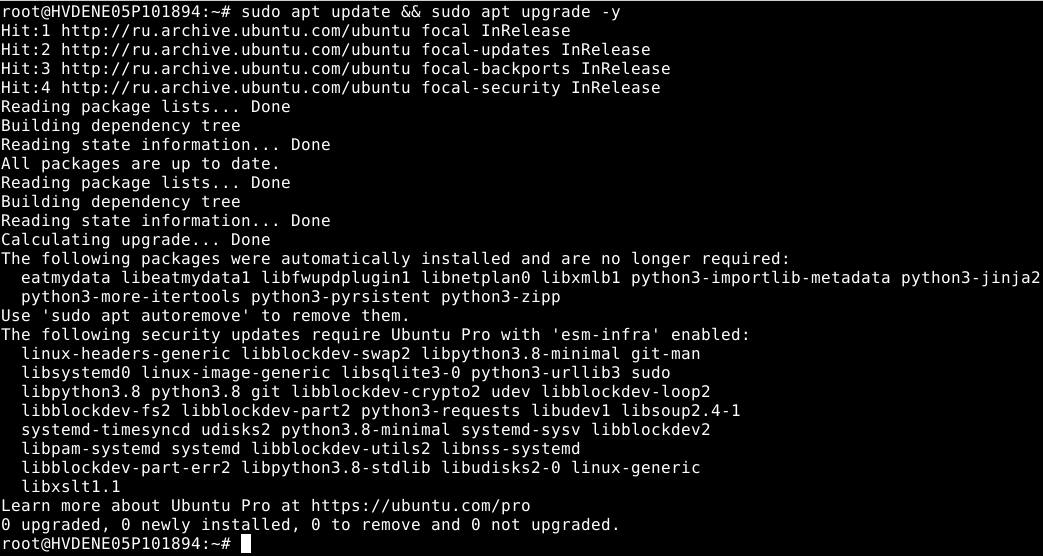
Step 1: Update the System
# sudo apt update && sudo apt upgrade -y
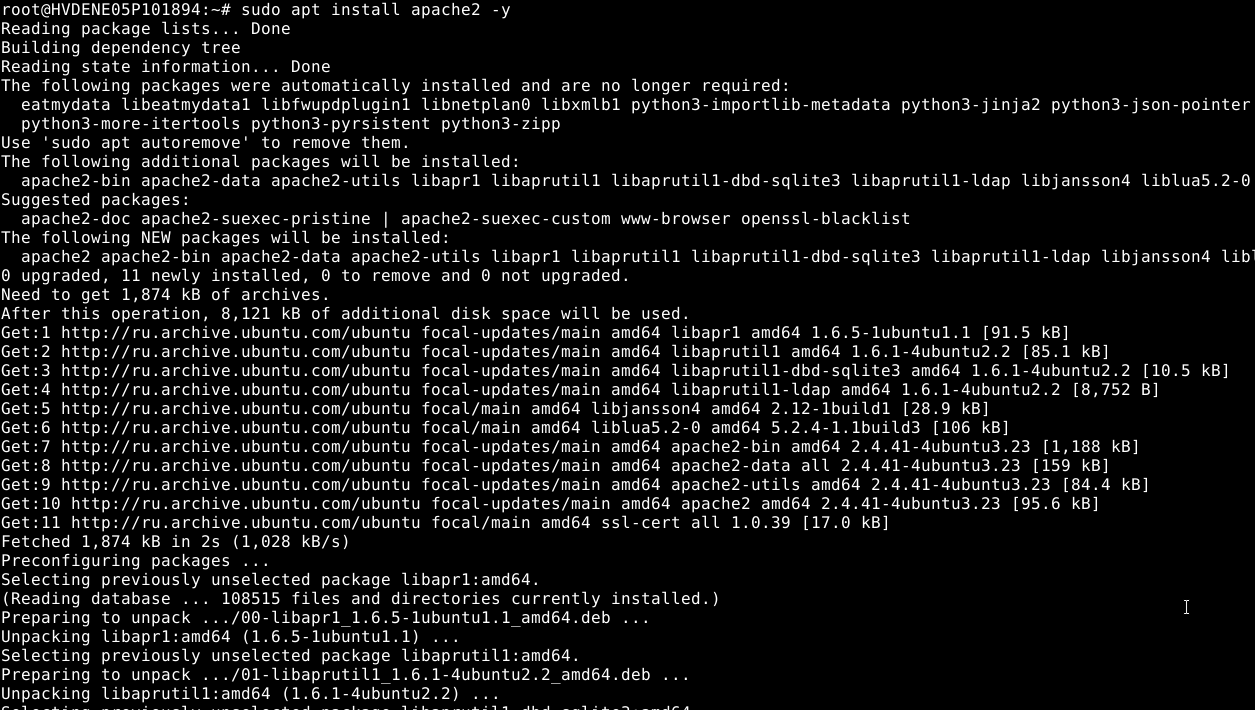
Step 2: Install Apache Web Server
# sudo apt install apache2 -y
To enable and start Apache:
# sudo systemctl enable apache2

# sudo systemctl start apache2
To check status:
# sudo systemctl status apache2
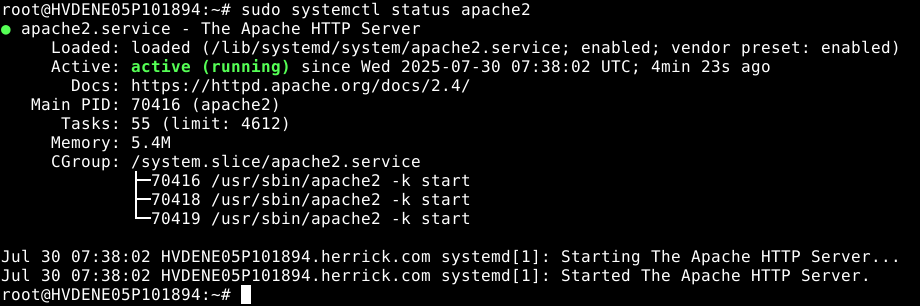
For the Browser test, visit http://your_server_ip/. You should see Apache’s default page.
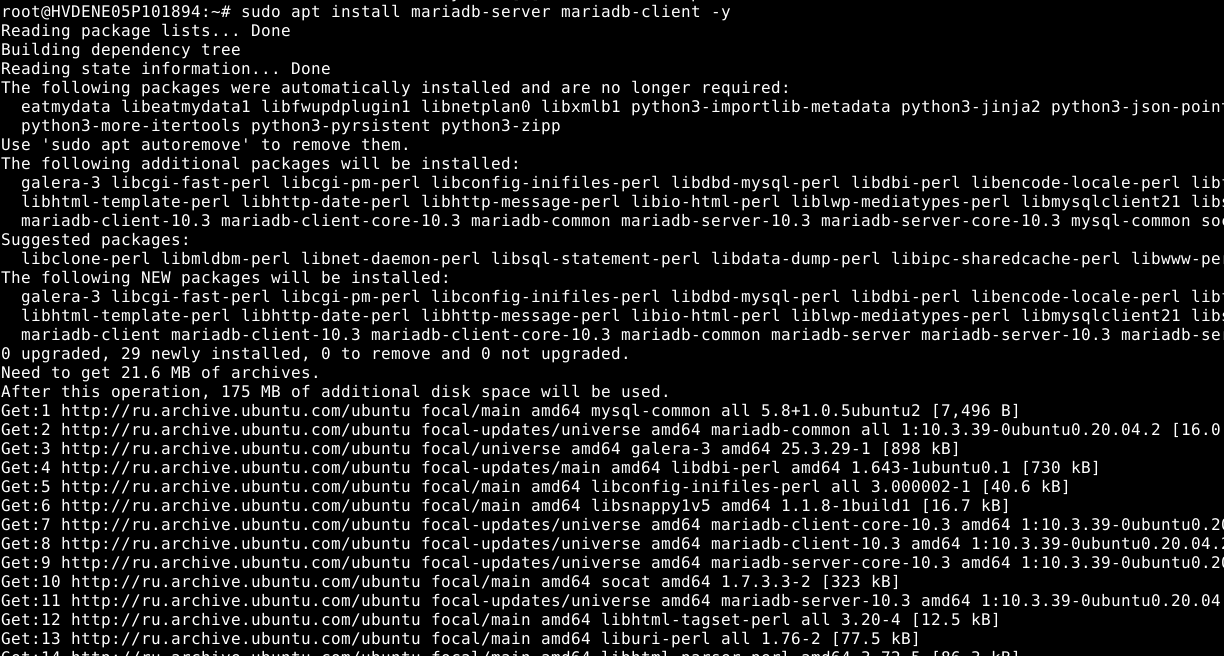
Step 3: Install MariaDB (Database Server)
# sudo apt install mariadb-server mariadb-client -y
Secure the installation:
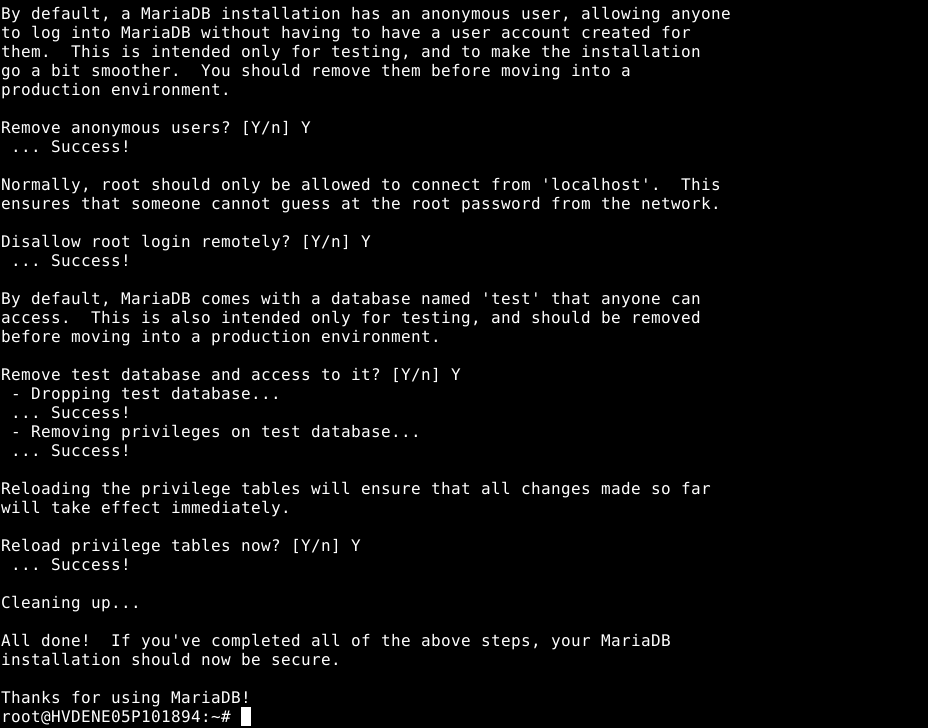
# sudo mysql_secure_installation
Enter password for root (enter for none): Press Enter
Set root password? [Y/n]: Y
New password: Enter the password
Re-enter new password: Repeat password
Remove anonymous users? [Y/n]: Y
Disallow root login remotely? [Y/n]: Y
Remove the test database and access to it? [Y/n]: Y
Reload privilege tables now? [Y/n]: Y
Step 4: Create Database and User for Nextcloud
# sudo mysql -u root -p
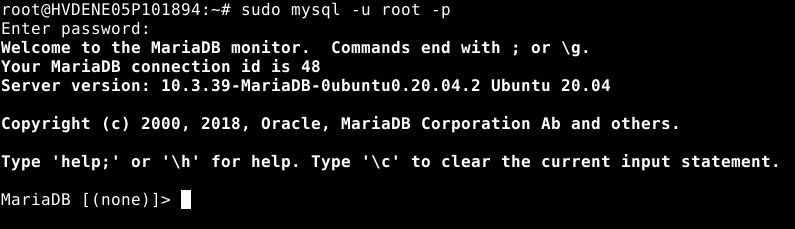
Once inside the MySQL prompt:
# CREATE DATABASE nextcloud;
# CREATE USER 'nextclouduser'@'localhost' IDENTIFIED BY 'YourStrongPassword';
# GRANT ALL PRIVILEGES ON nextcloud.* TO 'nextclouduser'@'localhost';
# FLUSH PRIVILEGES;
# EXIT;

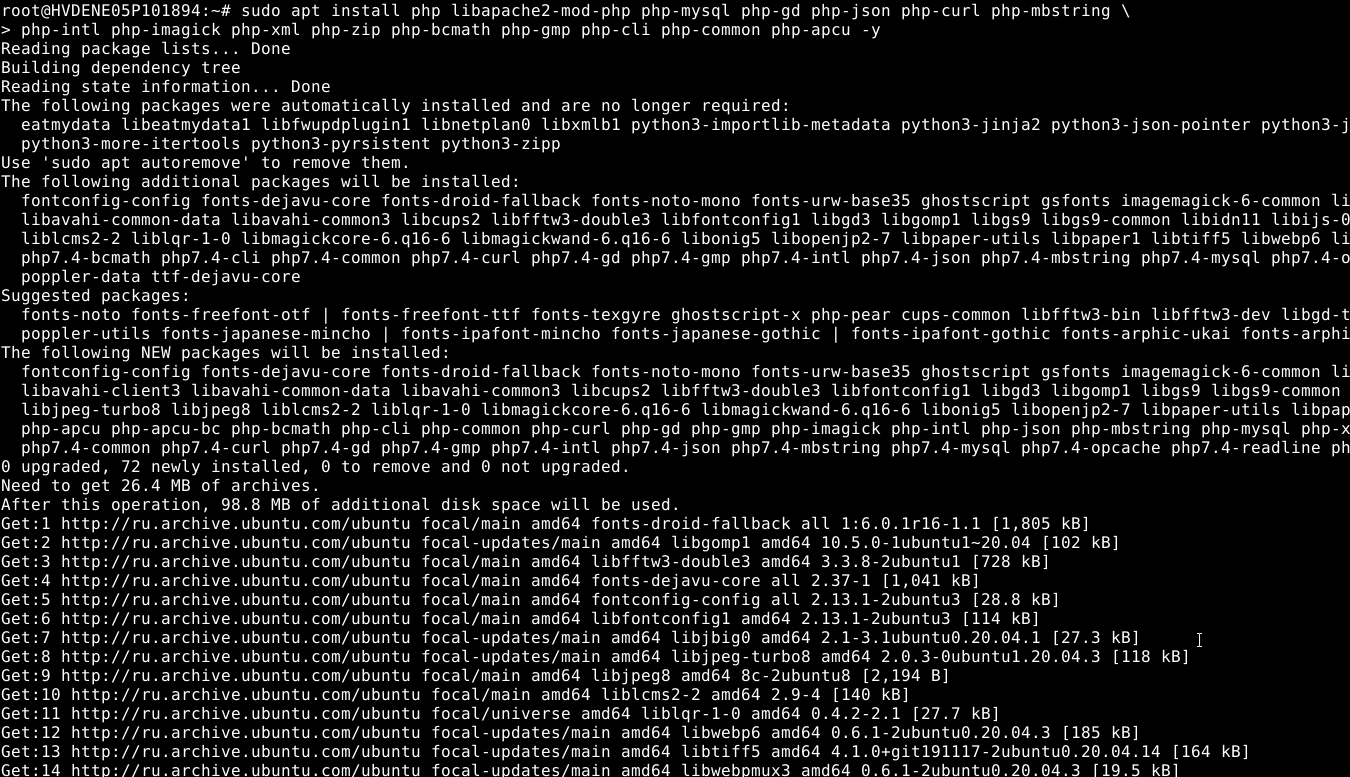
Step 5: Install PHP and Required Extensions
# sudo apt install php libapache2-mod-php php-mysql php-gd php-json php-curl php-mbstring
\php-intl php-imagick php-xml php-zip php-bcmath php-gmp php-cli php-common php-apcu -y
Check PHP version:
# php -v

Step 6: Download and Set Up Nextcloud
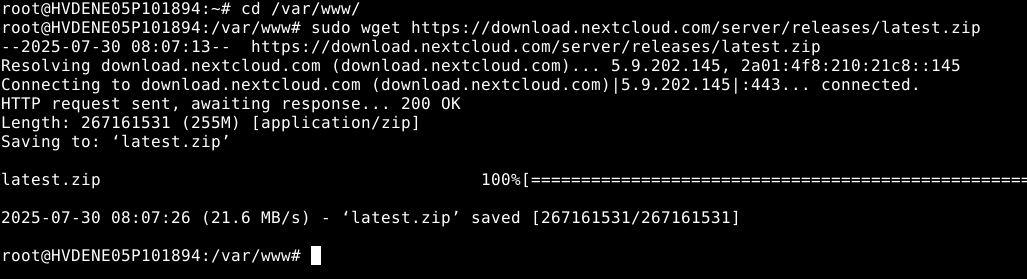
Go to /var/www/ and download the latest Nextcloud:
# cd /var/www/
# sudo wget https://download.nextcloud.com/server/releases/latest.zip
Unzip the archive:
# sudo apt install unzip -y
# sudo unzip latest.zip
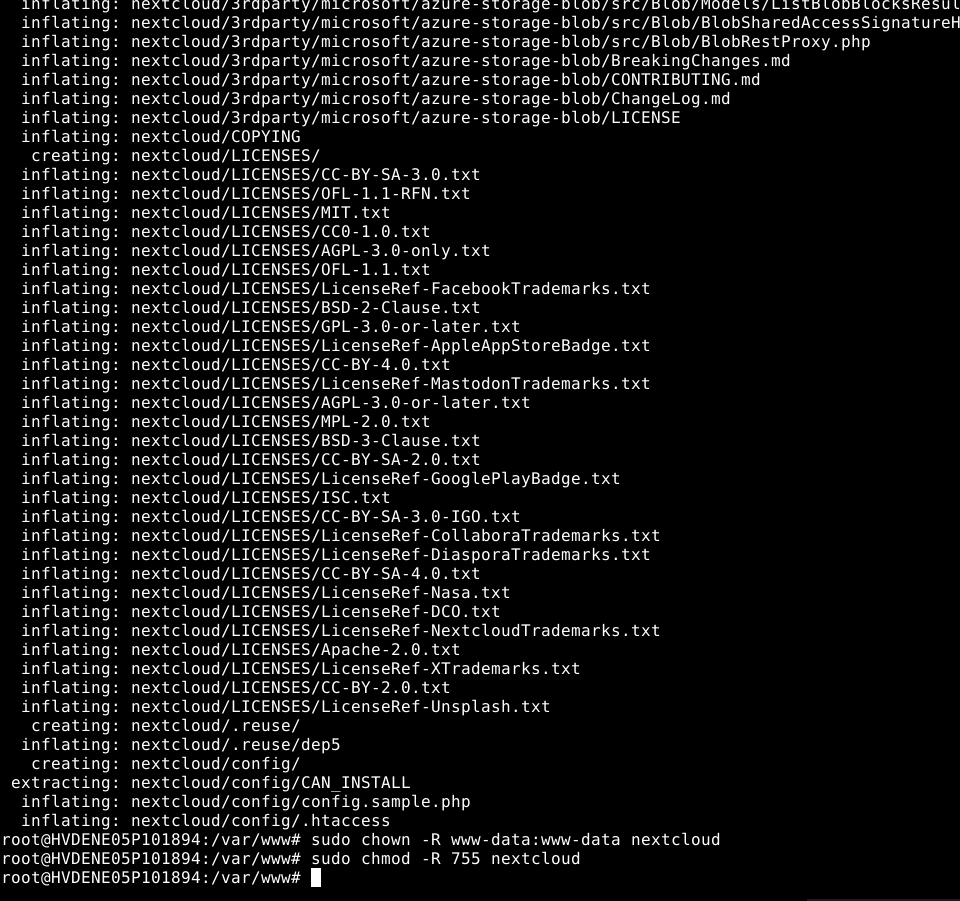
Set correct permissions:
# sudo chown -R www-data:www-data nextcloud
# sudo chmod -R 755 nextcloud
Step 7: Configure Apache for Nextcloud
Create a new config file:
# sudo nano /etc/apache2/sites-available/nextcloud.conf
Paste this:
<VirtualHost *:80>
    ServerAdmin [email protected]
    DocumentRoot /var/www/nextcloud/
    ServerName your_server_ip_or_domain

    <Directory /var/www/nextcloud/>
        Options +FollowSymlinks
        AllowOverride All

        <IfModule mod_dav.c>
           Dav off
        </IfModule>

        Require all granted
   </Directory>
   ErrorLog ${APACHE_LOG_DIR}/error.log
   CustomLog ${APACHE_LOG_DIR}/access.log combined
</VirtualHost>
Enable the config:
# sudo a2ensite nextcloud.conf
# sudo a2enmod rewrite headers env dir mime
# sudo systemctl restart apache2
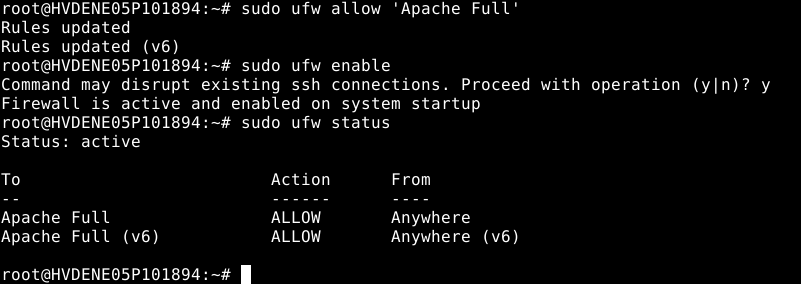
Step 8: Set Up Firewall (Optional but Recommended)
Allow Apache:
# sudo ufw allow 'Apache Full'
# sudo ufw enable
# sudo ufw status
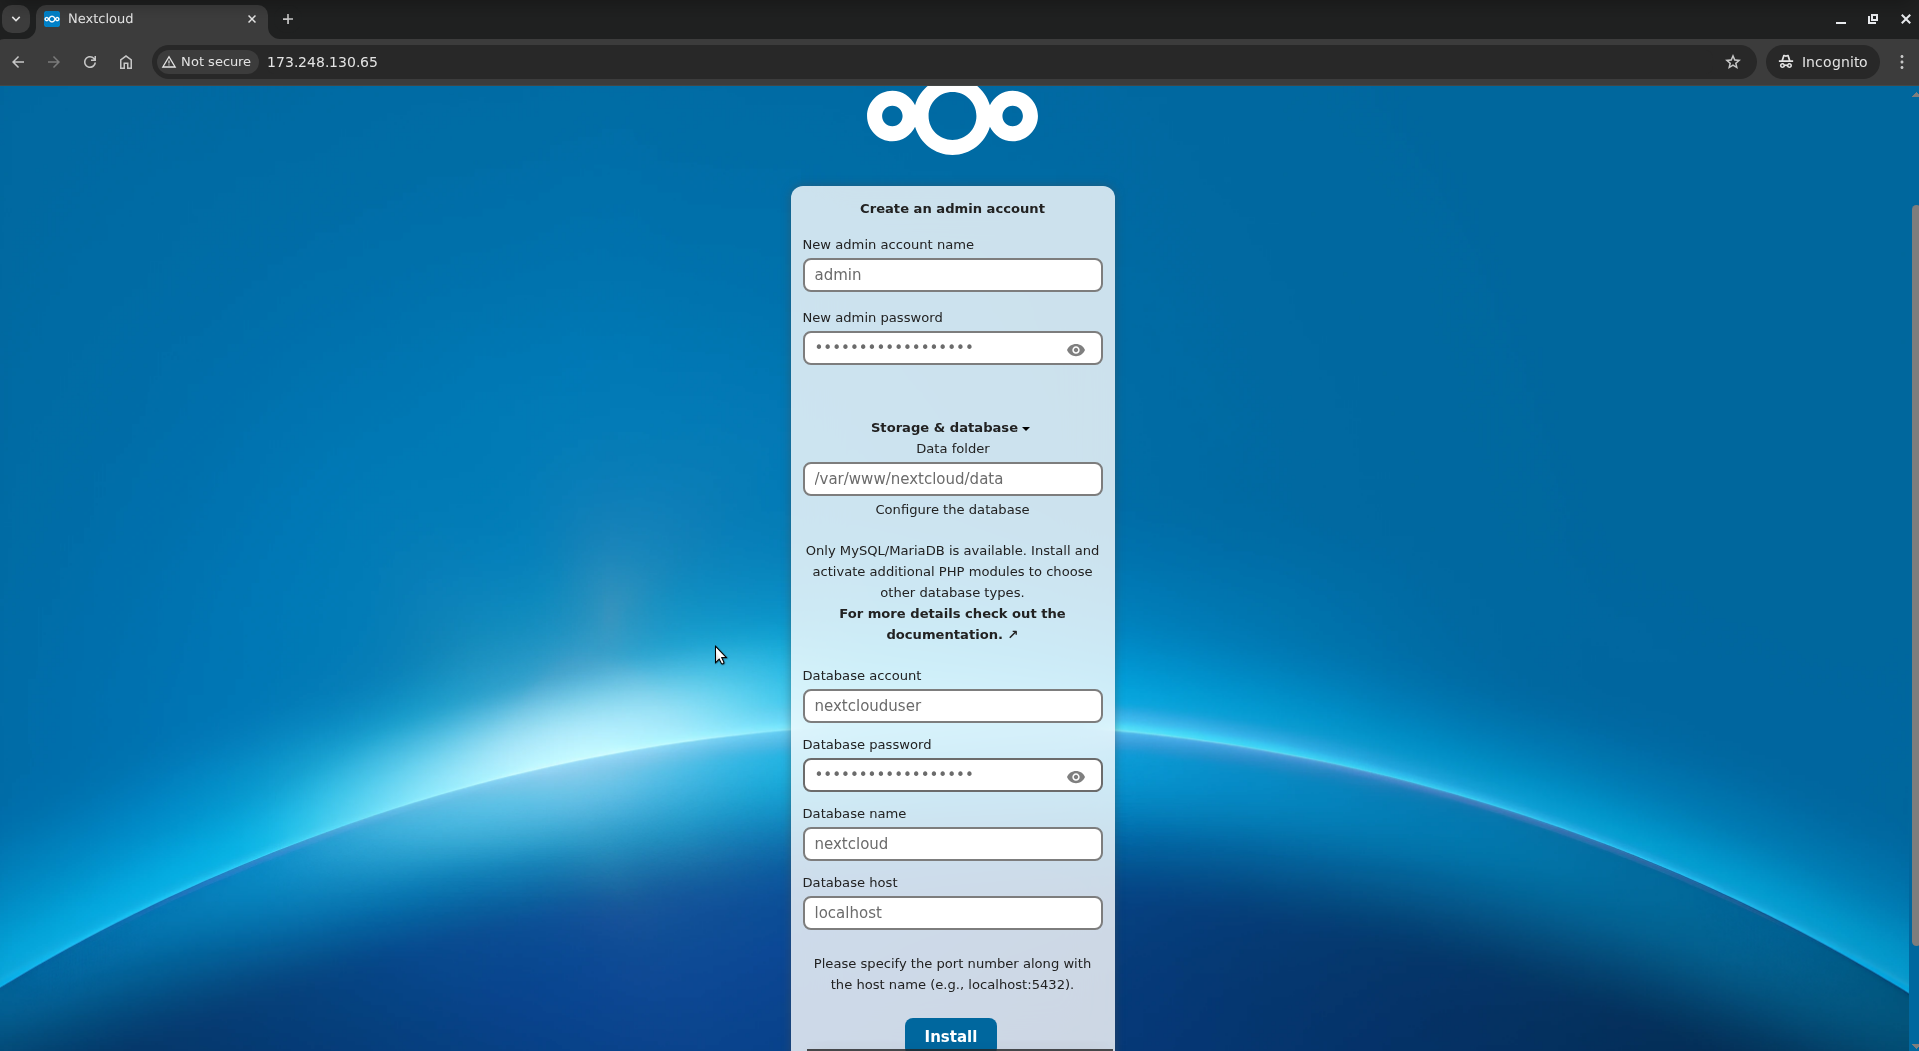
Step 9: Complete Installation via Browser
Visit http://your_server_ip_or_domain
You'll see the Nextcloud setup screen.
- Create Admin User
- Database Name: nextcloud
- Database account: nextclouduser
- Password: your password
- Host: localhost
Click Install.
We will now have Nextcloud Dashboard, as shown in the image below:

The Nextcloud installation is now complete!
