Zabbix is an open-source monitoring tool used to monitor the health of servers, networks, and other IT units. Zabbix provides a web-based GUI to monitor device reports; users can also set up a mailing system to receive reports.
Suppose your Internal Zabbix Monitoring System has version 3.0. In that case, you will need to install the Zabbix Repo with version 3, or else Zabbix Agent will not connect with Zabbix Server.
Following are the steps to install Zabbix Agent 3 on Debian 9 (Stretch)
1. Download the Zabbix Repository using the wget command from the Zabbix website.
We will install Zabbix Agent Version 3 for Debian 9 (Stretch) using the commands given below –
dpkg -i zabbix-release_3.0-2+stretch_all.deb
2. Create a file named preference at the /etc/apt/ location and add the below lines –
Package: zabbix-*
Pin: origin repo.zabbix.com
Pin-Priority: 900
It will prevent the Zabbix Repo from being upgraded from 3.0 to 4.0 while running an apt-get update. If you don't do this, the Zabbix Repo will be upgraded automatically to 4.0, and you will face issues in the connectivity of your Zabbix server.
3. Run the update command.
# apt-get update
4. Install the Zabbix Agent.
# apt-get install zabbix-agent - Y
5. Once the Zabbix Agent is installed, ee will need to proceed to configure Zabbix.
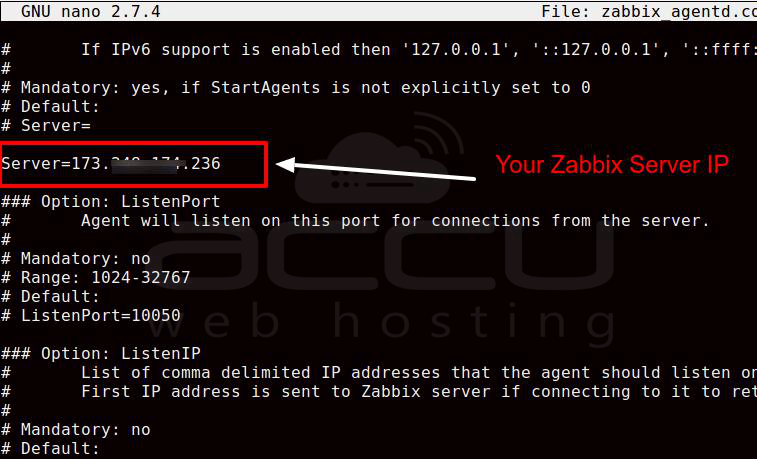
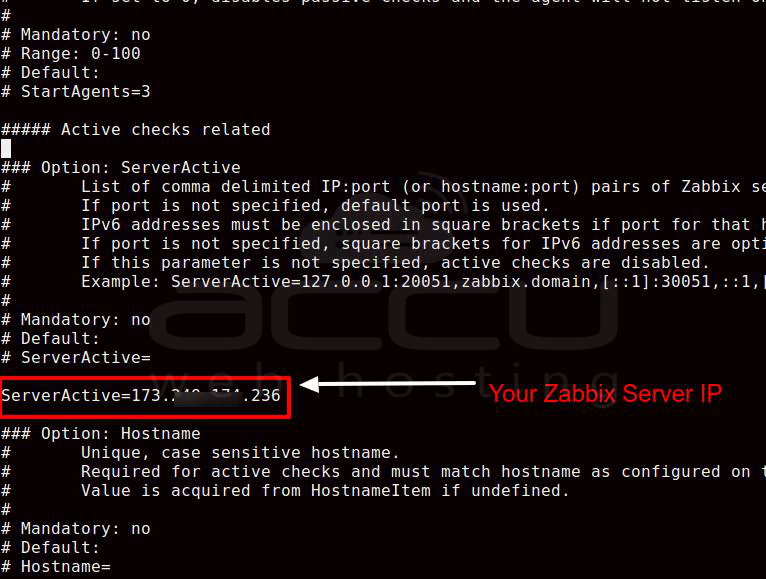
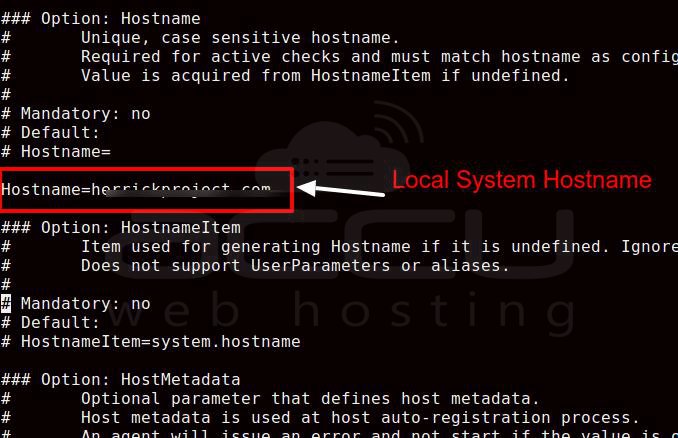
6. To configure Zabbix Agent, please go to the /etc/zabbix/zabbix_agentd.conf file, and update your Zabbix server IP Address, active IP Address, and server hostname.
# sudo nano /etc/zabbix/zabbix_agentd.conf
7. Let us restart the Zabbix Agent Service.
# sudo systemctl enable zabbix-agent
# sudo systemctl start zabbix-agent
You have successfully installed the Zabbix Agent Version 3.0 on Debian 9 (Stretch).
