
Jenkins is an open-source and free tool for developers to develop, test and deploy the code continuously; it is developed in Java. The primary function of Jenkins is to automate the task, which helps to save time in the development process.
Following are the steps to install Jenkins on Centos 7.
1. We will Install JAVA 8 to use the Jenkins function
# sudo yum install java-1.8.0-openjdk-devel
2. Verify the JAVA version –
# java –version
3. Add Jenkins repository on Centos with this command –
# curl --silent --location http://pkg.jenkins-ci.org/redhat-stable/jenkins.repo | sudo tee /etc/yum.repos.d/jenkins.repo
4. Add Repository in the system with the command given below –
# sudo rpm --import https://jenkins-ci.org/redhat/jenkins-ci.org.key
5. After installation of the Repository, install Jenkins using this command –
# sudo yum install jenkins
6. Start Jenkins and enable the Jenkins service to start on system boot.
# sudo systemctl start jenkins
# sudo systemctl enable Jenkins
7. Jenkins uses port 8080.
If you have the Firewall enabled, you will need to allow the port in the Firewall.
# sudo firewall-cmd --permanent --zone=public --add-port=8080/tcp # sudo firewall-cmd –reload
8. Open Jenkins in the web browser with IP_Address:8080.
We will set up Jenkins further.
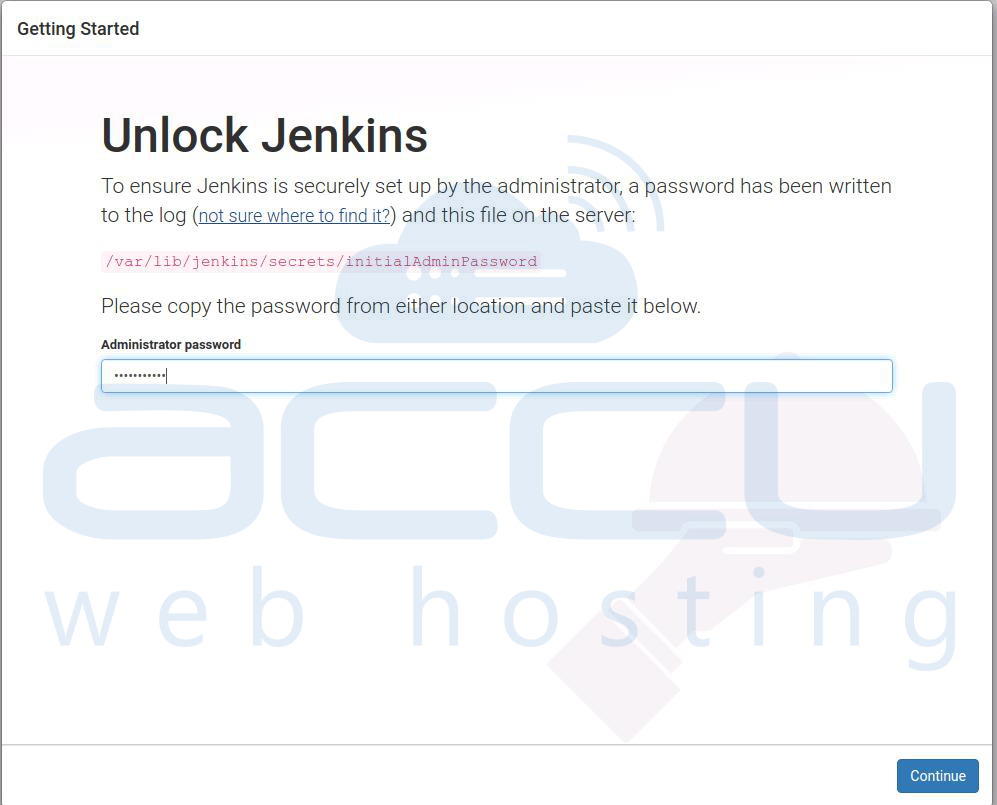
9. Once you access Jenkins in the web browser, it will ask for the password.
Execute the below command to view the password –
# sudo cat /var/lib/jenkins/secrets/initialAdminPassword
Output :
9a6f2643bd164d9588401d19f073b60d
10. Copy the password from the terminal and paste it into your Jenkins setup.
11. Click on the Install suggested plugins box.
It will start the installation process.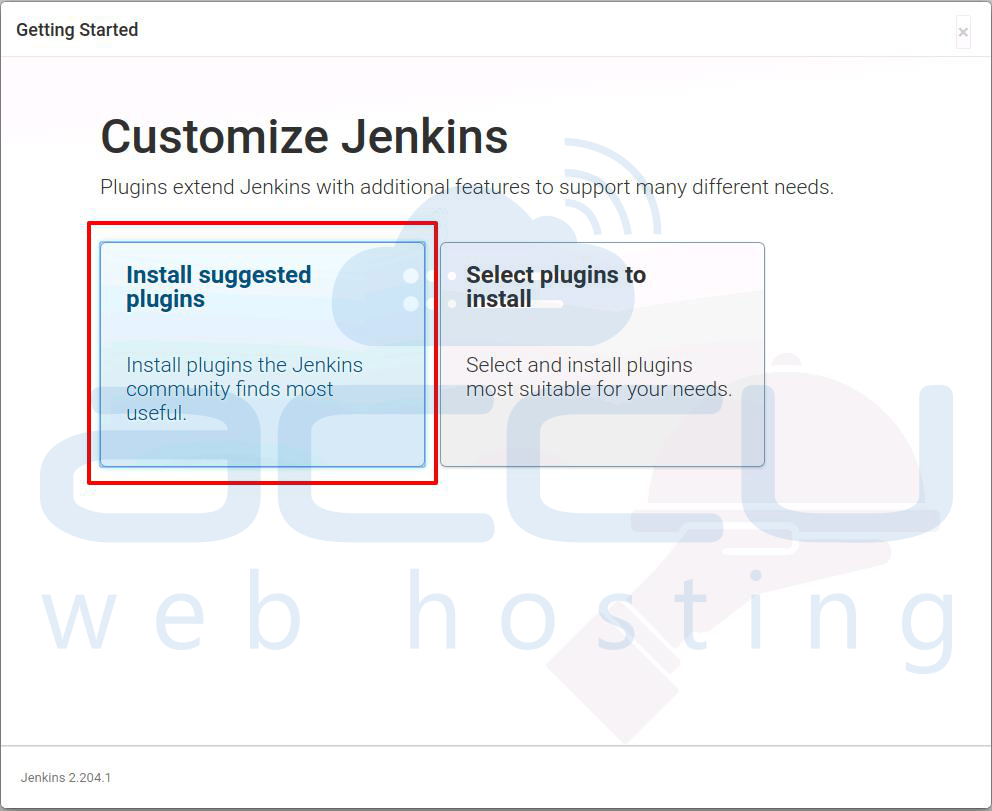
12. Enter your credentials to Create First Admin User.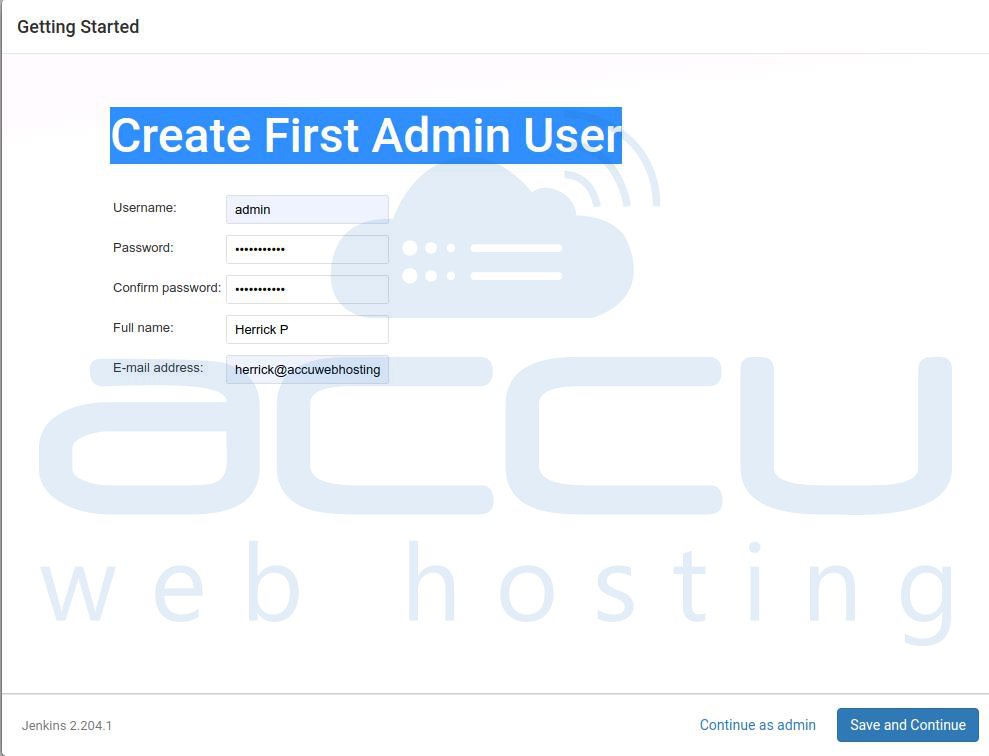
13. Confirm the URL for Jenkins and click on Save and Finish.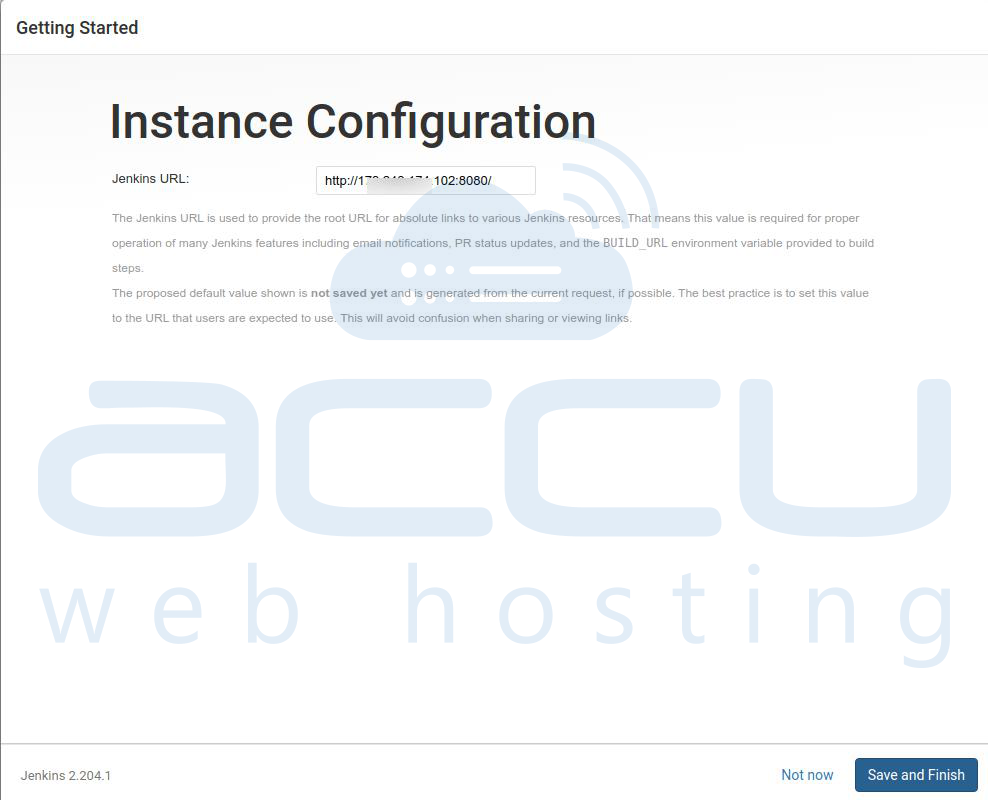
14. At last, click on the Start using the Jenkins button.
It will redirect you to the Jenkins Dashboard.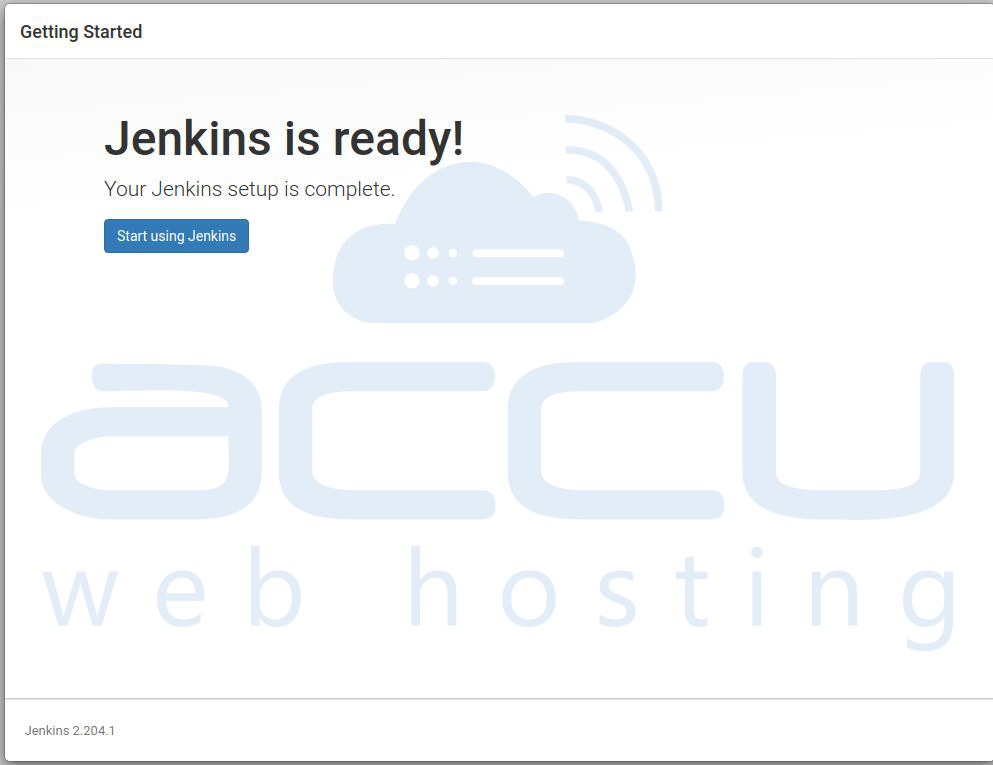
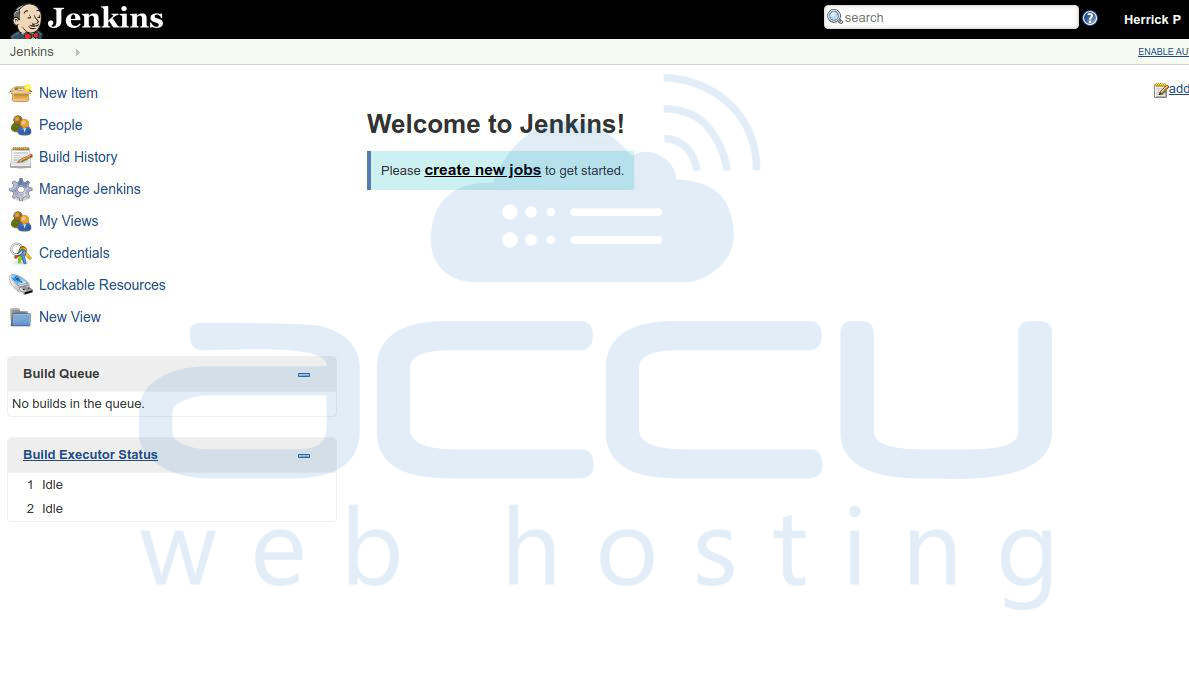
Jenkins’ installation is complete now.