Redis (Remote Dictionary Server) is a high-performance, open-source, in-memory key-value data store used for caching, real-time analytics, session management, and message brokering. It supports various data structures like strings, lists, sets, and more.
In this article, you will learn how to install and configure Redis on an Ubuntu server, including setting memory limits and password protection.
Install Redis Server
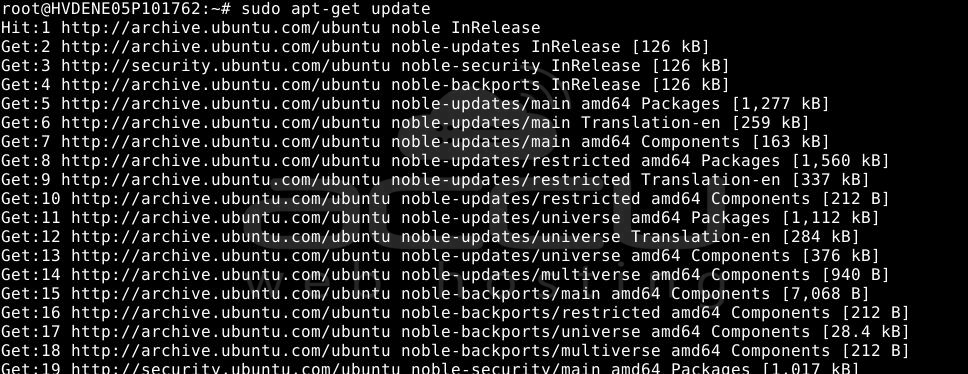
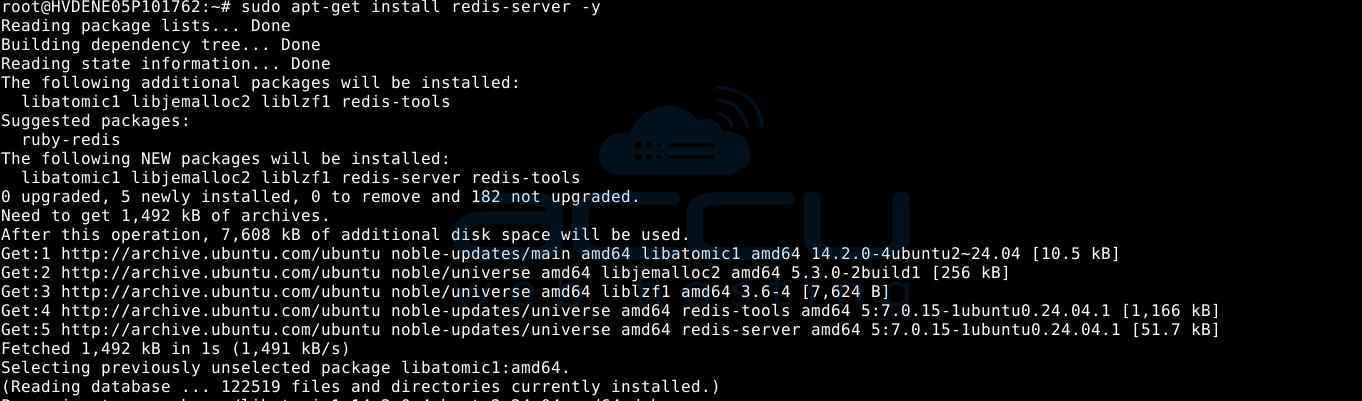
Step 1: Update the package list and install Redis.
sudo apt-get update
sudo apt-get install redis-server -y
Step 2: After installation, verify that Redis is running:
redis-cli
Step 3: At the Redis prompt, run:
127.0.0.1:6379> PING
If Redis responds with PONG,
This means the installation is successful.

Step 4: To exit the Redis CLI:
127.0.0.1:6379> EXIT

Configure Redis (Memory Limit & Password)
Step 1: Open the Redis configuration file.
sudo nano /etc/redis/redis.conf
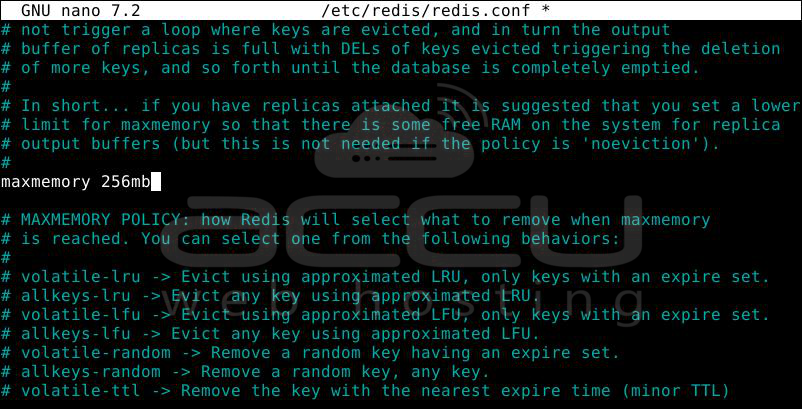
Step 2: Set Memory Usage Limit:
Search for maxmemory (press Ctrl + W, type maxmemory, then press Enter). Uncomment and set your desired limit (e.g., 256 MB):
maxmemory 256mb
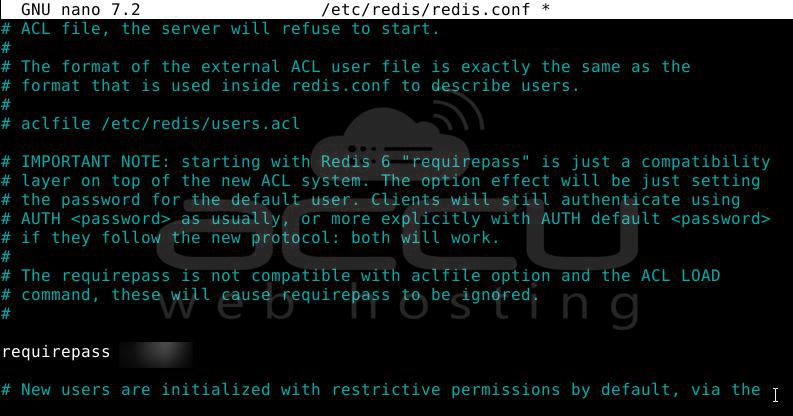
Step 3: Set Password Protection:
Search for requirepass using Ctrl + W, then type:
requirepass YourSecurePasswordHere
Step 4: Save and exit. Press Ctrl + X, then Y, then the Enter key to save the configuration.
Step 5: Restart Redis to apply changes.
sudo systemctl restart redis
Step 6: Check the Redis service status:
sudo systemctl status redis
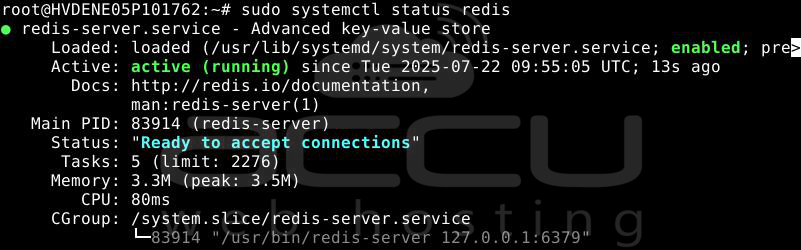
If it’s running properly, you'll see active (running).
Conclusion:
You've successfully installed Redis on your Ubuntu server and configured it for security and memory limits. Redis is now ready to be used as a fast, reliable caching layer or message broker in your applications. For enhanced security, ensure that you use a strong password and configure Redis to only listen to trusted network interfaces if it is exposed publicly.
