The LEMP stack is a popular set of open-source software used for web hosting and application development. It consists of the following components:
- L – Linux: The operating system that provides the base layer.
- E – Nginx (pronounced "Engine-X"): A high-performance web server used as a reverse proxy or load balancer.
- M – MariaDB: A drop-in replacement for MySQL, used as the relational database management system.
- P – PHP: A widely used server-side scripting language for dynamic web applications.
Together, these components provide a reliable and efficient environment for deploying web-based applications.
You can follow the steps below to install LEMP on Ubuntu.
Install Nginx:
Step 1: Update the Ubuntu package.
# sudo apt update
# sudo apt upgrade
Step 2: Install the Nginx web server; it is a high-performance server and is used as a reverse proxy.
# sudo apt install Nginx
Step 3: Start and enable Nginx. It will auto-start Nginx at boot time.
# sudo systemctl start nginx
# sudo systemctl enable nginx
Step 4: You can check the Nginx version with the command below.
# nginx -v
nginx version: nginx/1.14.0 (Ubuntu)
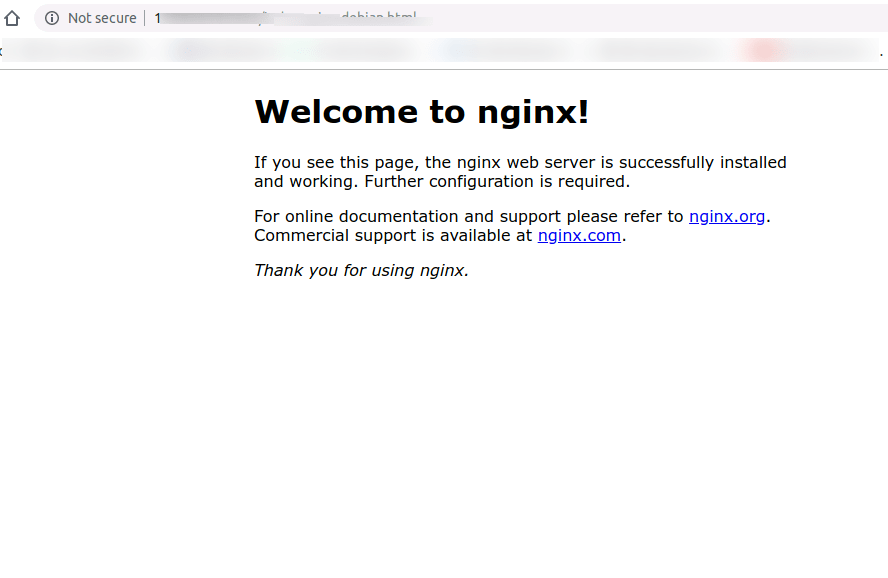
You can access the server IP address in a browser, which will bring up the default Nginx page.
We can set www-data (the Nginx user) as the owner of the web directory.
# sudo chown www-data:www-data /usr/share/nginx/html -R
Install MariaDB:
Step 1: Install MariaDB with the command below; MariaDB is a replacement for MySQL.
# sudo apt install mariadb-server mariadb-client
Step 2: Start and enable MariaDB; it will auto-start at boot time.
# sudo systemctl start mariadb
# sudo systemctl enable mariadb
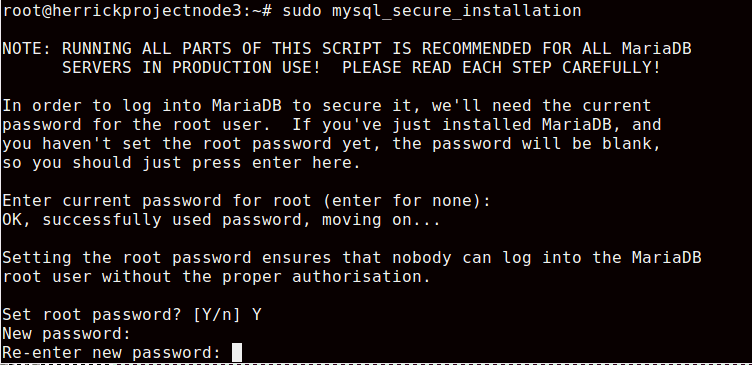
Step 3: Run the command below for the post-installation security script.
# sudo mysql_secure_installation
Step 4: Enter the MySQL root password, confirm the password, and set the required configuration.
Step 5: Verify the MariaDB version with the following command:
# mariadb –version
It will give the following output:

Install PHP:
Step 1: PHP 7.2 is included with the default Ubuntu Repository for 18.04. However, please enter the following command to install PHP 7.2 with some common extensions.
# sudo apt install php7.2 php7.2-fpm php7.2-mysql php-common \
php7.2-cli php7.2-common php7.2-json php7.2-opcache php7.2-readline \
php7.2-mbstring php7.2-xml php7.2-gd php7.2-curl
Step 2: Start and enable the PHP 7.2-fpm; it will auto-start PHP at boot time.
# sudo systemctl start php7.2-fpm
# sudo systemctl enable php7.2-fpm
Step 3: Run the below command to remove the default symlink in the sites-enabled directory.
# sudo rm /etc/nginx/sites-enabled/default
Step 4: Create a new server block file inside /etc/nginx/conf.d/ directory.
# sudo nano /etc/nginx/conf.d/default.conf
Step 5: Add the below text in default. conf
server {
  listen 80;
  listen [::]:80;
  server_name _;
  root /usr/share/nginx/html/;
  index index.php index.html index.htm index.nginx-debian.html;

  location / {
    try_files $uri $uri/ /index.php;
  }

  location ~ \.php$ {
    fastcgi_pass unix:/run/php/php7.2-fpm.sock;
    fastcgi_param SCRIPT_FILENAME $document_root$fastcgi_script_name;
    include fastcgi_params;
    include snippets/fastcgi-php.conf;
  }

 # A long browser cache lifetime can speed up repeat visits to your page
  location ~* \.(jpg|jpeg|gif|png|webp|svg|woff|woff2|ttf|css|js|ico|xml)$ {
       access_log       off;
       log_not_found    off;
       expires          360d;
  }

  # disable access to hidden files
  location ~ /\.ht {
      access_log off;
      log_not_found off;
      deny all;
  }
}
Step 6: Save and close it, and restart the Nginx service.
# sudo systemctl reload nginx
Step 7: We will test the PHP-FPM with the NGINX web server. Let us create the phpinfo.php page in the root directory.
sudo nano /usr/share/nginx/html/info.php
Step 8: Paste the PHP info code as shown below:
<?php phpinfo();?>
Conclusion:
By following the above steps, you’ve successfully installed the LEMP stack (Nginx, MariaDB, PHP 7.2) on your Ubuntu 18.04 LTS server. You now have a robust and secure foundation for hosting PHP-based applications like WordPress, Laravel, or custom websites.
