Docker is an open-source platform designed to automate the deployment, scaling, and management of applications inside lightweight containers. Containers are isolated environments that package code, libraries, and dependencies together, ensuring consistent behavior across development, staging, and production. This makes Docker an essential tool for DevOps, microservices, and cloud-native development.
In this step-by-step guide, we’ll walk you through how to install Docker Community Edition (CE) on an Ubuntu 18.04 LTS system.
Step 1: Remove Old Docker Versions:
Before proceeding with the installation, it’s important to remove any outdated Docker packages that may be present on the system. This helps avoid conflicts during installation.
# sudo apt-get purge docker docker-engine docker.io containerd runc
Note: This command only removes the Docker binaries. Your existing containers, images, and volumes will remain intact in the /var/lib/docker/ directory unless explicitly deleted.
Step 2: Install Required Dependencies:
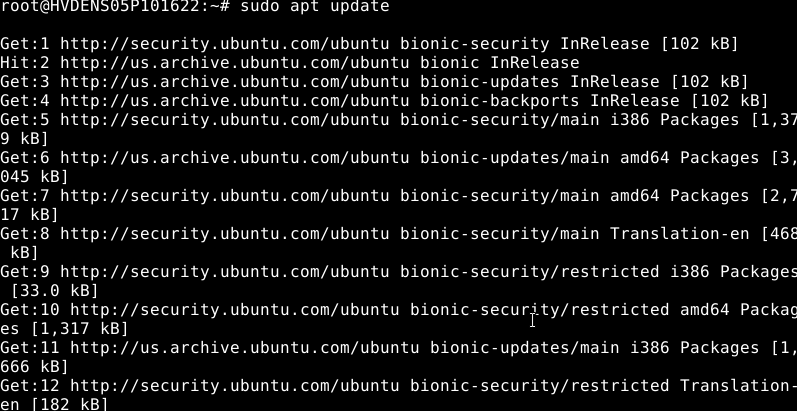
Docker relies on a few prerequisite packages to set up the repository and communicate securely over HTTPS. Update your package list and install these dependencies:
# sudo apt update
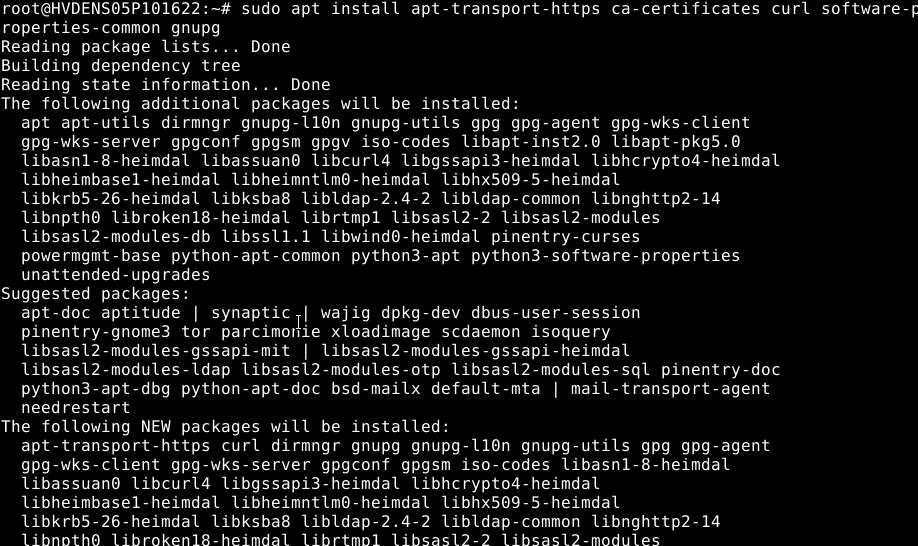
# sudo apt install -y apt-transport-https \

  ca-certificates \

  software-properties-common gnupg
These packages allow apt to use HTTPS for secure downloads and enable support for additional repositories.
Step 3: Add Docker’s Official GPG Key:
Docker signs its packages using GPG keys to ensure software integrity and authenticity. Add the official Docker GPG key to your system
This command downloads the GPG key and stores it in a secure location where apt can access it for verification.
# curl -fsSL https://download.docker.com/linux/ubuntu/gpg \

  | sudo gpg --dearmor \

    -o /usr/share/keyrings/docker-archive-keyring.gpg

Step 4: Add the Docker APT Repository:
With the GPG key added, now you can configure the Docker repository for Ubuntu. This ensures you’ll always receive the latest stable Docker updates directly from Docker Inc.
# echo "deb [arch=amd64 signed-by=/usr/share/keyrings/docker-archive-keyring.gpg] \

https://download.docker.com/linux/ubuntu $(lsb_release -cs) stable" | \

sudo tee /etc/apt/sources.list.d/docker.list > /dev/null

Step 5: Install Docker CE (Community Edition):
Now, update your package index to include the Docker repository and install Docker CE:
# sudo apt-get update
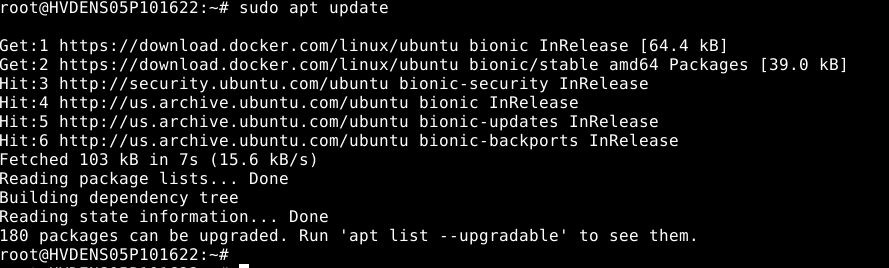
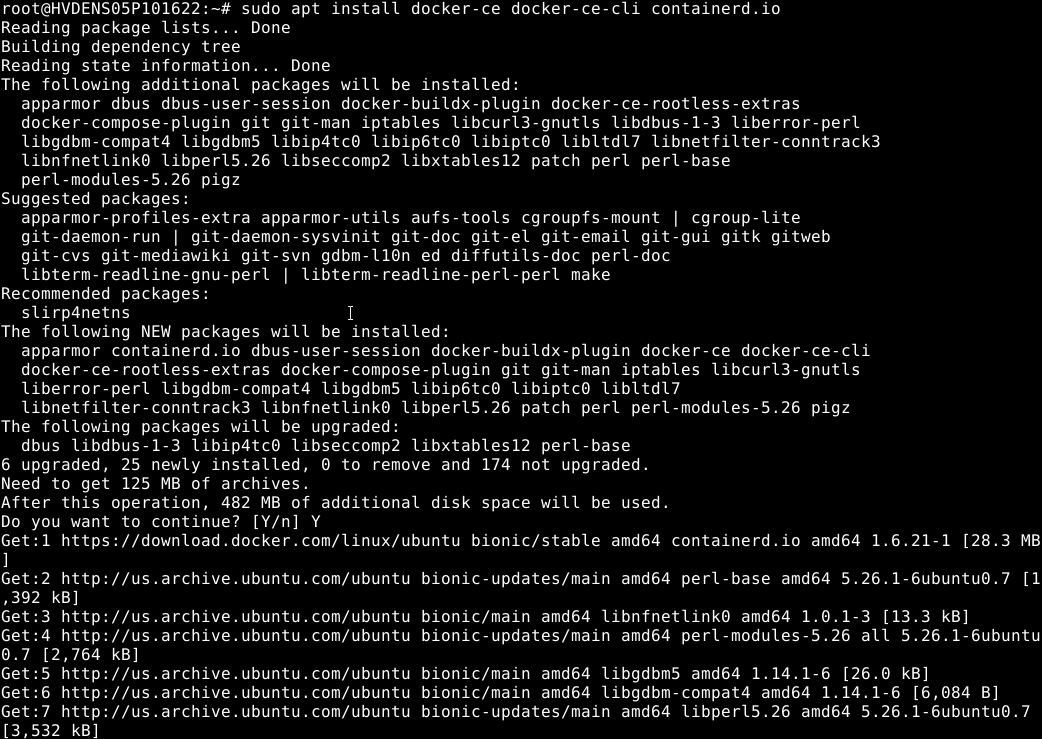
This command installs the latest stable release of Docker CE and its associated tools.
# sudo apt-get install -y docker-ce
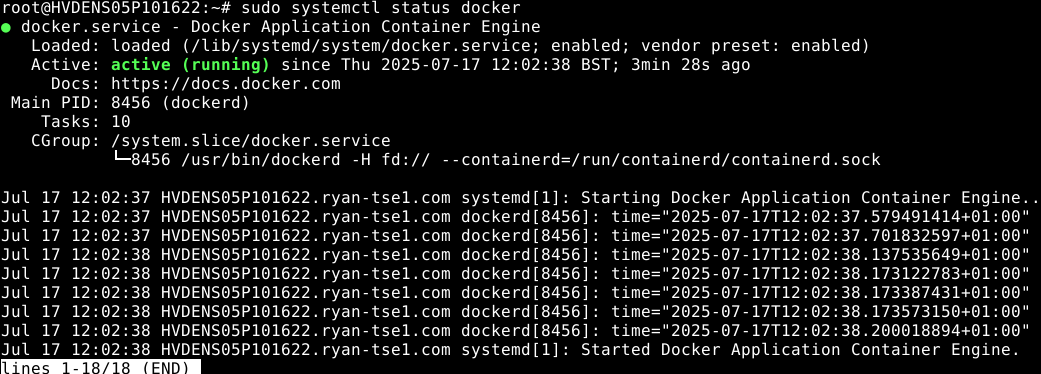
Step 6: Verify Docker Installation and Service Status:
To confirm that Docker is installed correctly and running, check its status using
# sudo systemctl status docker
You should see output indicating Docker is active (running).
If Docker is not running, you can start it using the command below:
# sudo systemctl start docker
Conclusion:
Installing Docker on Ubuntu 18.04 LTS provides a powerful foundation for containerized application development and deployment...
- Run isolated applications using lightweight containers.
- Simplify the development-to-production workflow.
- Leverage Docker Hub or create your own private container registry.
- Build scalable, portable, and consistent environments across your infrastructure.
By following this guide, you've set up Docker Community Edition (CE) using the official Docker repository—ensuring access to the latest stable updates and security patches.
