File Transfer Protocol (FTP) is a widely used protocol for transferring files between computers over a network. It follows a client-server model where the FTP client initiates the request, and the FTP server responds by allowing access to files or directories.
On Ubuntu systems, vsftpd (Very Secure FTP Daemon) is a popular and secure FTP server option. In this guide, we’ll walk you through how to install and configure vsftpd on Ubuntu 18.04, allowing secure, authenticated access to server files using an FTP client like FileZilla.
Note: It is always recommended to use authenticated FTP access instead of allowing anonymous logins, as it enhances security by limiting access to only authorized users.
Step-by-Step Guide on Installing FTP Server on Ubuntu
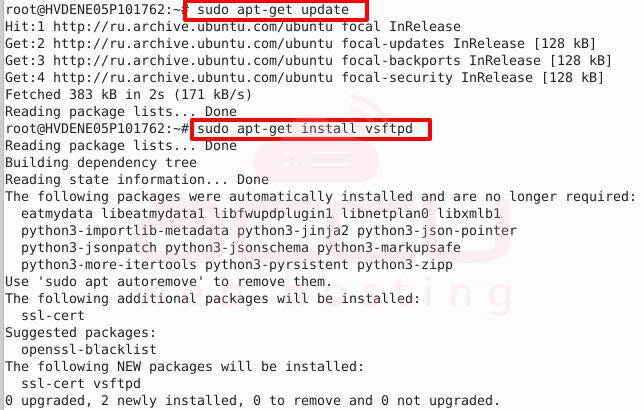
Step 1: Install vsftpd
# sudo apt-get update
# sudo apt-get install vsftpd
Step 2: Enable Local User Login
Edit the vsftpd.conf file:
# sudo nano /etc/vsftpd.conf
Ensure the following line is set to allow local users to log in:
local_enable=YES
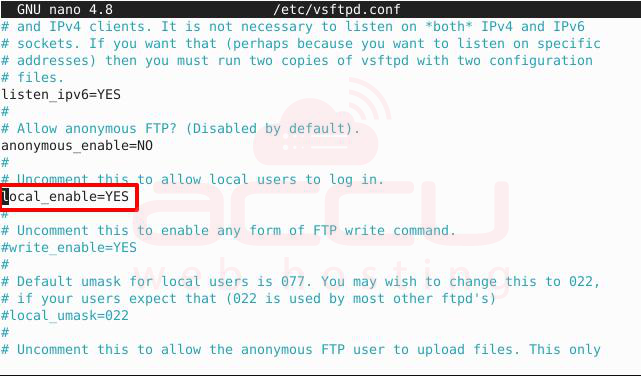
This is usually enabled by default.
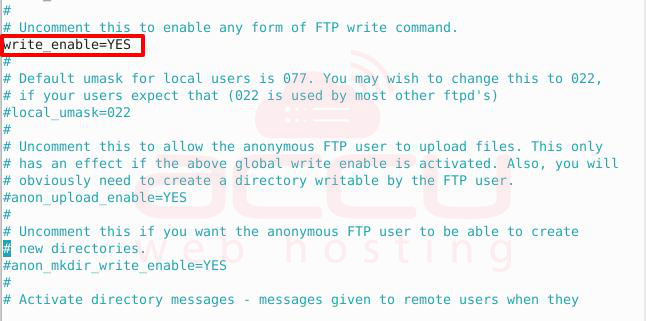
Step 3: Allow Write Permissions
To allow users to upload or modify files, uncomment the following line:
write_enable=YES
Remove the # symbol at the beginning if it's commented.
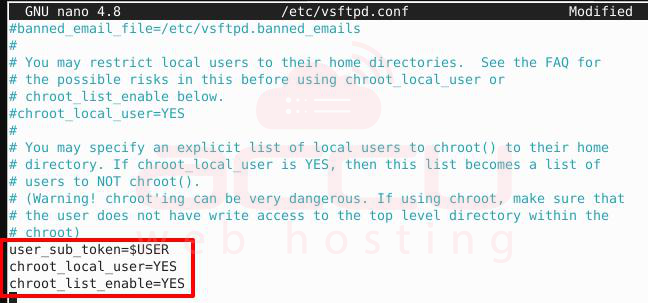
Step 4: Configure Chroot Settings
To prevent users from accessing directories outside their home directories (a key security feature), configure these parameters:
user_sub_token=$USER
chroot_local_user=YES
chroot_list_enable=YES
Step 5: Set Chroot List File and Local Root
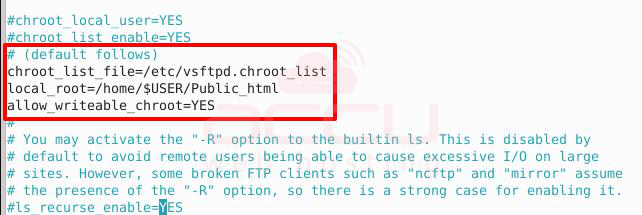
Inside # (default follows), set the default ‘chroot’ settings. If these lines do not exist in the configuration file, add them:
chroot_list_file=/etc/vsftpd.chroot_list
local_root=/home/$USER/Public_html
allow_writeable_chroot=YES
Step 6: Enable Recursive Directory Listing
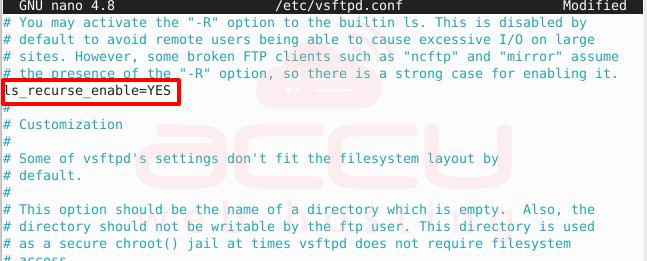
Uncomment the following line to enable directory recursion in listings:
ls_recurse_enable=YES
Step 7: Save and Exit
Press CTRL+X, then Y, and Enter to save the file and exit the editor.
Step 8: Add Users to Chroot List
To allow specific users access to their home directories via FTP, add them to the chroot list:
# sudo nano /etc/vsftpd.chroot_list
Add one username per line. For example:
testuser
John
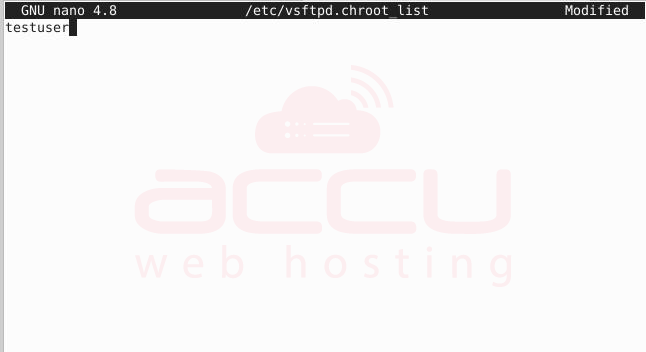
Note that only users listed here will be allowed to connect to the FTP server.
Step 9: Restart the vsftpd Service
To apply all changes, restart the FTP service.
# sudo systemctl restart vsftpd

Step 10: Retrieve Server IP Address
Use the ifconfig or ip command to find your server’s IP address:
# ifconfig
Step 11: Connect via FTP Client (e.g., FileZilla)
Open FileZilla or any FTP client and use the following details:
- Host: <your-server-ip>
- Port: 21
- Username: FTP user you added (e.g., testuser)
- Password: Password for that user
You should now be able to browse and manage files on your server via FTP.
Conclusion
Setting up an FTP server on Ubuntu using vsftpd provides a reliable and secure method for file transfers between systems. By following the above steps, you ensure that only authenticated users can connect and that they are restricted to their directories, improving overall system security. Always remember to configure permissions carefully and disable anonymous access to keep your data protected.
