WordPress is a widely used open-source CMS, and it is coded in PHP and MySQL. WordPress provides a few debug options to help you find the error logs. Once you find the error logs for the WordPress Website, it will be beneficial to fix your issues. The following are the tips to enable the PHP error log.
Enable Debug from the wp_config.php File
You can enable WordPress errors from the wp_config.php file. By Default error log will be disabled; you will need to make configuration changes to enable the Debug. WordPress uses PHP constants to enable debugging. You can edit the wp_config.php file and make the following changes. It will impact the entire WordPress installation to enable an error log.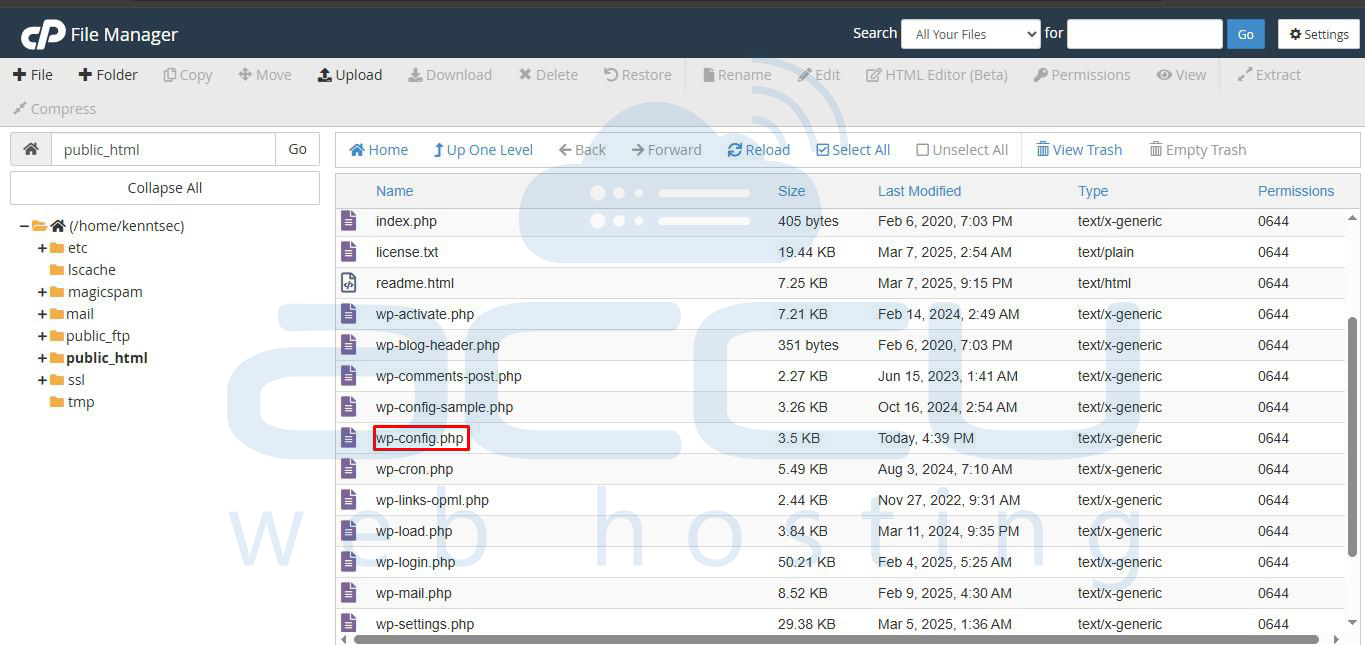
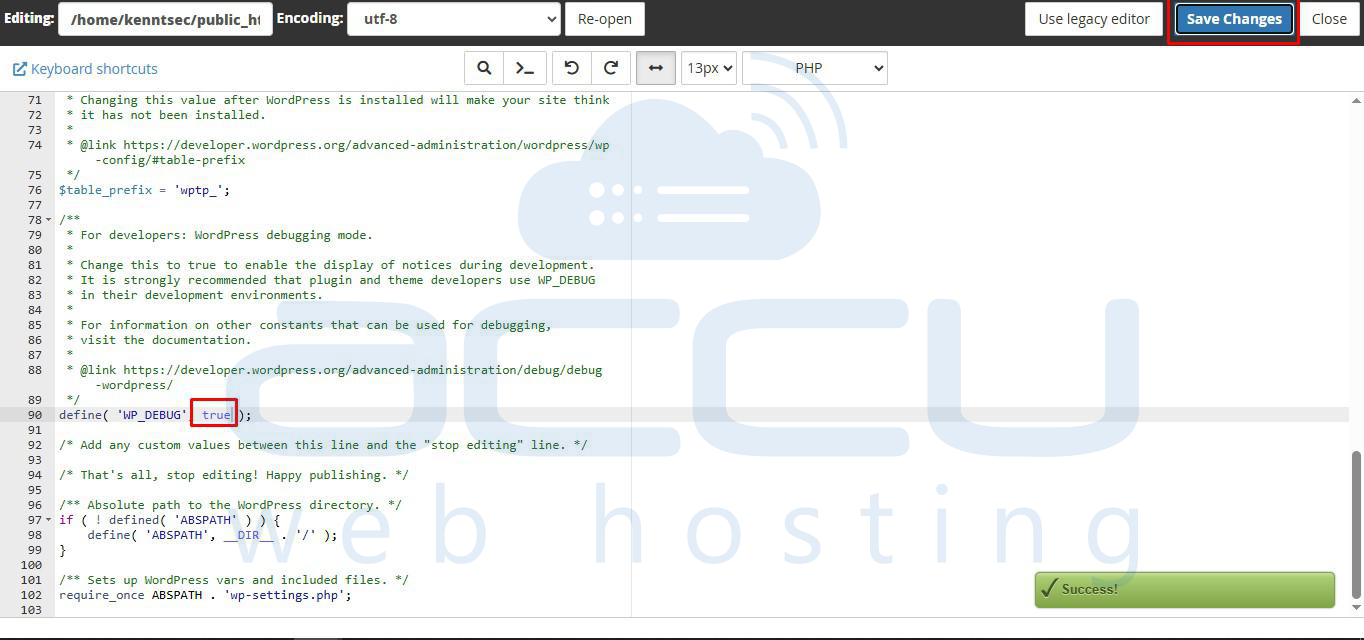
define( ‘WP_DEBUG’, true );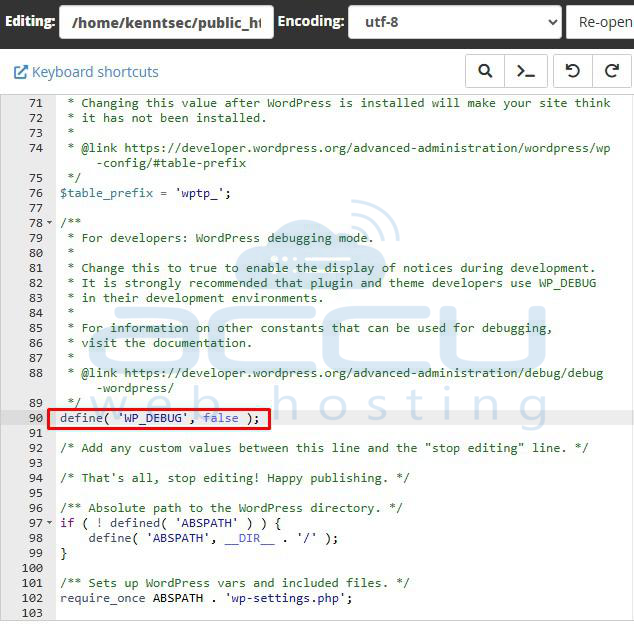
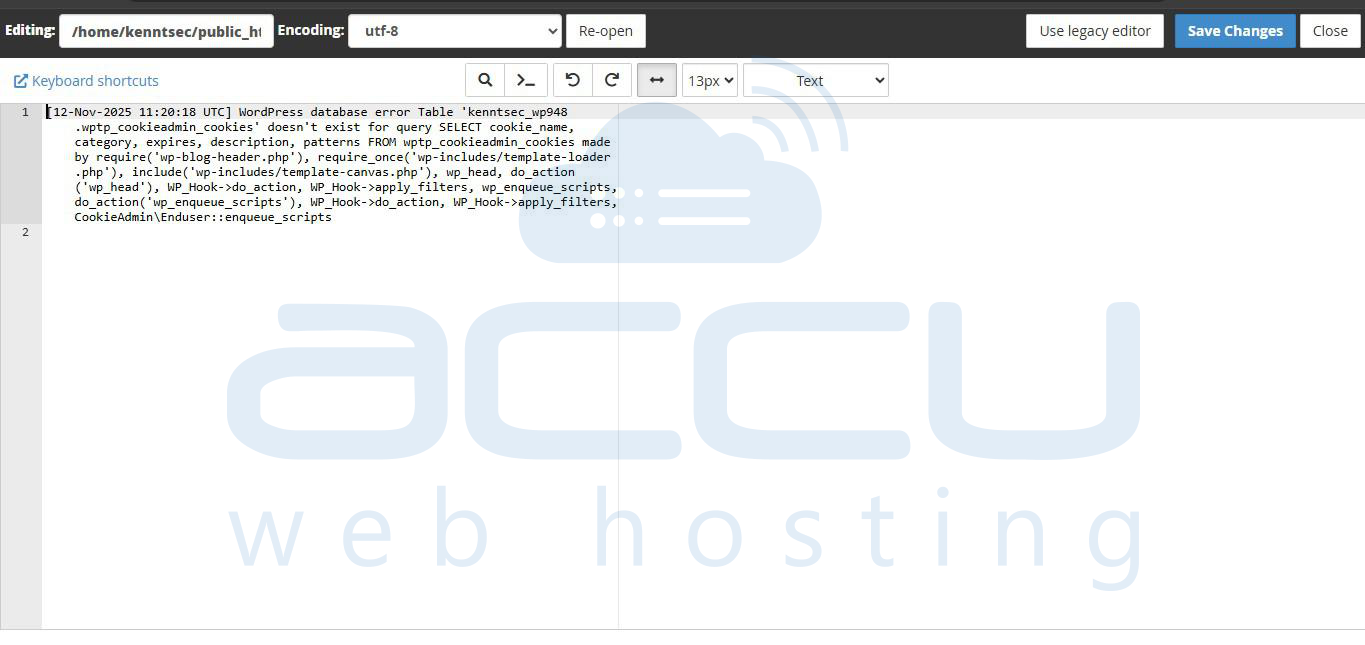
Once you enable the WordPress error log, all PHP errors, notices, and warnings will be displayed on your website. 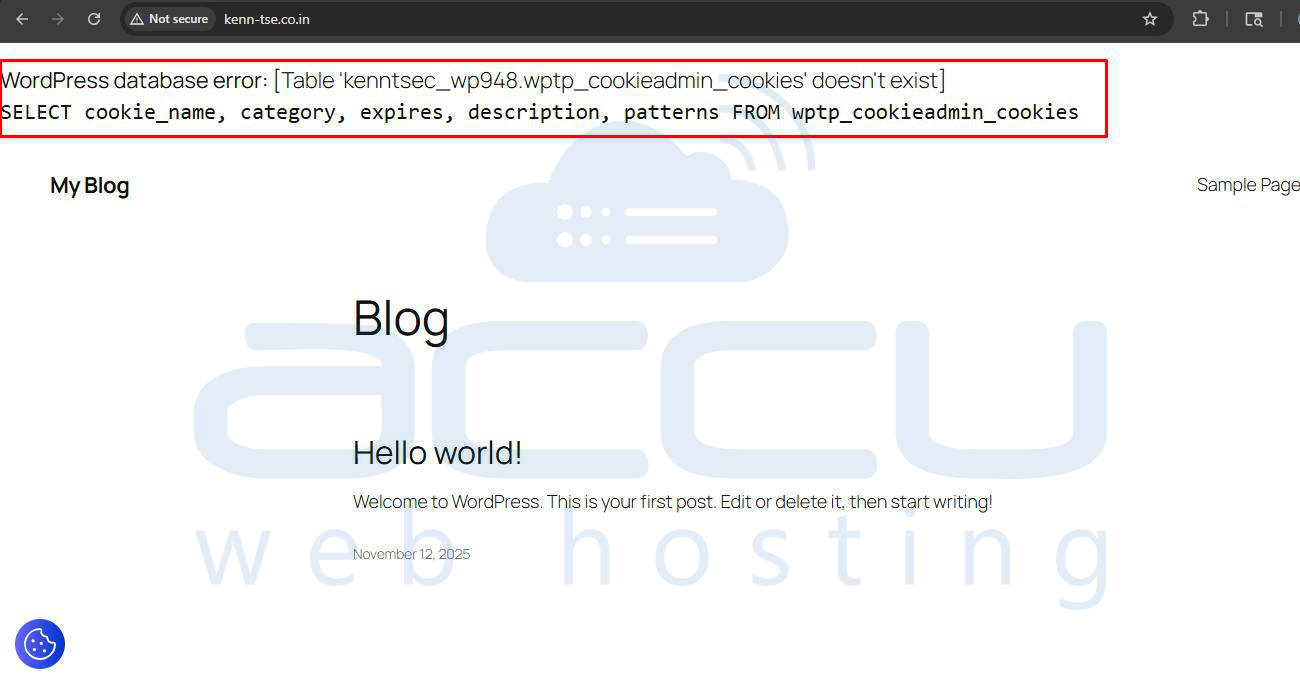
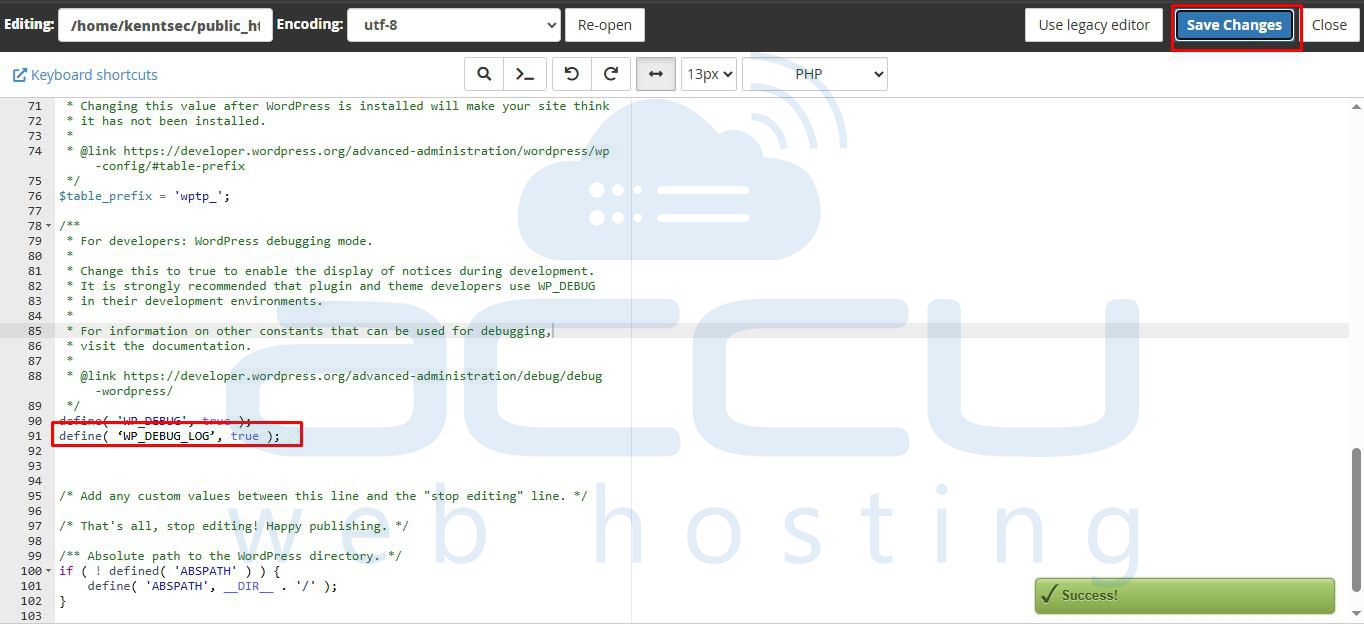
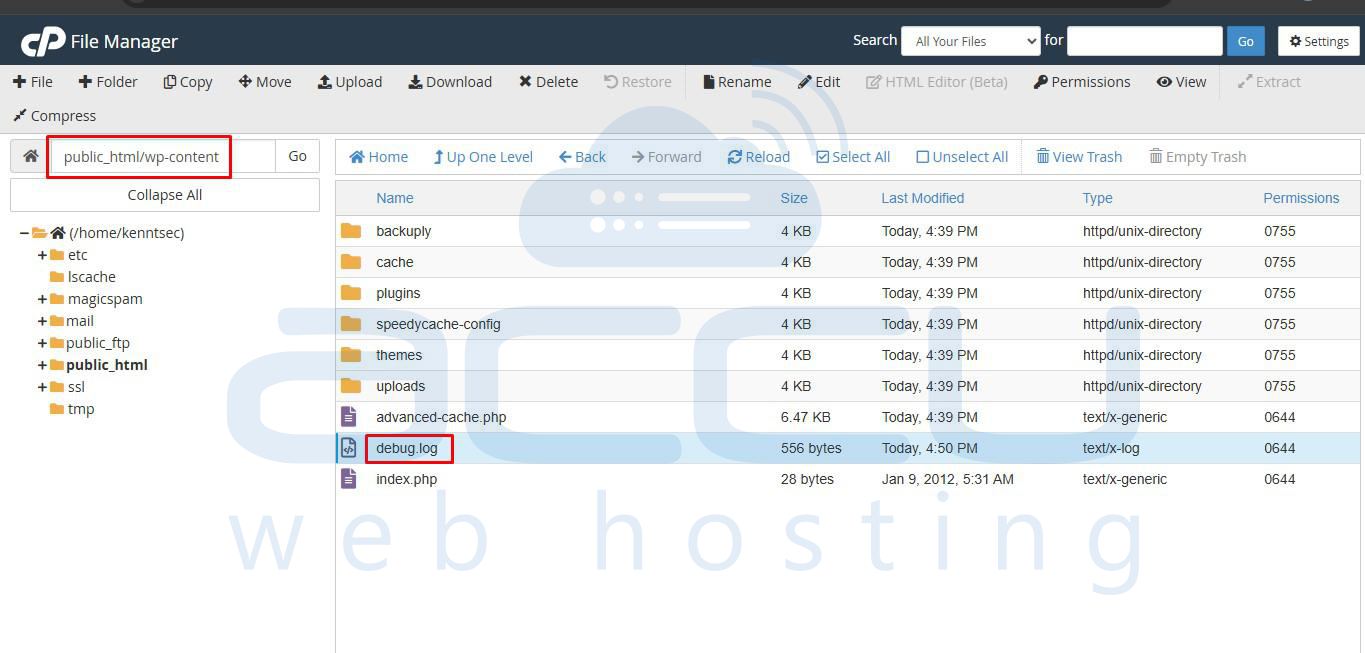
For example, you can enter the below line inside your wp_config.php file. It will store the error in the debug.log file located inside the wp-content.
define( ‘WP_DEBUG_LOG’, true );
WP_DEBG_DISPLAY will prevent errors from appearing on the website. By default, this option will be set to True; we need to make changes to disable it.
define( ‘WP_DEBUG_DISPLAY’, false );
We recommend you make the following changes in your WordPress .htaccess file to restrict the access of debug.php publiclly. You can also set 600 permission to the debug.php file. Once you do this, debug.php will not be accessible on the web. However, you can access the file within your WordPress.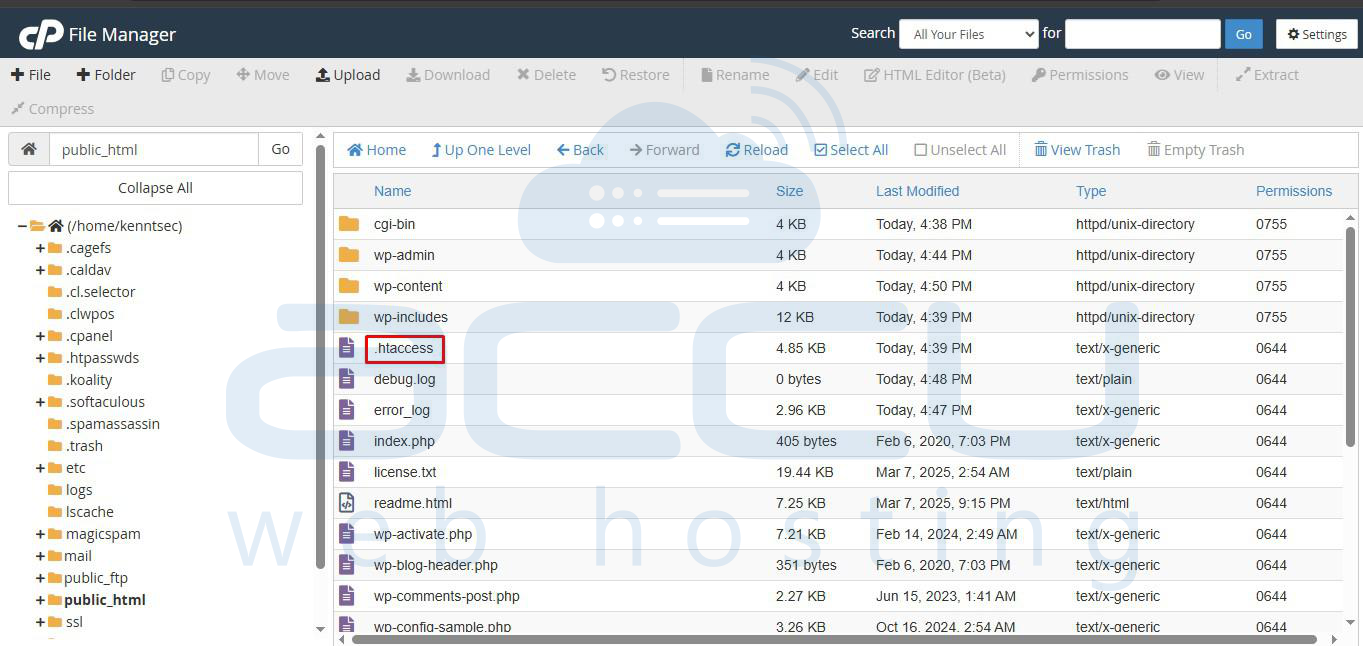
<Files debug.log>
Order allow,deny
Deny from all
<Files/>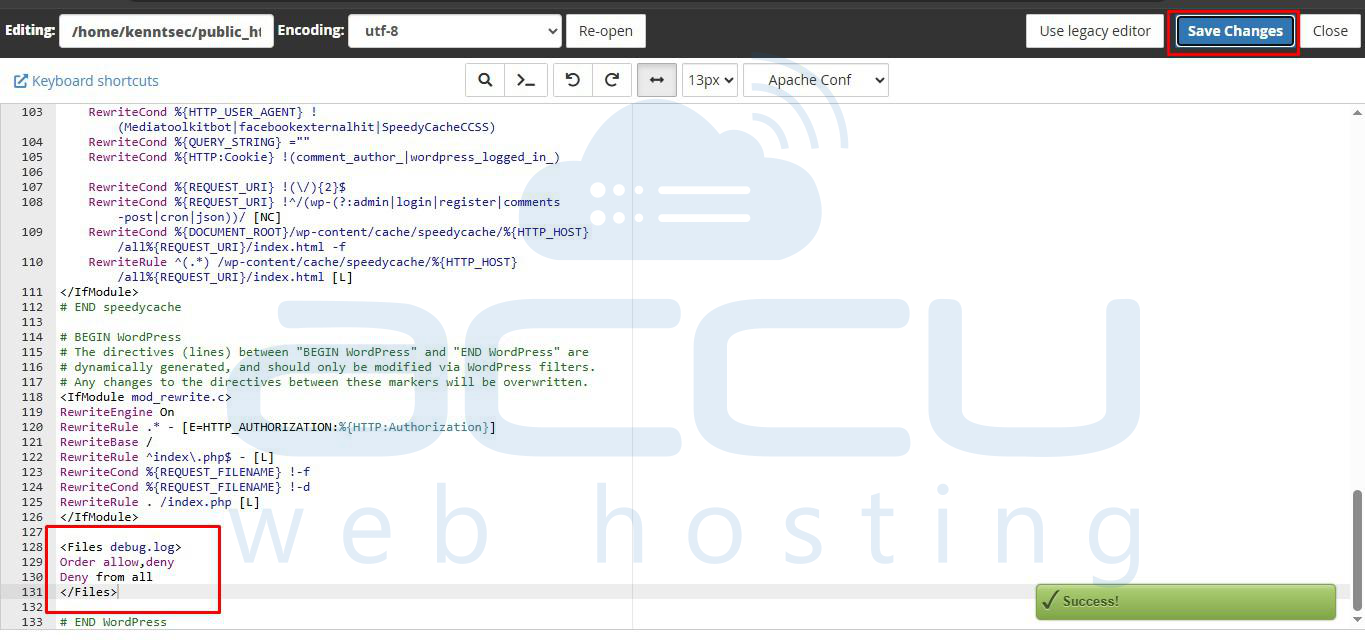
Conclusion:
Enabling the PHP error log in WordPress is a simple yet powerful way to identify and resolve issues efficiently. By turning on debugging through wp-config.php and securing the debug.log file, you can monitor errors safely without exposing sensitive information. Always remember to disable debugging once you’ve fixed the issue to maintain your site’s performance and security.
