The DNS Server Role installation is essential when you want to use the DNS service of your Windows VPS.
The DNS Role will be pre-installed and configured if you configure your Windows VPS with the complete OS Configuration. However, if you've chosen only OS Configuration.
In that case, this tutorial will help you install the DNS role on your Windows VPS.
Step 1: Connect to your Windows server via Remote Desktop.
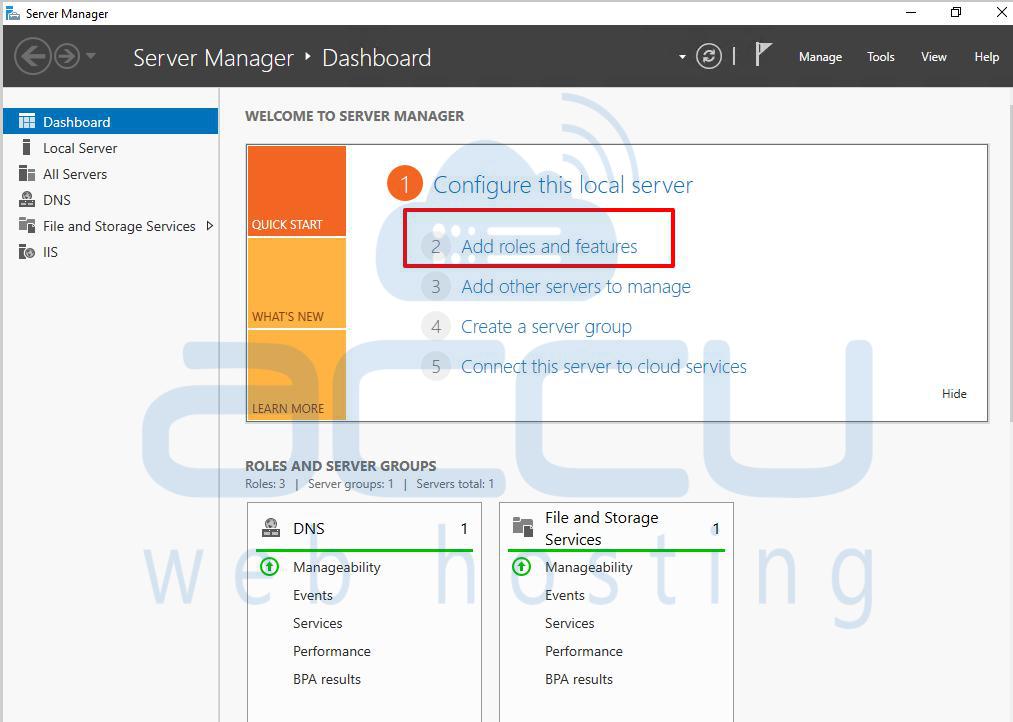
Step 2: Click the Server Manager icon on the taskbar or right-click on Computer and select the Manage button.
Step 3: On the Server Manager window, click on Roles → Add Roles.
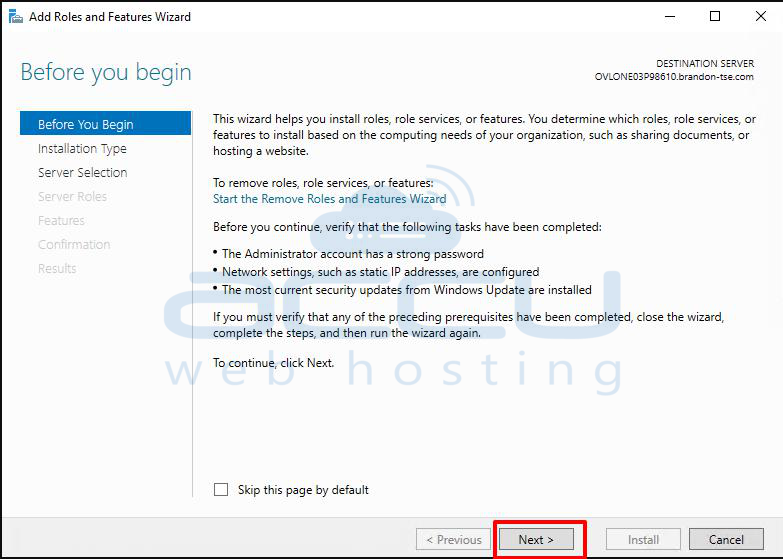
Step 4: On the Before You Begin screen, click Next.
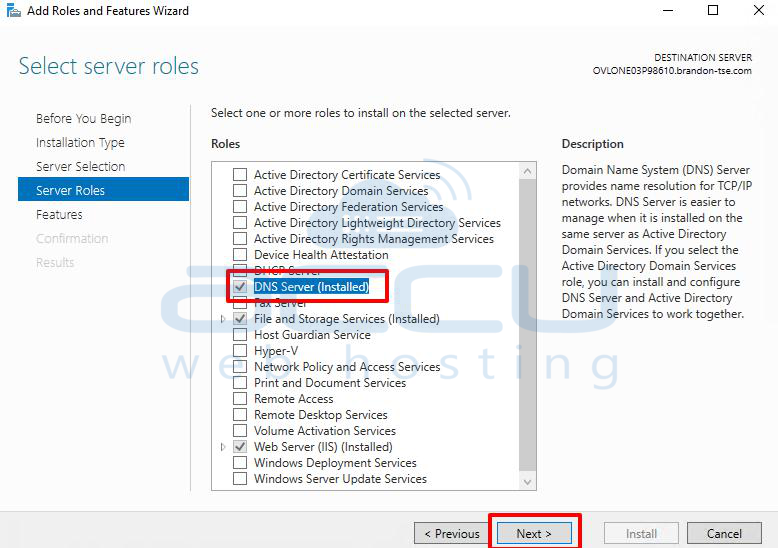
Step 5: From the list of available roles, check DNS Server and click Next.
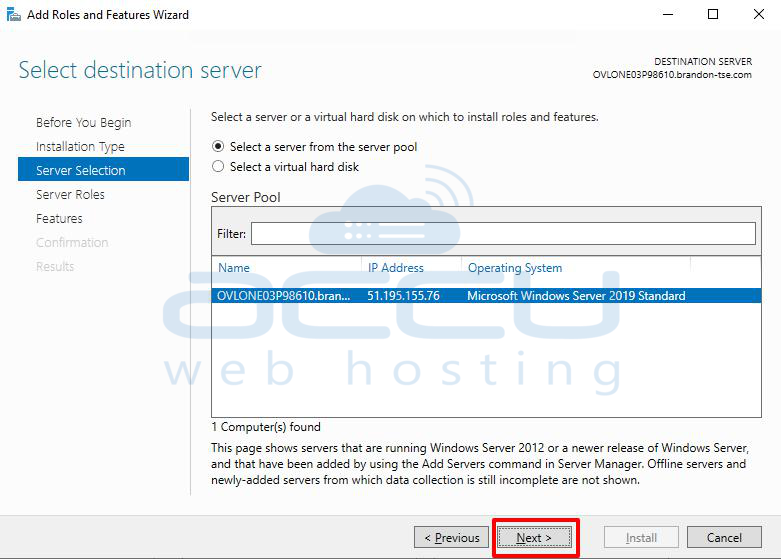
Step 6: In the server section, select the server and click Next.
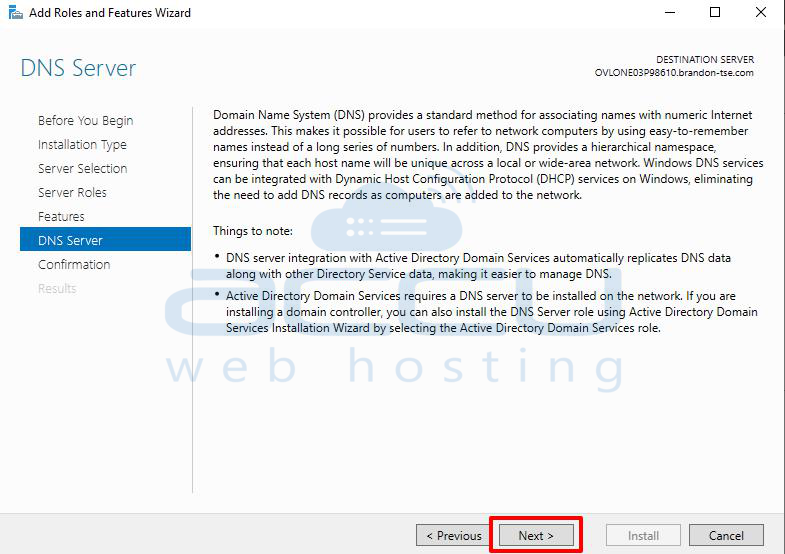
Step 7: Click Next in the DNS server screen.
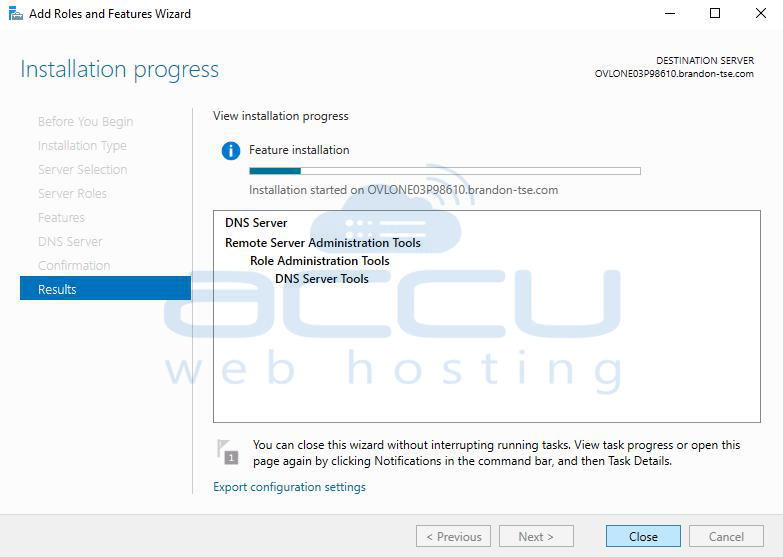
Step 8: In the confirmation screen, click Install.

Step 9: The installation will take a few minutes. Once completed, you will see a Post Installation Summary confirming the DNS Server Role was installed successfully.
Steps to Add a DNS Zone in DNS Manager
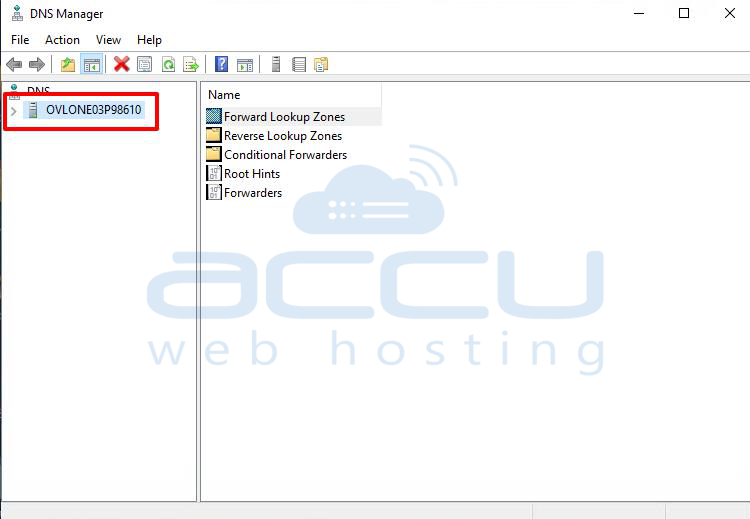
Step 1: Open DNS Manager. Click Start -> Administrative Tools -> DNS. Expand your server’s name.
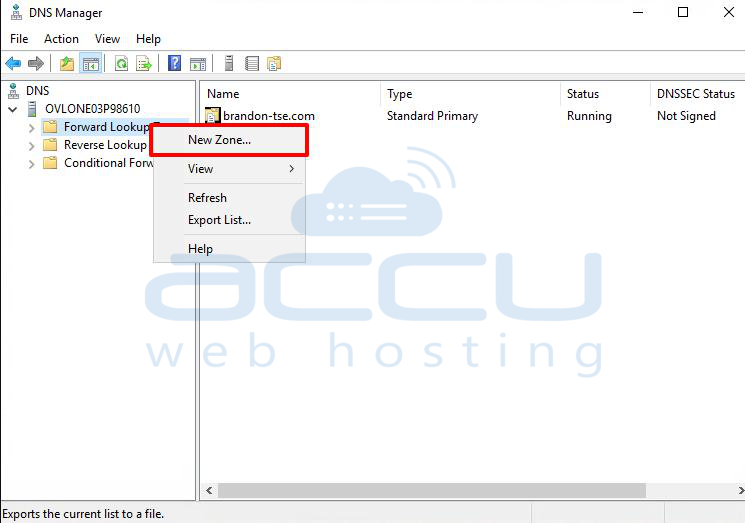
Step 2: Right-click Forward Lookup Zones -> New Zone.
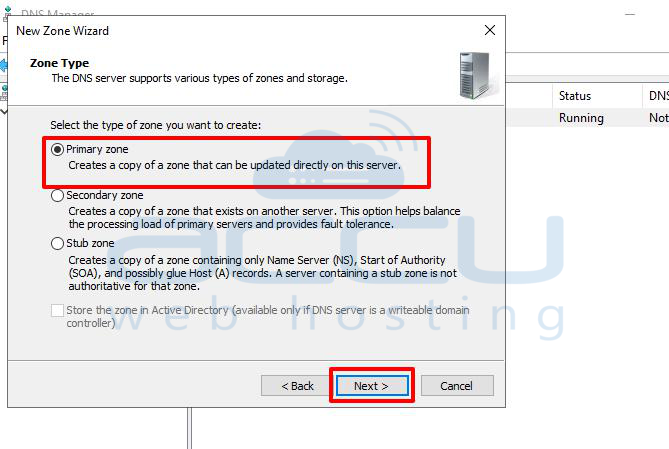
Step 3: Select Primary Zone and click Next.
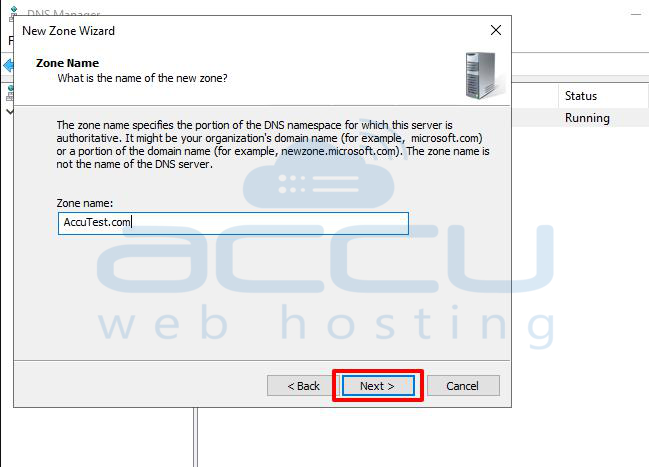
Step 4: In the Zone name, type your website domain name (e.g., example.com).
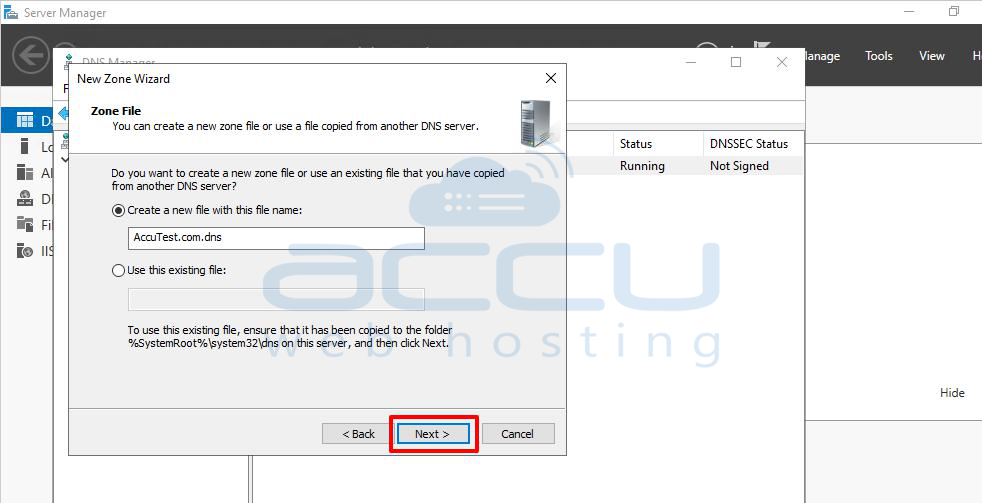
Step 5: Choose Create a new file with this file name.
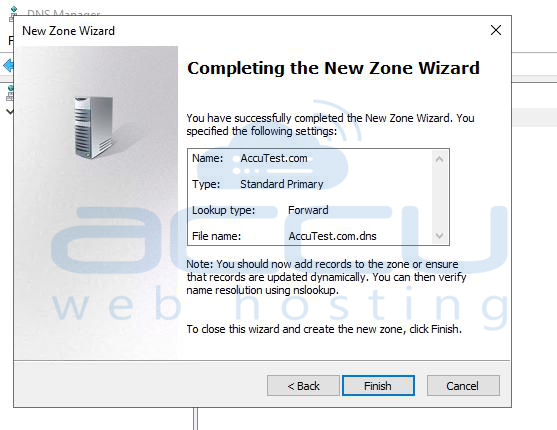
Step 6: Click Finish to complete the process.
Conclusion:
You have successfully installed the DNS Server Role and added a new DNS Zone to your Windows Server.
Once the DNS Zone is created, you can proceed to add DNS records (A, MX, CNAME, etc.) as per your requirements.
