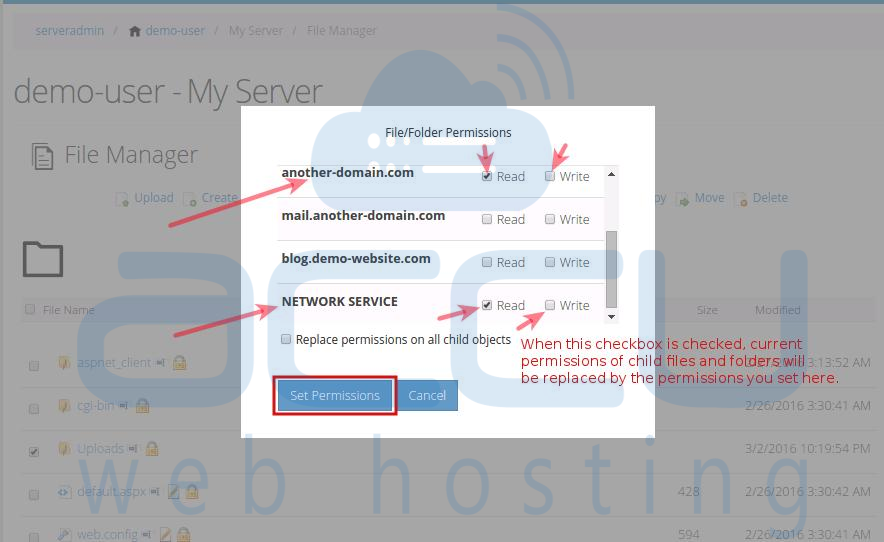
Sometimes you receive forbidden error telling you that you do not have the necessary permissions over certain files/folders to perform the operation. In such cases, you'll have to assign permissions to files/folders in question. The permissions can be assigned through Windows file explorer via Remote Desktop. If you are not comfortable with it, you can always use WebsitePanel file manager. Read this tutorial further to assign permissions via WebsitePanel 2.1.
- Login to WebsitePanel. WebsitePanel is located at URL http://your-vps-ip:9001.
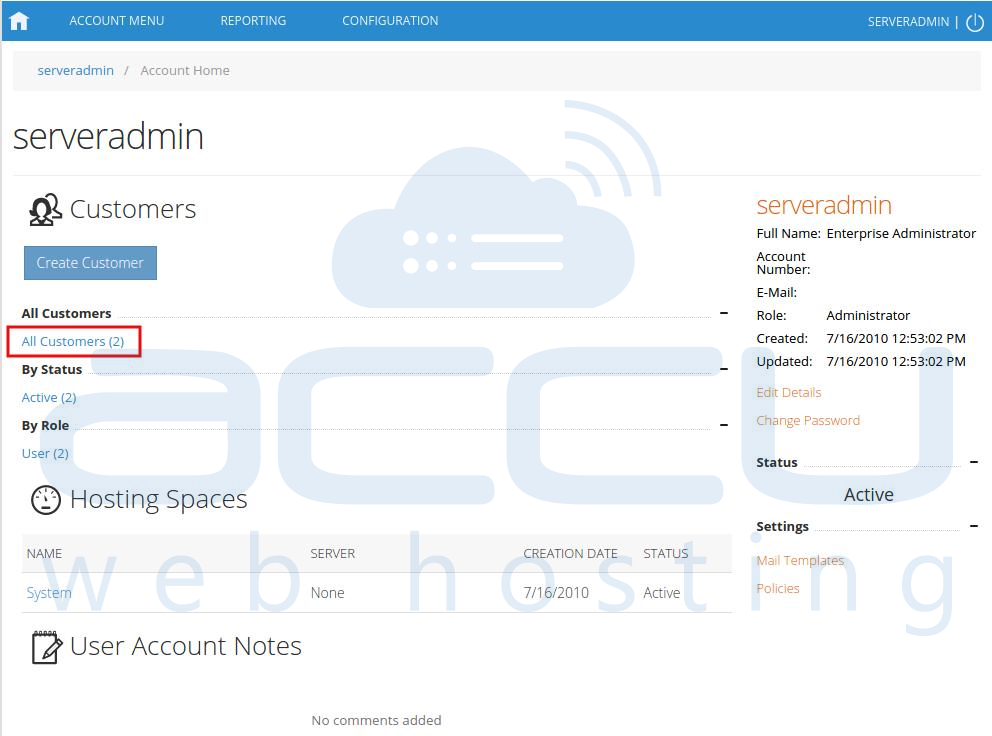
- Once you are logged into WebsitePanel, click on All Customers link.
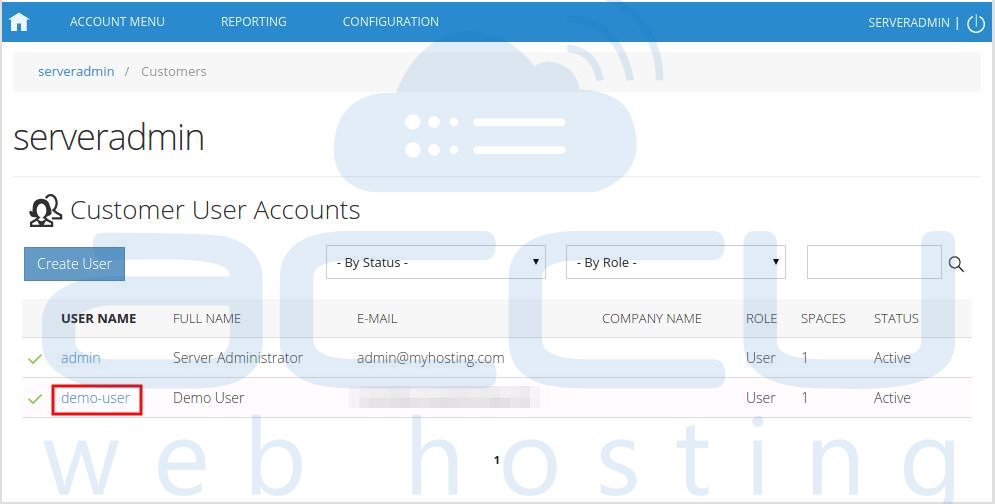
- In the next screen, you will see the list of all created users. If you have not created any user yet, you'll see the default admin user there. Click the username link under website is created.
- In the next screen, you will see icons for all the services you can manage from the WebsitePanel. Click File Manager to access website files.

- In the next screen, you will see the list of previously created websites. Click on website name whose permissions you want to change.
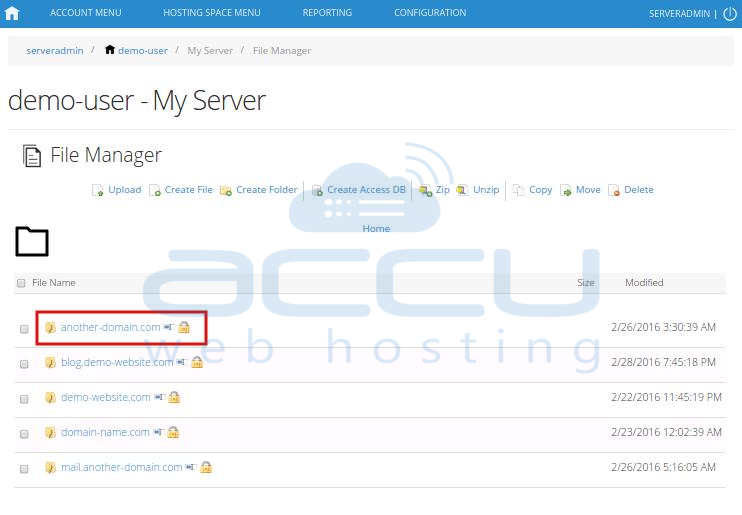
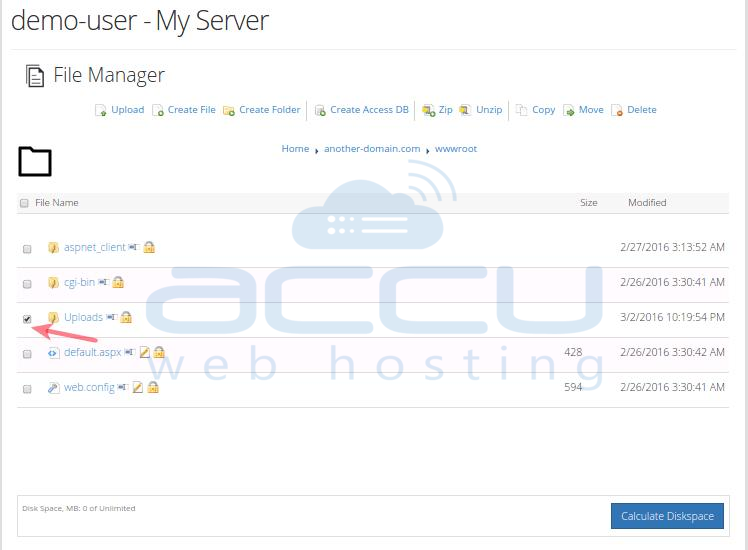
- On the next screen, you will see a list of your website files and folders. Navigate to file/folder, and check the checkbox whose permissions you want to set. Click on the padlock icon beside the file/folder.
- Check the checkbox of permissions you wish to assign and click on Set Permissions button located at bottom.
