This tutorial will assist you to create Hosting Plan from WebsitePanel 2.1.
- Login to WebsitePanel. WebsitePanel is located at URL http://your-vps-ip:9001.
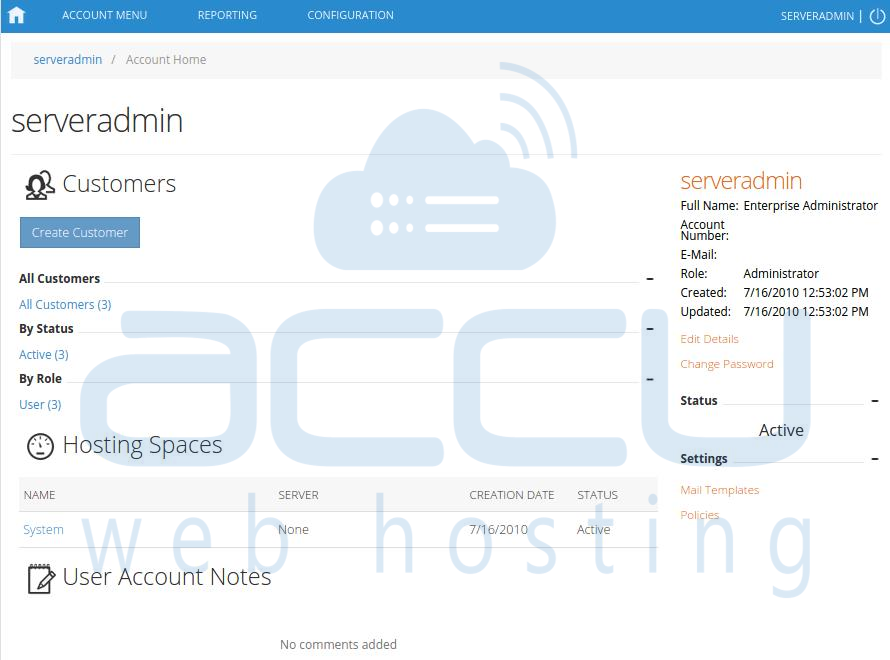
- Once you are logged into WebsitePanel following screen will apear.
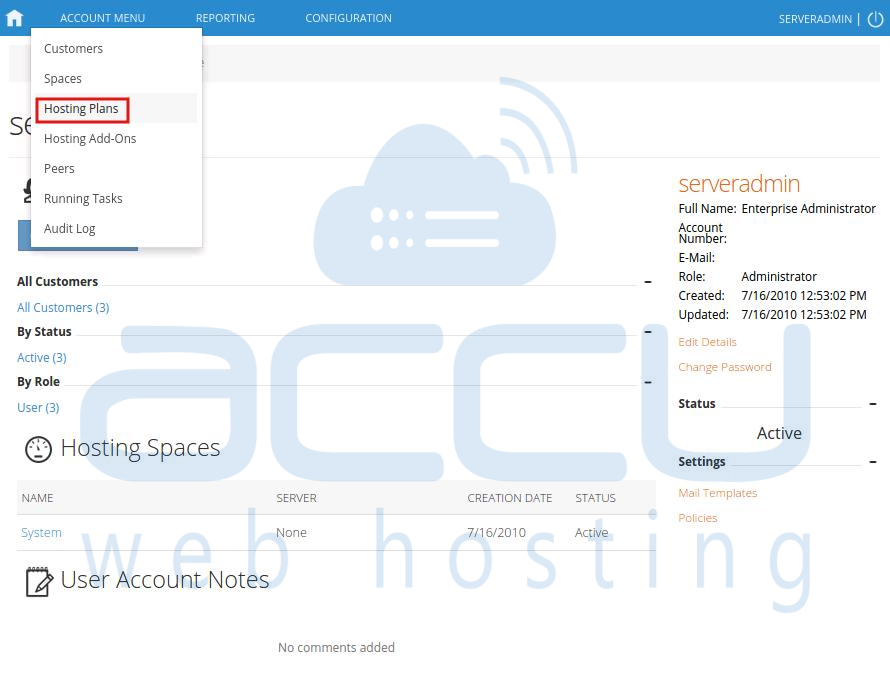
- Click on Account Menu and select Hosting Plans option.
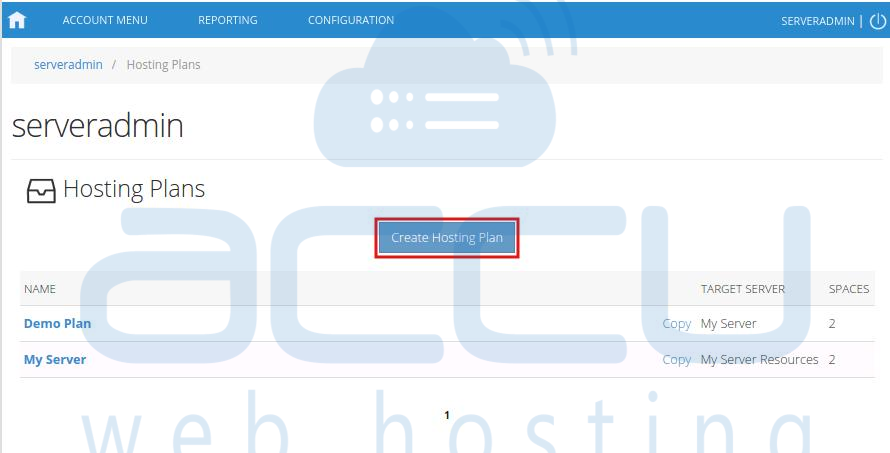
- At Hosting Plans page, click on Create Hosting Plan button.
- In the next screen, you'll have to setup the resource quota for the hosting plan. On this page, enter new plan name, plan description(optional) and select the target server from the drop down menu.
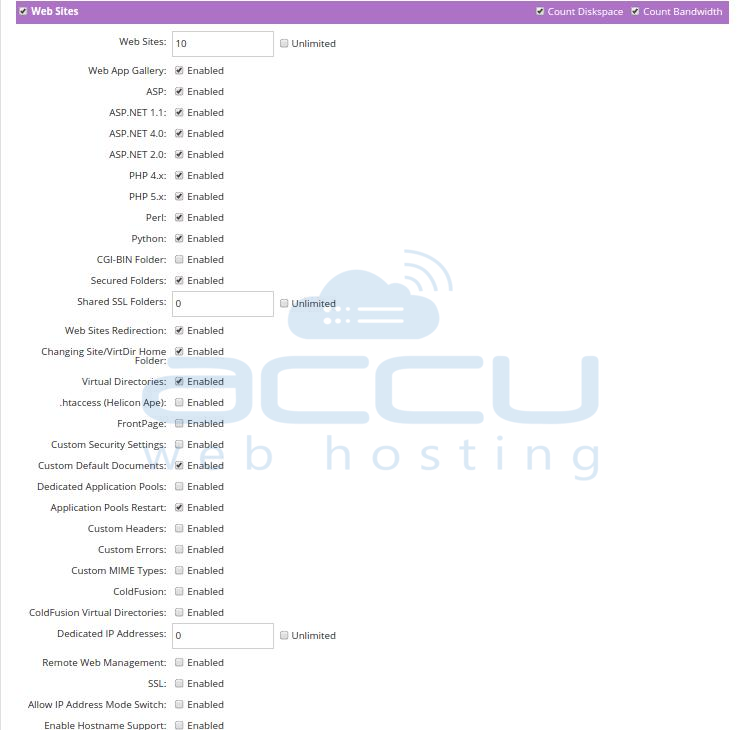
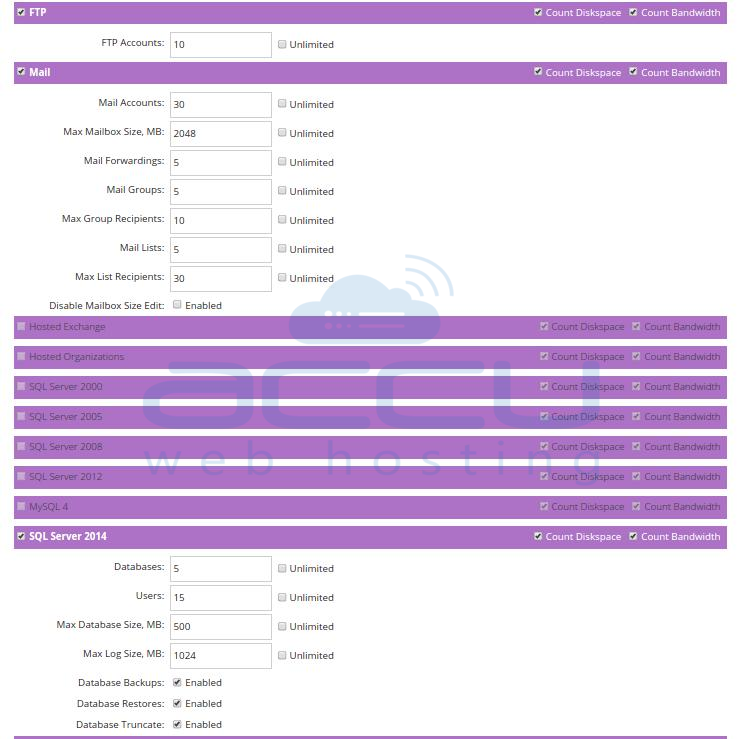
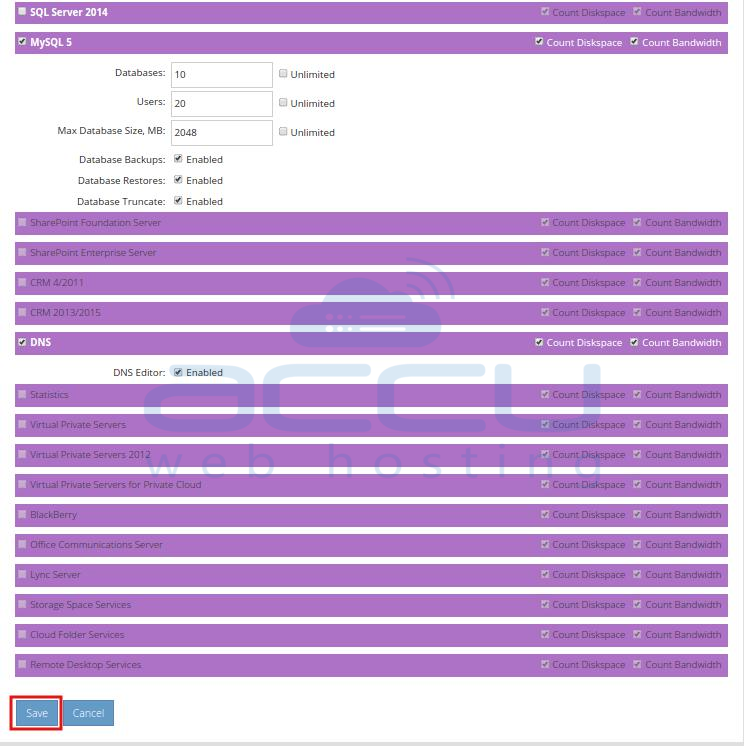
Expand the Quotas drop down and check the checkboxes of resource you want to assign with this new plan. Once you check the resource checkbox, resource list will be populated. Enter the necessary values into resource text boxes to restrict the resource usage. You can also check the checkbox Unlimited, if you do not want to restrict the resource usage.
If you do not wish to assign certain resources to plan, simply keep them disabled. Once necessary resources are assigned to plan, click Save button.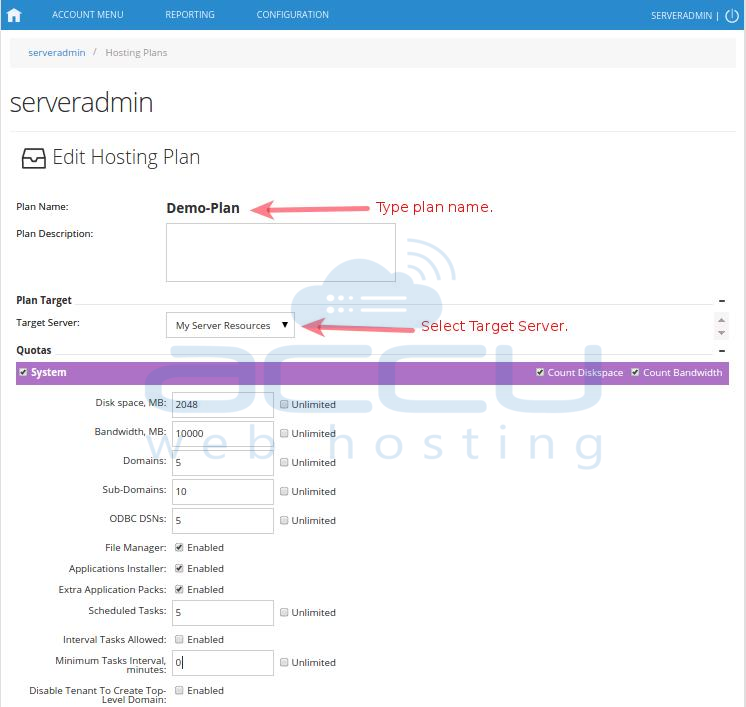
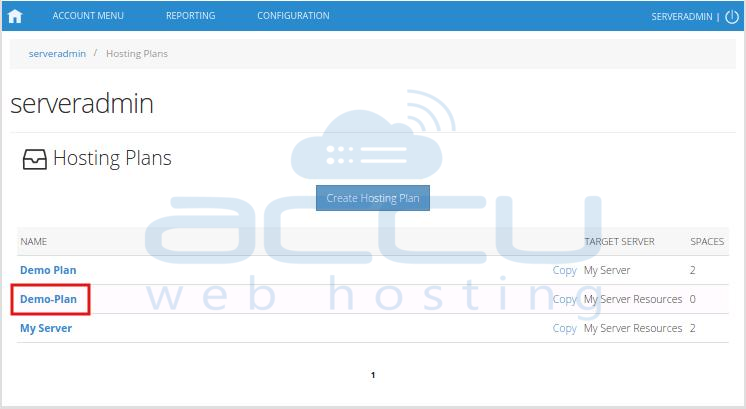
- Once new Hosting Plan is added, you could see it in the Hosting Plan list as folllows.
