Linux server users might notice that even after manually setting the correct system time, it drifts over time. This can cause issues, especially for tasks dependent on accurate time, like cron jobs or reviewing server logs.
To maintain accurate time on your server, you can configure it to synchronize with a remote time server using Network Time Protocol (NTP). This article explains how to install and configure NTP on an Ubuntu Server using the latest system utilities.
What is Network Time Protocol (NTP)?
Network Time Protocol (NTP) is a protocol designed to synchronize the clocks of computers over a network. By syncing with trusted time servers, your Ubuntu system maintains accurate time without manual adjustments.
Here are the steps on how to install and Configure NTP on Ubuntu
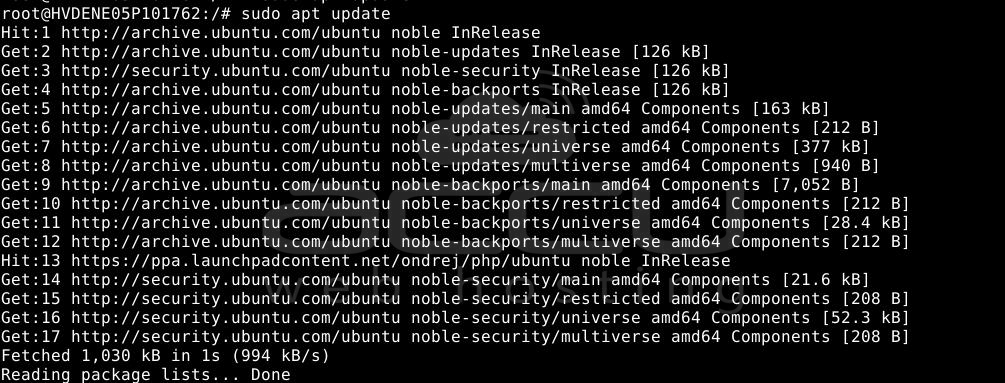
Step 1: Update the package index
Before installing any packages, run:
# sudo apt update
Step 2: Install the NTP package
To install the NTP service, run:
# sudo apt install systemd-timesyncd -y
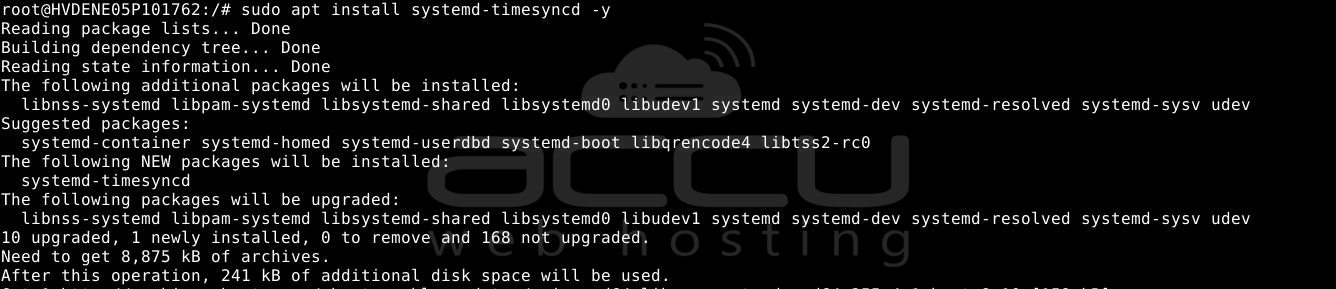
This installs the NTP daemon and configures it to run automatically at system boot.
Step 3: Enable and start the NTP service
After installation, ensure the service is enabled and running:
# sudo systemctl enable systemd-timesyncd
# sudo systemctl start systemd-timesyncd

To verify that it’s running:
# timedatectl status
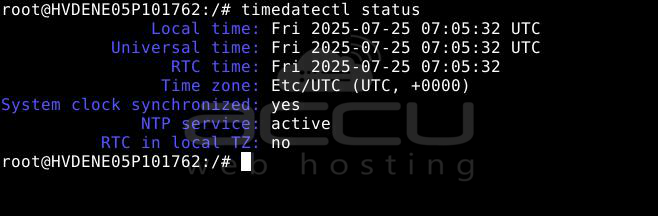
You should see the status as active (running).
Conclusion:
Installing and enabling the NTP service ensures your Ubuntu server stays in sync with accurate time sources. This is crucial for maintaining the integrity of scheduled tasks, system logs, and secure communication protocols.
If you're running a modern Ubuntu version (18.04+), the system may already use systemd-timesyncd, a lightweight NTP client. However, installing the full ntp package is recommended for more robust time management.
