This article will guide you in managing your Linux VPS from the client area.
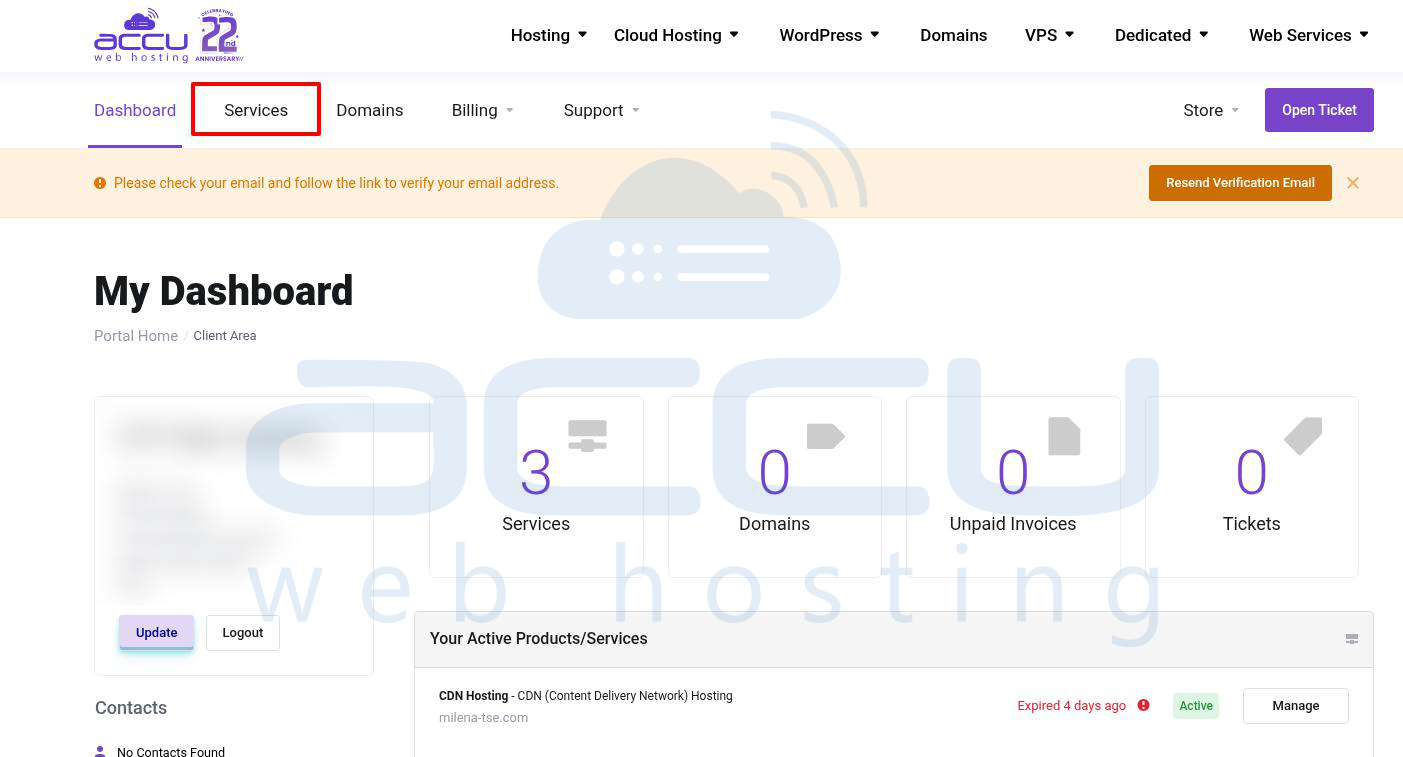
Step 1: Log in to the Client Area
Use your registered email address and password to log in to your client area.
Step 2: Navigate to Your Linux VPS
Click on Services from the dashboard.
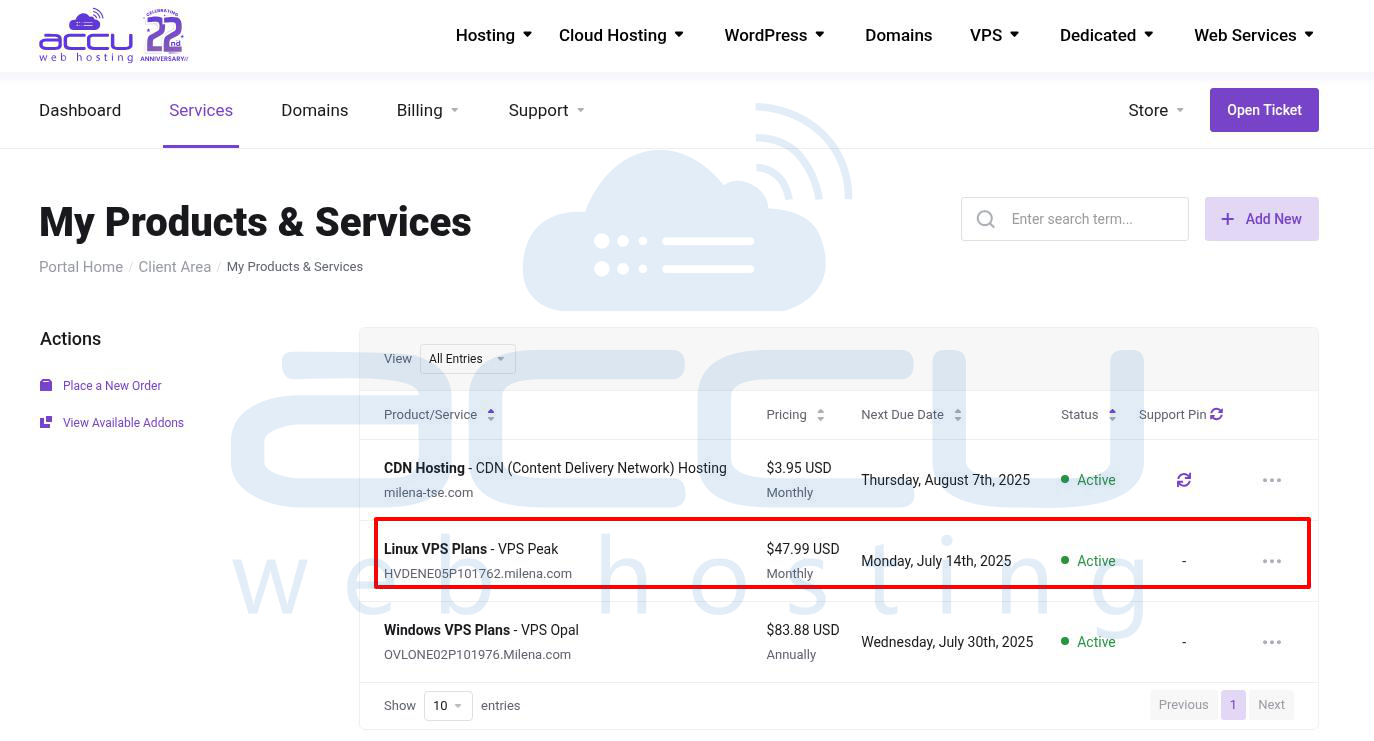
Locate and click on the Linux VPS name that you wish to manage.
Step 3: Manage Product
In the Server Information tab, you will see Virtual Server Control.
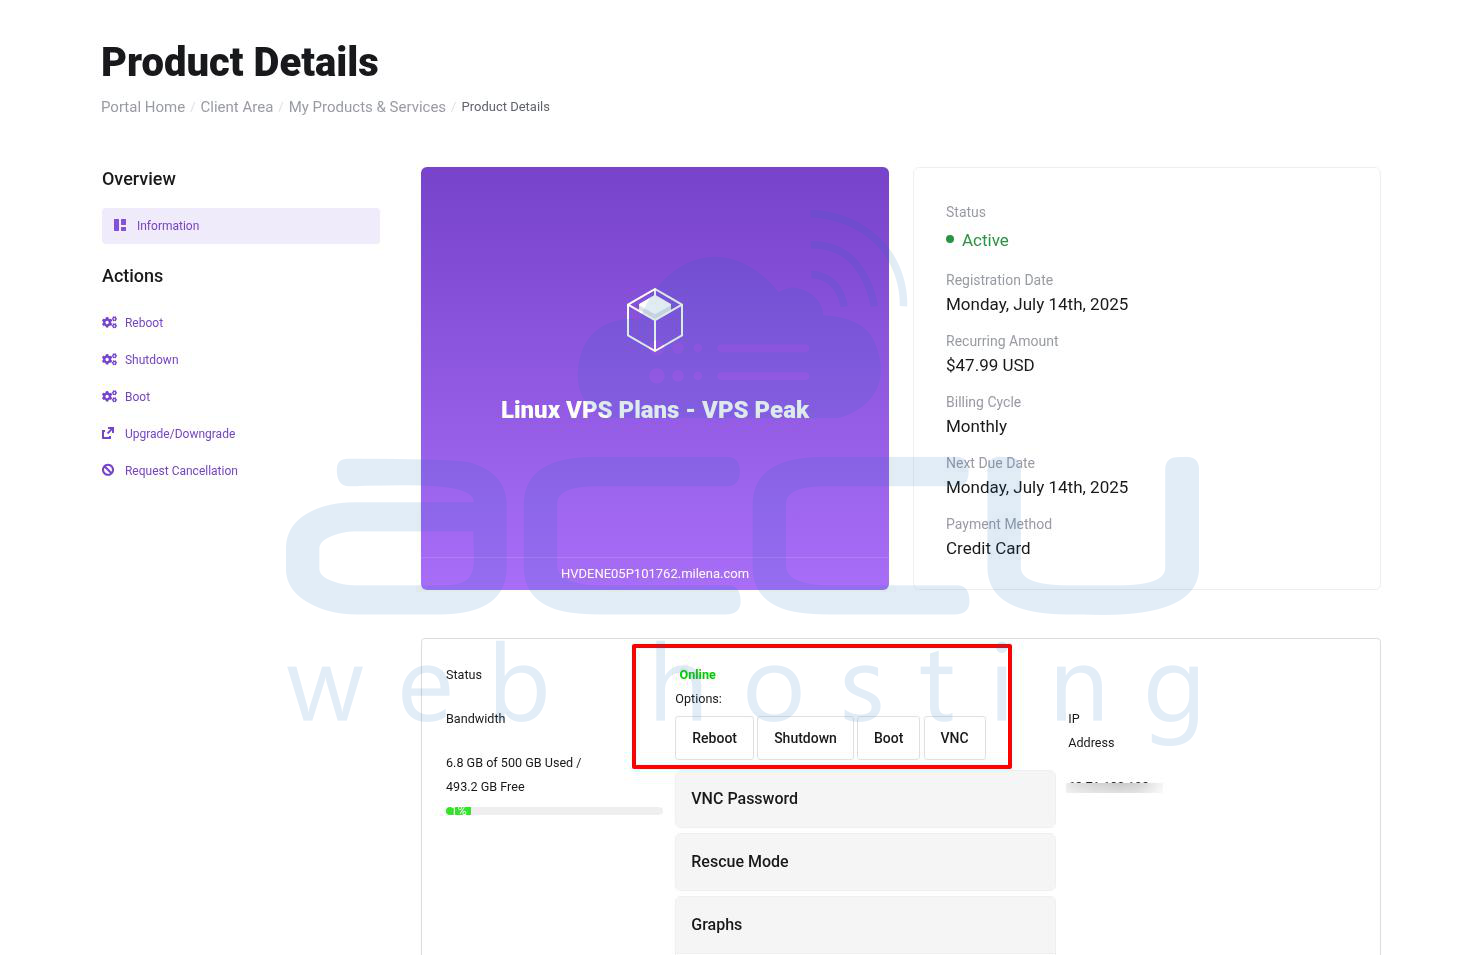
Here, you will have the following VPS management options:
VPS Status: Displays whether your VPS is Online or Offline.
Control Options:
- Reboot – Restart your VPS.
- Shutdown – Turn off your VPS.
- Boot – Start your VPS if it’s offline.
- Serial Console – Get console access if you can’t connect via SSH.
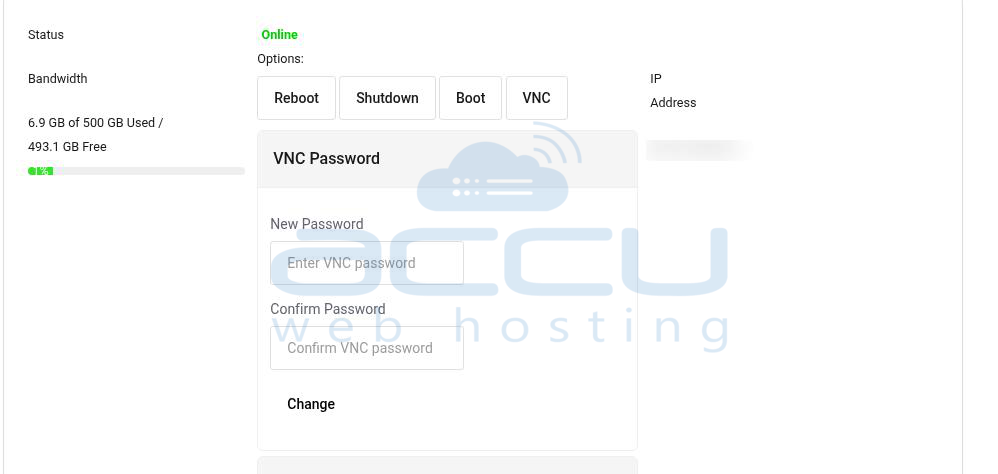
- Root Password – Reset your VPS root password.
- IP Address – View IP addresses assigned to your VPS.
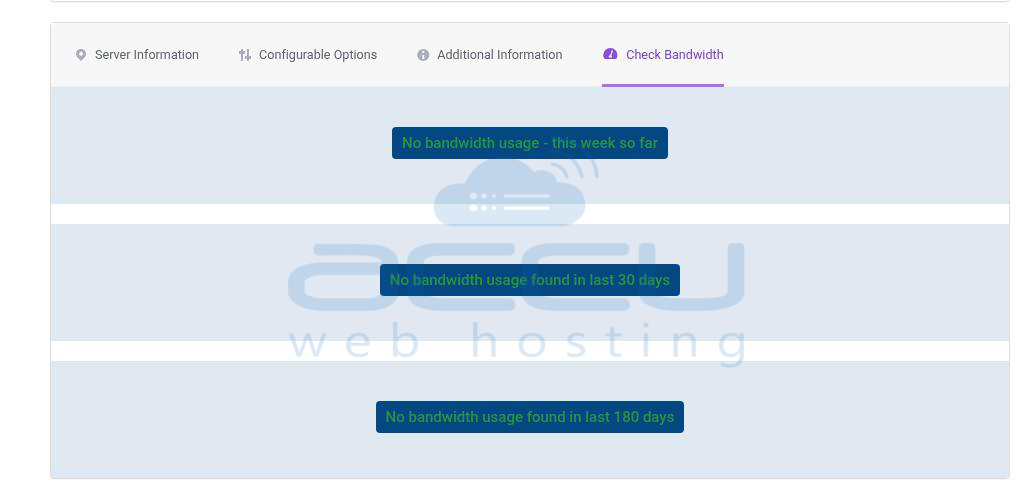
- Bandwidth Usage: It shows the bandwidth statistics.
Step 4: View Traffic Graphs
The Graphs section in the client area also provides incoming and outgoing network traffic statistics for your VPS.
