Automating repetitive tasks is a must when managing a Windows VPS. Windows doesn’t have native cron jobs like Linux, but the built-in Task Scheduler handles the task scheduling perfectly.
This article will walk you through how to schedule a task step by step in Windows VPS.
Step 1: Go to Start → Administrative Tools → Task Scheduler.
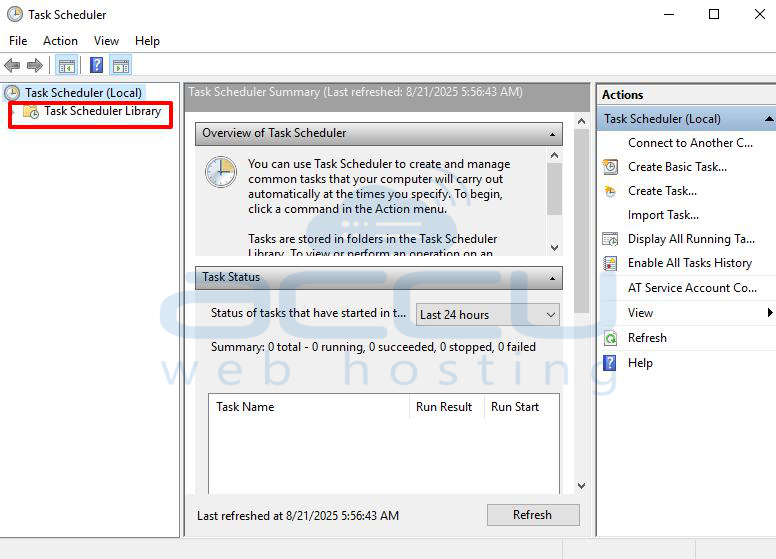
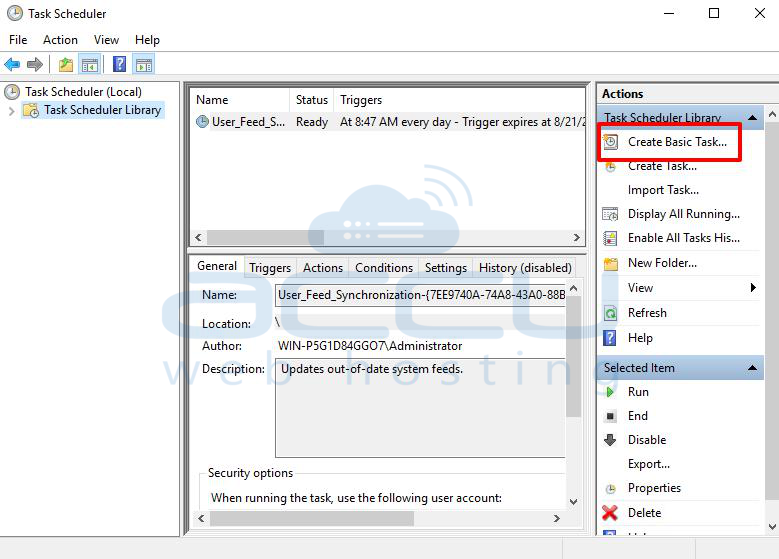
Step 2: In the left console tree, locate and click on the Task Scheduler Library. In the Actions Pane, click Create Task (or right-click the folder name and select Create Task).
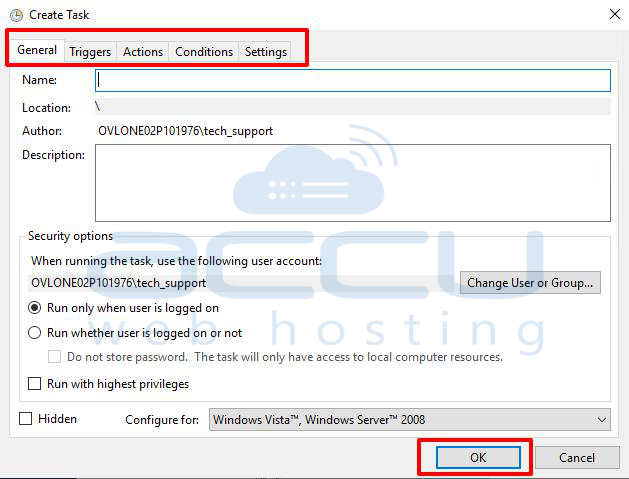
Step 3: At the General tab of the Create Task dialog box, enter the name of your task. Fill in or change any of the other properties on the General tab.
At the Triggers tab of the Create Task dialog box, click the New button to create a trigger for the task, and add trigger information in the New Trigger dialog box.
At the Actions tab of the Create Task dialog box, click the New button to create an action for the task, and enter action information in the New Action dialog box.
At the Conditions tab of the Create Task dialog box, enter task conditions.
Change the settings for the task in the Settings tab of the Create Task dialog box.
Click the OK button on the Create Task dialog box.
Conclusion:
With Task Scheduler in Windows VPS, you can replicate Linux-style cron jobs and ensure to handle your repetitive tasks, like maintenance scripts, cache clears, or backups, are handled without manual effort. Setting this up once saves you time and ensures your server keeps running smoothly.
