With WordPress, you can create your blogs and website easily, and you don't even have to worry about hosting or managing your WordPress website.
But, if you want to use different plugins and customize WordPress as per your requirement, you might need to move your WordPress website to third-party hosting since WordPress.com only allows plugin management in their business and e-commerce plan. You can also migrate your entire website using an all-in-one WordPress migration plugin at both locations.
Refer to the steps mentioned in the article on How to migrate WordPress using an all-in-one WordPress migration plugin?
But if you have a basic plan with WordPress.com, you can refer to the steps listed below and migrate the website using the Export/ Import option to self-hosted WordPress, which is an easy task.
Note
You may not find the same WordPress theme for the website created at WordPress.com, but you can choose a theme that is close in appearance to the existing one.
Also, you can install the plugins that you have at WordPress.com; by default, you will see the jetpack plugin at a free-based website on WordPress.com.
1. Set the website privacy to Public.
It allows permissions to import/export your WordPress site and the media added to your website.
2. To make the site Public, click My Site >> Settings >> Privacy, and select Public.
3. Click on the Save Settings button.

4. Now, export the existing website.
Go to Tools >> click on Export all.
5. Once you click the Export all button, it will give your registered email account the download link.
Suppose you want to migrate your WordPress pages in parts; you can select an option for specific content to export.
Here, you can choose the WordPress post based on author, status, start date & end date, categories, etc.
This option can be helpful when you have many blogs and pages for your website, and they might give you an error while migrating because of the large size.
6. After clicking on the Download option received in your email, you will see a zip containing an XML file downloaded to your local system. 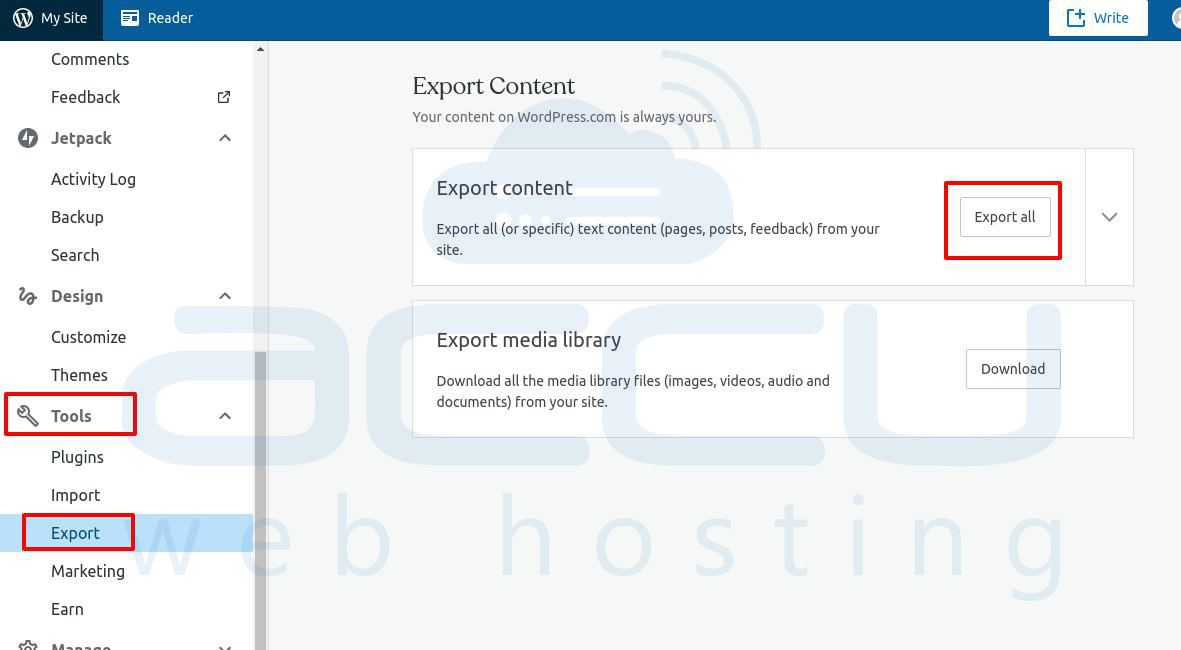

7. Log in to your self-hosted WordPress admin panel.
We recommend you install the plugins and themes at WordPress.com for the best result.
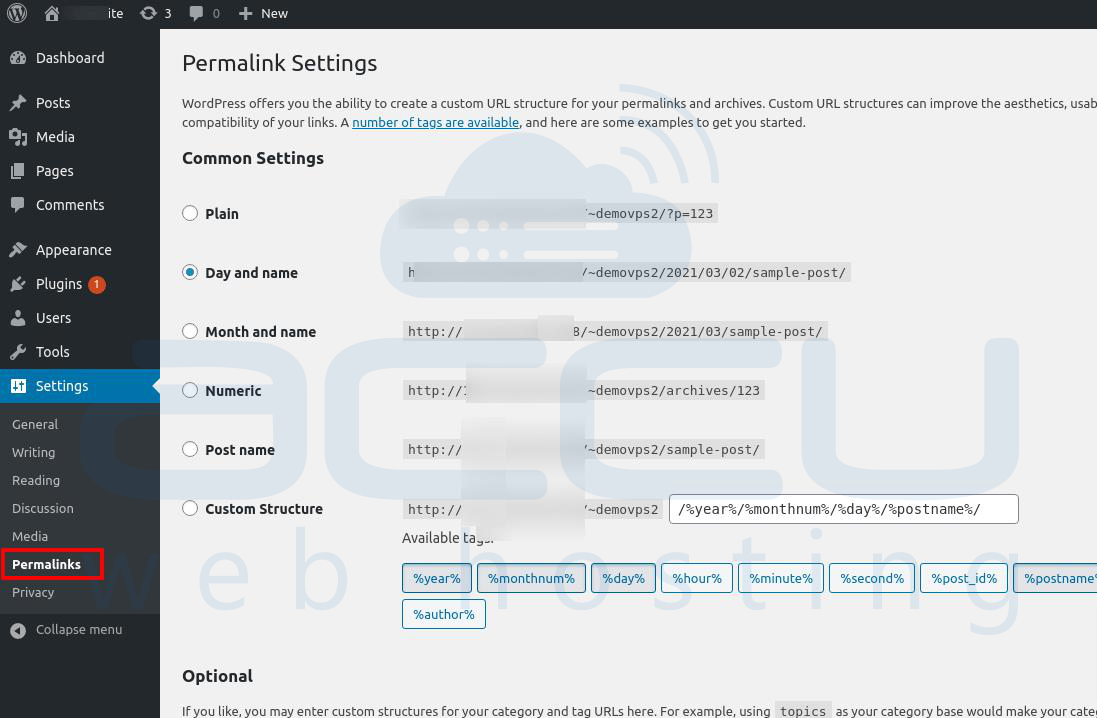
8. Change the permalink structure to the day and name that match the default permalink structure at WordPress.com.
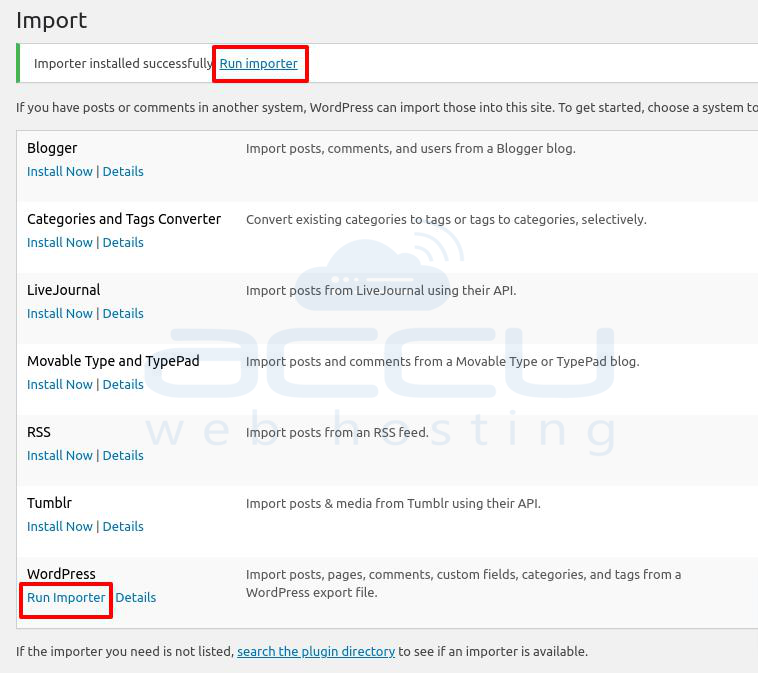
9. In the next step, we will import the content.
Click on Tools > Import >> Run Importer.
You can install it with a simple click if not installed.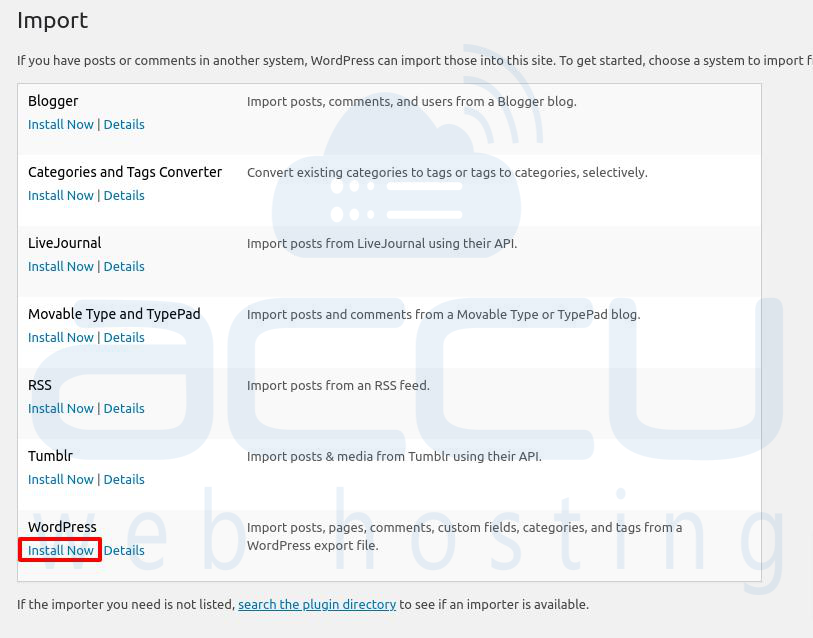
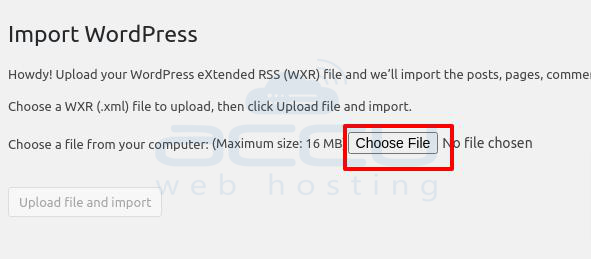
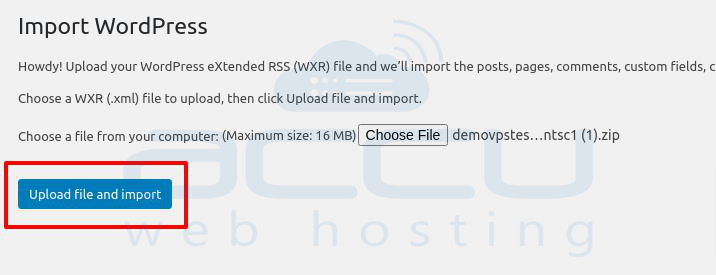
10. Choose your XML file and click on the Upload file and import button.
11. In the Import WordPress step, you will be asked to assign authors.
You can assign the post to the WordPress admin or type the author's name. However, you will need to be careful here.
You don't need to select anything if you have multiple authors for your blogs. It will add the existing user with all the correct permission.
If you choose a user here, it will override all the existing authors.
12. Click on the Submit button.
13. Check the box of Download and import file attachments to import all the media.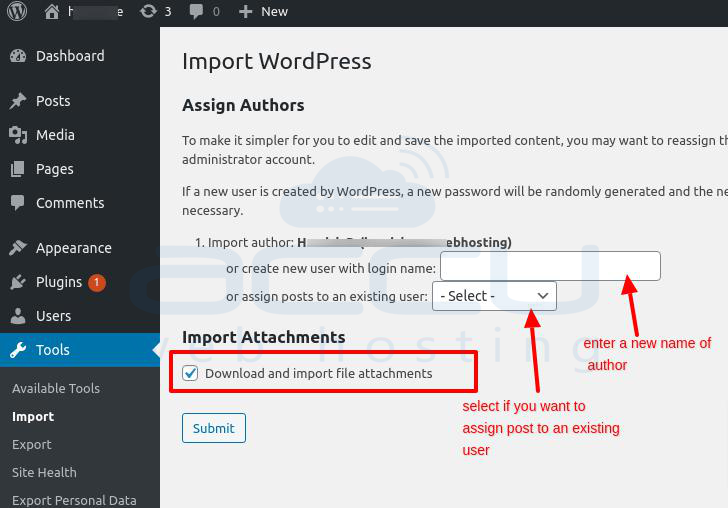
14. You might face an issue with the message, "This does not appear to be a WXR file, missing/invalid WXR version number."
To overcome this issue, open your XML file and change the WXR version from 1.2 to 1.1 by typing the code shown below -
<wp:wxr_version>1.2</wp:wxr_version>
to
<wp:wxr_version>1.1</wp:wxr_version>
This should fix the issue. 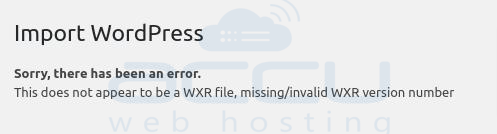
15. At the successful import, you will see the message as shown in the image below -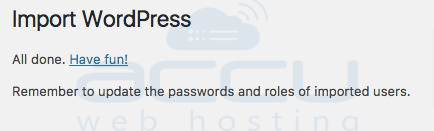
16. You can go to the post and verify the imported post.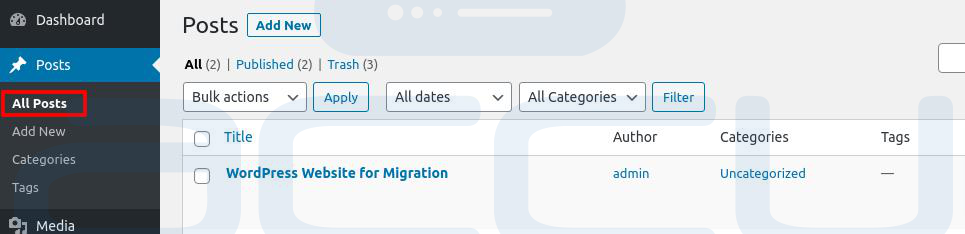
17. Go to the media library and verify that all the media are imported.
18. You can create a menu and widget at WordPress.com, but it can't be exported.
Also, verify that all images are loading from your media library, not WordPress.com
19. If images are loading from WordPress.com, you will need to click on the images and re-upload them from the media library.
20. After importing all the content, you can change your domain's nameserver to point to self-hosted WordPress.
If you need help with this, refer to the article - How to change the nameserver at various domain providers?
