FTP (File Transfer Protocol) accounts are used to upload, download, and manage files on your Windows Server.
This article will walk you through the step-by-step process of creating an FTP account from IIS in Windows Server.
If you do not have the FTP server installed, kindly install it first. You can refer to these instructions.
If you already have an FTP server on your VPS, proceed with the following steps:
Step 1: Log in to VPS
Log in to your VPS via Remote Desktop (RDP).

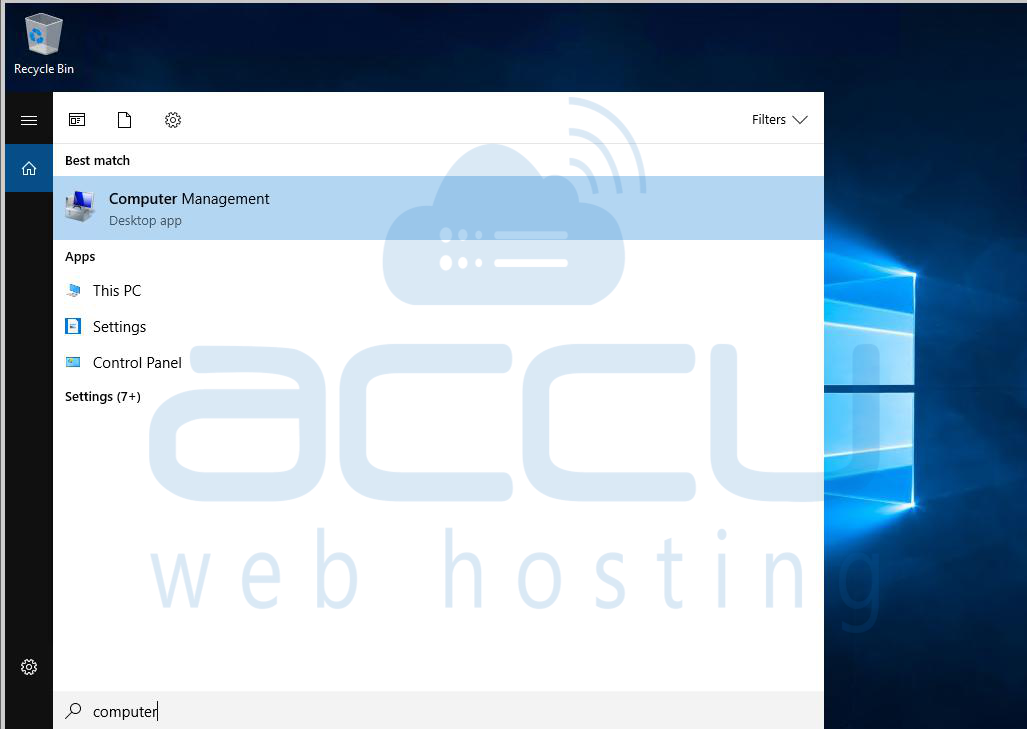
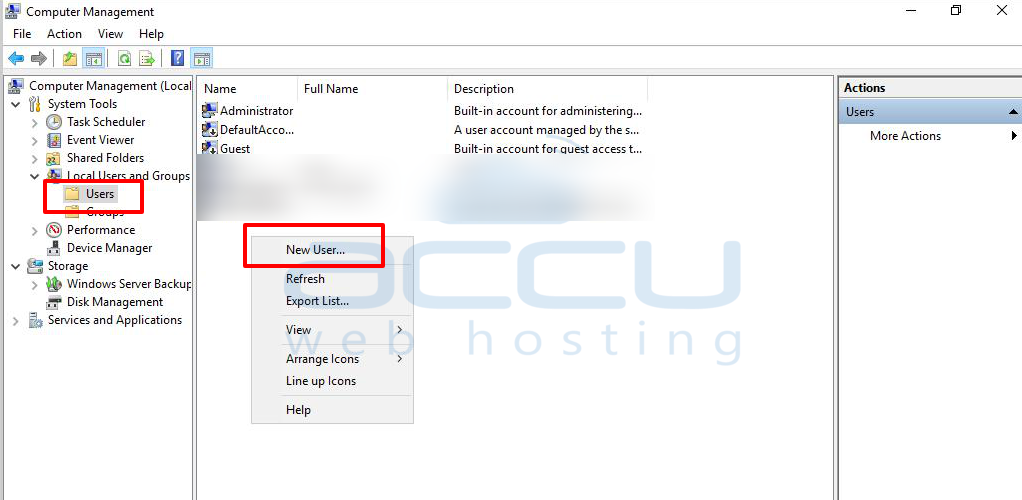
Step 2: Create a New User
Open Computer Management: Start -> right-click on My Computer -> select Manage.
Expand Local Users & Groups -> right-click on Users -> select New User.
In the New User window, fill in the following details:
- User name: specify the FTP username.
- Password: Set the password for your FTP account.
- Confirm password: re-enter the password.
- Check Password never expires if you don’t want to reset it often.
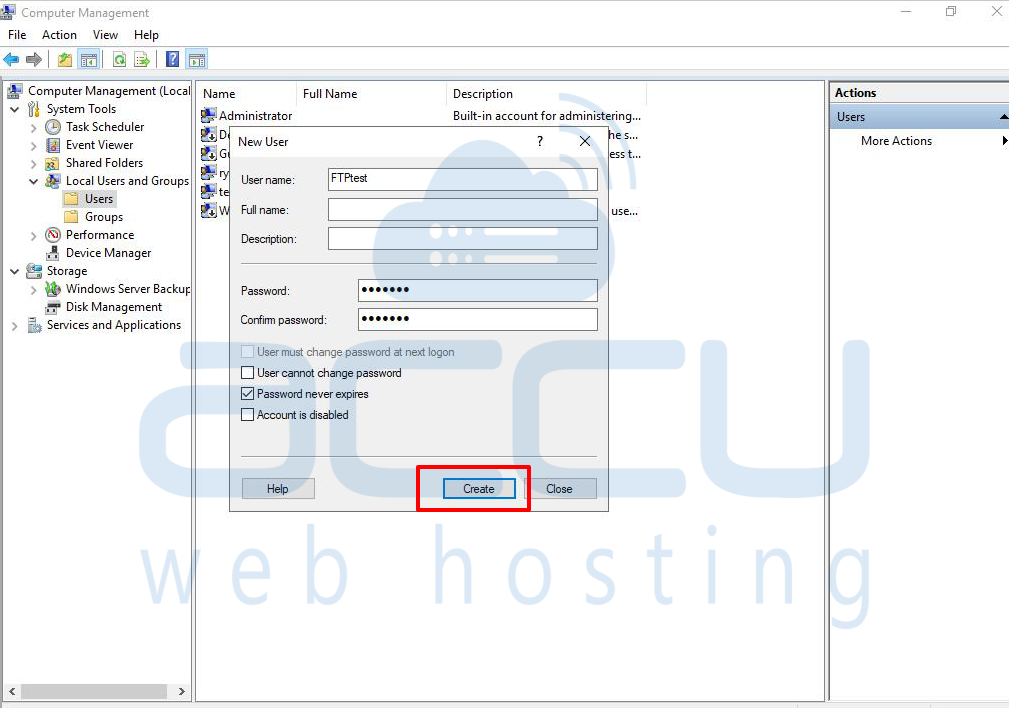
Click Create. You have now created a new Windows user for FTP.
Step 3: Configure FTP User in IIS
Open IIS Manager: Start -> Administrative Tools -> Internet Information Services (IIS) Manager.
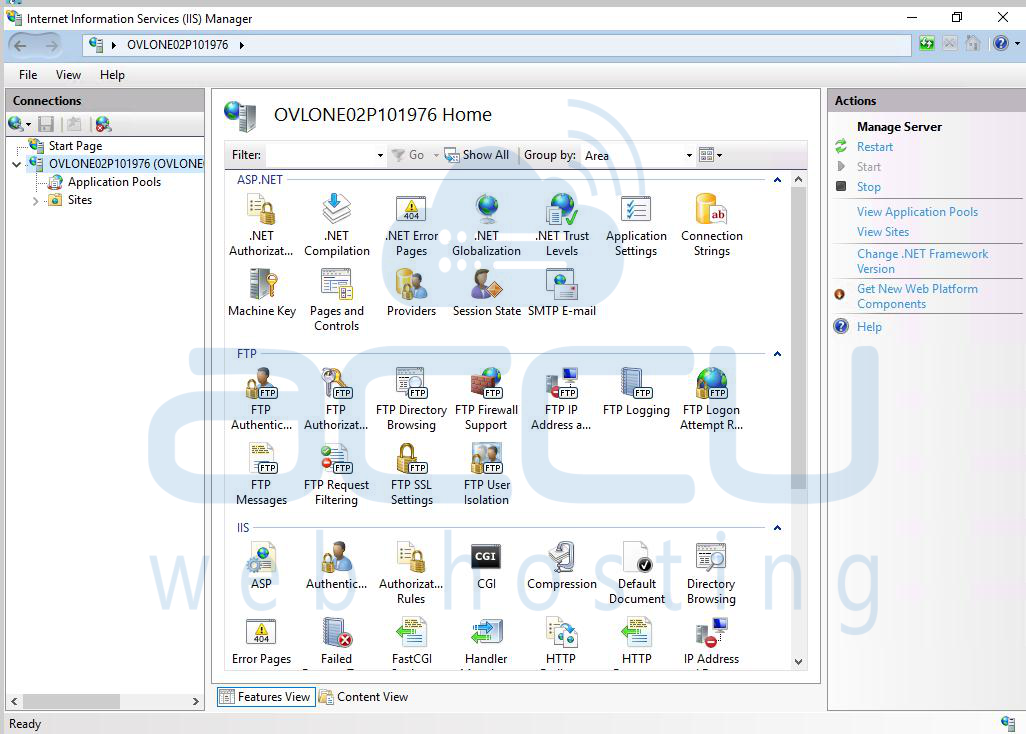
Expand your computer name -> expand FTP Sites.
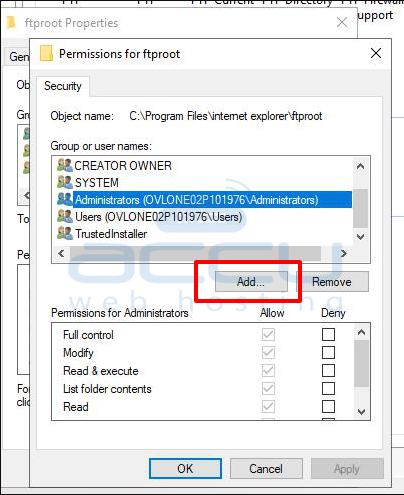
Right-click on Default FTP Site -> select Permissions.

Step 4: Assign FTP Permissions
In the Permissions window, click Add.
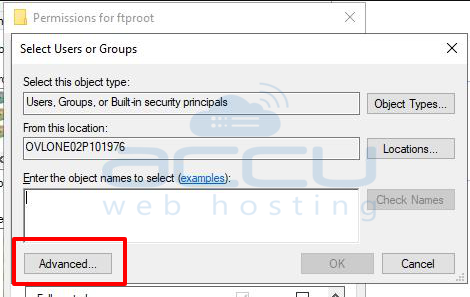
Click on Advanced….
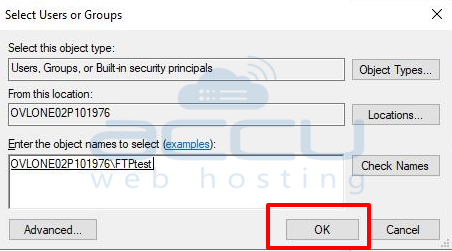
From the list, select your newly created FTP user -> click OK.
Your FTP account is now successfully set up and ready for use.
Conclusion:
Creating an FTP account in Windows Server through IIS is a simple process. By first creating a new Windows user and then assigning it permissions in IIS, you can provide secure access to your website files via FTP. This setup ensures better file management and controlled user access to your server.
