
Apache HTTP Server can do much more than serve websites. One of its most powerful features is the ability to act as a reverse proxy, allowing it to receive client requests and forward them to another backend server.
Using Apache as a reverse proxy improves security, simplifies SSL management, enables load balancing, and allows multiple applications to run behind a single public IP address.
In this guide, you'll learn how to configure Apache as a reverse proxy using the mod_proxy extension.

Prerequisites
Before proceeding, ensure you have:
-
Ubuntu 22.04/24.04 or Debian-based server
-
Apache installed
-
sudo/root access
-
A backend application running
-
Apache, Nginx, Node.js, Tomcat, Flask, etc.
-
Understanding Reverse Proxy
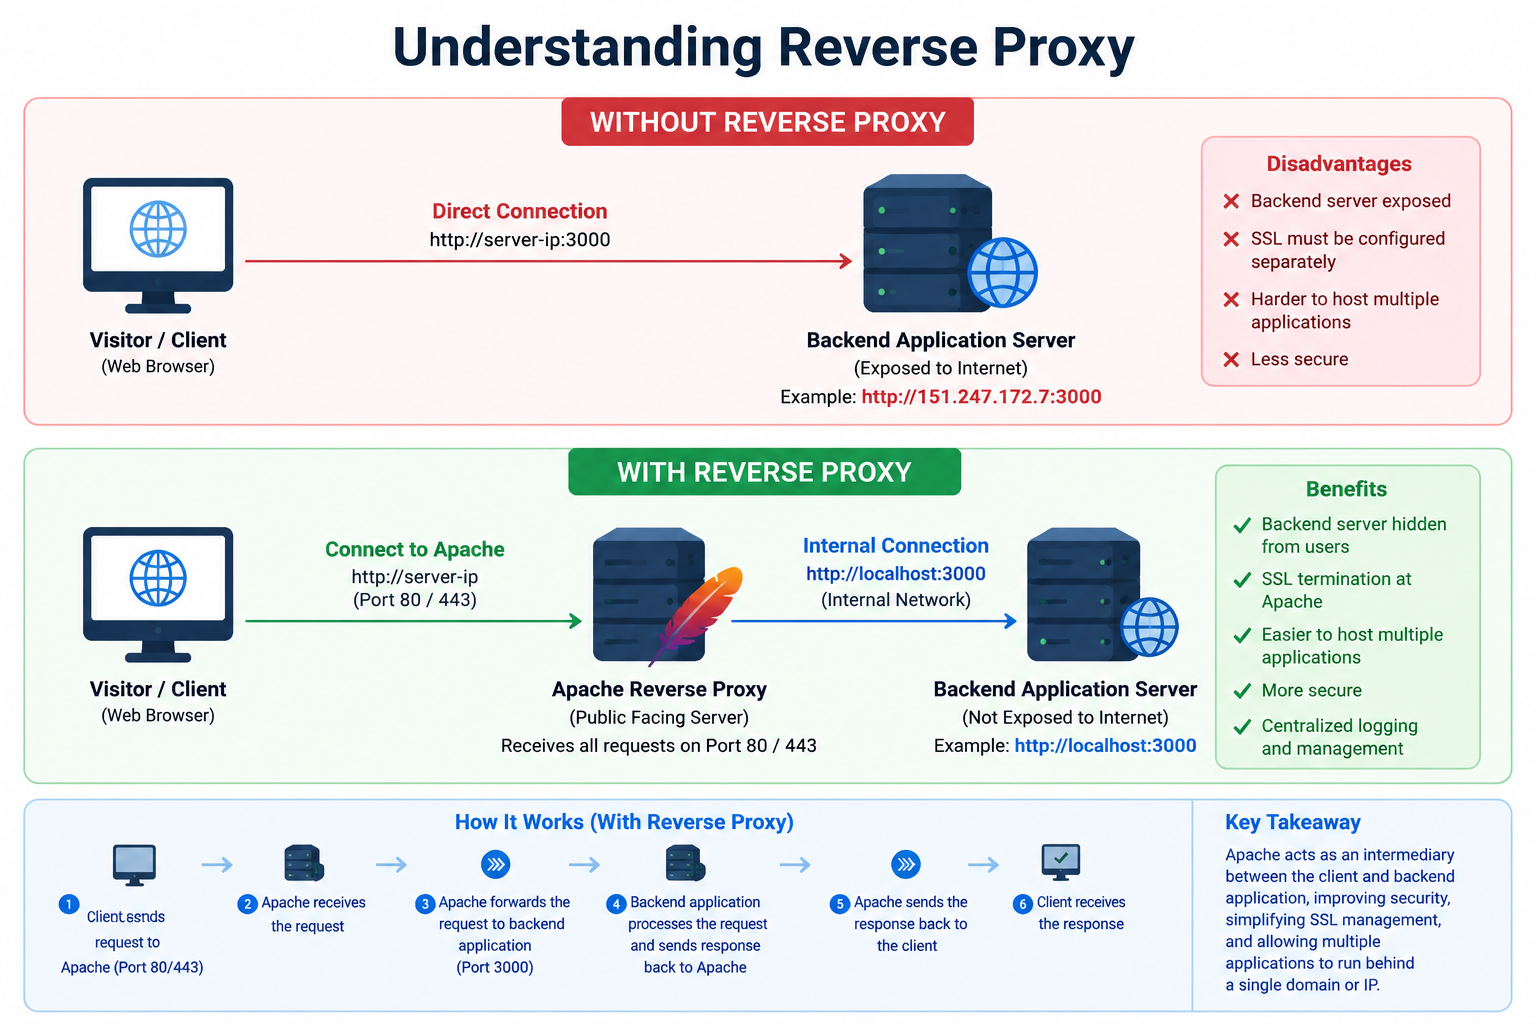
Before configuring Apache as a reverse proxy, it is important to understand what a reverse proxy is and how it works. A reverse proxy acts as an intermediary between clients (such as web browsers) and one or more backend servers. Instead of clients connecting directly to the application server, all requests are first received by the reverse proxy server. The reverse proxy then forwards those requests to the appropriate backend application and returns the application's response to the client.
From the user's perspective, it appears as though they are communicating directly with the website hosted on Apache. In reality, Apache is silently handling the communication with the backend server, providing an additional layer of security, flexibility, and performance.
Without a Reverse Proxy
In a traditional web server setup, the client communicates directly with the backend application. For example, if a Python application is running on port 3000, users access it by connecting directly to the server's IP address and port number, such as http://151.247.172.7:3000. The backend application itself handles every request from the user's browser.
In this configuration, the backend server is directly exposed to the internet. It must handle incoming requests, manage SSL certificates (if HTTPS is required), process client connections, and protect itself against unauthorized access. As the number of applications grows, managing multiple ports and SSL certificates becomes increasingly complex.
Request Flow
-
The client sends a request to the backend application.
-
The backend application processes the request.
-
The backend application sends the response directly to the client.
With a Reverse Proxy
When Apache is configured as a reverse proxy, users no longer communicate directly with the backend application. Instead, all requests are first received by Apache. Apache then forwards each request to the appropriate backend application running on the server, waits for the application's response, and returns that response to the client.
For example, a user accesses http://151.247.172.7, which is served by Apache on port 80. Apache internally forwards the request to the backend application running on http://localhost:3000. The backend processes the request and sends the response back to Apache, which then delivers it to the user's browser. Throughout this process, the client is unaware that another application handled the request.
Request Flow
-
The client sends a request to Apache.
-
Apache receives the request on port 80.
-
Apache forwards the request to the backend application (for example, localhost:3000).
-
The backend application processes the request and generates a response.
-
Apache receives the response from the backend application.
-
Apache sends the final response back to the client.
Step 1: Install Apache
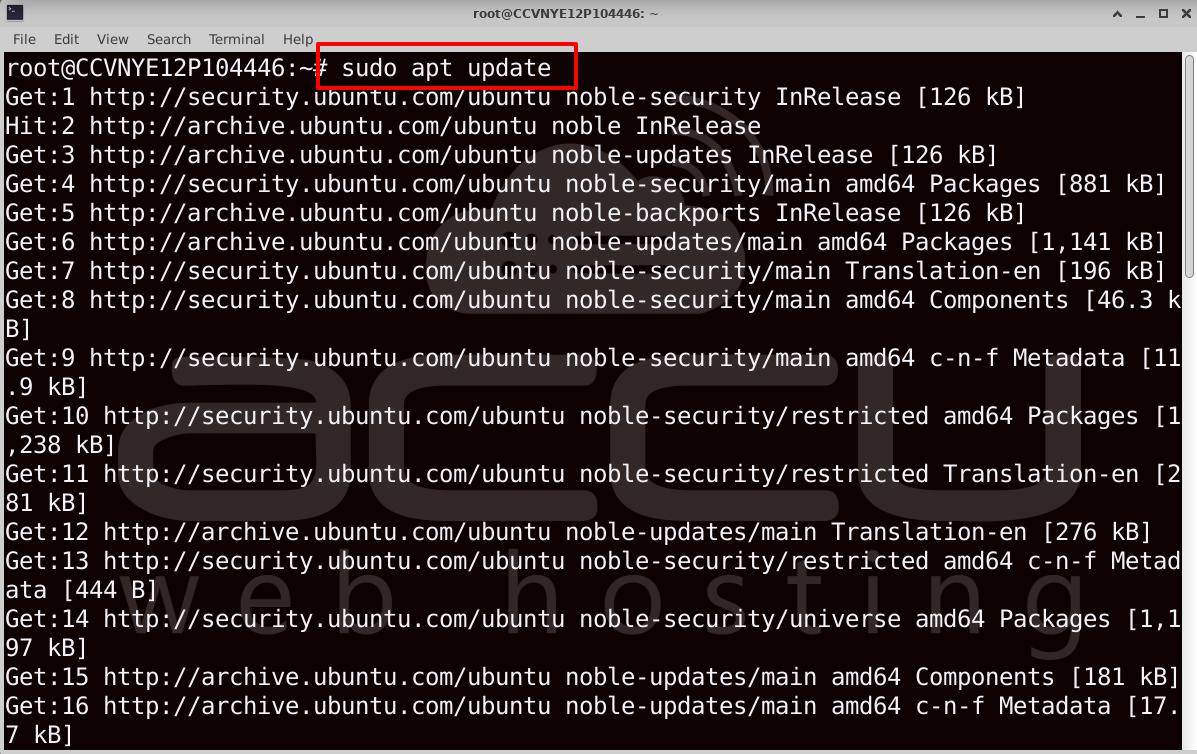
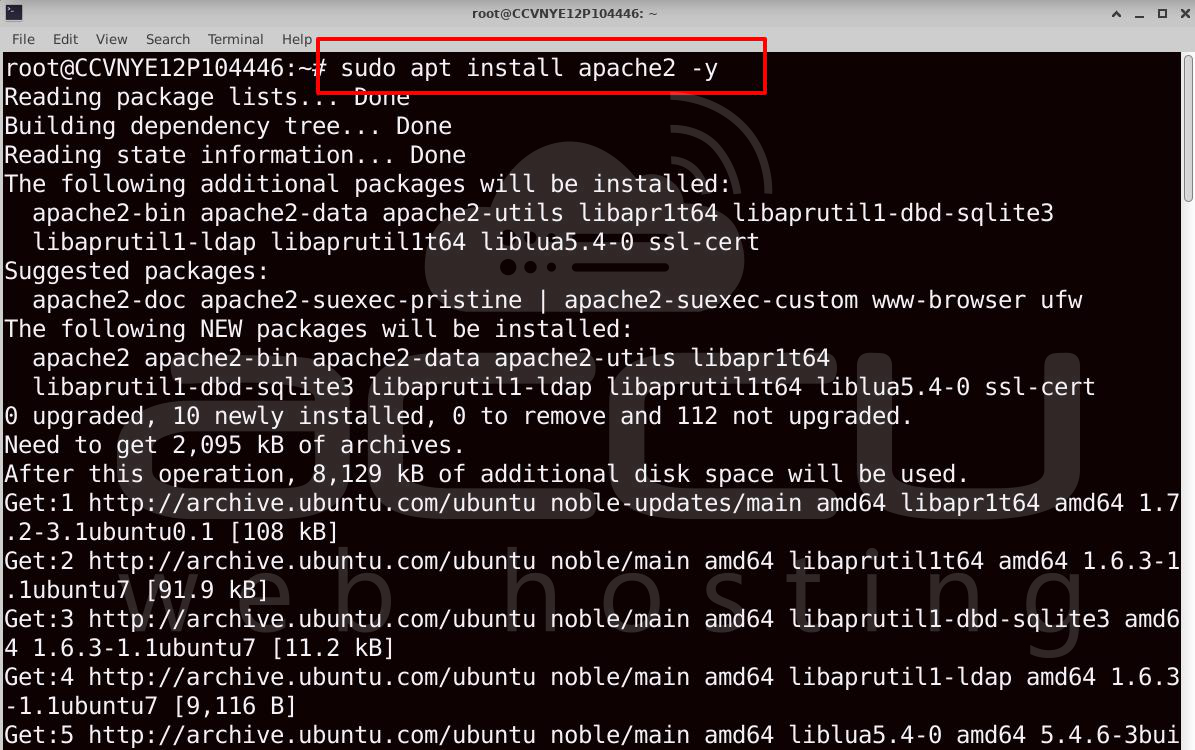
Before configuring Apache as a reverse proxy, you need to install the Apache HTTP Server on your system. If Apache is already installed, you can skip this step. Otherwise, update the package repository and install the Apache package using the following commands:
#sudo apt update
#sudo apt install apache2 -y
After the installation is complete, verify that Apache has been installed successfully by checking its version:
# apache2 -v
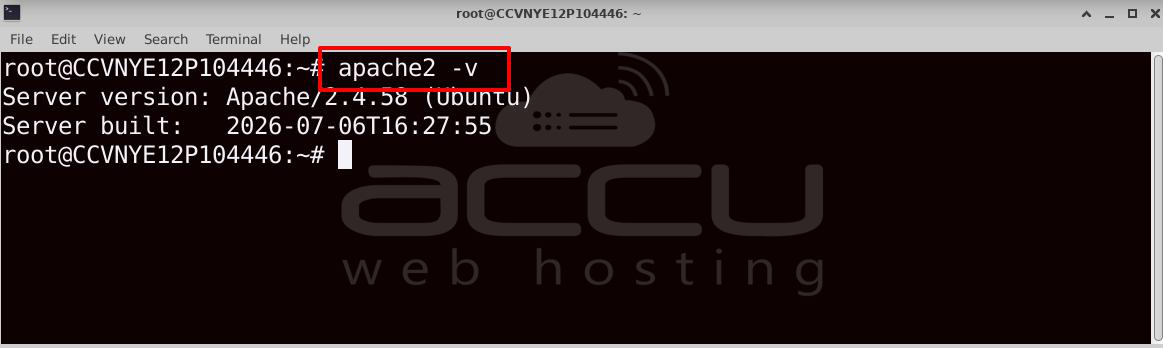
This confirms that Apache is installed and ready to be configured as a reverse proxy.
Step 2: Check Installed Proxy Modules
Apache uses modules to provide additional functionality, including reverse proxy support. Before enabling any modules, it's a good practice to check whether the required proxy modules are already installed and loaded.
Run the following command to list all enabled Apache modules:
#apachectl -M
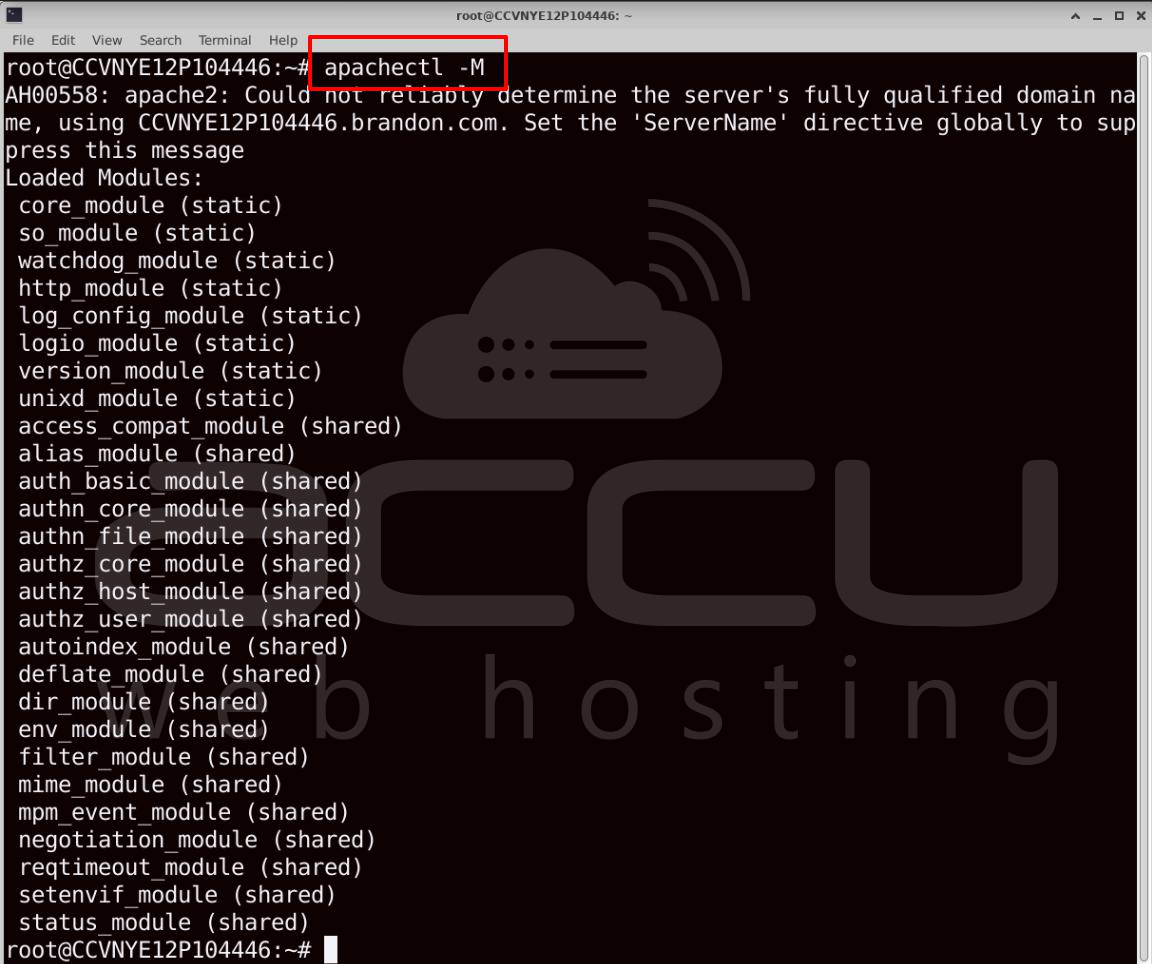
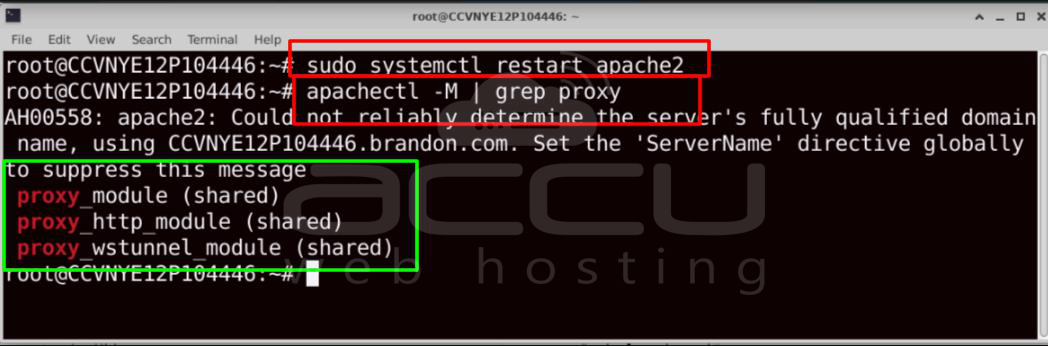
The command displays all modules currently loaded by Apache. Look for the following entries in the output:
proxy_module
proxy_http_module
-
proxy_module – Provides the core reverse proxy functionality in Apache.
-
proxy_http_module – Enables Apache to proxy HTTP and HTTPS requests to backend web servers.
If both modules are listed, they are already enabled, and you can proceed to the next step. If either module is missing, follow the next step to enable the required proxy modules before continuing.
Step 3: Enable Required Proxy Modules
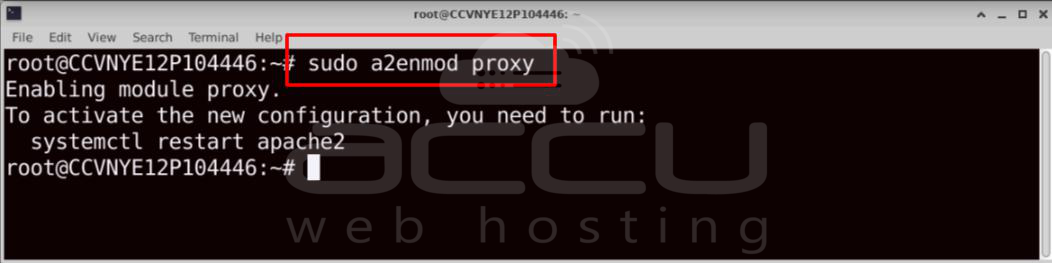
Enable mod_proxy
#sudo a2enmod proxy
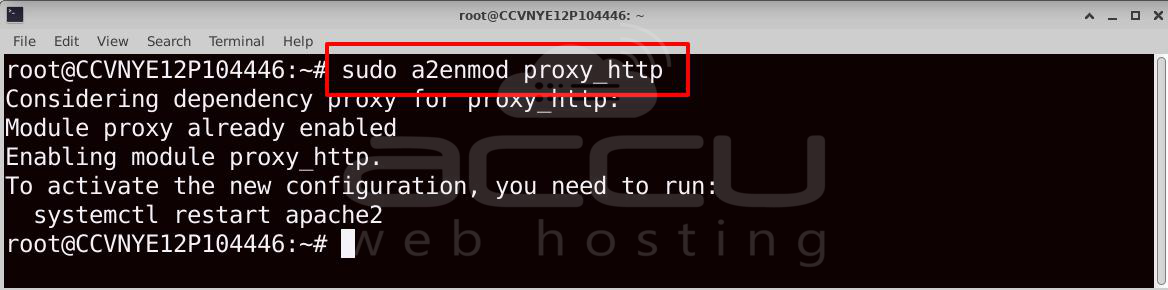
Enable HTTP proxy
#sudo a2enmod proxy_http
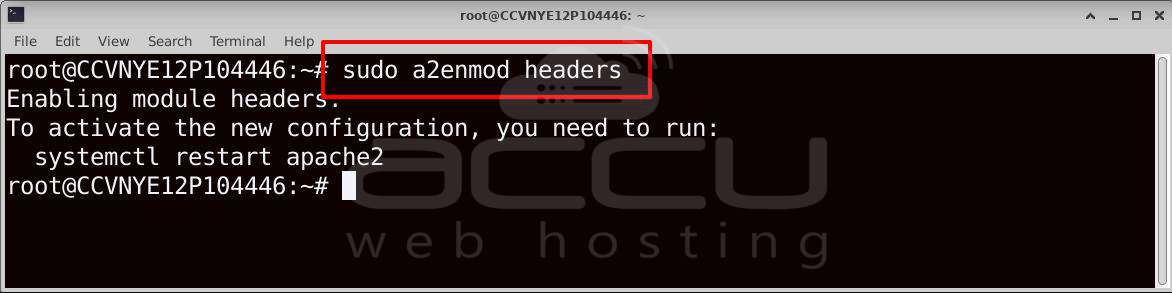
Enable headers
#sudo a2enmod headers
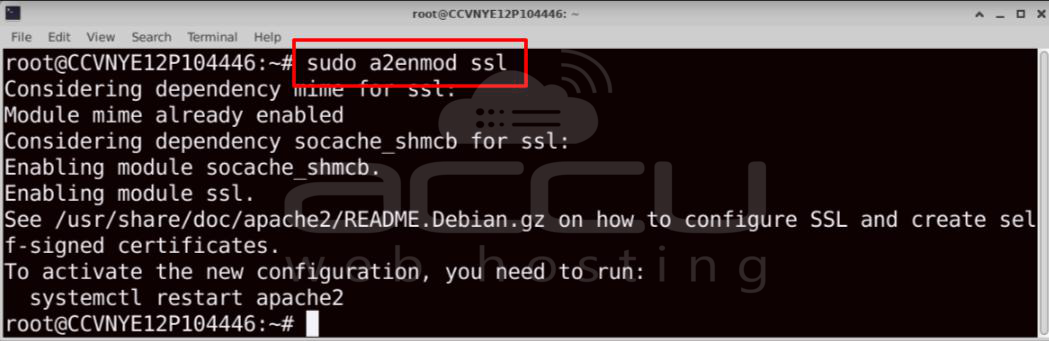
Enable SSL
#sudo a2enmod ssl
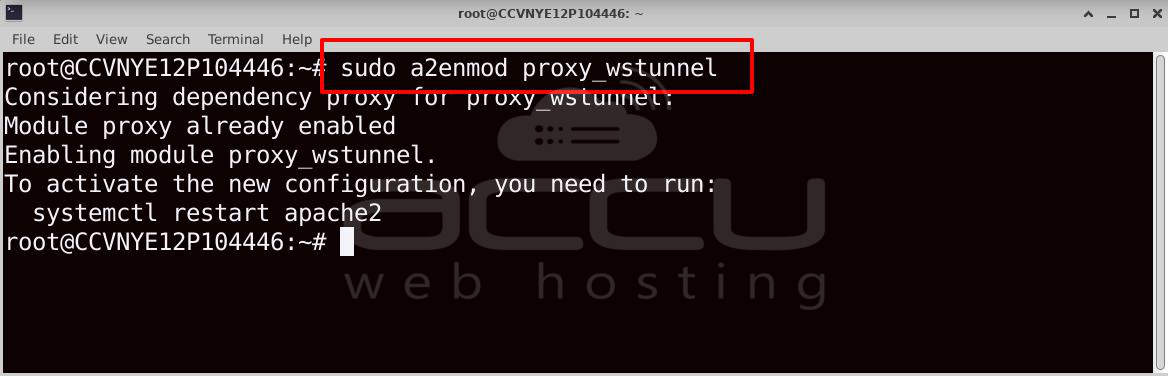
Enable WebSocket support
#sudo a2enmod proxy_wstunnel
Reload Apache
# sudo systemctl restart apache2
Verify
# apachectl -M | grep proxy
Step 4: Create a Reverse Proxy Virtual Host
Edit
# sudo vi /etc/apache2/sites-available/reverse-proxy.conf
Example
<VirtualHost *:80>
ServerName example.com
ProxyPreserveHost On
ProxyPass / http://localhost:3000/
ProxyPassReverse / http://localhost:3000/
ErrorLog ${APACHE_LOG_DIR}/proxy_error.log
CustomLog ${APACHE_LOG_DIR}/proxy_access.log combined
</VirtualHost>
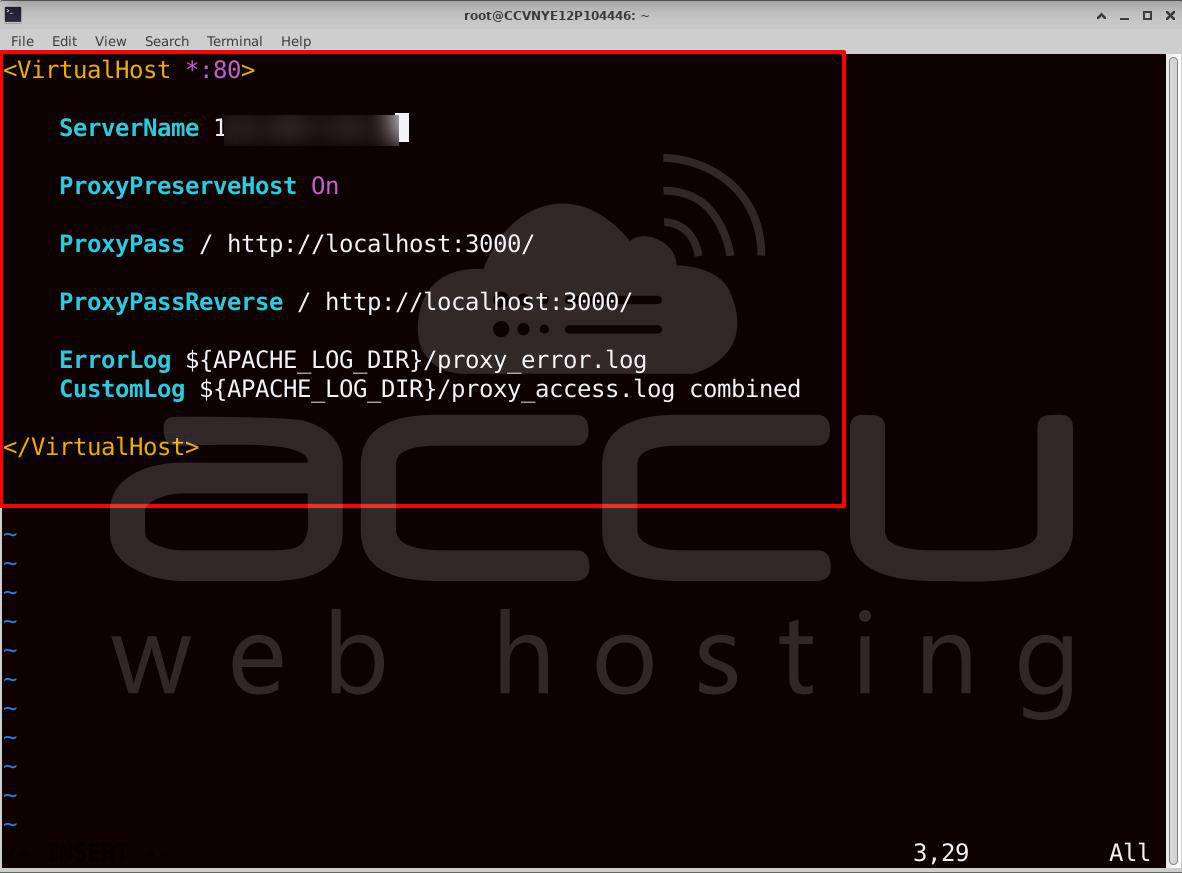
Replace example.com with your actual domain name.
If you want to test using the server's IP address instead of a domain name, you can use:
ServerName 192.168.1.100
Step 5: Enable the Virtual Host
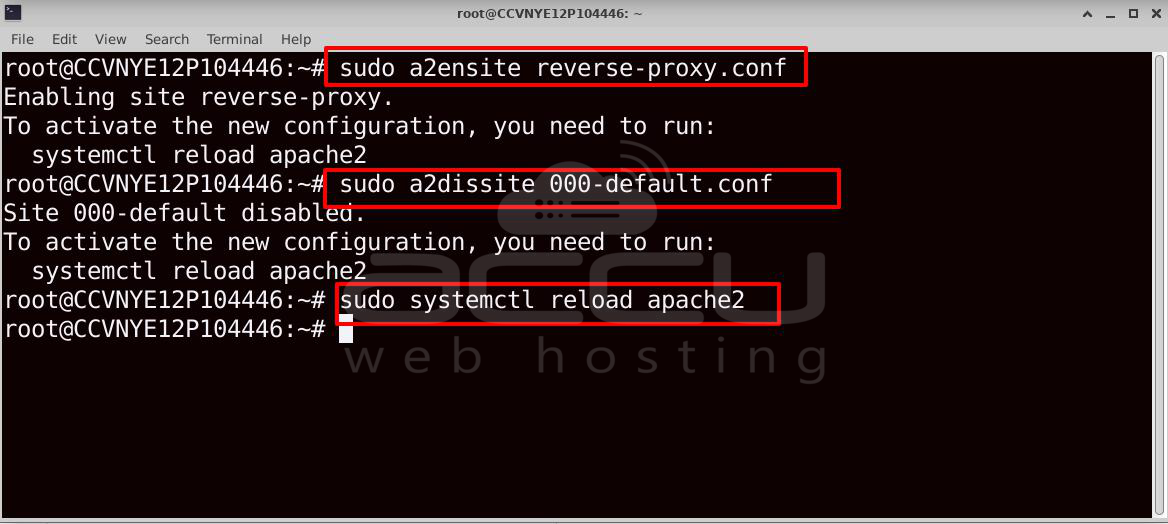
After creating the Virtual Host configuration file, you need to enable it so that Apache can use it to handle incoming requests. Apache provides the a2ensite utility to enable Virtual Host configuration files located in the /etc/apache2/sites-available/ directory.
Run the following command to enable the newly created Virtual Host:
# sudo a2ensite reverse-proxy.conf
If you no longer need Apache's default website or want your reverse proxy configuration to become the default site, you can disable the default Virtual Host. Run the following command:
# sudo a2dissite 000-default.conf
After enabling or disabling Virtual Hosts, reload the Apache service to apply the configuration changes without interrupting existing connections. Run:
# sudo systemctl reload apache2
If the service is running without errors, the new Virtual Host configuration is active, and Apache is ready to forward incoming requests to the configured backend application.
Step 6: Create a Directory for the Demo Website
You first need a backend web application running on port 3000. A simple way to demonstrate this is with a lightweight Python HTTP server.
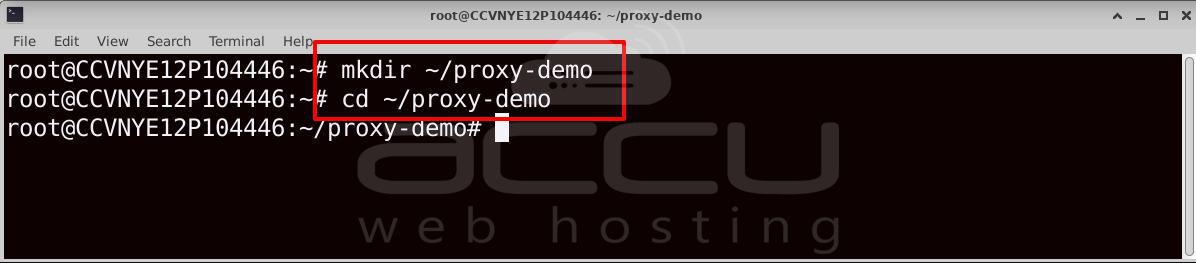
Create a directory where you'll store the test webpage.
# mkdir ~/proxy-demo
Move into the directory:
#cd ~/proxy-demo
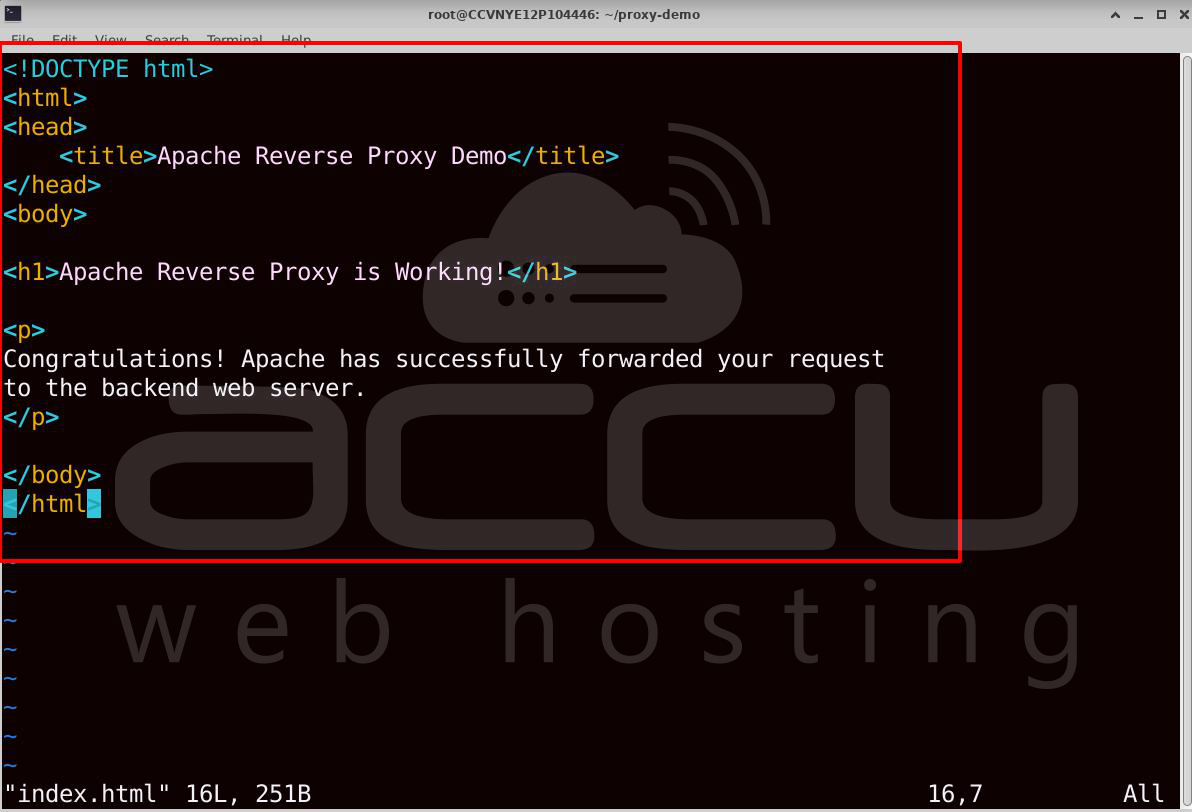
Create a simple HTML page that will act as the backend application.
# vi index.html
Paste the following content:
<!DOCTYPE html>
<html>
<head>
<title>Apache Reverse Proxy Demo</title>
</head>
<body>
<h1>Apache Reverse Proxy is Working!</h1>
<p>
Congratulations! Apache has successfully forwarded your request
to the backend web server.
</p>
</body>
</html>
Start a Python HTTP Server: Python includes a built-in HTTP server that can serve files from the current directory.
#python3 -m http.server 3000
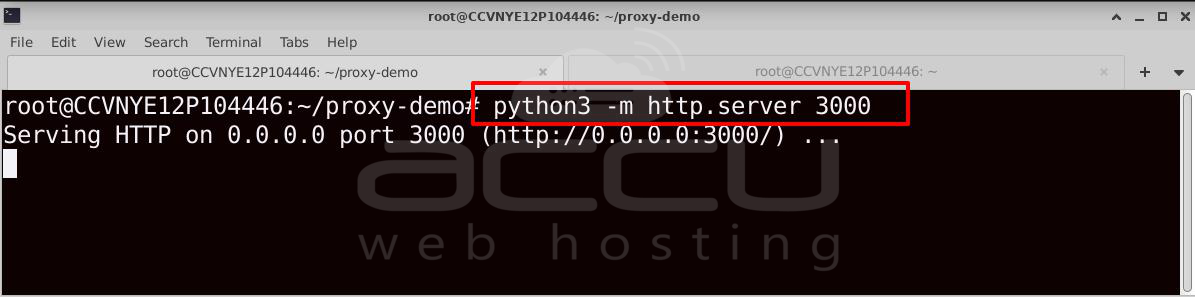
Keep this terminal window open, as the server will stop if you close it.
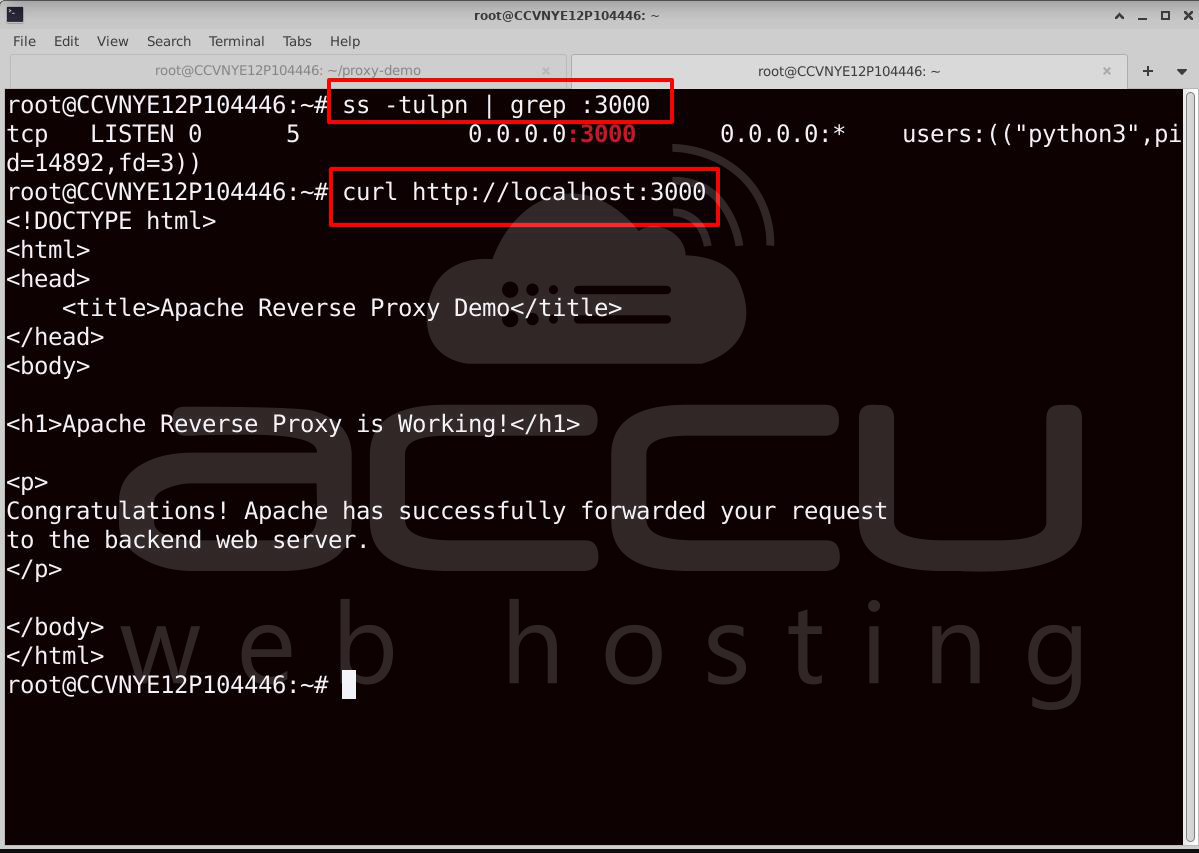
Verify the Python Server is Running: Open a new SSH session (or a new terminal window) and run
# ss -tulpn | grep :3000
Test the Backend Server Directly: Before involving Apache, verify that the backend server is working.
#curl http://localhost:3000
Step 7: Test the Apache Configuration
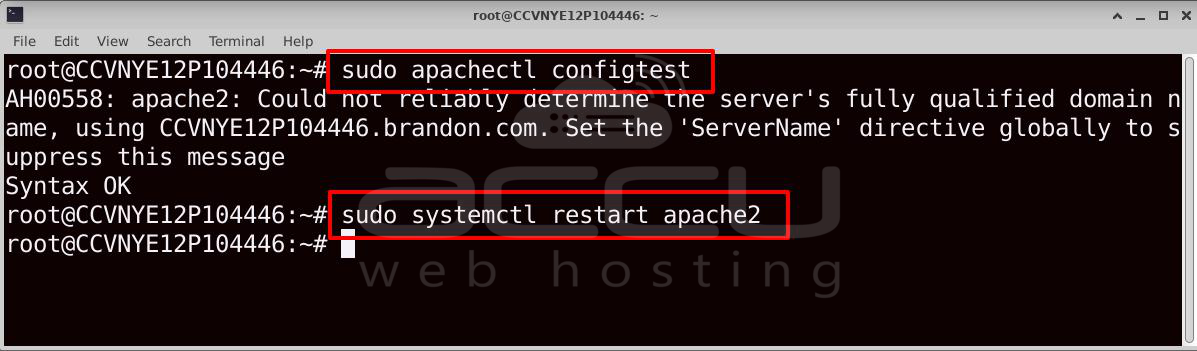
Before restarting Apache, it is recommended to verify that your configuration file contains no syntax errors. Apache provides the configtest utility, which checks all configuration files and reports any issues without affecting the running service.
Run the following command to validate the Apache configuration:
# sudo apachectl configtest
Once the configuration test completes successfully, restart the Apache service to apply the new reverse proxy configuration. Run the following command:
#sudo systemctl restart apache2
Step 8: Verify the Reverse Proxy
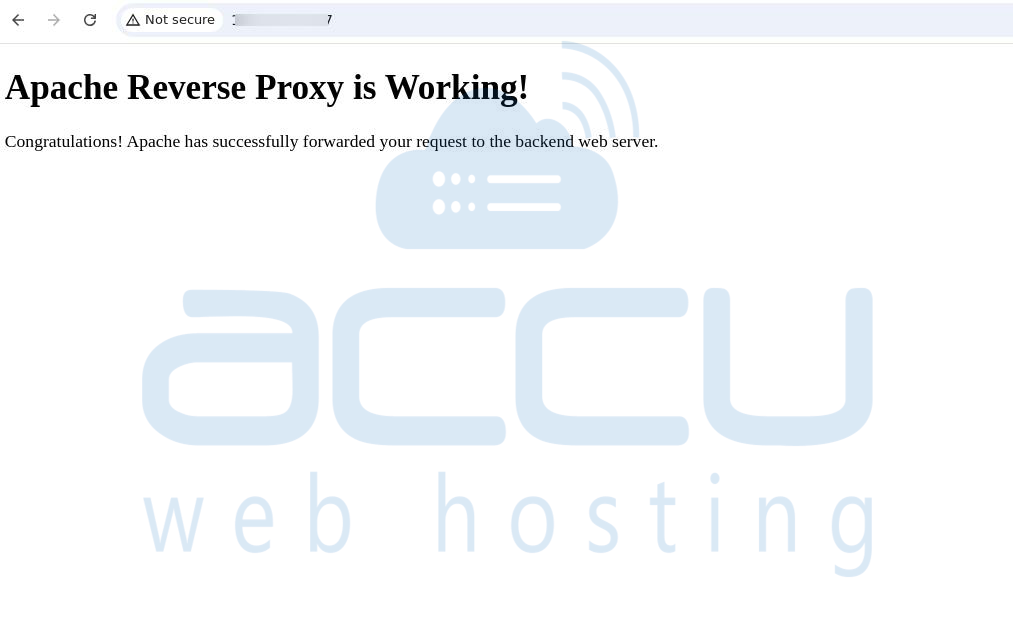
After restarting Apache, it's time to verify that the reverse proxy is working correctly. Open a web browser and navigate to your server using either your domain name or the server's public IP address.
If you have configured a domain name, access it using:
http://your-domain.com
Alternatively, if you are using the server's IP address, open:
http://SERVER_IP
If the reverse proxy has been configured successfully, Apache will receive the incoming request on port 80 and forward it to the backend application running on localhost:3000. Instead of displaying Apache's default welcome page, you should see the content served by your backend application.
Best Practices
-
Keep Apache updated.
-
Use HTTPS for client connections.
-
Enable only the required Apache modules.
-
Restrict direct access to backend ports using a firewall.
-
Validate configuration changes with apachectl configtest before reloading Apache.
-
Monitor Apache and backend logs regularly.
-
Consider enabling compression and caching for improved performance.
Conclusion
Apache's mod_proxy module provides a flexible and reliable way to deploy applications behind a reverse proxy. By forwarding requests through Apache, you can improve security, centralize SSL termination, simplify application deployment, and expose multiple backend services through a single web server. With the steps covered in this guide, you can configure Apache to proxy HTTP or HTTPS applications and maintain a scalable, production-ready web environment.