

Zammad is a modern, open-source help desk and ticketing system designed to simplify customer support operations. It allows businesses to manage support tickets, emails, live chats, phone calls, and social media interactions from a centralized dashboard. With its intuitive web interface, automation capabilities, and powerful search functionality, Zammad is an excellent choice for IT teams, hosting providers, and customer support organizations.
This guide explains how to install Zammad on an AlmaLinux 9 server using the official package repository. By the end of this tutorial, you'll have a fully functional Zammad instance ready for initial configuration.
Prerequisites
Before you begin, ensure that you have:
-
AlmaLinux 9 VPS
-
Root or sudo privileges
-
Minimum 4 GB RAM (8 GB recommended for production)
-
At least 20 GB of free disk space
-
A Fully Qualified Domain Name (FQDN) (recommended)
-
Internet connectivity
Step 1: Update the System
Update all installed packages before starting the installation.
sudo dnf update -y
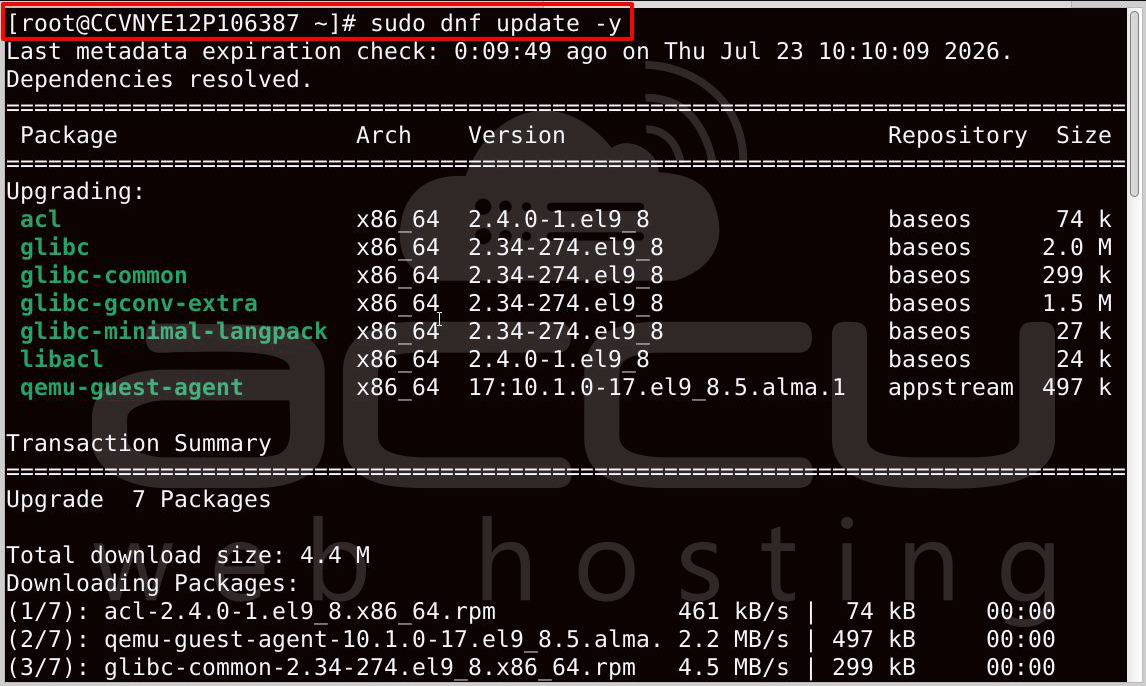
After the update completes, reboot the server if a new kernel was installed.
sudo reboot

Reconnect to the server after rebooting.
Step 2: Install Required Dependencies
Install EPEL along with the required libraries.
sudo dnf install epel-release curl nano -y
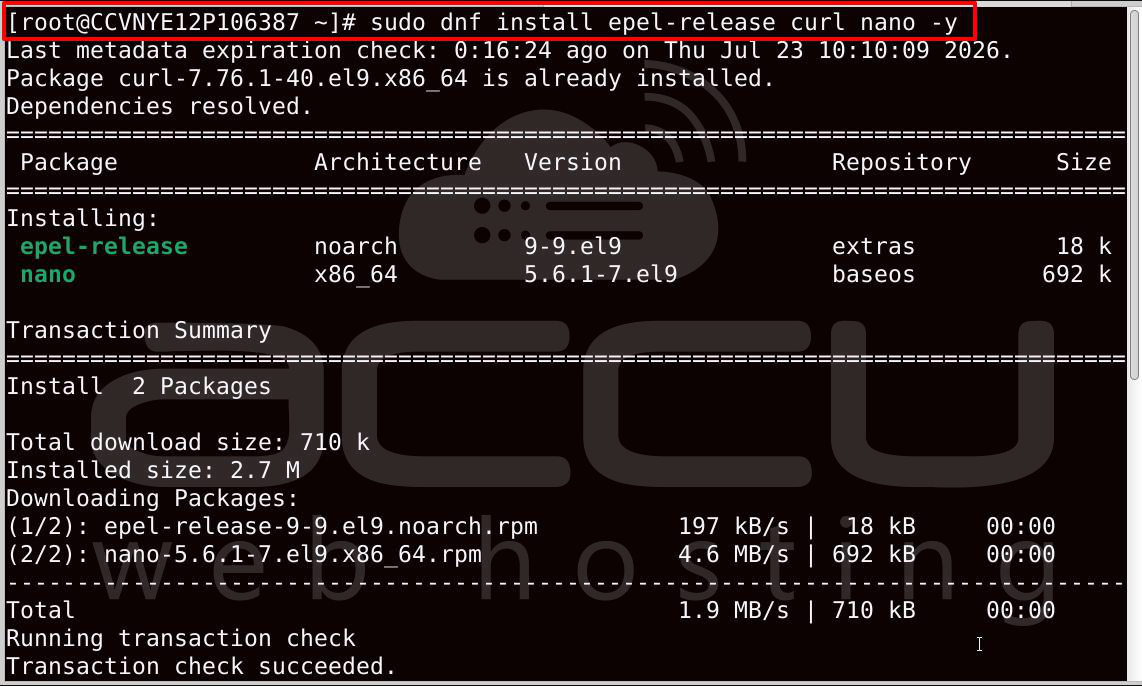
These packages are required during the installation of Zammad and its dependencies.
Step 3: Verify the Server Hostname
Zammad works best when the server has a valid hostname.
Check the current hostname:
Hostnamectl
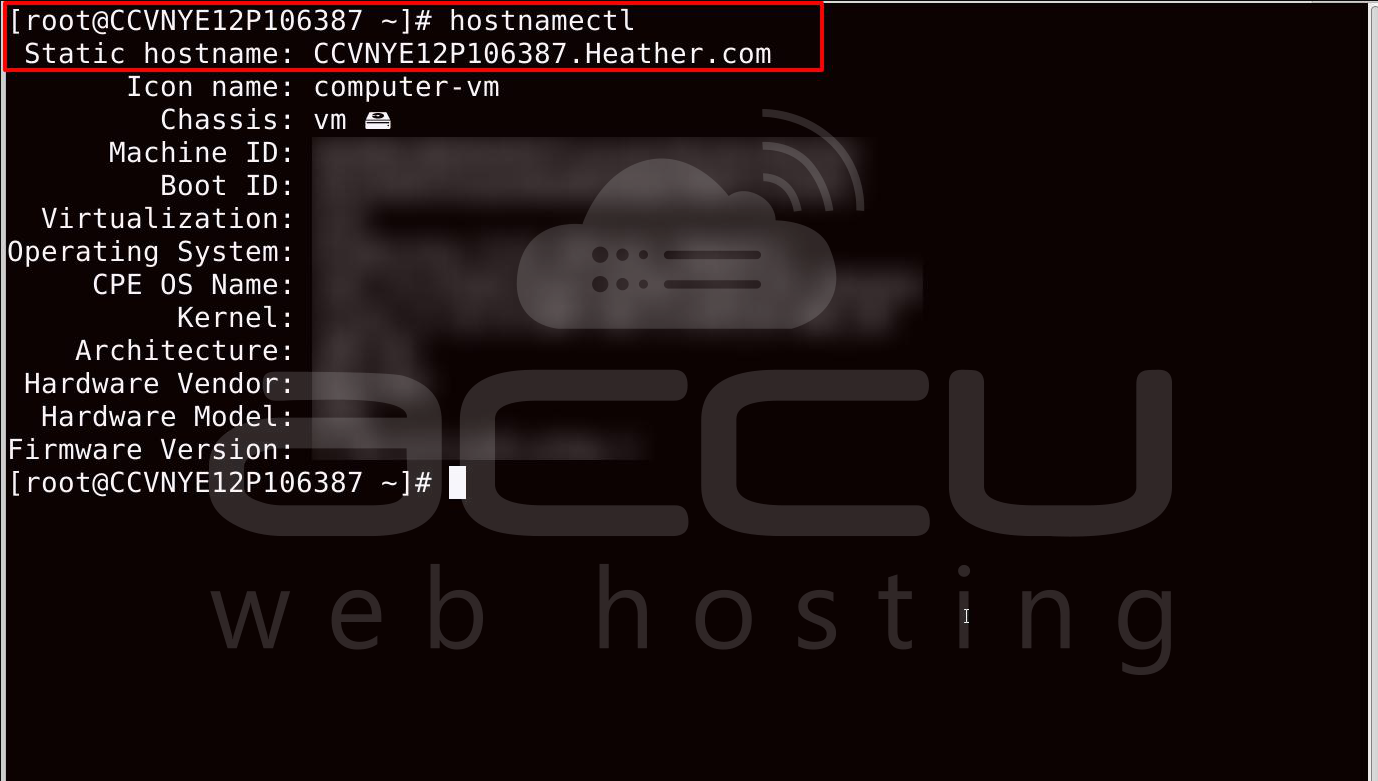
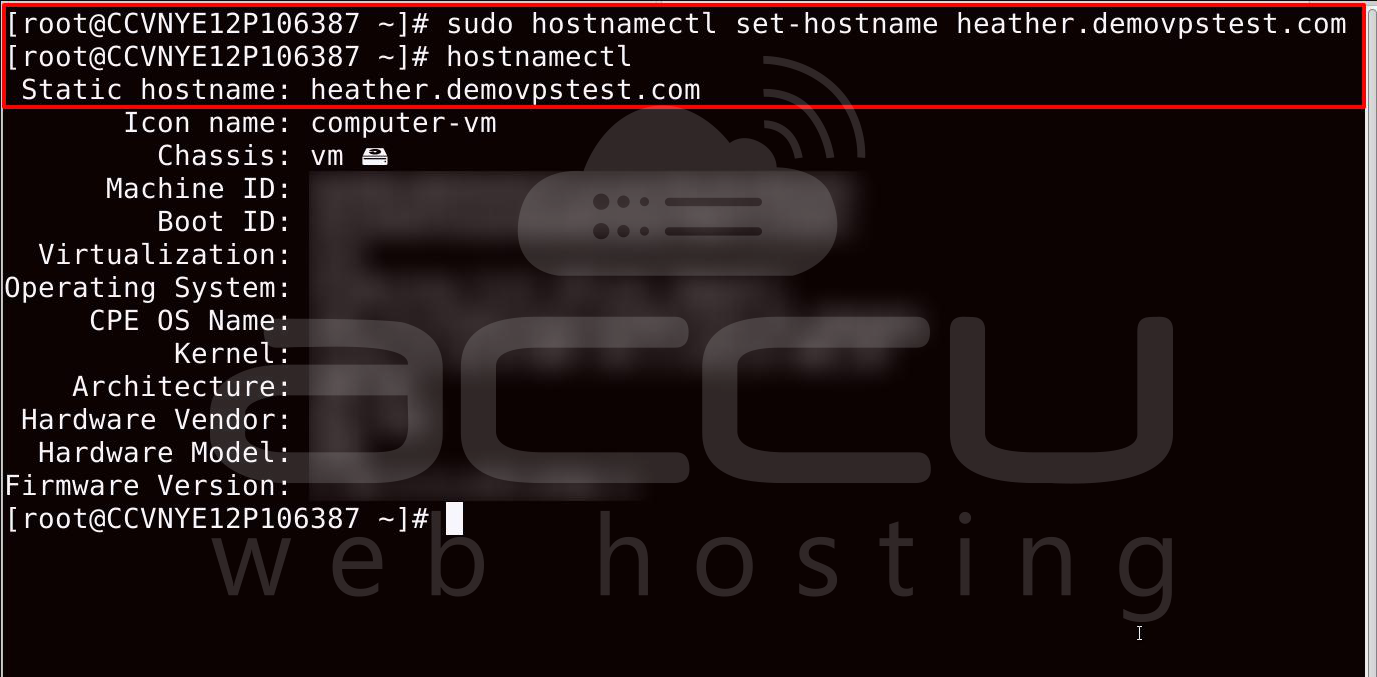
If required, set a new hostname.
sudo hostnamectl set-hostname support.example.com
Replace support.example.com with your own domain name.
Step 4: Install Java
Elasticsearch requires Java.
Install OpenJDK:
sudo dnf install java-17-openjdk java-17-openjdk-devel -y
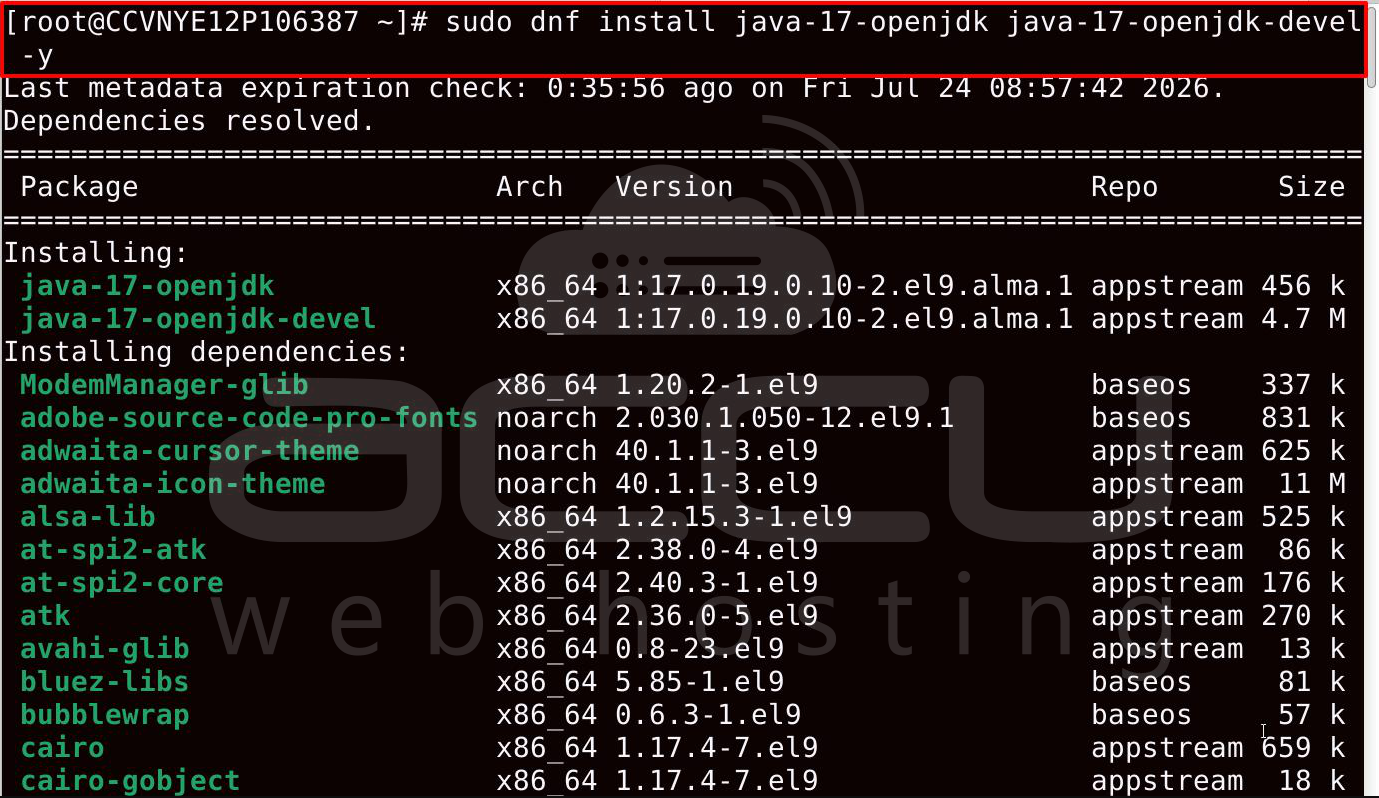
Verify the installation.
java -version

Step 5: Install Elasticsearch
Import the Elasticsearch GPG key.
Sudo rpm --import https://artifacts.elastic.co/GPG-KEY-elasticsearch
Create the Elasticsearch repository.
sudo nano /etc/yum.repos.d/elasticsearch.repo

Paste the following:
[elasticsearch]
name=Elasticsearch repository
baseurl=https://artifacts.elastic.co/packages/8.x/yum
gpgcheck=1
gpgkey=https://artifacts.elastic.co/GPG-KEY-elasticsearch
enabled=1
autorefresh=1
type=rpm-md
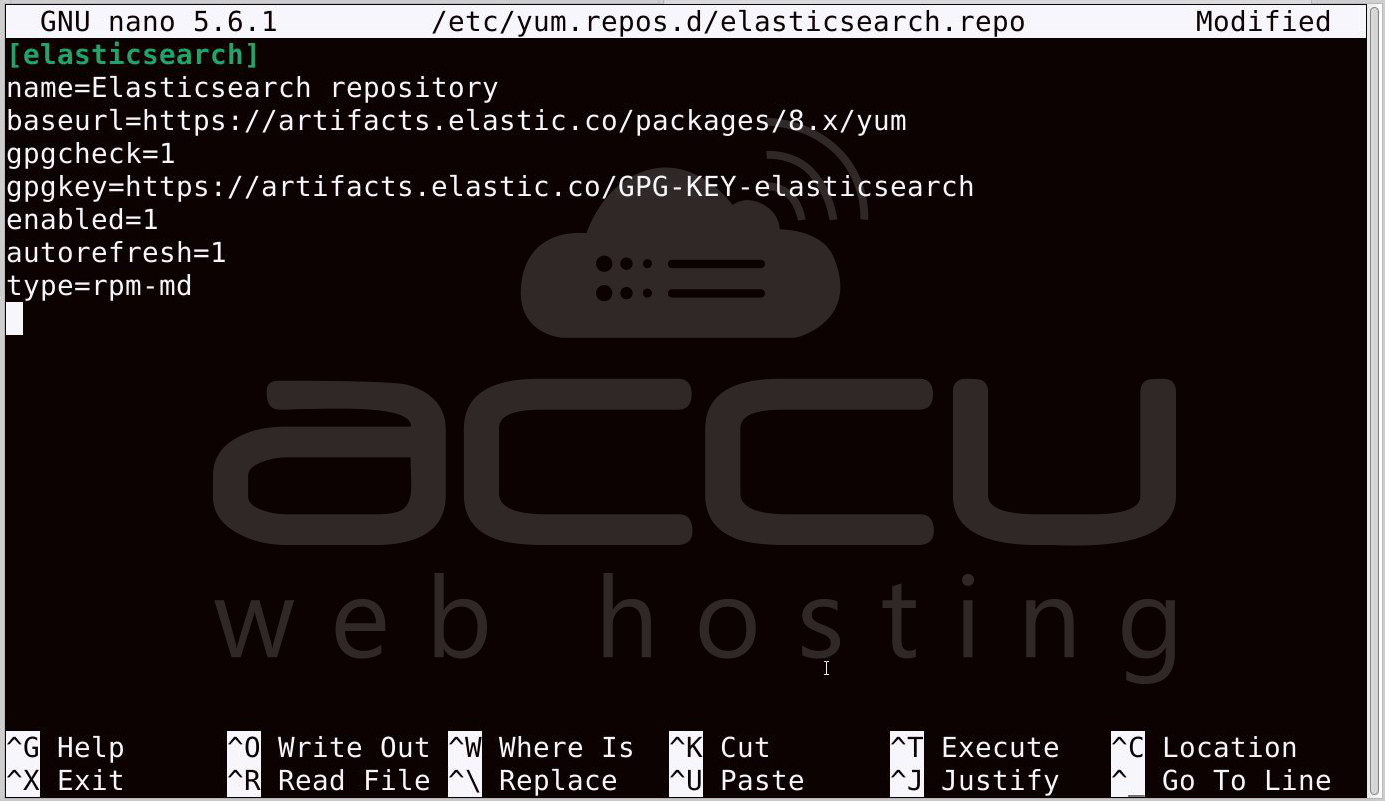
Save and exit.
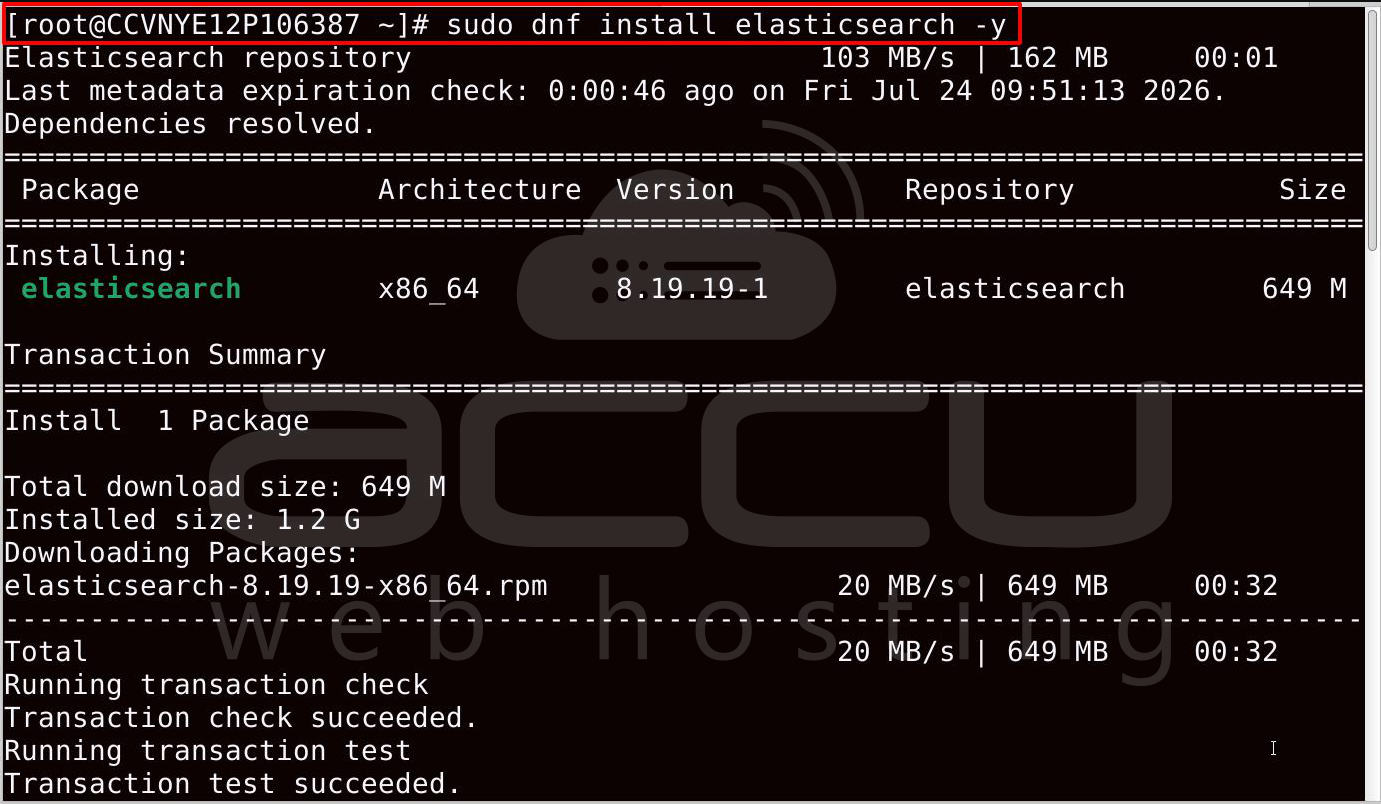
Install Elasticsearch.
sudo dnf install elasticsearch -y
Step 6: Configure Elasticsearch
Open the configuration file.
sudo nano /etc/elasticsearch/elasticsearch.yml
Locate or add the following settings:
cluster.name: zammad-cluster
node.name: node-1
network.host: 127.0.0.1
http.port: 9200
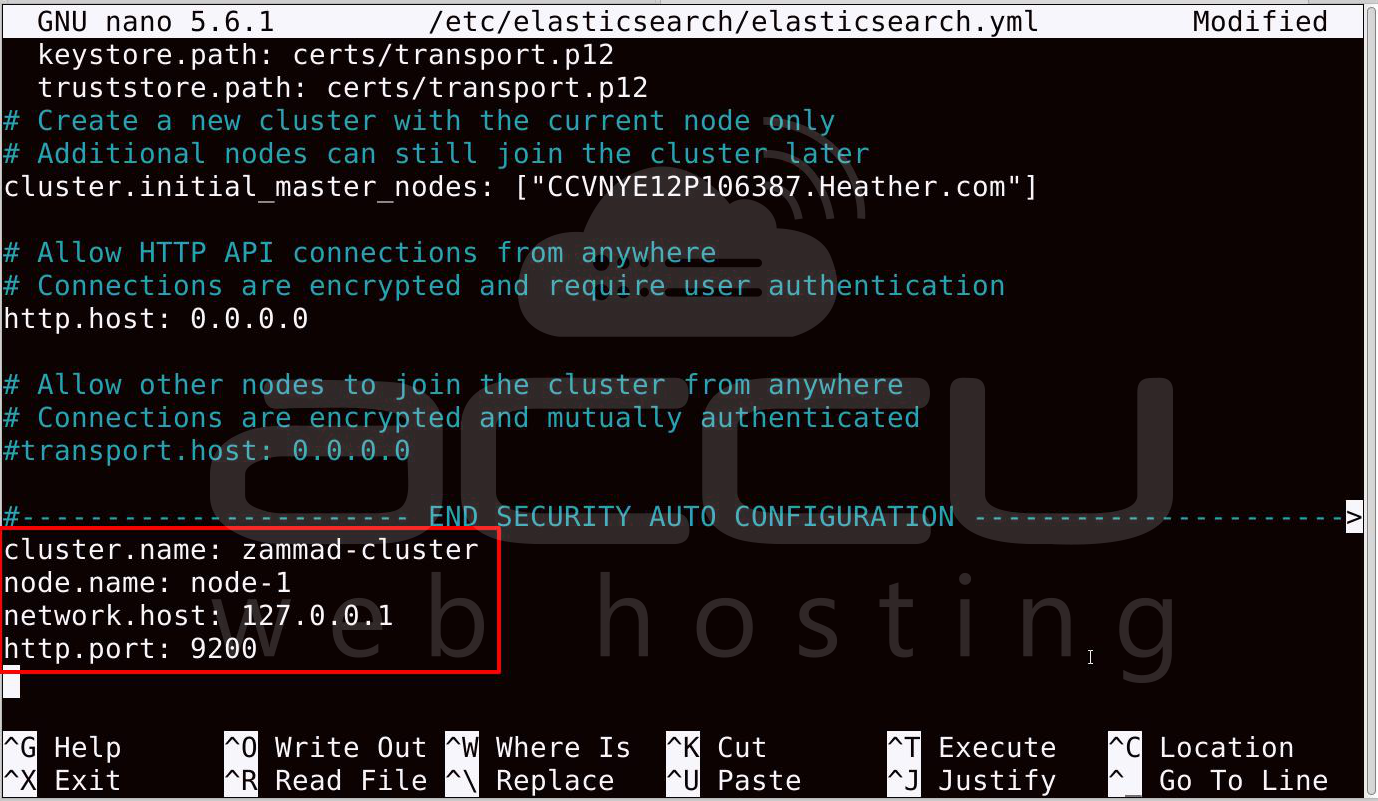
Save the file.
Start Elasticsearch.
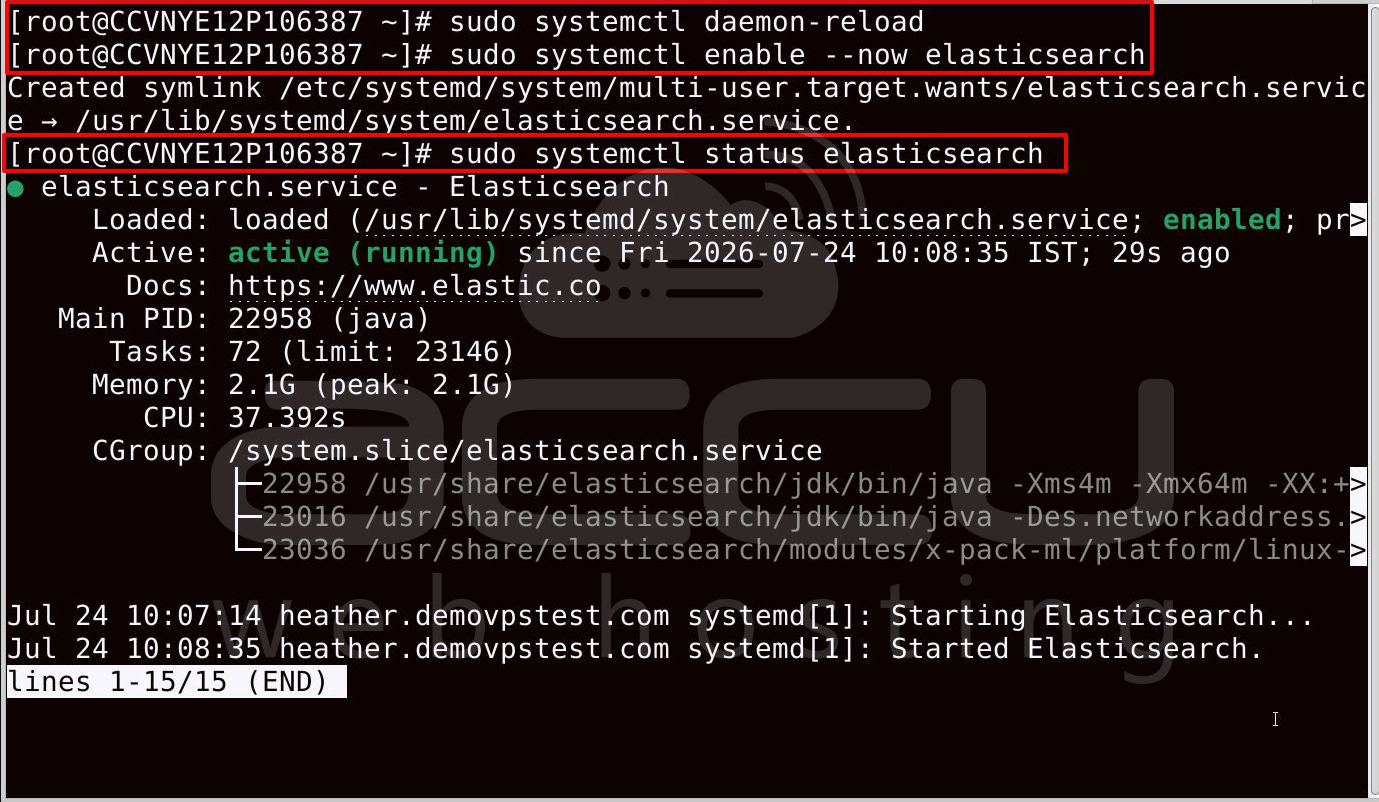
sudo systemctl daemon-reload
sudo systemctl enable --now elasticsearch
Verify its status.
sudo systemctl status elasticsearch
Step 7: Add the Official Zammad Repository
Import the repository signing key.
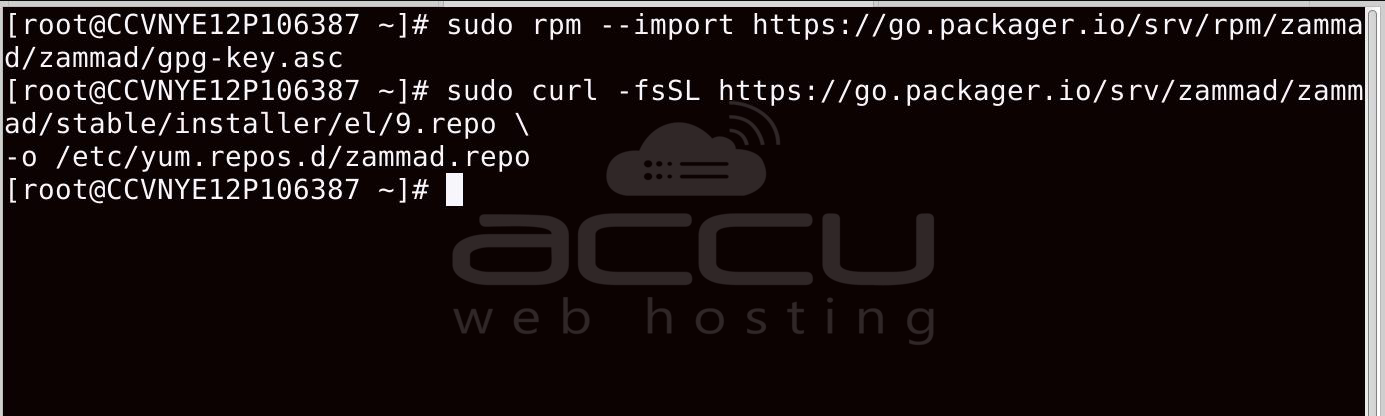
sudo rpm --import https://go.packager.io/srv/rpm/zammad/zammad/gpg-key.asc
Download the AlmaLinux/RHEL 9 repository.
sudo curl -fsSL https://go.packager.io/srv/zammad/zammad/stable/installer/el/9.repo \
-o /etc/yum.repos.d/zammad.repo
Refresh package metadata.
sudo dnf clean all
sudo dnf makecache
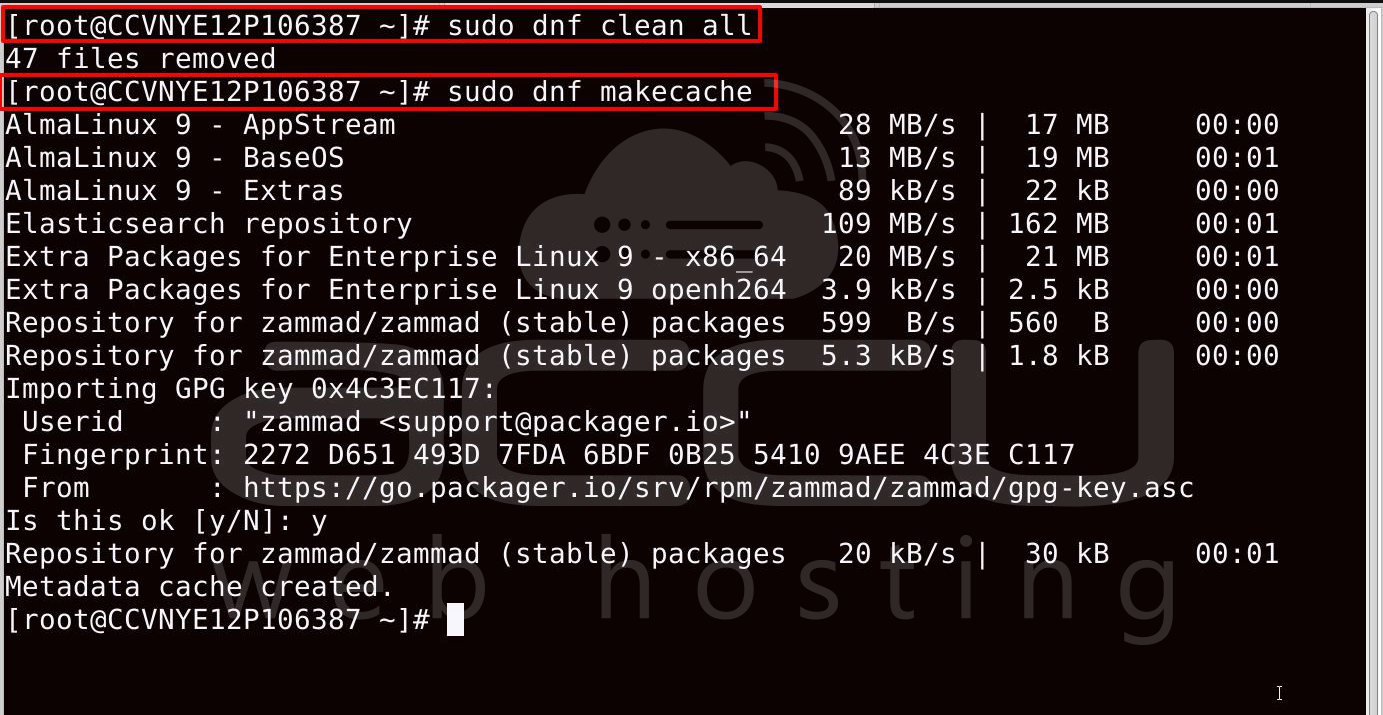
The official Zammad packages are distributed through the Packager repository.
Step 8: Install Zammad
Install the application.
sudo dnf install zammad -y
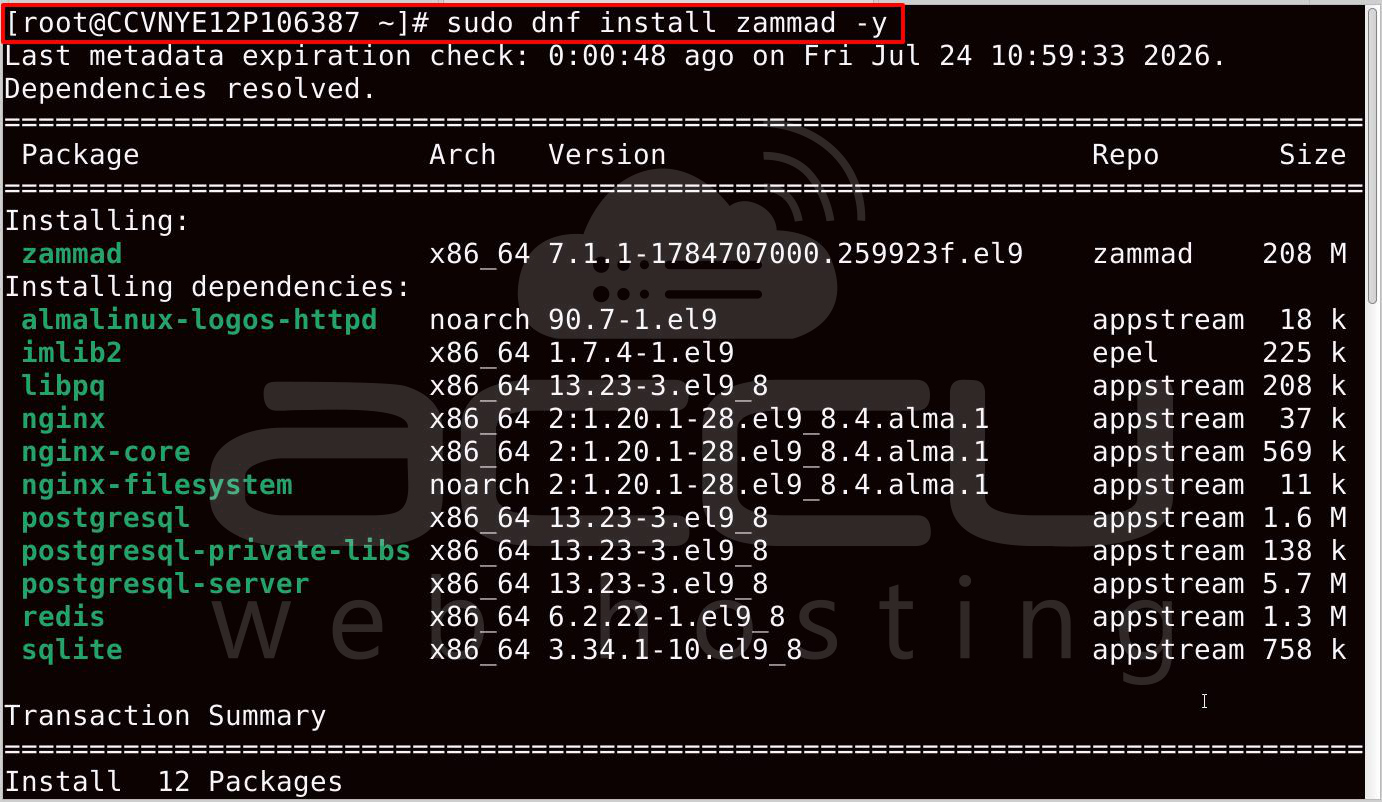
The installer automatically installs additional components, including:
-
PostgreSQL
-
Nginx
-
Zammad services
-
Ruby dependencies
Step 9: Start and Enable Services
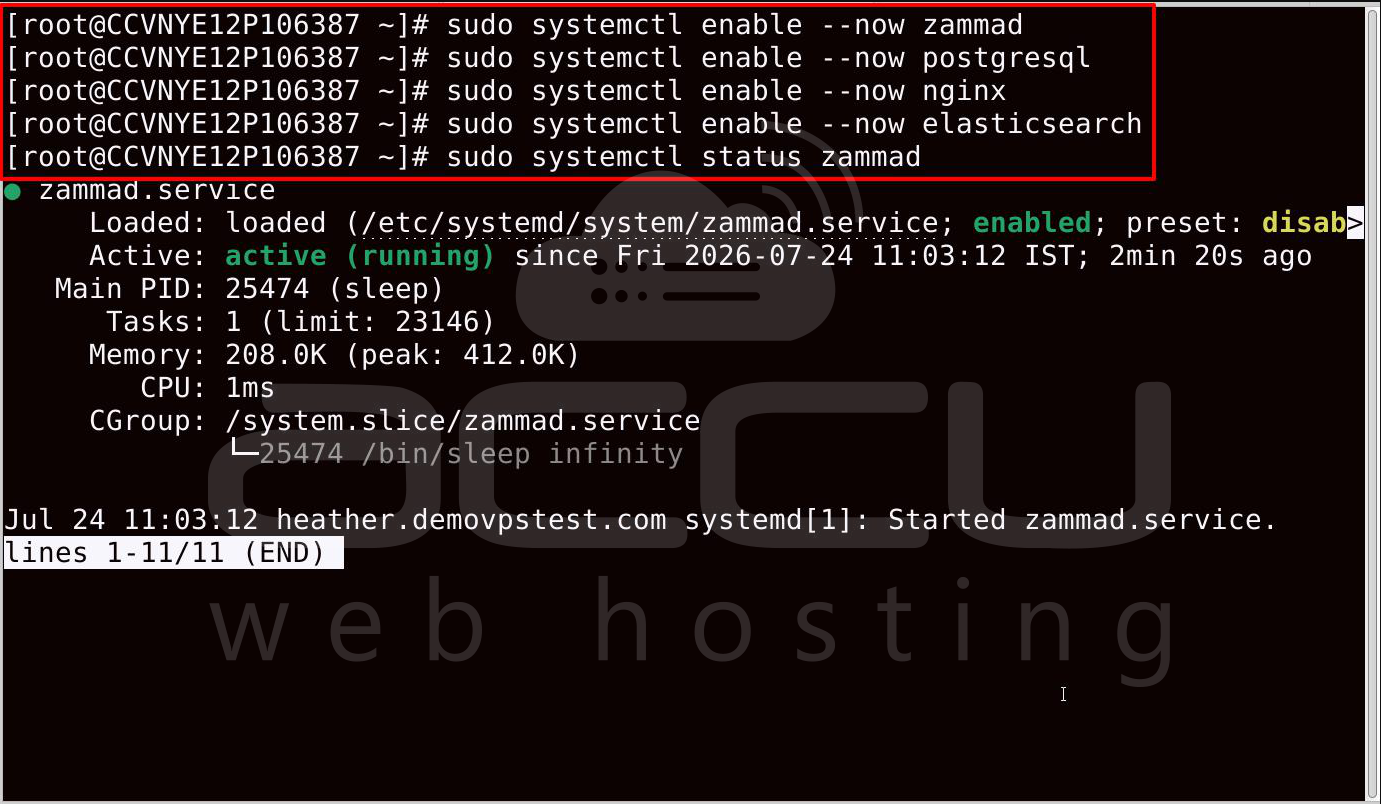
Enable the required services.
sudo systemctl enable --now zammad
sudo systemctl enable --now postgresql
sudo systemctl enable --now nginx
sudo systemctl enable --now elasticsearch
Verify that Zammad is running.
sudo systemctl status zammad
Step 10: Configure the Firewall
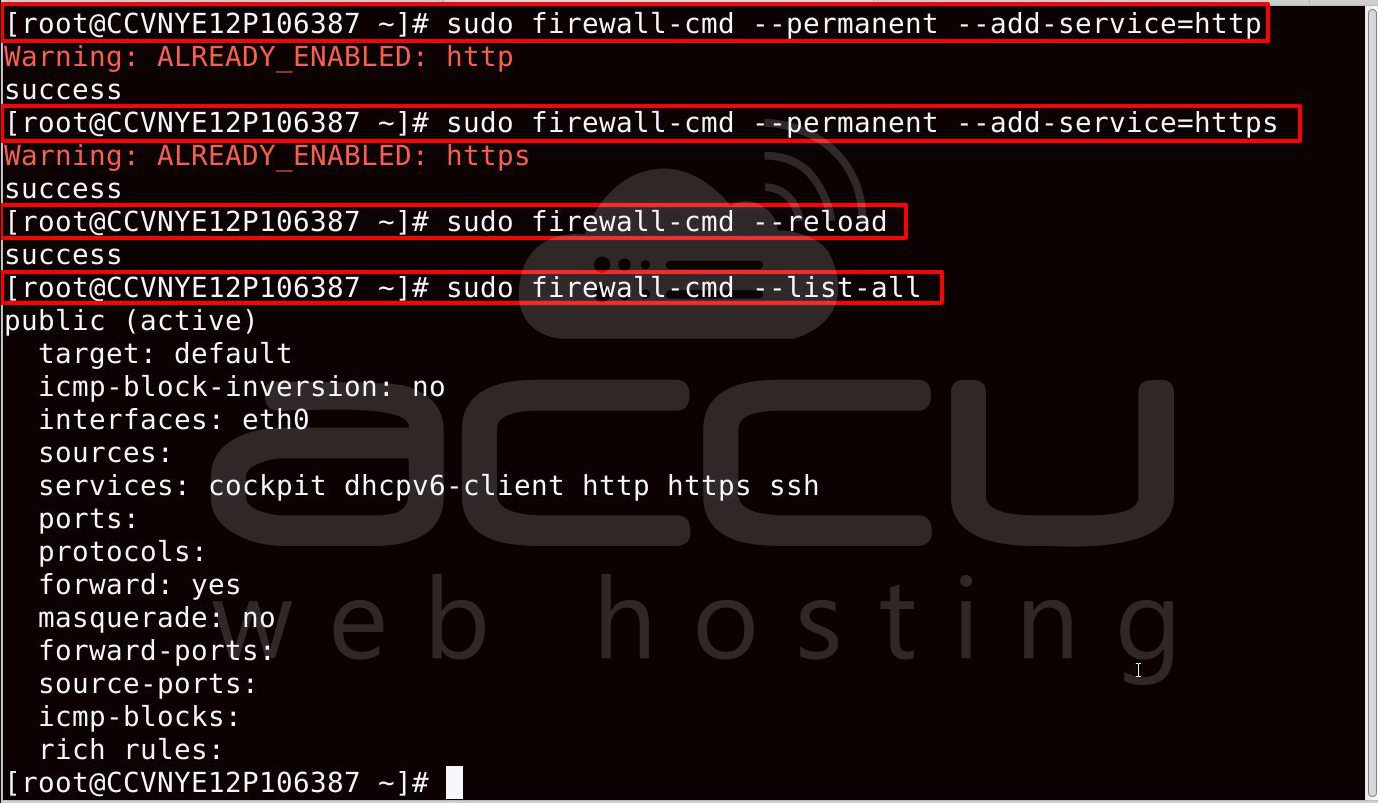
Allow HTTP and HTTPS traffic.
sudo firewall-cmd --permanent --add-service=http
sudo firewall-cmd --permanent --add-service=https
sudo firewall-cmd --reload
Verify the firewall configuration.
sudo firewall-cmd --list-all
Step 12: Access the Zammad Web Interface
Open a web browser and visit:
http://your-server-ip
or
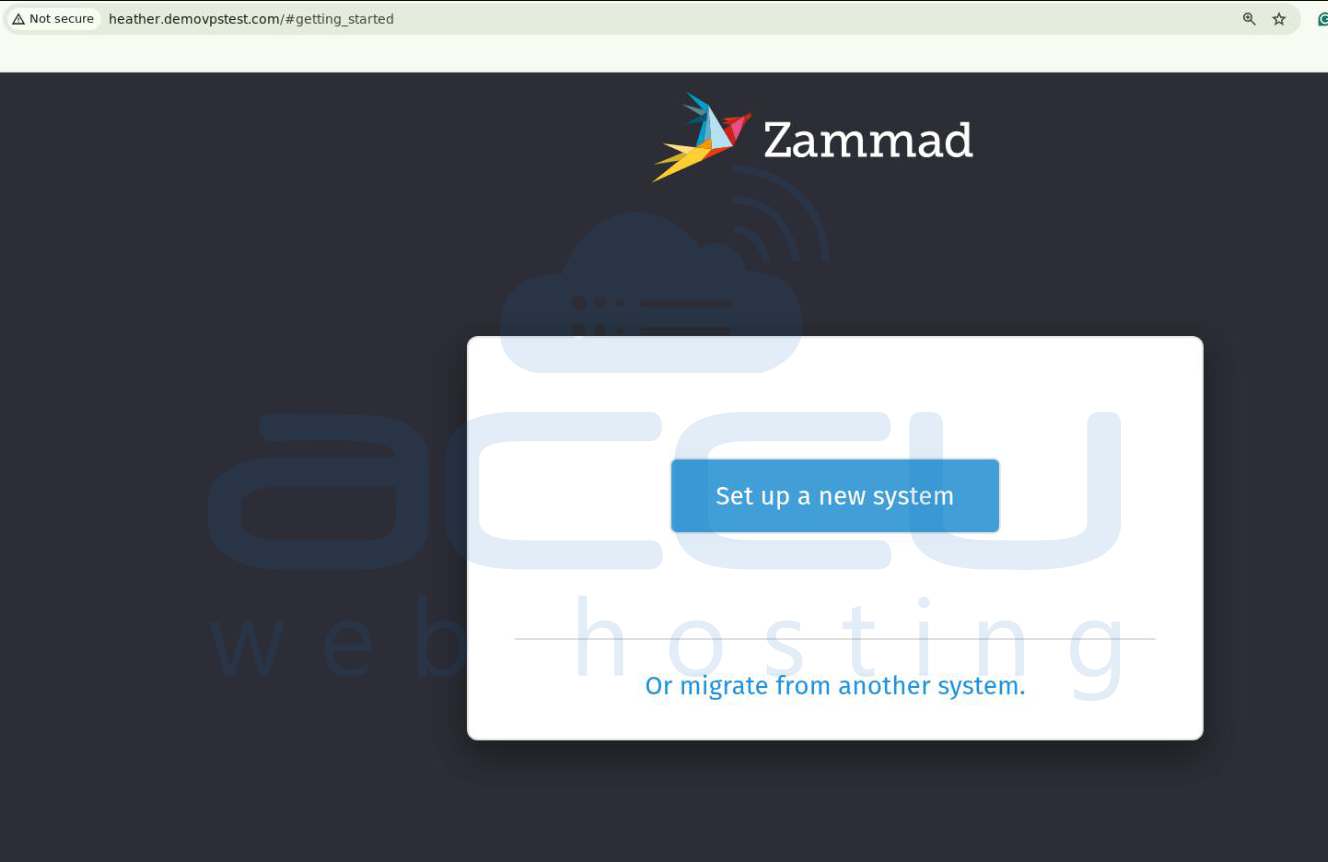
The Zammad setup wizard appears.
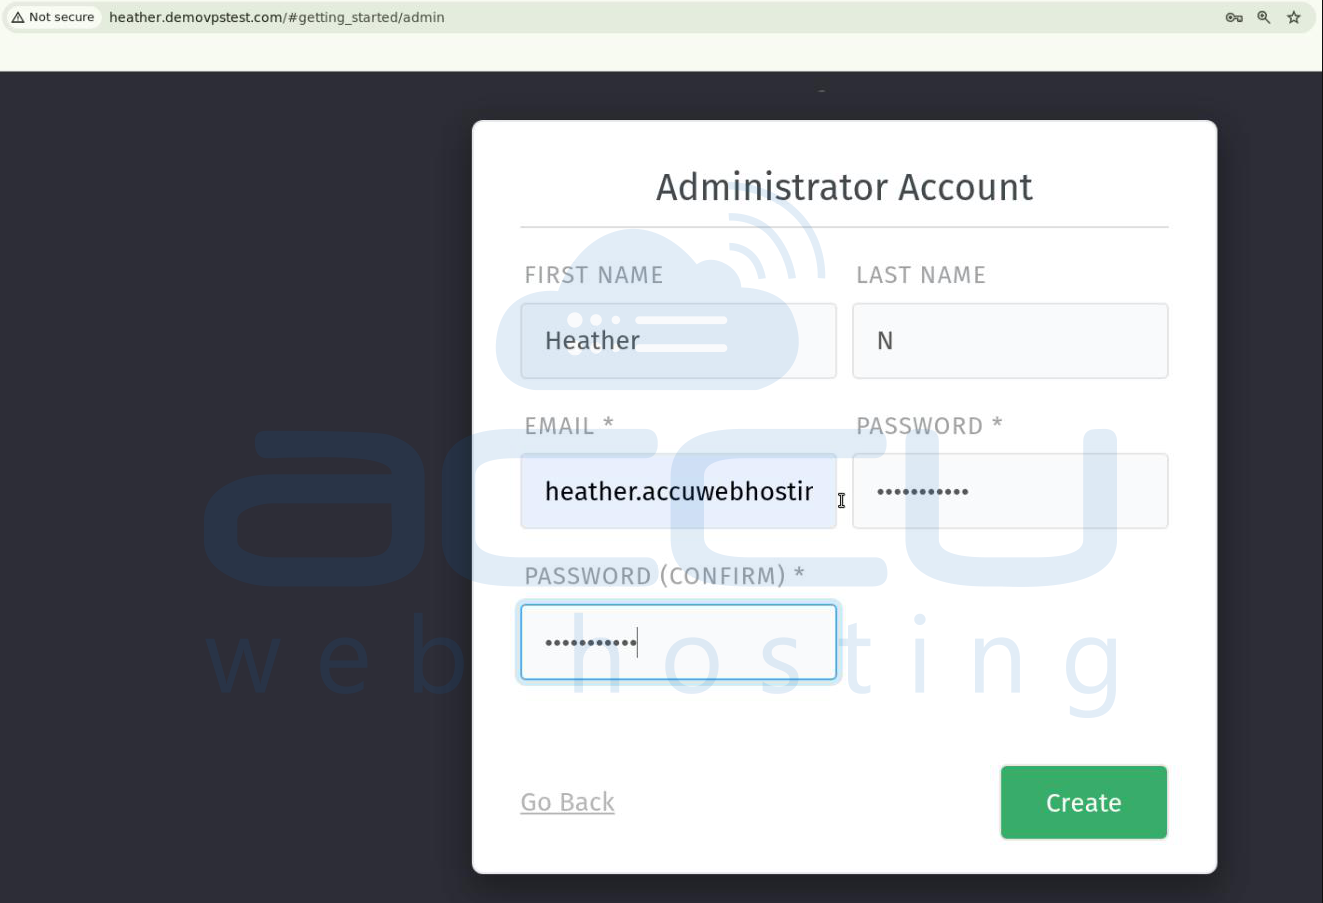
Complete the initial configuration by:
-
Creating the administrator account
-
Configuring your organization details
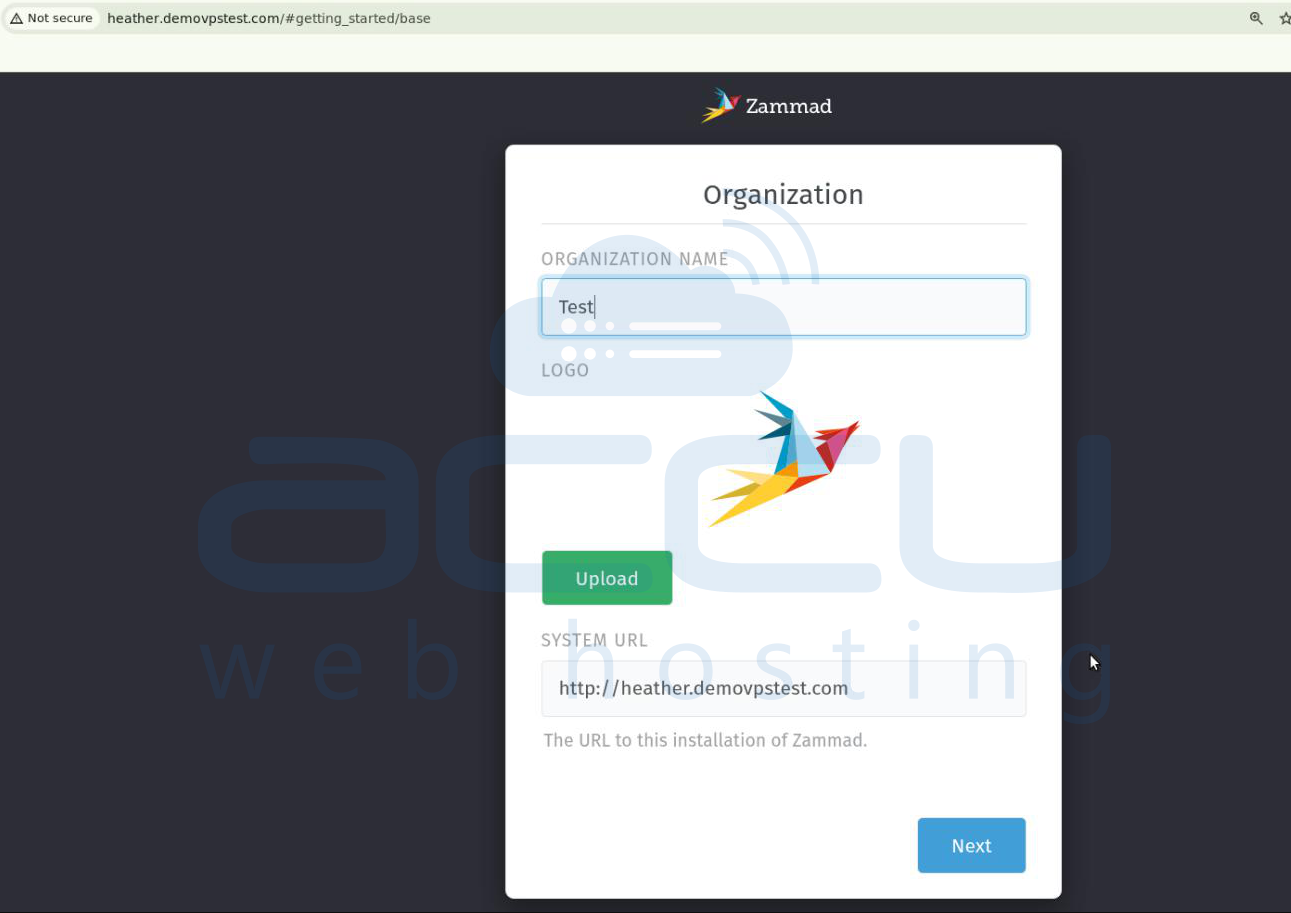
-
Setting up inbound and outbound email
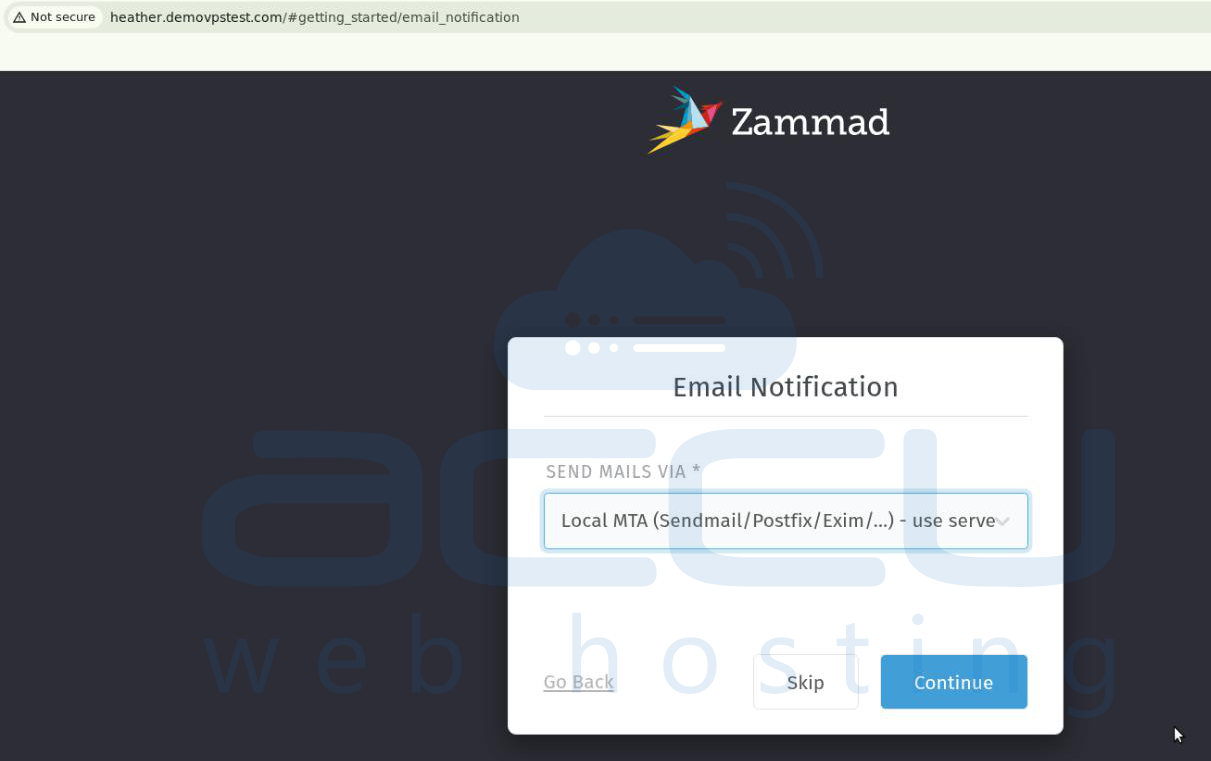
-
Adjusting system preferences
Step 13: Secure Zammad with SSL (Recommended)
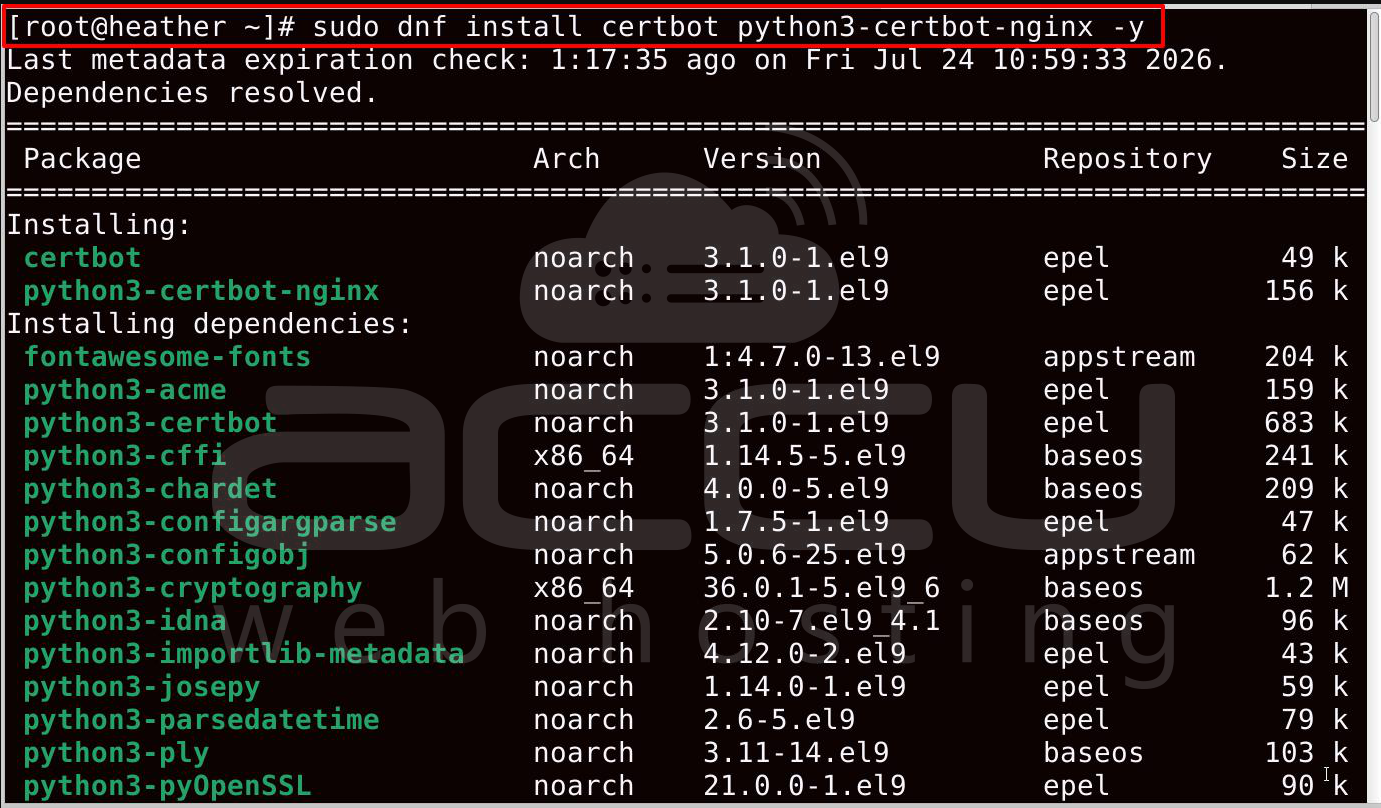
Install Certbot.
sudo dnf install certbot python3-certbot-nginx -y
Obtain an SSL certificate.
sudo certbot --nginx
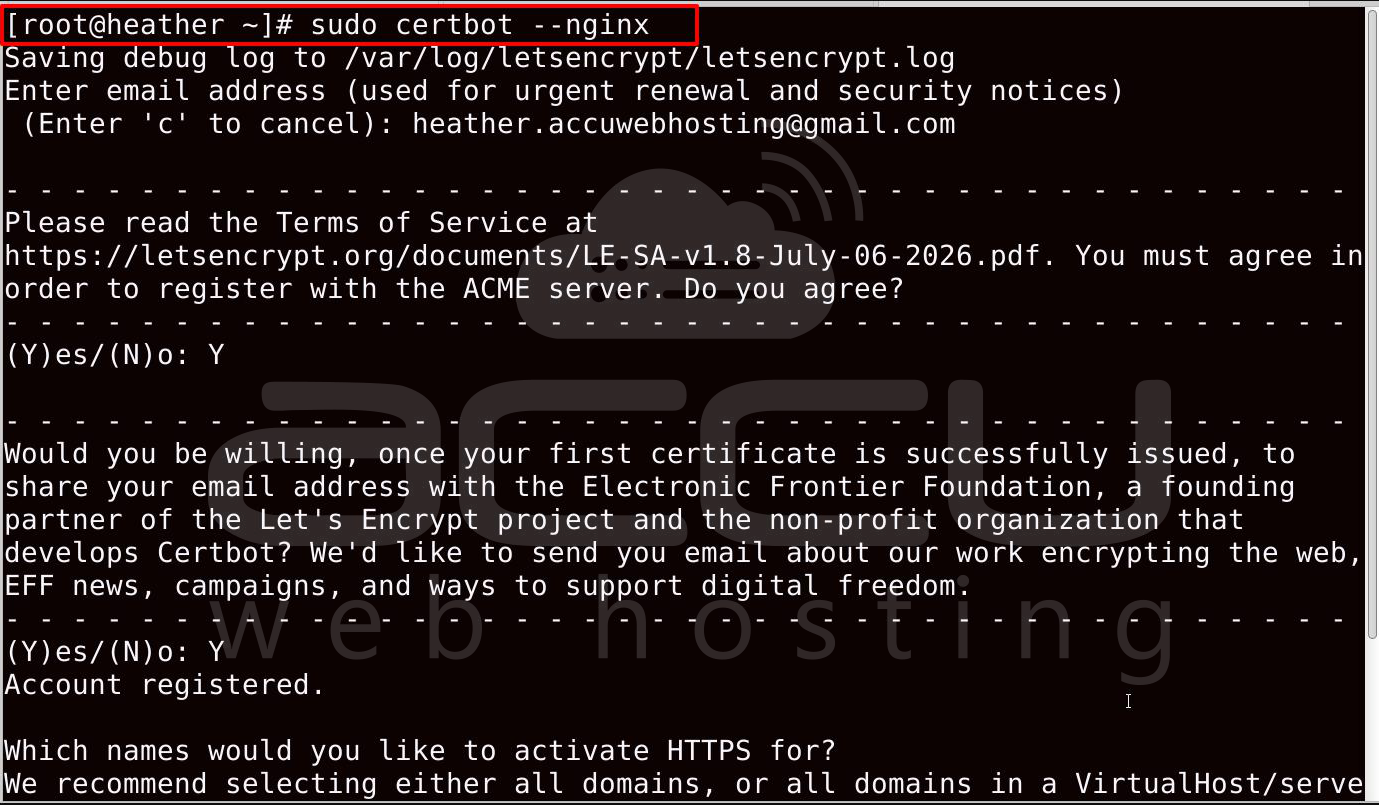
Follow the prompts to install the SSL certificate automatically.
Verify the Installation
Open your browser and navigate to:
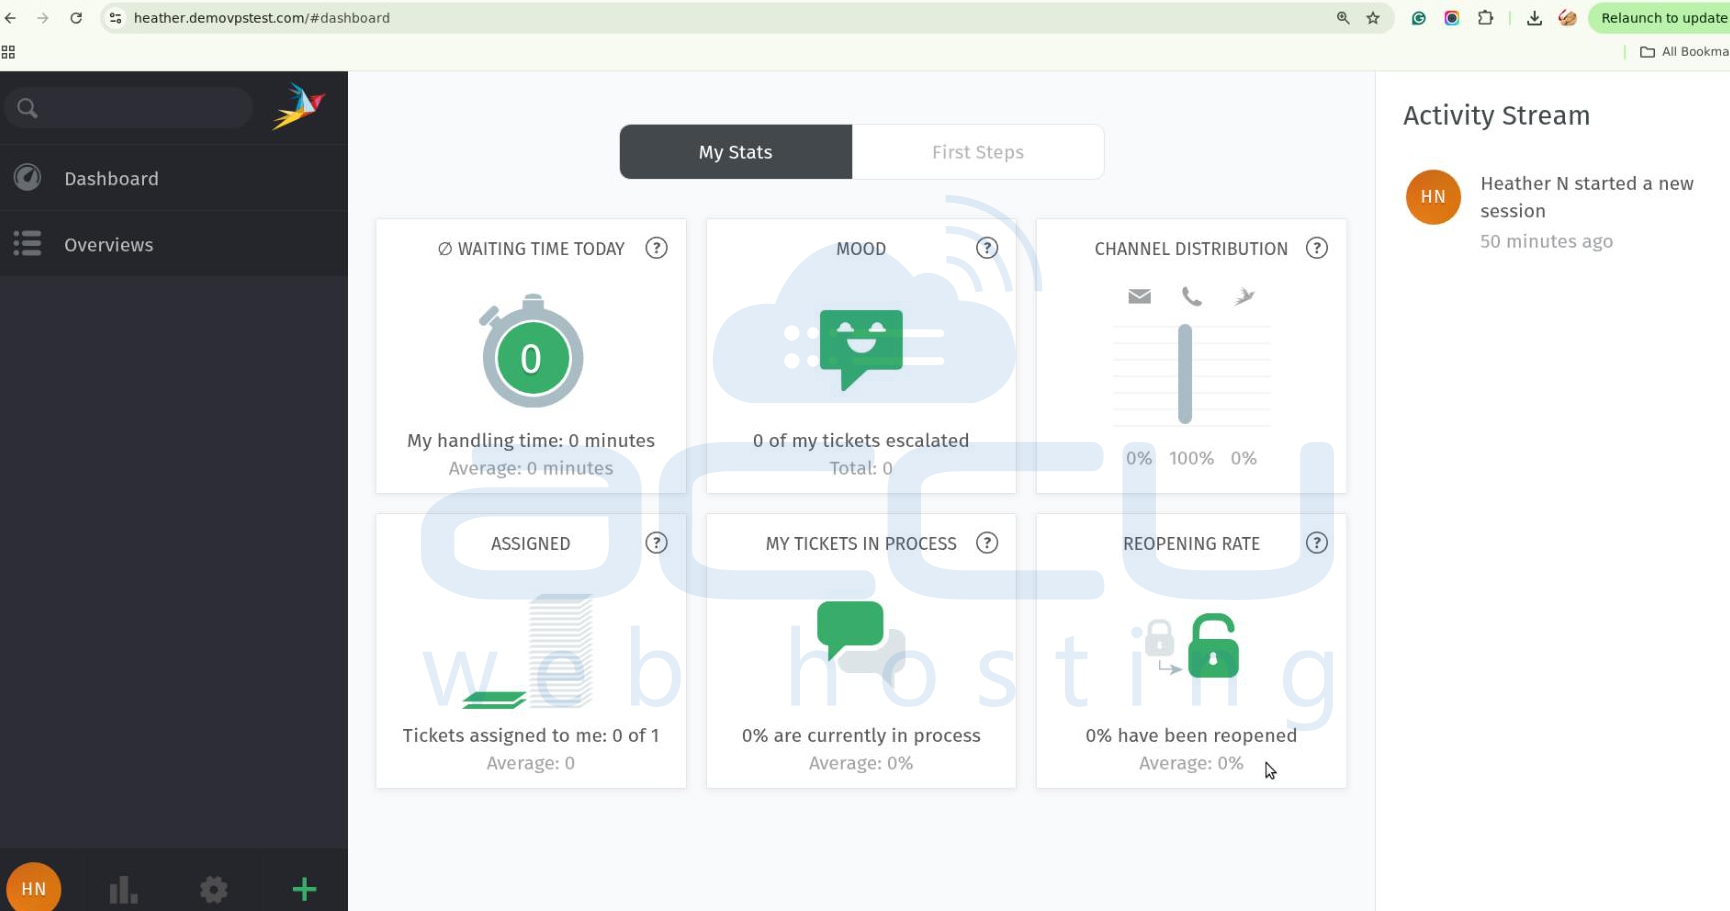
You should see the Zammad login page. Log in using the administrator credentials created during the initial setup.
Conclusion
You have successfully installed Zammad on AlmaLinux OS. Your server now includes Zammad, PostgreSQL, Elasticsearch, and Nginx, providing a complete self-hosted help desk platform. For a production deployment, consider enabling HTTPS, configuring automated backups, integrating your email accounts, and keeping the system updated to ensure optimal performance and security.
This version is original, follows the current official installation method (using the Packager repository for EL9), and is suitable for publishing as a technical knowledge base article.