
Introduction:
Managing passwords securely is more important than ever, especially if you use multiple online accounts for work or personal use. Reusing the same password across different websites can put your accounts at risk, while creating and remembering strong, unique passwords for every account can be difficult.
Bitwarden is a popular open-source password manager that helps you securely store, organize, and access your passwords, secure notes, credit card details, and other sensitive information. It uses strong end-to-end encryption, ensuring that only you can access your stored data. Bitwarden also supports synchronization across multiple devices, making it easy to access your passwords wherever you are.
For organizations and businesses, Bitwarden can be self-hosted on your own server, giving you complete control over your password vault and sensitive data. Hosting Bitwarden on a Virtual Private Server (VPS) is an excellent choice for users seeking enhanced privacy, stronger security, and full ownership of their password management solution.
In this article, we explain how to install Bitwarden on an AlmaLinux 10 VPS using Docker. This article is written in a simple, step-by-step manner, making it suitable for both beginners and experienced Linux users.
Key Features of Bitwarden:
Open-source and transparent: Bitwarden's source code is publicly available, allowing the community to review and improve its security.
End-to-end encryption: All passwords and sensitive information are encrypted before they leave your device, ensuring that only you can decrypt and view your data.
Cross-platform support: Access your password vault from Windows, Linux, macOS, Android, iPhone, or directly through a web browser.
Self-hosting support: Deploy Bitwarden on your own VPS or dedicated server to maintain full control over your data and infrastructure.
Password generator: Create strong, random passwords to improve the security of your online accounts.
Secure password sharing: Safely share passwords and other sensitive information with family members, team members, or colleagues.
Multi-device synchronization: Keep your vault synchronized across all your devices so your passwords are always available.
Two-factor authentication (2FA): Add an extra layer of protection to your Bitwarden account using supported authentication methods.
Secure storage for more than just passwords: Store secure notes, identities, payment card details, and other confidential information in a single encrypted vault.
Browser extensions and desktop applications: Quickly autofill login credentials using extensions for popular web browsers or dedicated desktop applications.
Organization and team management: Create organizations to securely manage and share credentials with teams or businesses.
Import and export support: Easily migrate passwords from other password managers into Bitwarden.
Prerequisites:
Before starting, ensure that you have:
AlmaLinux 10 Server
Root or sudo privileges
A fully qualified domain name (example: vault.example.com)
At least:
2 GB RAM (4 GB recommended)
2 CPU cores
25 GB free disk space (recommended)
Step 1: Update the Server
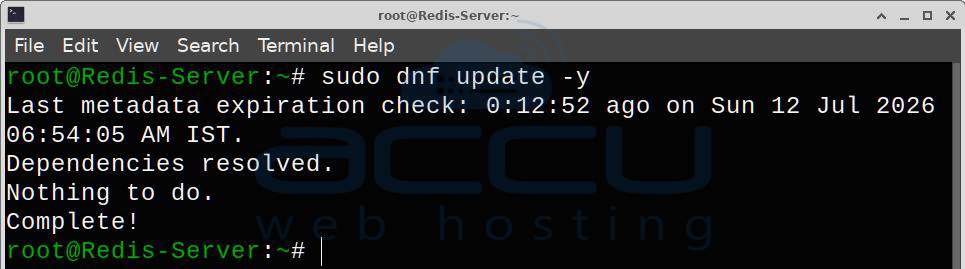
Before we begin the Bitwarden installation, it is recommended to update the system packages to their latest available versions. To do so, please execute the following command:
sudo dnf update -y
Step 2. Install Docker and Docker Compose
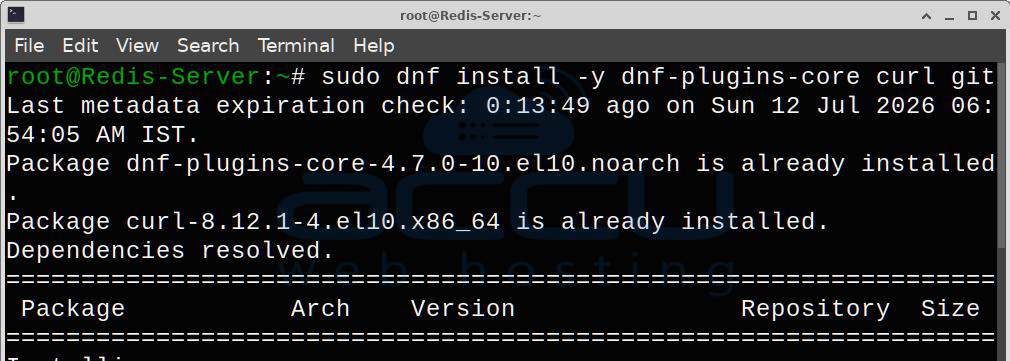
Install the required packages.
sudo dnf install -y dnf-plugins-core curl git
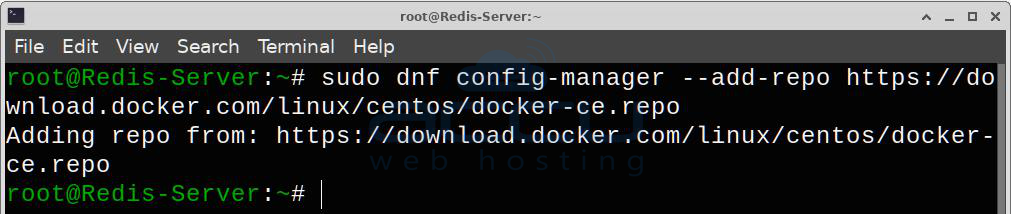
Add the Docker repository.
sudo dnf config-manager --add-repo https://download.docker.com/linux/centos/docker-ce.repo
Install Docker Engine and Docker Compose.
sudo dnf install -y docker-ce docker-ce-cli containerd.io docker-buildx-plugin docker-compose-plugin
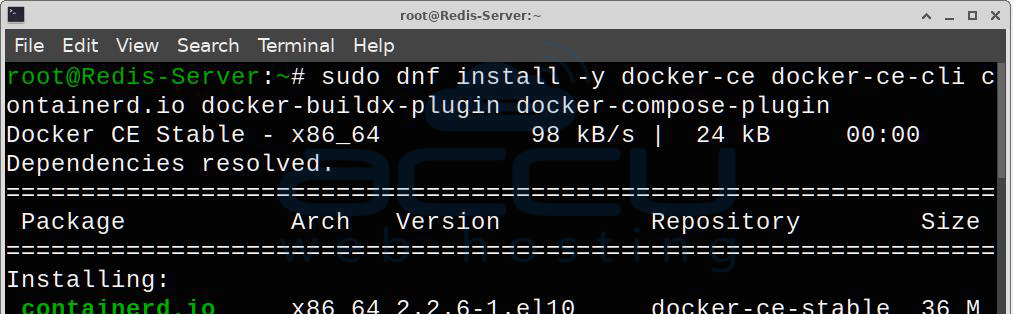
Enable Docker.
sudo systemctl enable --now docker

Verify:
docker --version
docker compose version
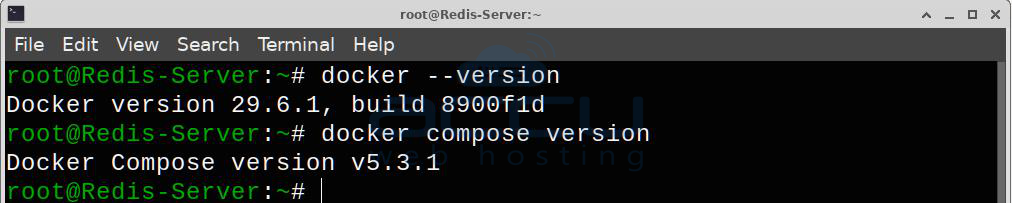
Step 3: Create a Bitwarden User
Bitwarden recommends using a dedicated user instead of installing as root.
sudo adduser bitwarden
Set a password.
sudo passwd bitwarden
Add the user to the Docker group.
sudo usermod -aG docker bitwarden
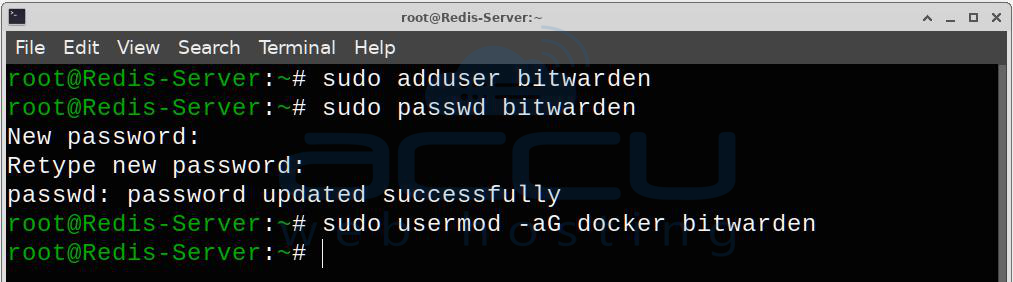
Create the installation directory.
sudo mkdir /opt/bitwarden
Assign permissions.
sudo chown -R bitwarden:bitwarden /opt/bitwarden
sudo chmod 700 /opt/bitwarden
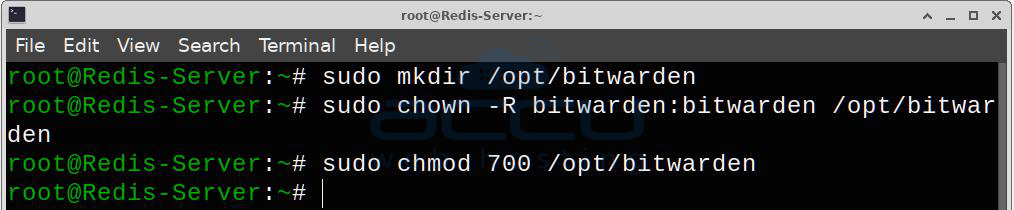
Switch to the Bitwarden user.
su - bitwarden
Move to the installation directory.
cd /opt/bitwarden
Step 4: Obtain an Installation ID and Key
Open the Bitwarden self-hosting page: https://bitwarden.com/host/
Bitwarden Self-Host Registration
Enter your email address.
Bitwarden will generate:
Installation ID:
Installation Key:
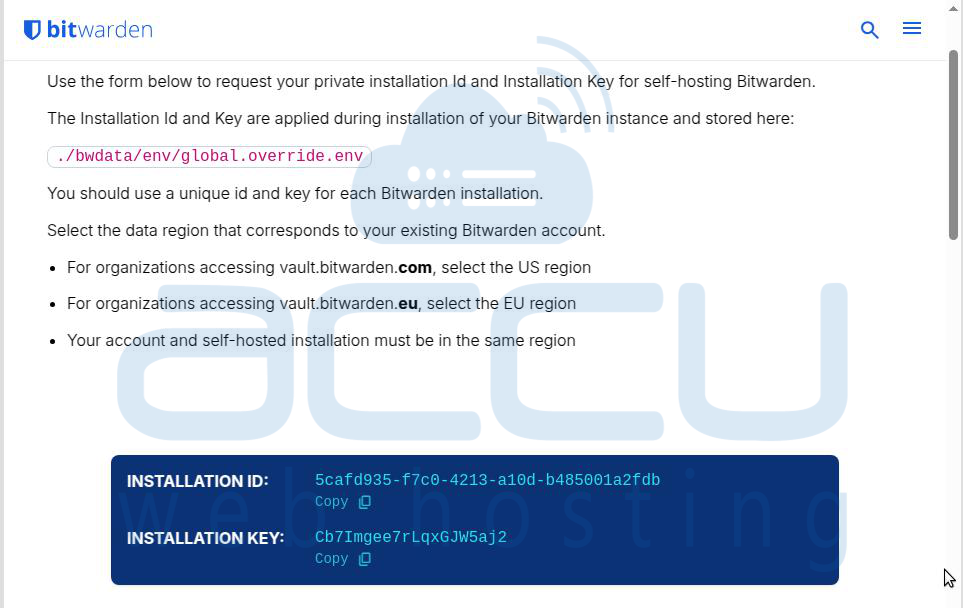
Save both values, as they will be required during installation.
Step 5: Download the Installation Script
curl -Lso bitwarden.sh "https://func.bitwarden.com/api/dl/?app=self-host&platform=linux"
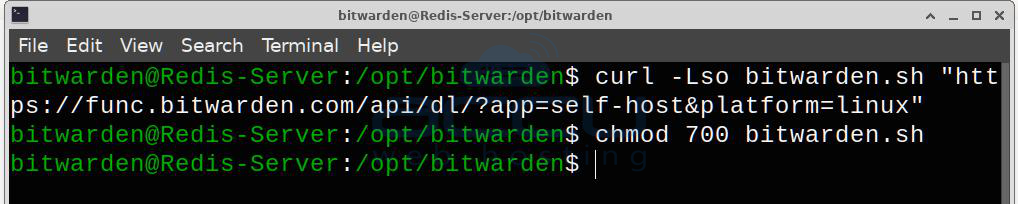
Make it executable.
chmod 700 bitwarden.sh
Step 6: Start the Installation
Run:
./bitwarden.sh install
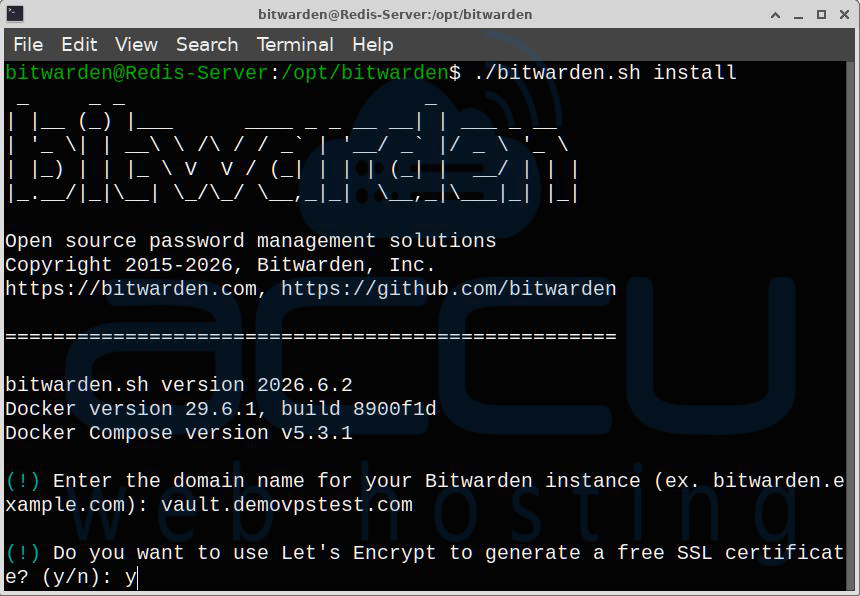
You will be prompted for:
Domain name
Whether to use Let's Encrypt
Installation ID
Installation Key
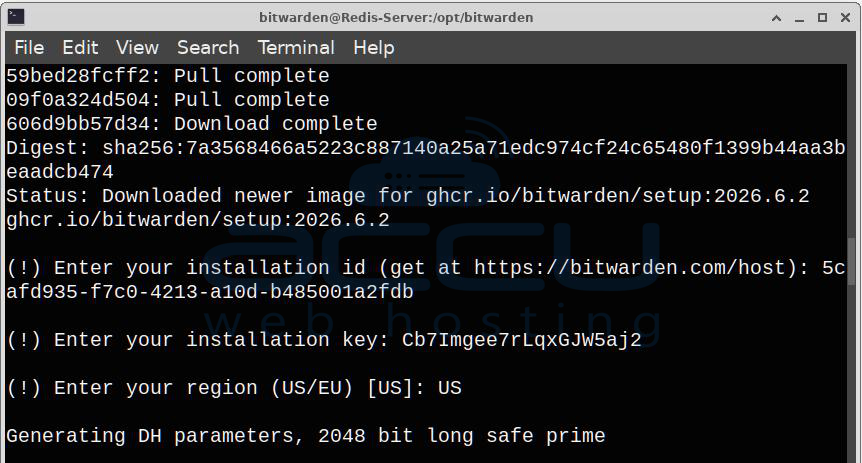
Example:
Domain: vault.example.com
Use Let's Encrypt? Y
Installation ID: xxxxxxxxx
Installation Key:xxxxxxxxxxxxxxxxxxxx
The installer will automatically:
Download Docker images
Generate configuration files
Configure Nginx
Create SSL certificates (if Let's Encrypt is selected)
Step 7: Start Bitwarden
If it is not already running:
./bitwarden.sh start
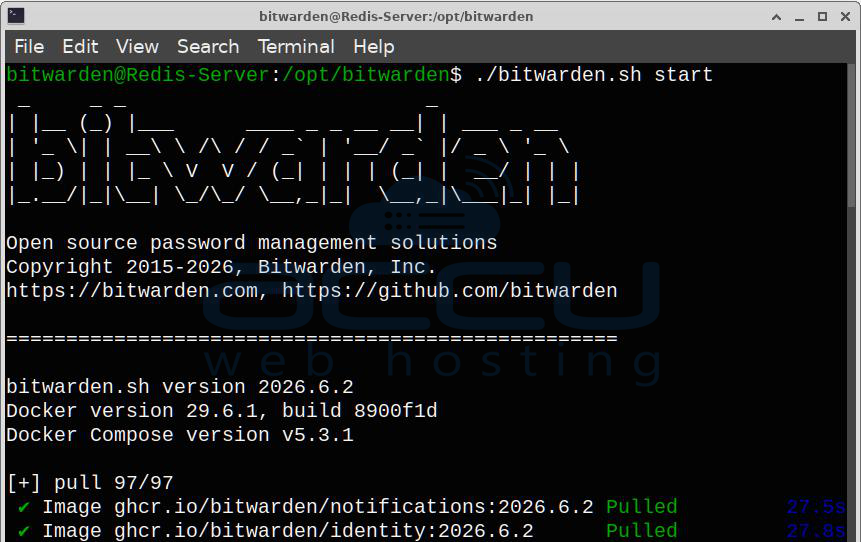
Verify the containers.
docker ps
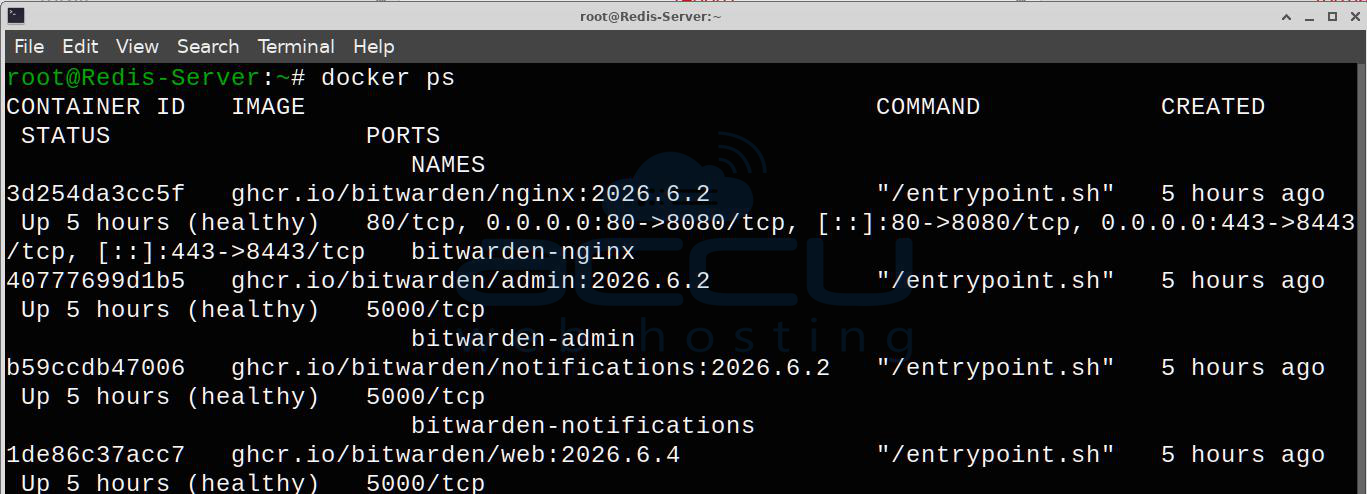
You should see several Bitwarden containers in the Up state.
Step 8: Access the Web Vault
Open your web browser and navigate to https://vault.example.com.
You will be presented with the Bitwarden login page.
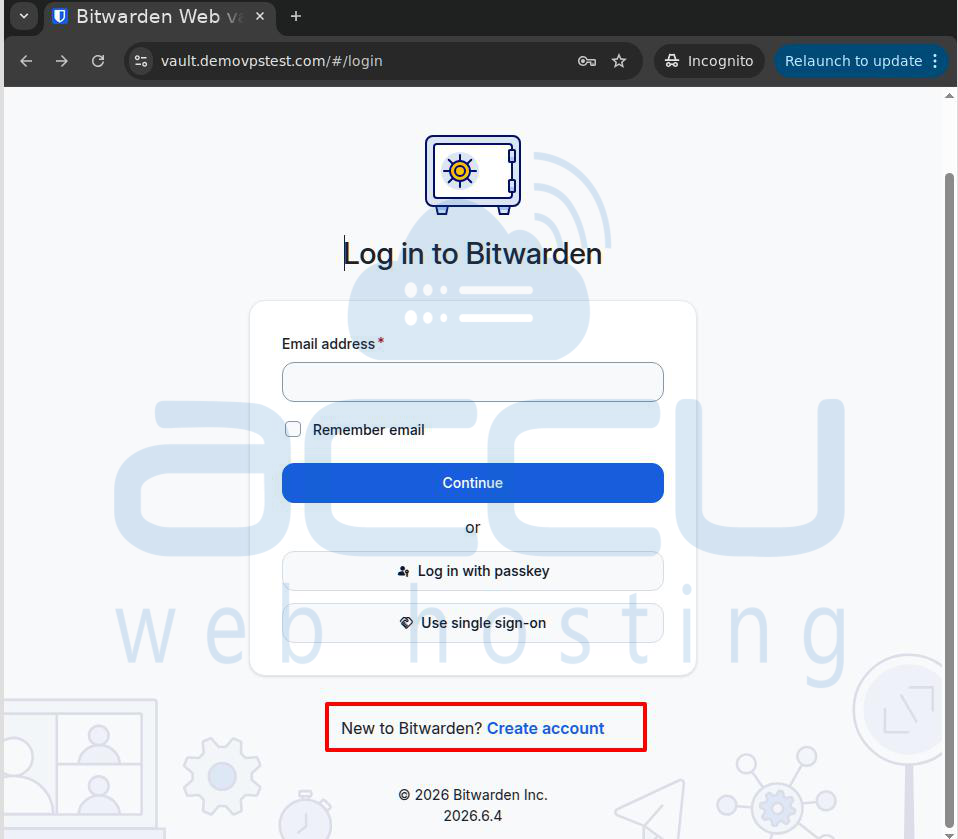
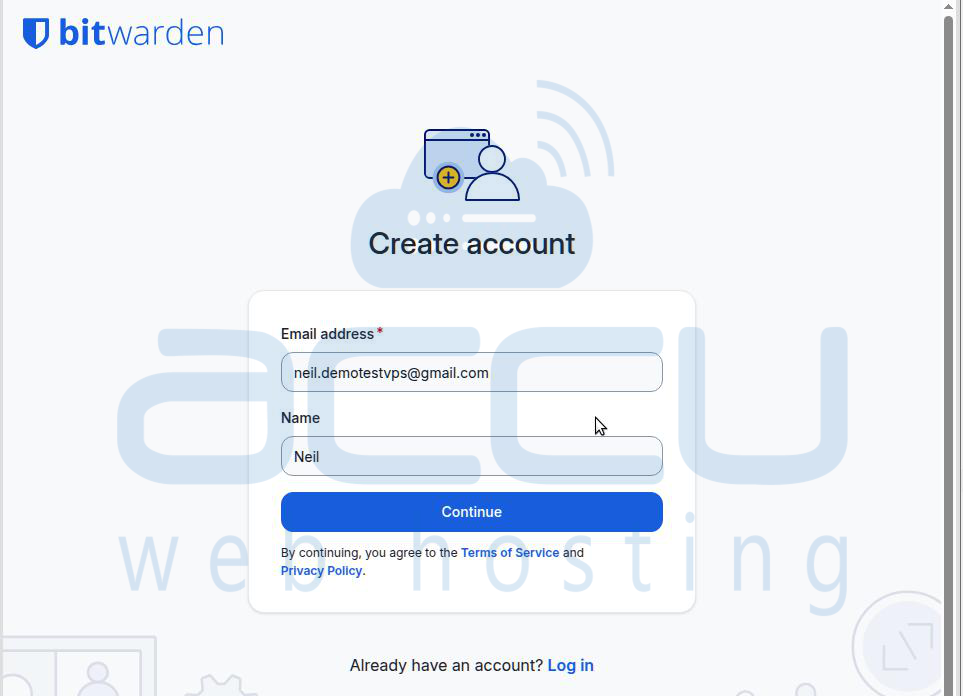
1. To create your first account, click the Create account button.
2. Enter your Email Address and Name, then click Continue.
3. On the next screen, enter your Master Password and confirm it by entering it again. You may also provide a Password Hint to help you remember your password if needed.
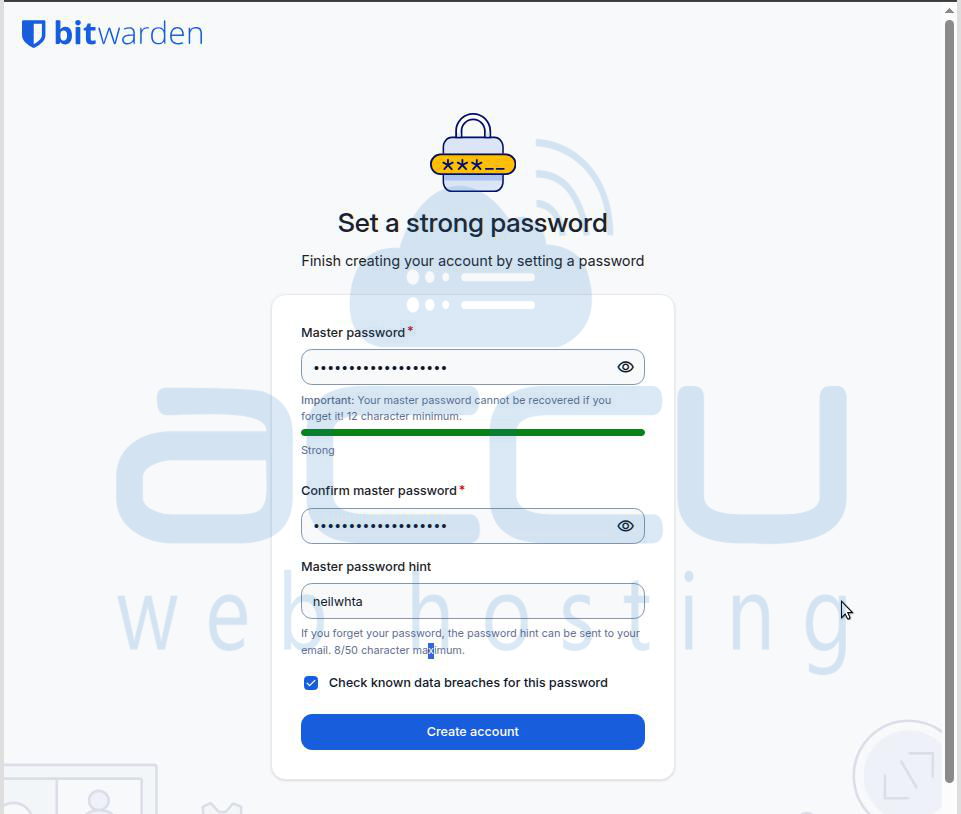
4. Click the Create account button to complete the account creation process.
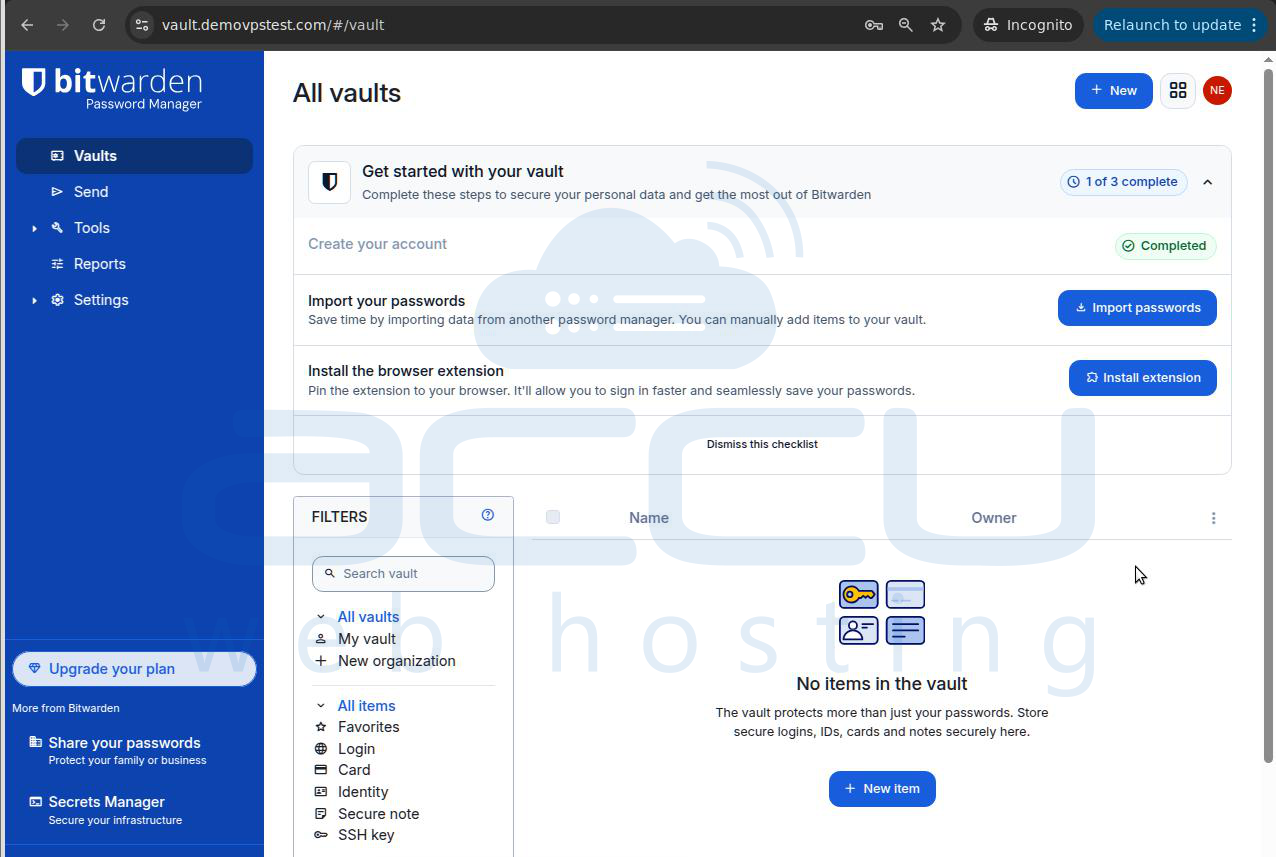
After signing in successfully, you will be taken to the Bitwarden vault, where you should see the following screen.
Enable Two-Step Login (2FA) in Bitwarden
Enabling Two-Step Login (2FA) adds an extra layer of security to your Bitwarden account. After entering your master password, you'll be asked to enter a one-time verification code generated by an authenticator app. You can use apps such as Google Authenticator, Microsoft Authenticator, Authy, or 2FAS Authenticator.
Follow the steps below to enable Two-Step Login using an authenticator app.
Step 1: Sign in to Your Bitwarden Web Vault
Sign in to your Bitwarden Web Vault using your master password.
Step 2: Open the Security Settings
After signing in:
-
Select Settings from the left-hand menu.
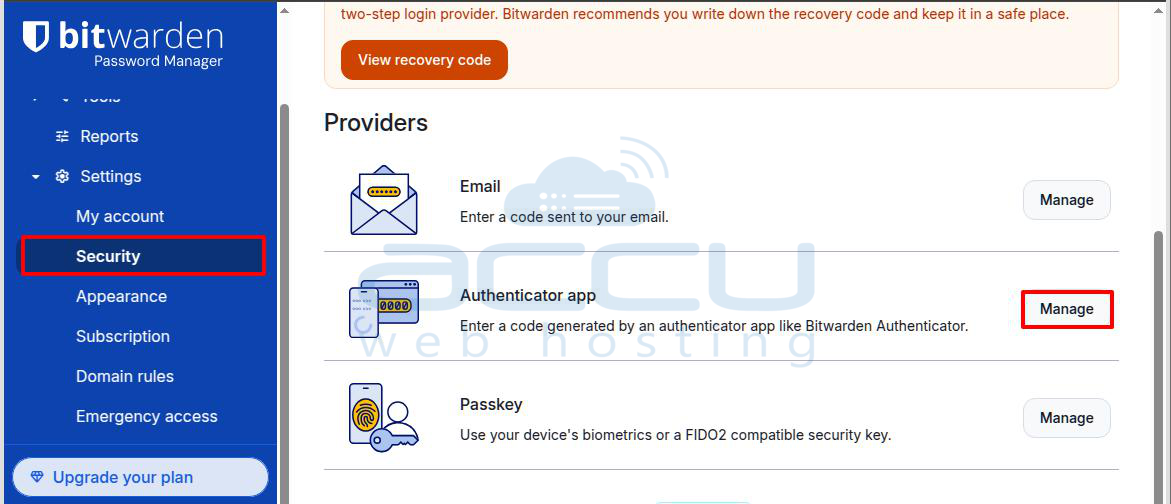 2. Click Security.
3. Select Two-step Login.
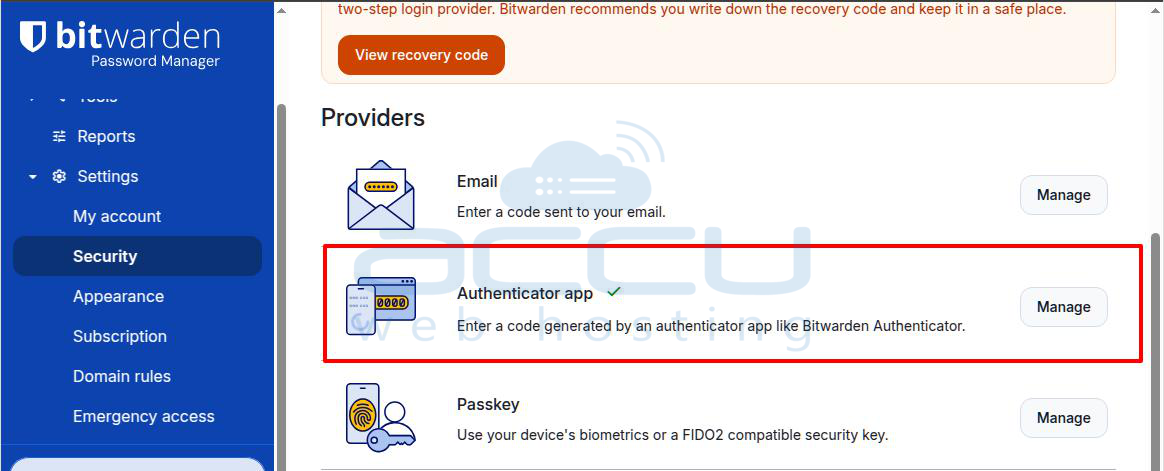
Step 3: Select the Authenticator App Option
Under Available Providers:
-
Find Authenticator App.
-
Click Manage next to it.
Step 4: Verify Your Master Password
For your security, Bitwarden will ask you to enter your master password again.
-
Enter your master password.
-
Click Continue.
Step 5: Set Up Your Authenticator App
Bitwarden will display a QR code and a setup key.
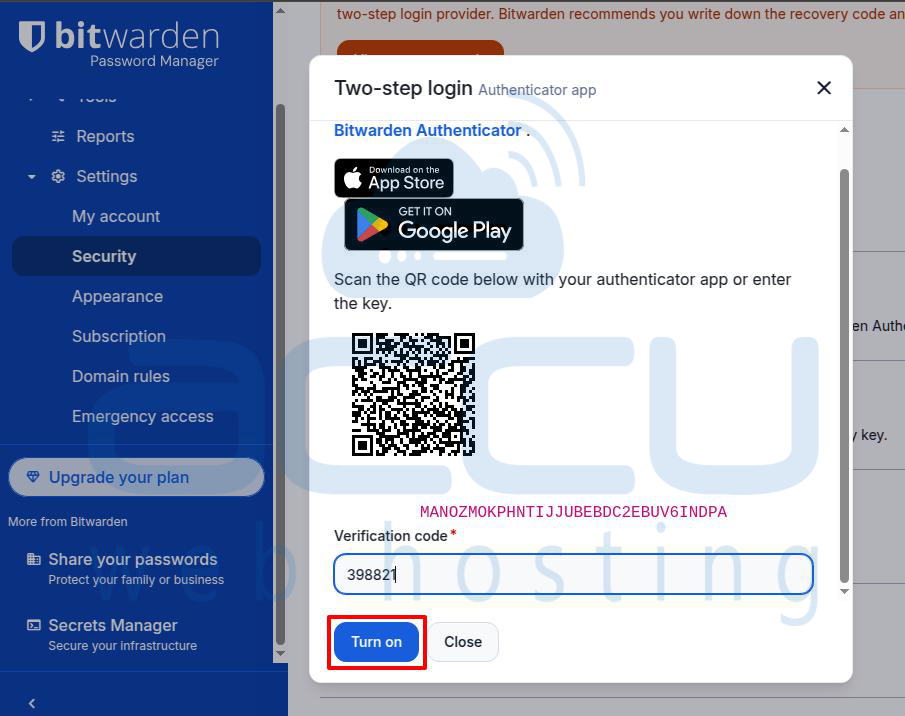
-
Open your preferred authenticator app, such as:
-
Google Authenticator
-
Microsoft Authenticator
-
Authy
-
2FAS Authenticator
Add a new account in the app.
Scan the QR code displayed in Bitwarden.
If you're unable to scan the QR code, you can manually enter the setup key into your authenticator app instead.
Step 6: Complete the Setup
Your authenticator app will generate a six-digit verification code.
-
Enter the current verification code into Bitwarden.
-
Click Enable.
If the verification code is correct, Two-Step Login will be successfully enabled for your Bitwarden account.
Conclusion:
Installing Bitwarden on an AlmaLinux 10 VPS gives you a secure and reliable password management solution while allowing you to retain complete control over your data. By hosting Bitwarden yourself, you can improve privacy, customize your deployment, and manage passwords without relying solely on third-party cloud services.
By following the steps in this article, you should now have a fully functional Bitwarden server running on your AlmaLinux 10 VPS. You can begin creating user accounts, securely storing passwords, and accessing your encrypted vault from desktop applications, mobile devices, and web browsers.
To keep your Bitwarden installation secure and reliable, remember to regularly update your server, Docker containers, and Bitwarden installation. It is also recommended to use HTTPS with a valid SSL certificate, enable two-factor authentication, and perform regular backups of your Bitwarden data to protect against unexpected data loss.
If you encounter any issues during installation, please feel free to contact us via chat or support. Our support team will assist you with the installation process.