
Introduction:
Protecting your server from unauthorized access and security threats is an essential part of server management. OSSEC (Open Source Host-based Intrusion Detection System) is a powerful open-source security tool that helps monitor your system by analyzing logs, detecting file changes, identifying rootkits, and generating alerts when suspicious activity is detected.
In this article, we will explain how to install and configure OSSEC on Ubuntu. We will walk through each step, from installing the required dependencies and compiling OSSEC to configuring file integrity monitoring and viewing security alerts. By the end of this article, you will have a working OSSEC installation that helps improve the security and monitoring of your Ubuntu server.
Note: Although OSSEC can be installed on Ubuntu, many organizations now prefer Wazuh, which is the actively maintained fork of OSSEC. However, OSSEC remains suitable for lightweight HIDS deployments.

Benefits of Installing OSSEC:
Installing OSSEC provides several advantages that help strengthen your server's security and simplify system monitoring.
Real-time Threat Detection: Continuously monitors system logs and alerts you about suspicious activities or unauthorized access attempts.
File Integrity Monitoring: Detects unexpected changes to important files and directories, helping identify potential security breaches.
Rootkit Detection: Scans your server for known rootkits and malicious software that may compromise system security.
Active Response: Automatically responds to certain security events, such as blocking malicious IP addresses.
Centralized Monitoring: Supports monitoring multiple servers from a single OSSEC Manager, making administration easier.
Customizable Alerts: Configure email notifications and monitoring rules based on your specific security requirements.
Lightweight and Efficient: Uses minimal system resources while providing continuous security monitoring.
Open Source and Free: No licensing costs, making it an excellent security solution for personal and business servers alike.
Prerequisites:
Before starting, ensure you have:
- Ubuntu 24.04 VPS
- Root or sudo privileges
- At least:
- 2 CPU cores
- 2 GB RAM
- 10 GB free disk space
Update your system:
sudo apt update && sudo apt upgrade -y

Step 1: Install Required Dependencies
Install the packages required for compiling OSSEC.
sudo apt install -y \
build-essential \
gcc \
make \
libevent-dev \
libpcre2-dev \
zlib1g-dev \
libssl-dev \
wget \
curl \
unzip

These packages provide:
-
GCC compiler
-
Make utility
-
OpenSSL libraries
-
PCRE2 support
-
Event library
-
Compression libraries
OSSEC requires these dependencies when compiling from source.
Step 2: Download OSSEC
Move to the temporary directory.
cd /tmp
Download the latest OSSEC source package from the official GitHub repository.
wget https://github.com/ossec/ossec-hids/archive/refs/heads/master.zip
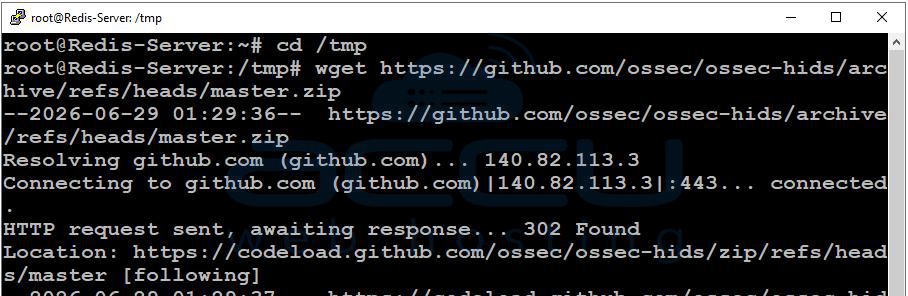
Extract it:
unzip master.zip
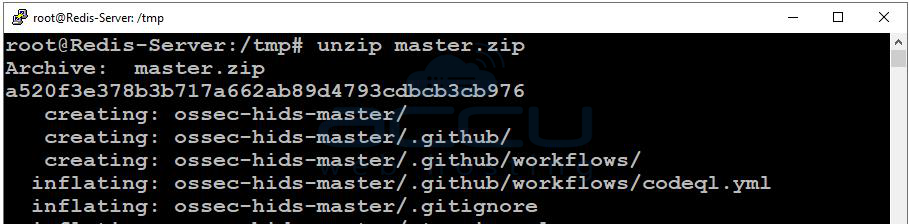
Navigate into the directory:
cd ossec-hids-master
Step 3: Start the Installation
Run the installer.
sudo ./install.sh
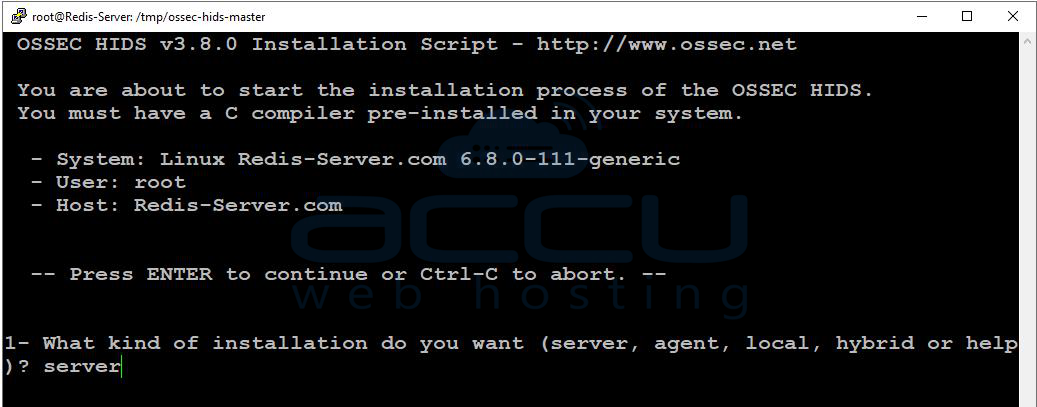
The installer asks several questions.
Installation Language
Choose your language:
Press: en
ENTER
Installation Type
Choose:
server
This installs:
-
Manager
-
Analysis engine
-
File integrity monitoring
-
Rootkit detection
-
Active response
Installation Directory
Default:
/var/ossec
Simply press Enter.
Email Notifications
Example:
Do you want an email notification?
Select: Y
Enter your email:
If you don't need email alerts, choose N.
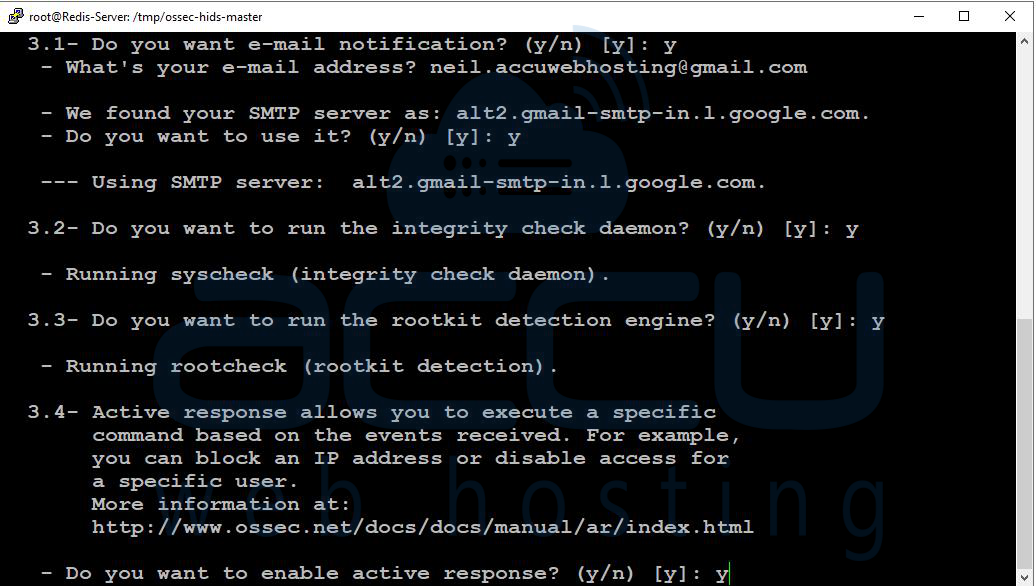
SMTP Server
Example:
localhost
Or specify your mail relay.
Integrity Check
Choose: Y
Rootkit Detection
Choose: Y
Active Response
Choose: Y
Firewall Response
Choose: Y
This enables automatic IP blocking.
Finish Installation
The installer compiles OSSEC and installs it under:
TMS question
Installation from source is guided by install.sh, which supports server, agent, local, and hybrid installation modes.
Step 4: Start OSSEC
Start the service.
sudo /var/ossec/bin/ossec-control start
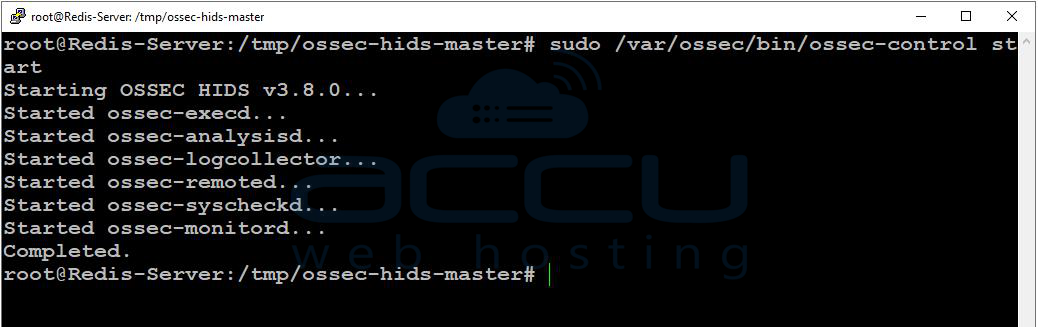
Expected output:
Starting OSSEC...
Started ossec-analysisd
Started ossec-logcollector
Started ossec-syscheckd
Started ossec-remoted
Started ossec-execd
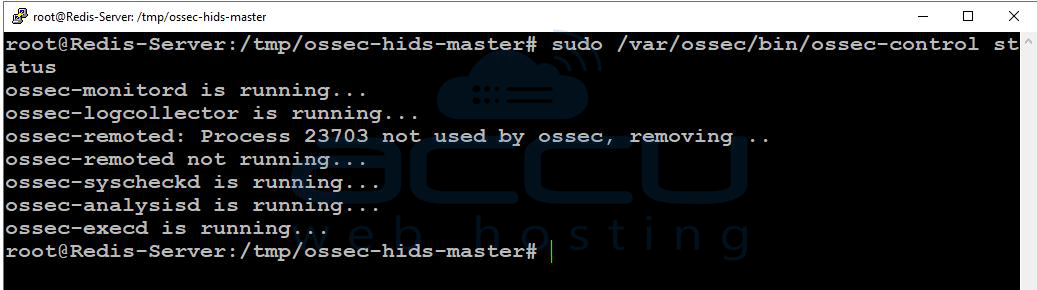
Check status:
sudo /var/ossec/bin/ossec-control status
Step 5: Verify Running Processes
Run:
ps aux | grep ossec
You should see processes similar to:
ossec-analysisd
ossec-logcollector
ossec-syscheckd
ossec-remoted
ossec-execd
Step 6: Configure OSSEC
The main configuration file is:
sudo nano /var/ossec/etc/ossec.conf
You can define the configuration in this file as required.
Step 7: Monitor Important Directories
You can monitor additional folders. Locate the <syscheck> section and add the directories you want to monitor:
Example:
<syscheck>
<frequency>3600</frequency>
<directories check_all="yes">/etc</directories>
<directories check_all="yes">/usr/bin</directories>
<directories check_all="yes">/var/www/html</directories>
</syscheck>
In this example:
/etc – Monitors system configuration files.
/usr/bin – Monitors executable binaries.
/var/www/html – Monitors website files.
The <frequency> value specifies how often OSSEC scans for changes. Here, it checks every 3600 seconds (1 hour).
Step 8: Restart OSSEC
Whenever configuration changes are made:
sudo /var/ossec/bin/ossec-control restart
Step 9: Check Alerts
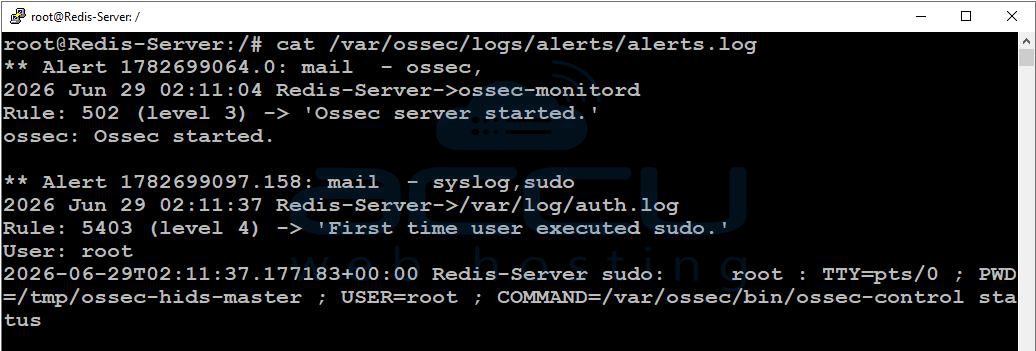
Alerts are stored in:
cat /var/ossec/logs/alerts/alerts.log
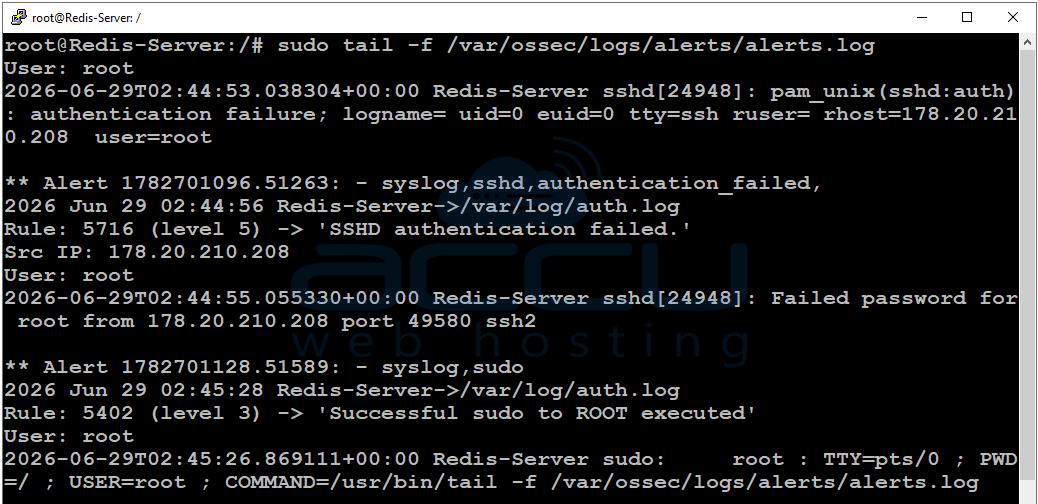
Watch alerts in real time:
sudo tail -f /var/ossec/logs/alerts/alerts.log
Step 10: Test File Integrity Monitoring
Create a test file:
sudo touch /etc/ossec-test
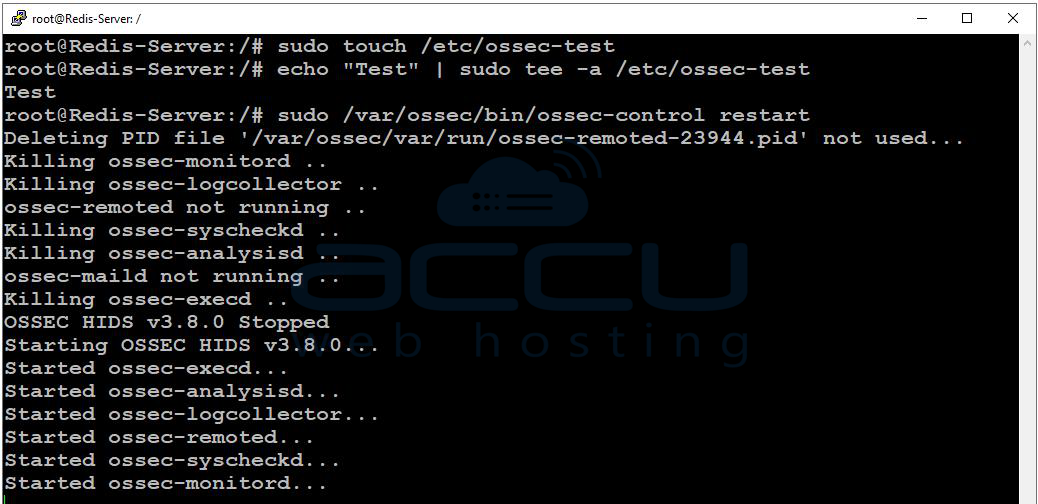
Modify it:
echo "Test" | sudo tee -a /etc/ossec-test
Run a manual scan:
sudo /var/ossec/bin/ossec-control restart
After the next integrity check, OSSEC should generate an alert indicating that the file has changed.
Step 11: Open Required Firewall Port
If agents will connect remotely, allow UDP port 1514:
sudo ufw allow 1514/udp
Reload UFW:
sudo ufw reload
The OSSEC manager listens on UDP port 1514 for agent communication.
Useful OSSEC Commands:
|
Command |
Description |
|
sudo /var/ossec/bin/ossec-control start |
Start OSSEC |
|
sudo /var/ossec/bin/ossec-control stop |
Stop OSSEC |
|
sudo /var/ossec/bin/ossec-control restart |
Restart OSSEC |
|
sudo /var/ossec/bin/ossec-control status |
Check status |
|
sudo tail -f /var/ossec/logs/alerts/alerts.log |
View alerts |
|
sudo nano /var/ossec/etc/ossec.conf |
Edit configuration |
Conclusion
OSSEC is a reliable host-based intrusion detection system that helps improve the security of your Ubuntu server by monitoring system activity, detecting unauthorized file changes, and alerting you to potential threats. With proper configuration, it provides continuous protection while using minimal system resources.
By following this article, you have successfully installed and configured OSSEC, enabled essential security features, and learned how to monitor alerts and verify file integrity. To further enhance your server's security, consider regularly reviewing OSSEC alerts, keeping your operating system up to date, and applying security best practices such as using strong authentication, enabling a firewall, and performing routine security audits.