Installing WordPress on your hosting account doesn’t have to be complicated. FastPanel makes it simple by offering a built-in application installer that lets you deploy WordPress in just a few clicks—no manual uploads or database setup required.
In this guide, we’ll walk you through the complete process of installing WordPress using the FastPanel Hosting Control Panel. Whether you’re launching a blog, business website, or portfolio, this method is quick, reliable, and beginner-friendly.
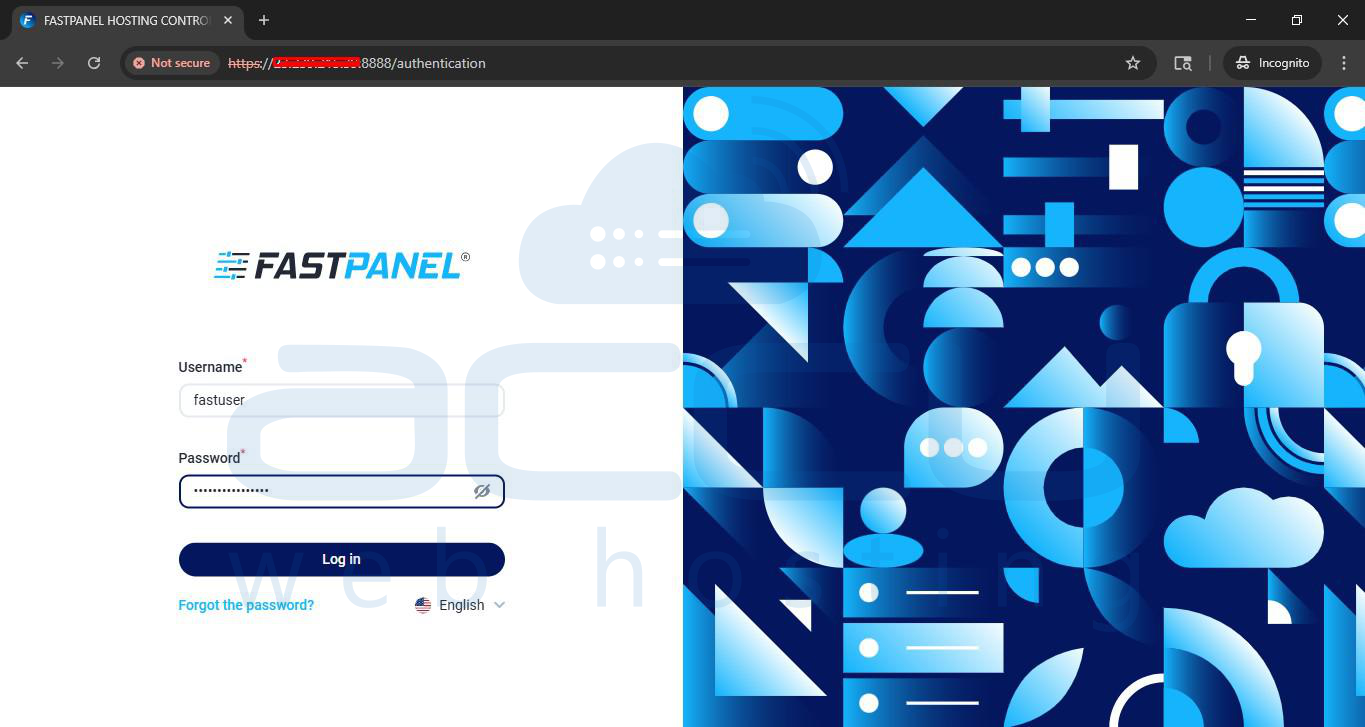
Step 1: Log in to FastPanel
Access your control panel (usually at https://your-server-ip:8888) and enter your username and password.
Step 2: Open the Site Creation Wizard
Once logged in, look for the side menu or the main dashboard. Click on the "Create site" button (often represented by a plus icon in the top right or a primary button in the "Websites" section).

Step 3: Choose "WordPress" Installation
FastPanel gives you two main options: "Manual" or "CMS-based."
1. Select "WordPress" (or Create a CMS based site).
2. Click "Next step".

Step 4: Configure Domain and Connection
Enter your domain name. If you want the site to be accessible via www, ensure the alias box is checked. FastPanel will automatically handle the IP binding and DNS zone creation if you are using the panel for DNS.

Step 5: Configure WordPress & Database Settings
This is where you set up your site's "identity." Fill in the following:
- Site Name: Your website’s title.
- Admin Login: Create a secure username (avoid using "admin").
- Admin Password: Use a strong, unique password.
- Admin Email: Where you will receive site notifications.
- Database Settings: FastPanel typically generates these automatically, but you can customize the database name and user if needed.

Step 6: Assign User Access
In the final configuration step, you must choose who owns the site files:
- Default Access: By default, your current user account is selected.
- Multi-User Access: If you need to grant access to other team members or developers, you can select multiple users here. This allows them to manage this specific website without needing your main login.
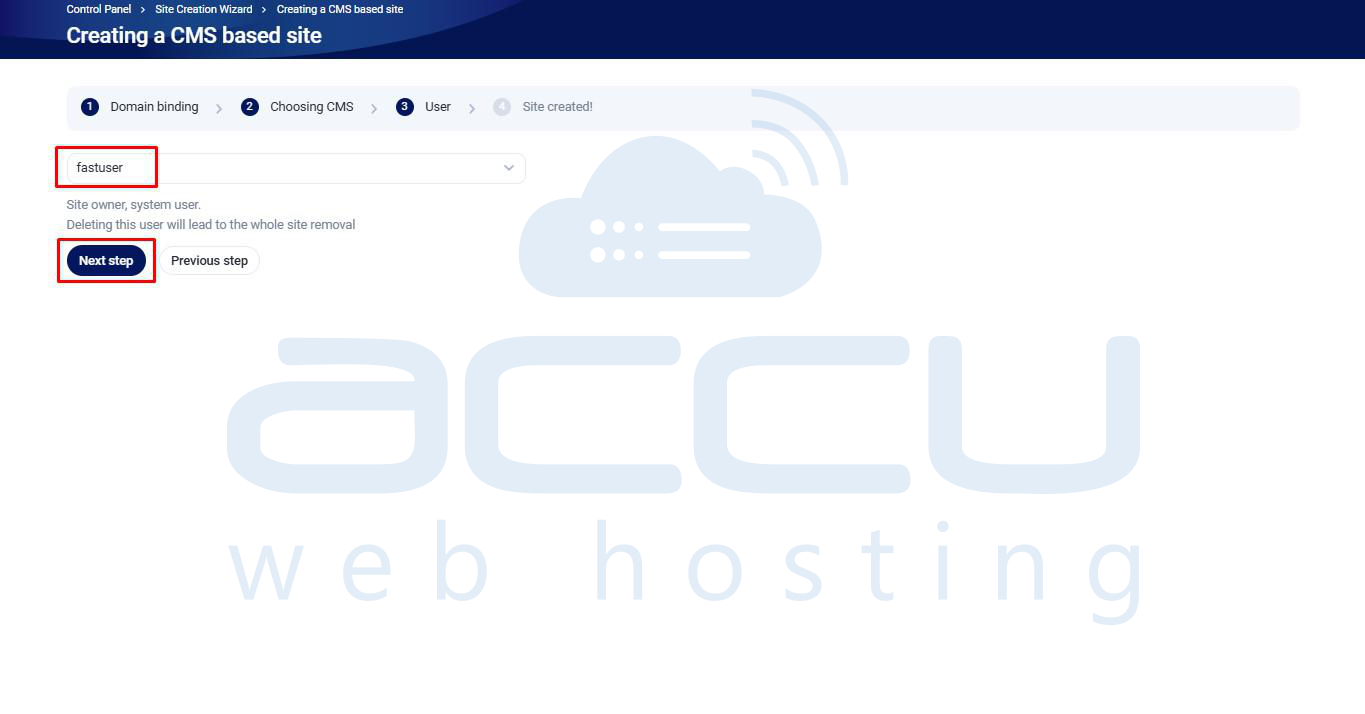
Click "Next Step" to initiate installation, after it’s done you will get a message.
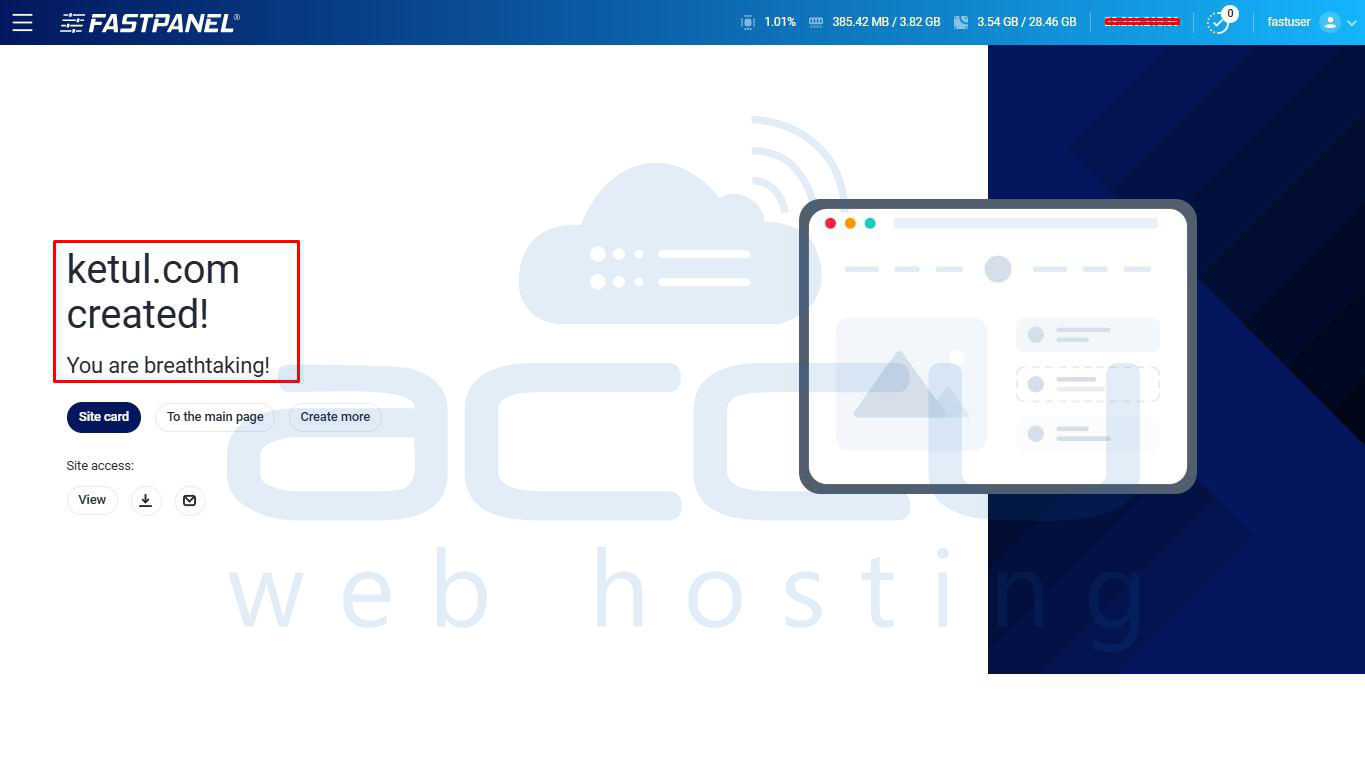
Step 7: Access Your WordPress Dashboard
After the process completes, FastPanel will show a "Success" screen with your login details.
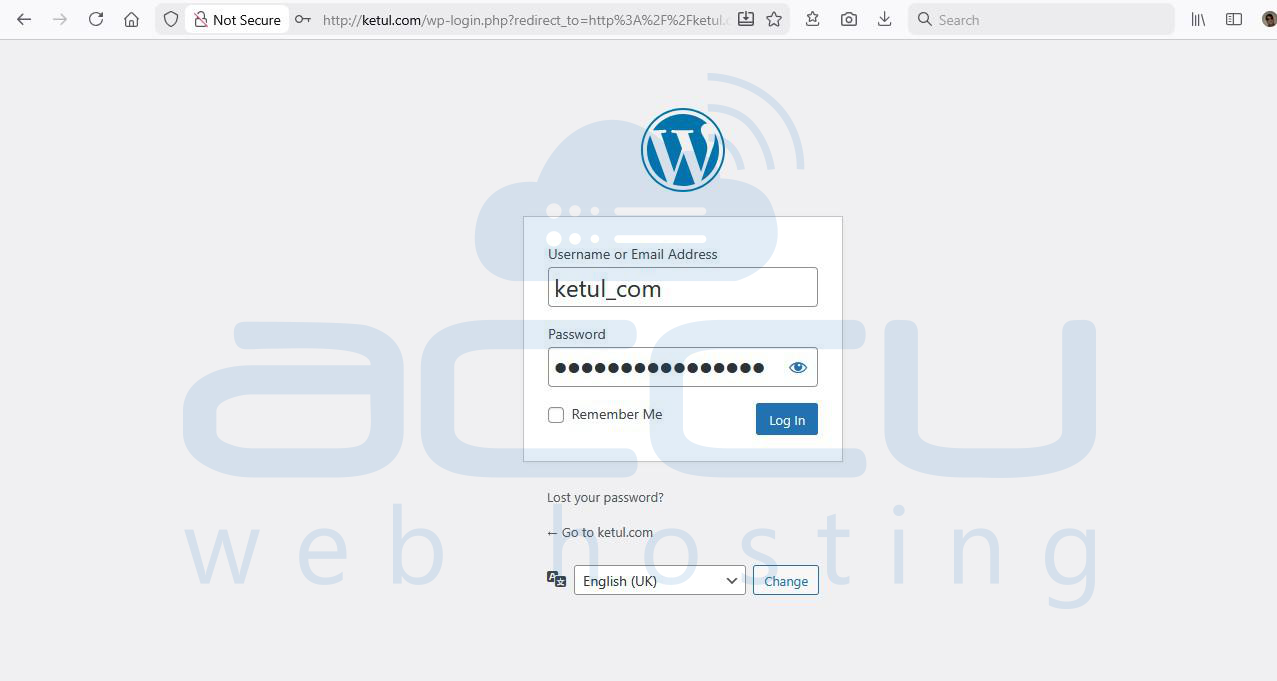
1. Go to https://yourdomain.com/wp-admin.
2. Enter the Admin Username and Password you created in Step 5.


Conclusion
Installing WordPress with FastPanel is fast, simple, and requires no technical expertise. With just a few clicks, your website is ready to go—allowing you to focus on content, design, and growing your online presence instead of server configuration.
If you run into any issues during installation or need help optimizing your WordPress site, our hosting support team can always assist you.
