One of the most common errors WordPress users face is the "The server cannot process the image" message when attempting to upload an image. This error occurs when you're trying to add content to your website. Fortunately, there are a number of ways to fix this issue, and in this article, we’ll walk through a few of the most common solutions to resolve the error and get your site back on track.
1. Increase PHP Memory Limit
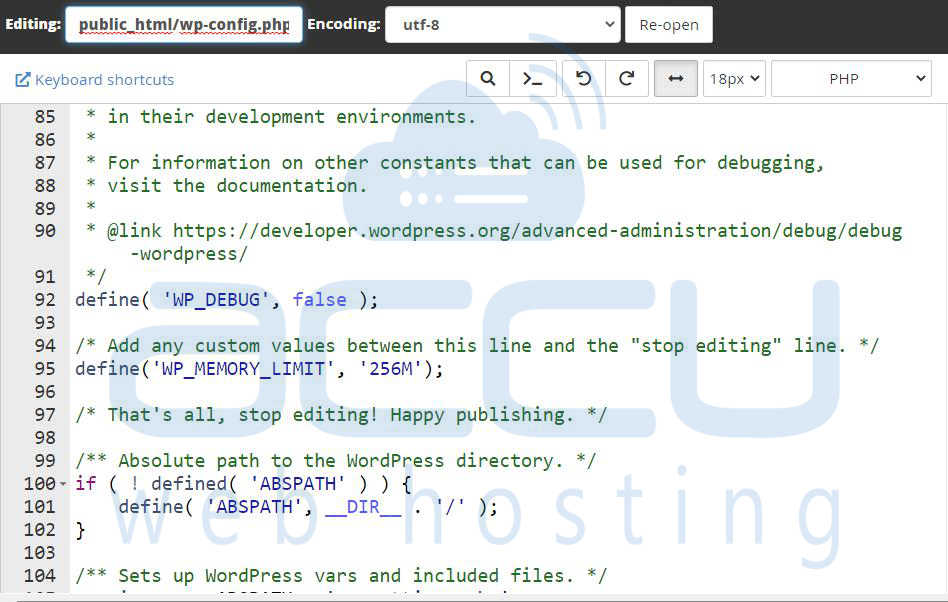
A common cause for this error is insufficient PHP memory allocated to your WordPress site. When you try to upload a large image, WordPress might not have enough memory to process it, resulting in the error.
How to Increase PHP Memory Limit:
-
Edit wp-config.php: This file is located in the root directory of your WordPress installation. Open it and add the following line of code just before the line that says "That’s all, stop editing! Happy blogging."
define('WP_MEMORY_LIMIT', '256M');
This will increase the memory limit to 256 MB. You can adjust the number depending on your needs. Save the file and check if the image uploads successfully.
-
Modify php.ini: If you have access to your hosting server's php.ini file, you can increase the memory limit there. Add or edit the following lines:
memory_limit = 256Mpost_max_size = 32M
upload_max_filesize = 32M
After editing the file, restart your web server if necessary.

If you're not comfortable making these changes yourself or if you're on shared hosting, it’s a good idea to contact your hosting provider and ask them to increase the PHP memory limit for you.
2. Check File Permissions
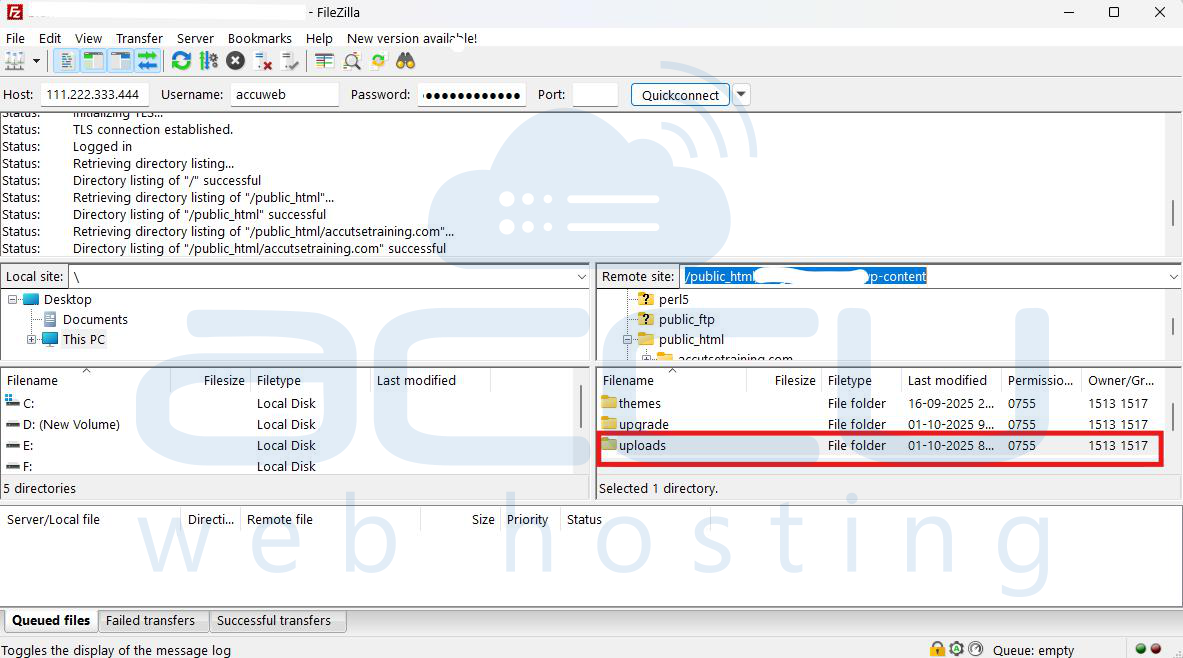
Incorrect file permissions can prevent WordPress from uploading or processing images. If the wp-content/uploads directory has improper permissions, the server won’t be able to write files to it.
How to Fix File Permissions:
-
Using FTP: Connect to your website using an FTP client like FileZilla. Navigate to wp-content/uploads and check the folder permissions. Make sure the permissions are set to 755 for folders and 644 for files. You can right-click on the folder or file and choose "File Permissions" to modify these settings.
-
Using cPanel: If you have access to cPanel, you can go to File Manager, find the uploads folder, and right-click to set the correct permissions.

3. Ensure Proper File Types and Sizes
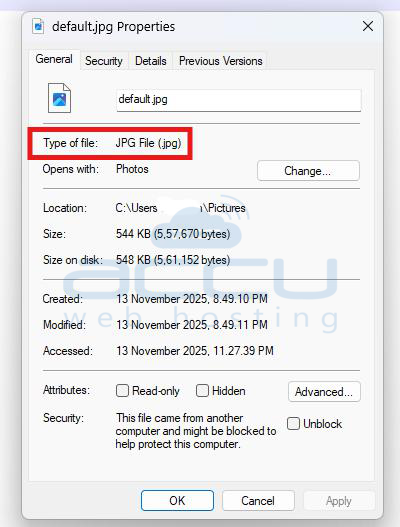
Sometimes, the image file type might not be supported by WordPress, or the file size might exceed the maximum upload limit.
-
Supported File Types: WordPress supports common image formats like JPG, PNG, and GIF. However, make sure the image you're trying to upload isn't in an unsupported format (e.g., TIFF or BMP).
-
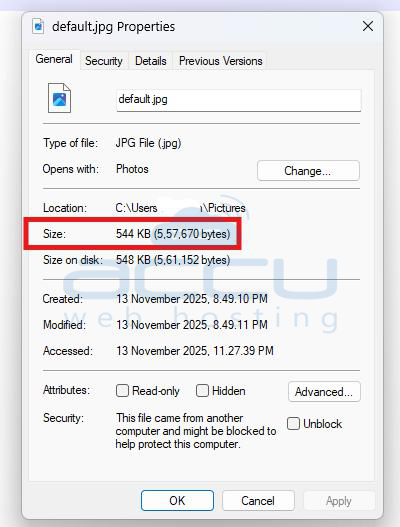
Check Image Size: If the image file is too large, it can exceed the server’s limits. You can use an image optimization tool like TinyPNG or ShortPixel to reduce the file size before uploading it.
-
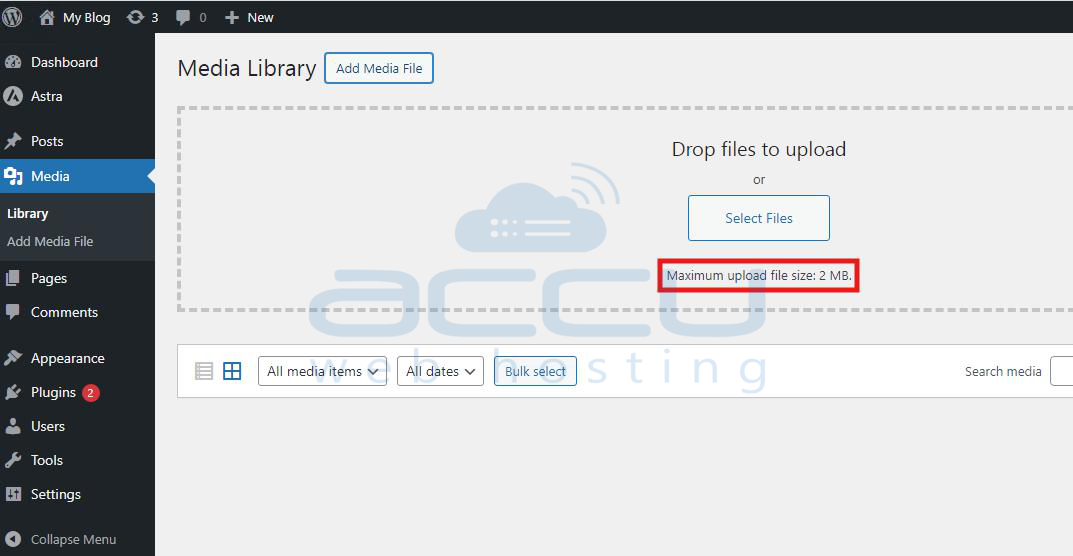
Check Upload Limit: You can check the upload limit set by your server by going to Media > Add New in the WordPress dashboard. At the bottom of the page, you'll see the maximum upload file size. If the file is larger than the allowed limit, you'll need to either resize the image or ask your host to increase the upload limit.
4. Deactivate Plugins and Themes
Plugins or themes that interact with the media upload process can sometimes cause conflicts, leading to the image upload error. To rule out conflicts:
-
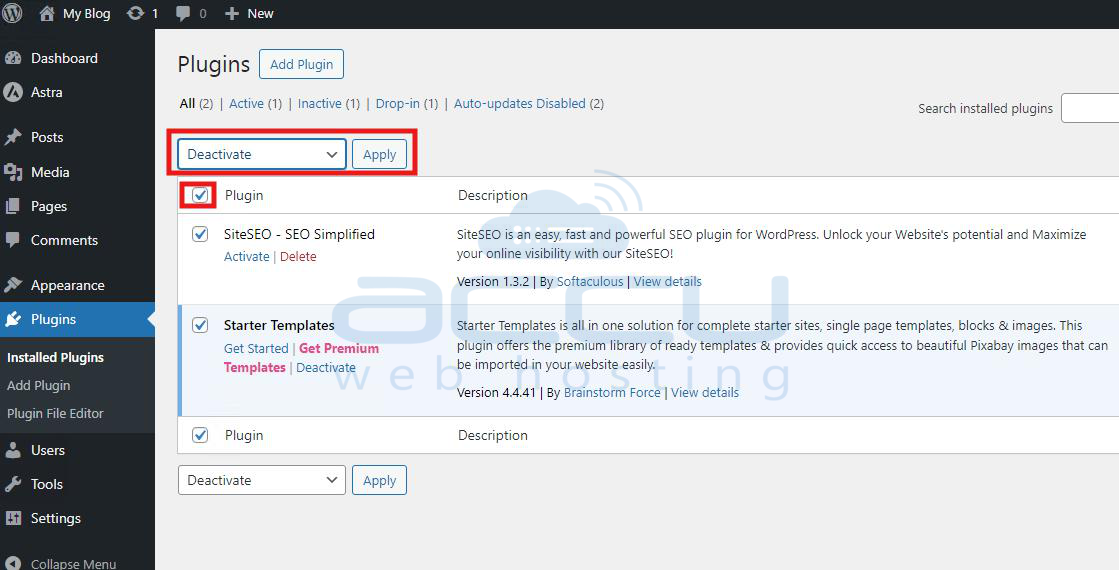
Deactivate Plugins: Temporarily deactivate all plugins and see if the image uploads successfully. If it does, reactivate each plugin one by one to identify the culprit.
-
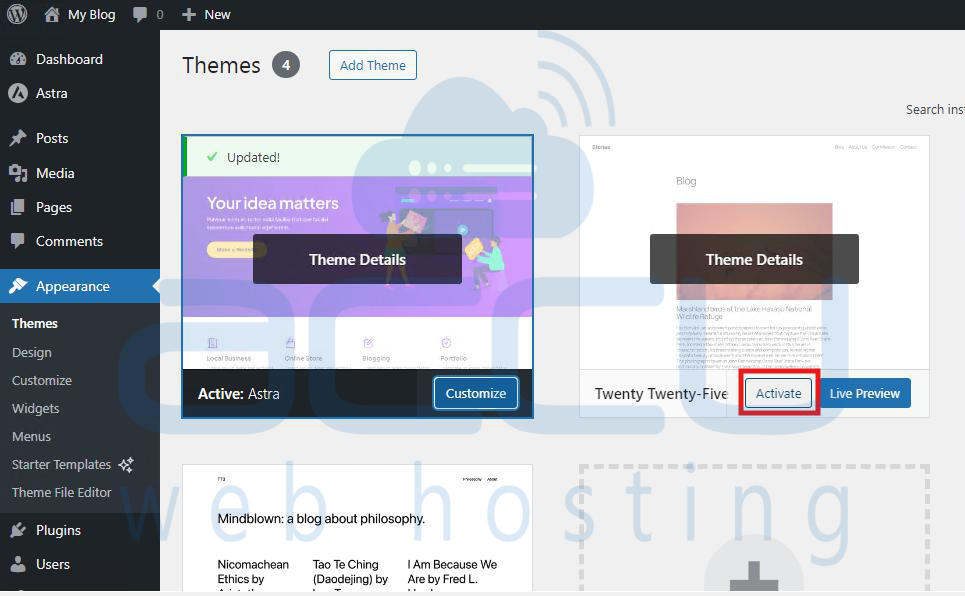
Switch to Default Theme: Try switching to a default WordPress theme like Twenty Twenty-four to see if the problem is theme-related. If the image uploads fine with the default theme, the issue likely lies with your current theme.
5. Update WordPress, Plugins, and Themes
Outdated software can sometimes cause issues with media uploads. Make sure your WordPress installation, themes, and plugins are all up-to-date.
-
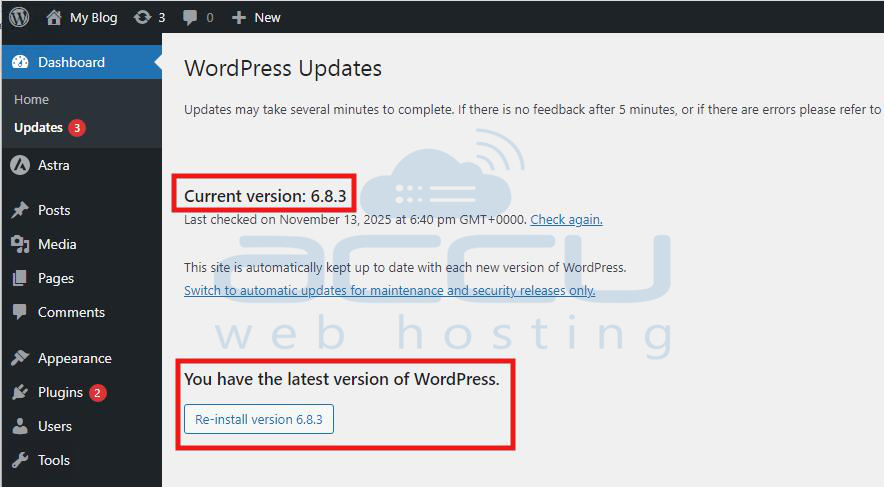
Update WordPress: Navigate to Dashboard > Updates and make sure you’re running the latest version of WordPress.
-
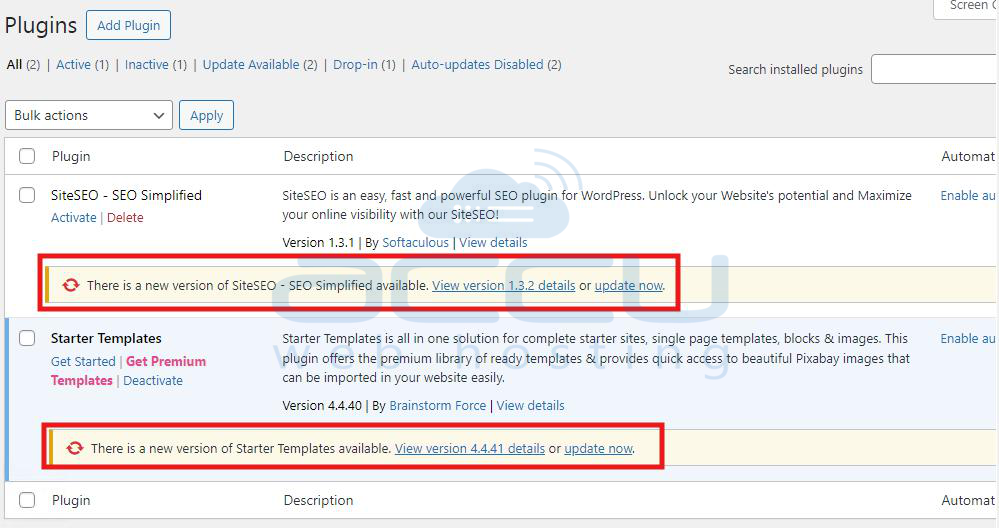
Update Plugins and Themes: Go to Plugins > Installed Plugins and Appearance > Themes to check for any available updates.
6. Check for Server-Side Issues
If none of the above solutions work, the issue could be on the server side. It’s worth checking with your hosting provider to ensure there are no underlying server issues, such as server overload, file restrictions, or configuration errors.

7. Clear Cache and Try Again
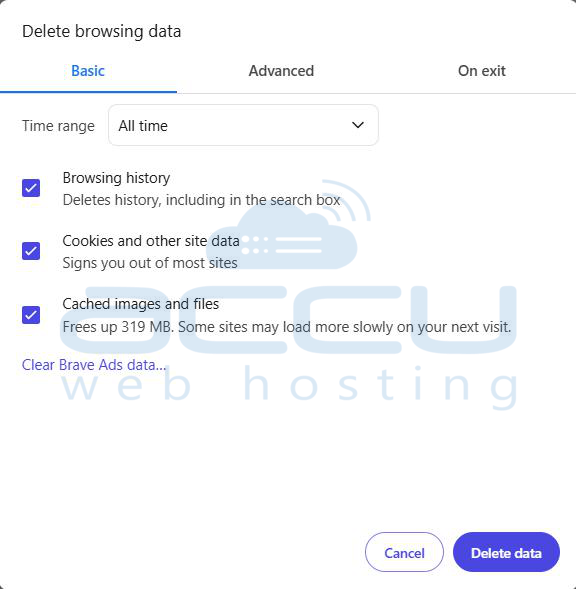
Finally, clear your browser cache or try uploading the image in an incognito/private browsing window. Cached files can sometimes cause unexpected behavior, and starting fresh might resolve the issue.
Conclusion
The "The server cannot process the image" error in WordPress can be caused by a variety of issues, from PHP memory limits and file permissions to plugin conflicts and unsupported file types. Fortunately, with a little troubleshooting, you can usually pinpoint and fix the issue quickly. If you’ve tried all of the above solutions and the error persists, don’t hesitate to reach out to your hosting provider or a WordPress developer for further assistance.
