
Charts are a powerful way to present data clearly and engagingly. In WordPress, you can easily build and customize charts using plugins, and no coding is required.
Whether you’re sharing survey results, sales trends, or comparison data, adding charts can make your content more visual and easier to understand. In this guide, you’ll learn how to create charts in WordPress and choose the right tools to bring your data to life.
Steps to Build a Chart in WordPress
Option 1: Using Visualizer Plugin
1. Log in to your WordPress dashboard.
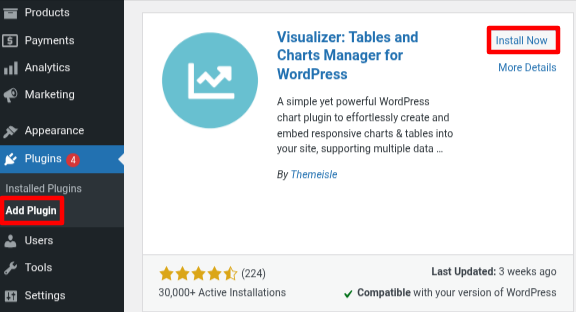
2. Navigate to Plugins > Add Plugin.
3. Click on Install Now and activate it.
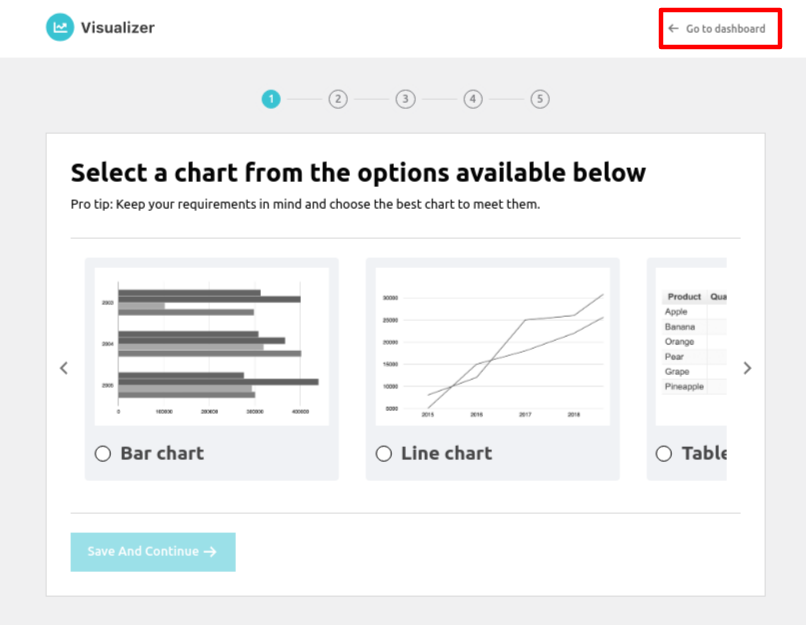
After activation, you will be prompted to follow five steps. If you prefer to skip this, click on "Go to dashboard."
4. Navigate to Visualizer > Add New Chart.
5. Choose your preferred chart option and click on Next.
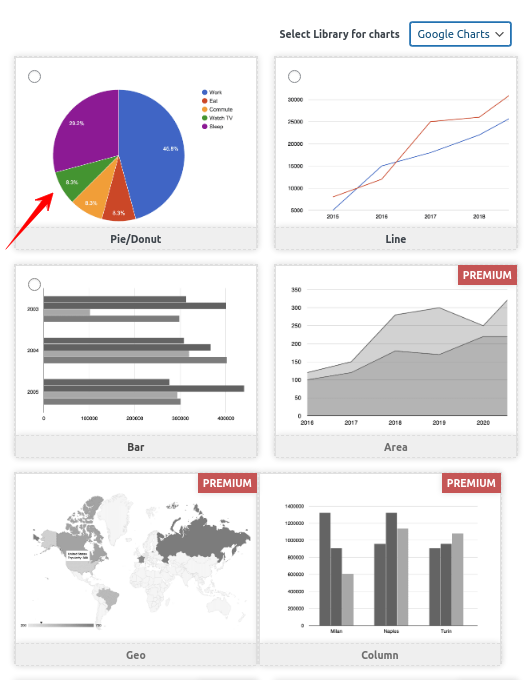
You can create pie, line, bar, and table charts with the free plugin. If you want more chart options, you can choose a paid plan.
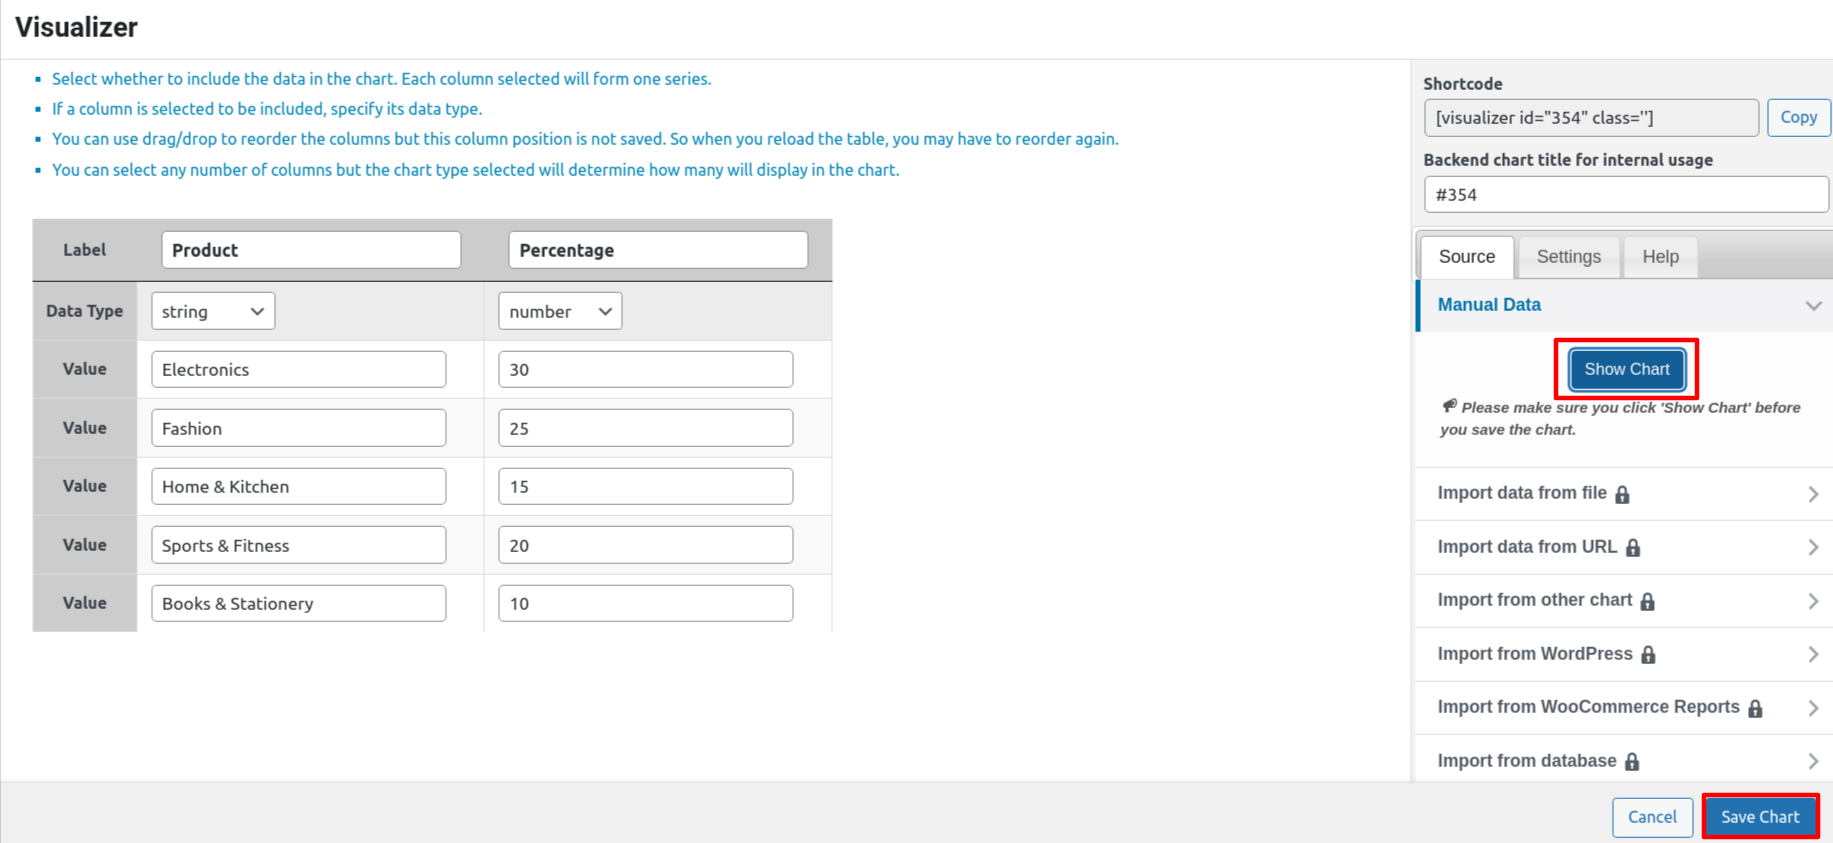
6. In the Source tab, click on the Manual Data drop-down menu, select Simple, and then click on "Edit Data."
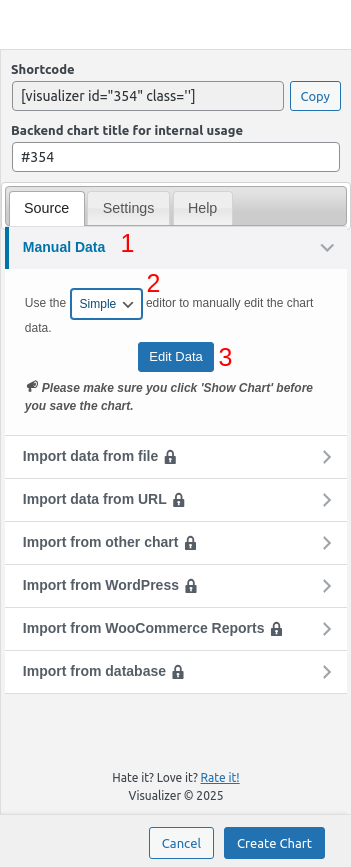
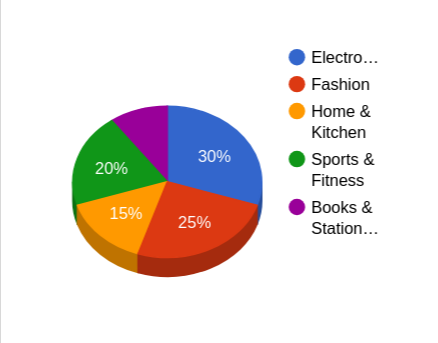
Here, you can easily add your chart data.
Don’t forget to preview your chart by clicking on Show Chart.
You can also import data from a file, but this option is only available with a paid plan.
7. Click ‘Import data from File’ to upload your chart data from an Excel file on your computer.
Build a Chart Using a .csv file
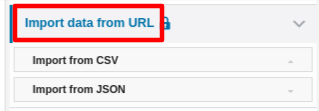
8. If you have saved your Excel or Google spreadsheet as a CSV file, you can import it by expanding the ‘Import data from URL’ tab. After that, click the ‘Import from CSV’ button and enter the URL of your CSV file to embed it.
Note: Your CSV file should have:
- Column names in the first row
- Data types in the second row (like: string, number, boolean, date, datetime, etc.)
Build a Chart Using Google Sheets
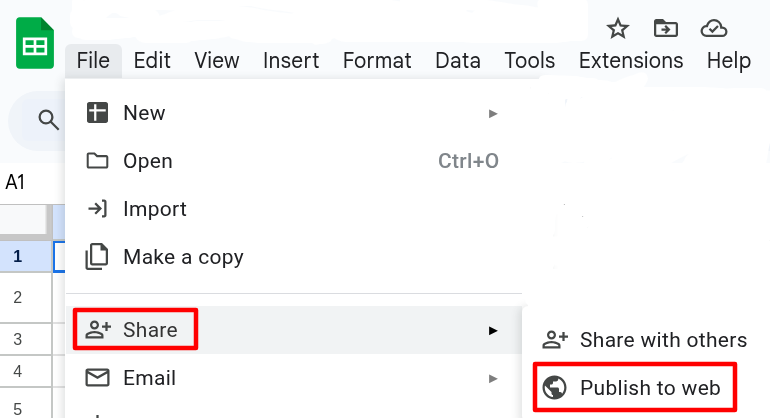
If your chart data is saved in Google Sheets, you don’t need to download it. Just open the sheet, go to File > Share > Publish to web.
Choose CSV format, and click ‘Publish’. Copy the URL provided.
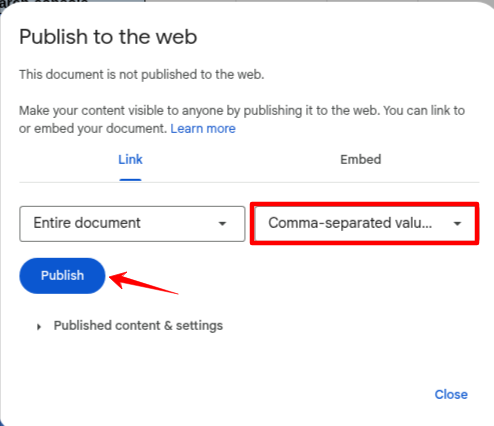
Then, go back to Visualizer and paste that URL into the ‘Import from CSV’ field. The plugin will fetch your data and show you a live preview of your chart.
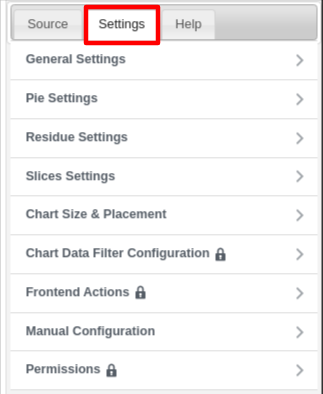
9. Next, go to the ‘Settings’ tab at the top. Here, you can change things like font, number format, chart size, and layout.
You can also set 3D dimension charts.
10. Once everything looks good, click the ‘Create Chart’ button to finish and add the chart to your site.
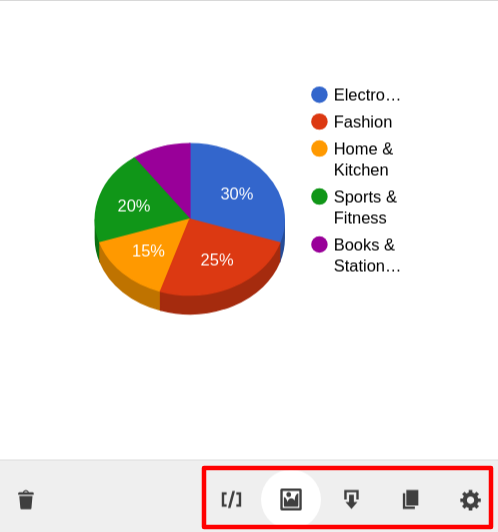
You can edit your chart at any time by accessing Visualizer’s dashboard. Here, you can download your chart as a PNG, export it as a CSV, or duplicate it.
Add a Chart or Graph in WordPress Posts and Pages
1. Log in to your WordPress dashboard.
2. Go to the post or page where you wish to add a chart.
3. Choose your old/new post.
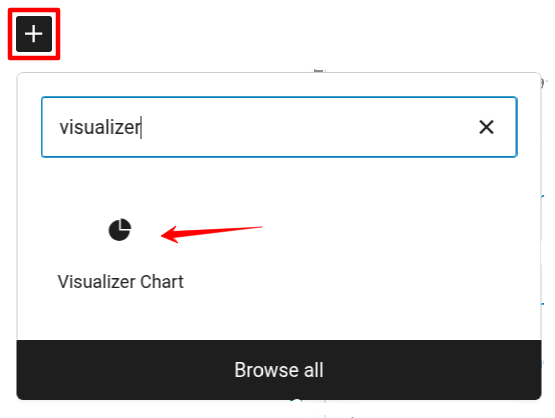
4. Click on Add Block (+) on the right side of the page.
5. Search for Visualizer Chart and choose it.
6. Click on Display an existing chart.

Choose your recently created chart and click on the publish or update button.
Option 2: Using Chartify Plugin
1. In your WordPress dashboard, go to Plugins > Add Plugin.
2. Search for Chartify in the search bar.
3. Once you find the Chartify plugin, click Install Now, then activate it.

4. After the installation, click on Chart Builder in the left-hand menu.
5. Click the Add New button to start creating a chart.
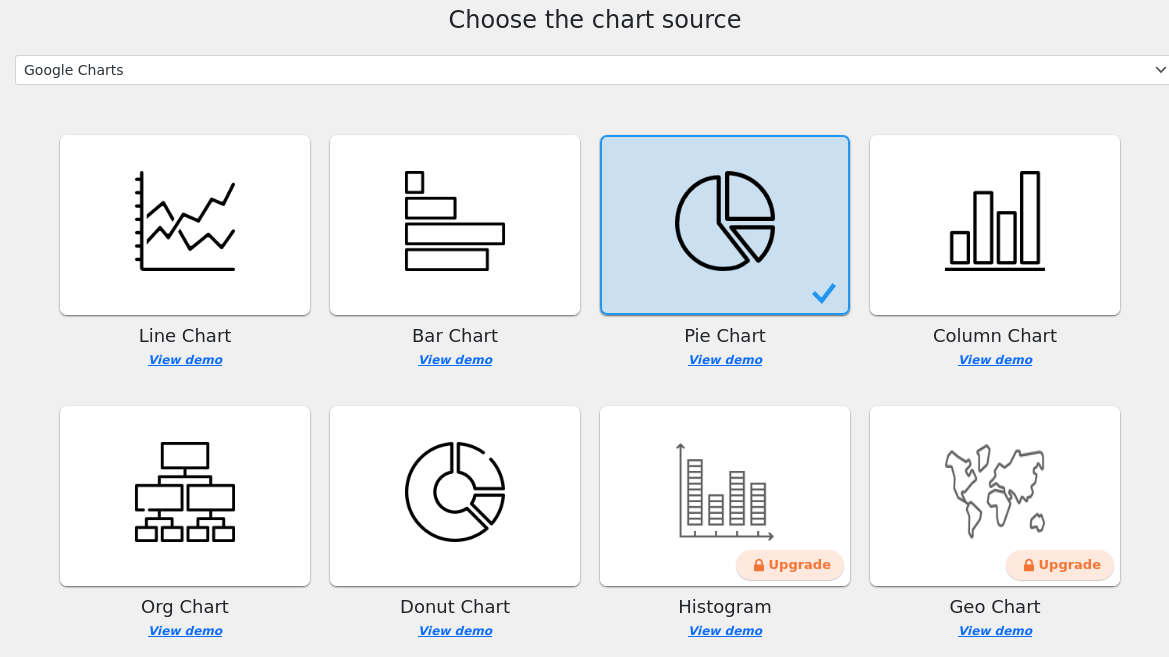
6. You'll see a list of chart types. Select the one that fits your data (e.g., Pie Chart, line chart).
The free version has limited chart options. If your project needs more chart options, you can go with the premium plan.
7. Click Next.
8. At the top, enter a Title for your chart.
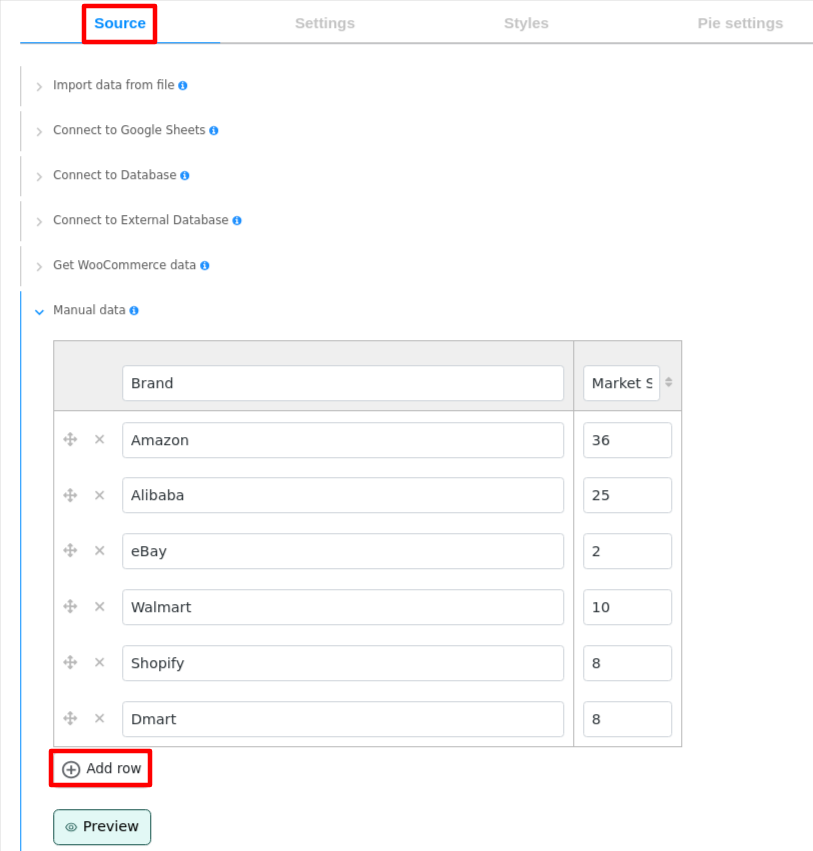
9. In the Source tab, add the data of your choice.
In this plugin, you can add a new row if desired, which is a positive feature.
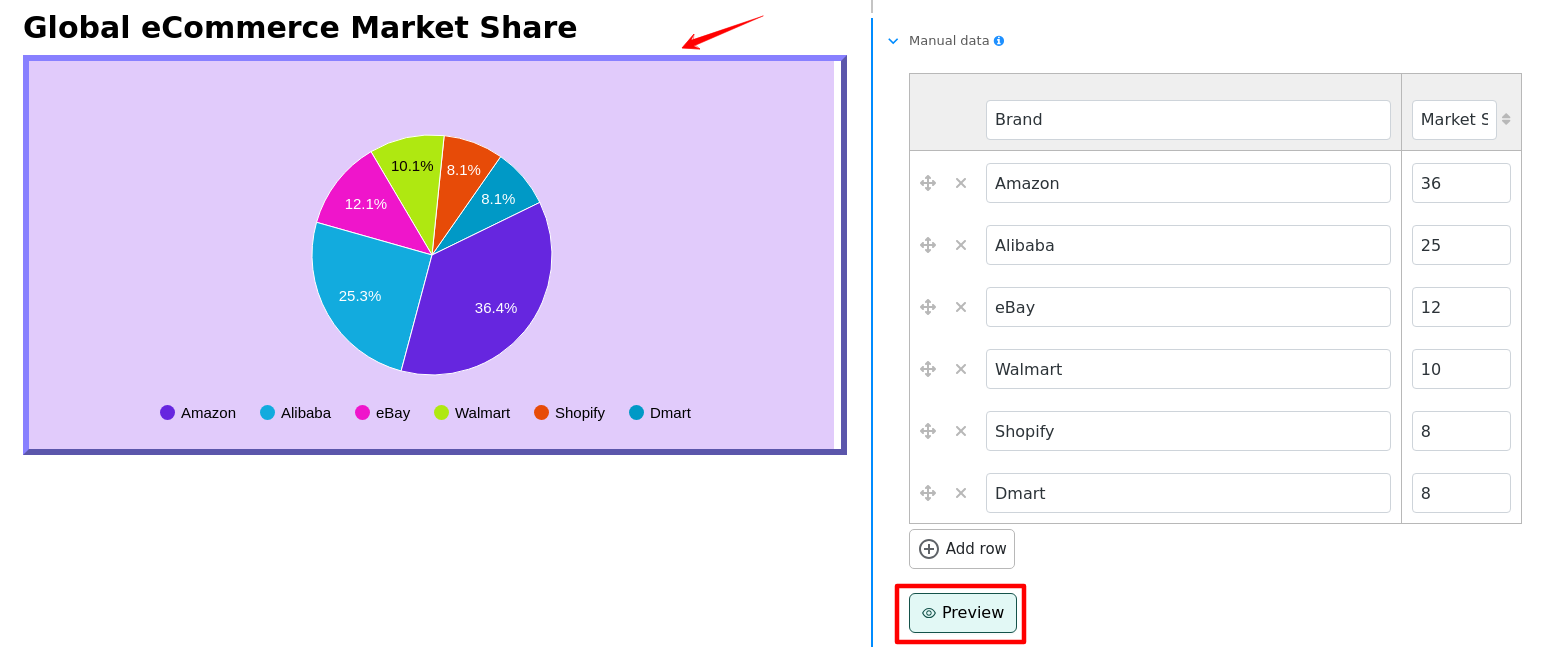
You can easily change the chart’s look by adjusting colors, fonts, text position, degree of chart rotation, background color, border, height, and width to match your website’s style.
10. Preview your chart to ensure it looks the way you want.
11. After preview click on Save and Close.
You can add this chart in your post/page. You just need to copy the code and paste it in your post.
12. Go to Chart Builder > All Charts.
Here, you will find a list of all the charts you have created.
13. Copy the Short Code.

14. Open your post/page where you want to add a chart.
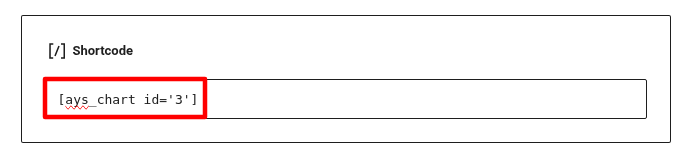
15. Click on Add Block (+) and search for Shortcode.
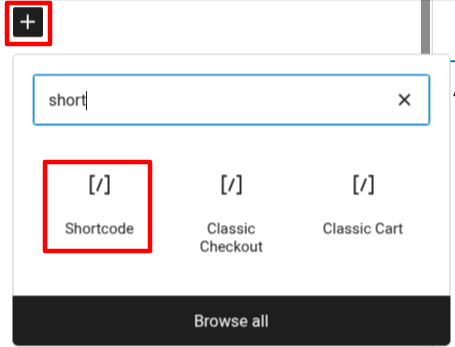
16. Add your previously copied code to it.
17. Publish or Update your post.
Other Helpful Plugins to Build a Chart in WordPress
|
Plugin Name |
Starting Price |
Main Features |
|
wpDataTables |
Free version available, premium starts at $49.92 |
- Supports Google Charts, Chart.js, and Highcharts - Dynamic and interactive charts - Chart from imported data (Excel, CSV, Google Sheets) |
|
Graphina |
Starts at $49 |
- 25+ chart types (Bar, Pie, Line, Radar, etc.) - Real-time & dynamic chart data |
|
UberChart |
$29/year |
- Supports 10 chart types (Bar, Line, Radar, etc.) - Spreadsheet-like editor - Based on Chart.js |
You can create an image that looks like a chart, but updating it later can be a hassle. That’s why real charts are better — they let you easily update data anytime. Charts also make your content more engaging by showing information clearly and visually.