WooCommerce automatically sends transactional emails to customers, keeping them updated on necessary actions, such as order confirmations, refunds, and password resets. These emails typically have a significantly higher open rate (around 80–85%) compared to regular marketing emails (20–25%), making them a powerful yet often underutilized opportunity for businesses.
While WooCommerce provides default email templates, many businesses miss the chance to customize them. Personalizing these emails with your brand’s colors, fonts, messaging, and helpful information not only builds trust but also strengthens brand recognition.
How to Customize WooCommerce Order Emails?
Method 1: Customize WooCommerce Order Emails with Default Settings
1. Log in to the WordPress dashboard.
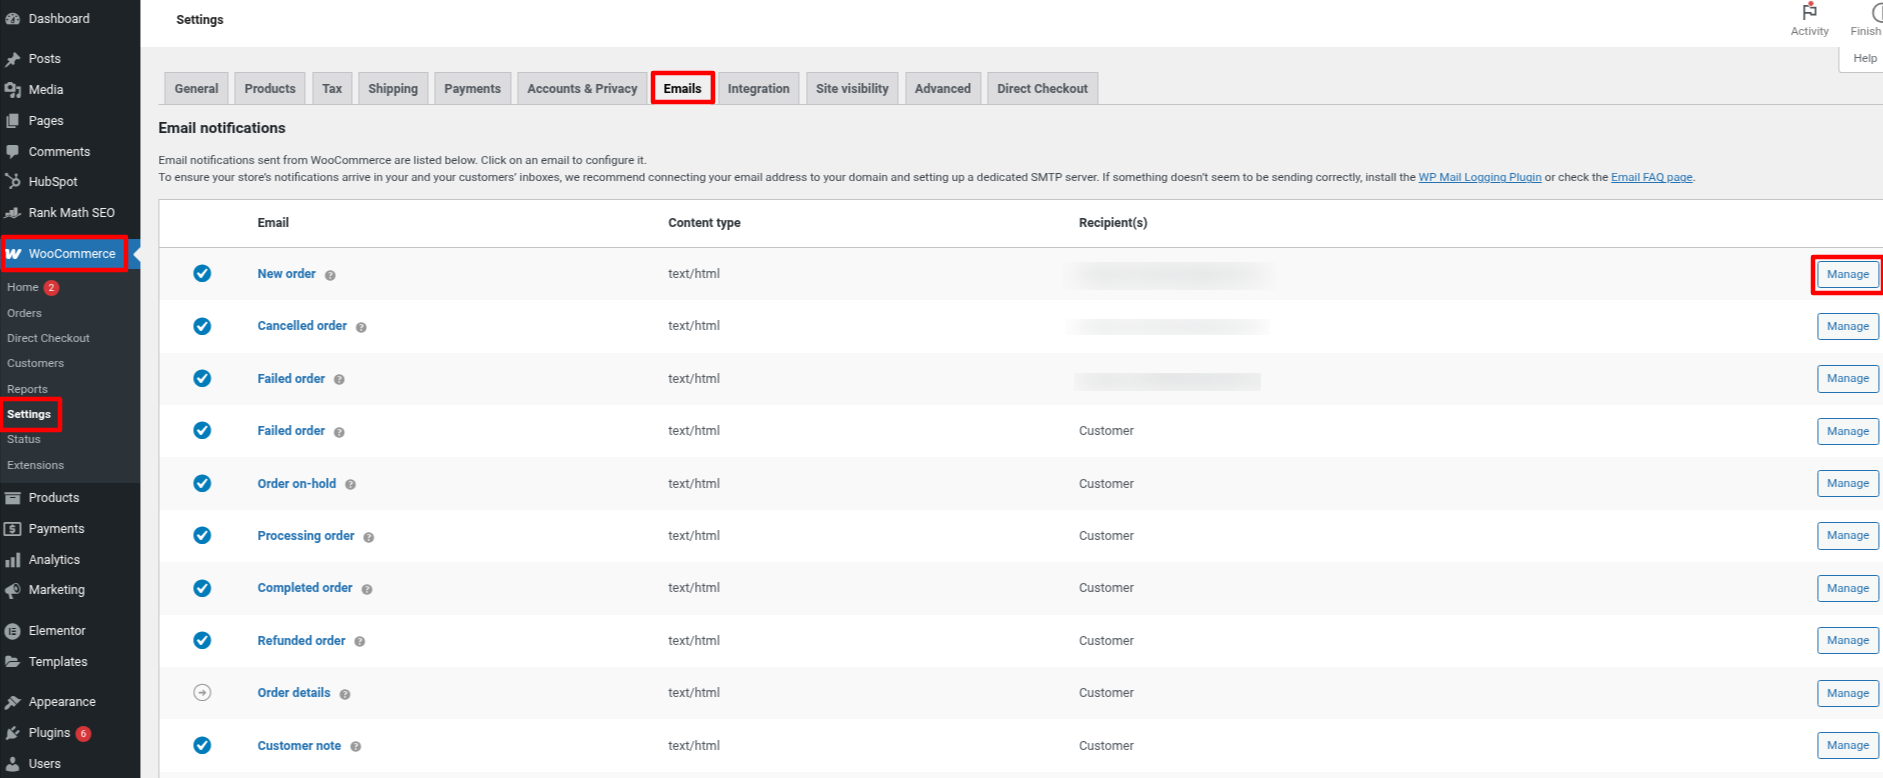
2. Navigate to the WooCommerce > Settings > Emails.
Here, you’ll find a list of email types such as New Order, Canceled Order, Processing Order, Completed Order, etc. These are some different emails WooCommerce automatically sends to your customers or you, depending on various events.
3. To customize the details of a specific email, click the Manage button next to it.
Next, you can customize various aspects of the email, including the subject, email heading, additional content, and email type.

For changes to the overall email design, scroll the page to find the template settings.
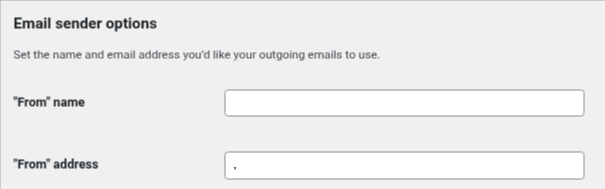
4. In the Email sender option, you can update the from name and email address.
5. In the Email template section, you’ll be able to customize the appearance of the default WooCommerce emails.
Here, you can adjust elements like the base color, background color, and body text color.
You can also update the header image and footer text, where you might add your slogan, business name, or contact details.
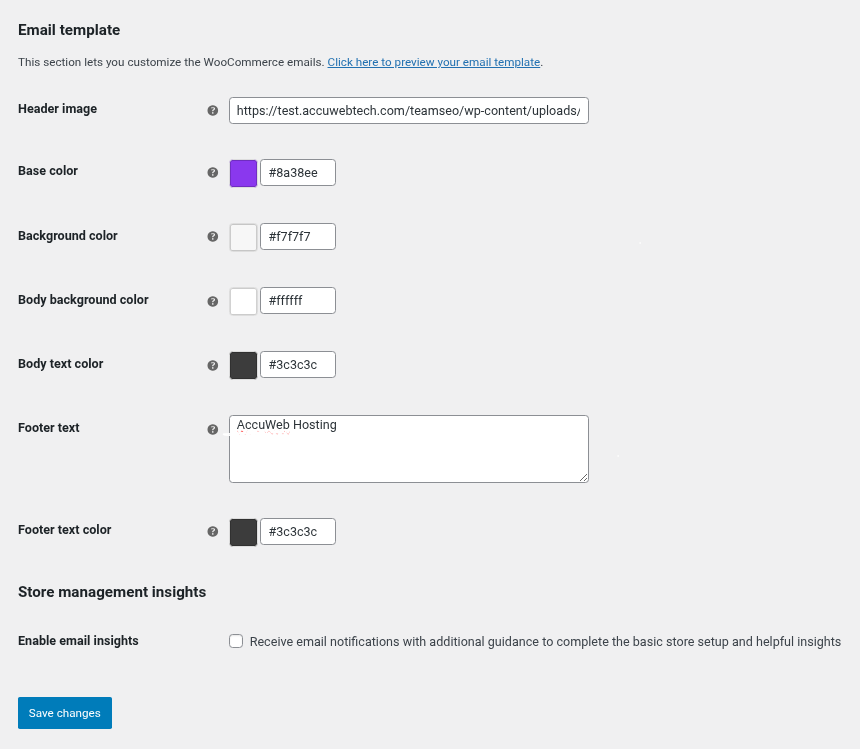
6. Click on Save Changes.
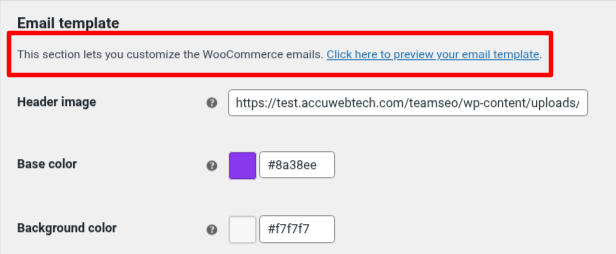
You can also preview your changes by clicking the "Click here to preview your email template" link.
Limitations of the Built-In Settings
The default WooCommerce settings allow for basic branding, offer minimal creative flexibility.
For example:
- The email layout is fixed; you can't move elements around or add new sections.
- Font options are restricted to the default styles set by your website, with no room for full customization.
- You cannot add dynamic content, such as personalized product recommendations or upsell links.
Method 2: Customize WooCommerce Order Emails With a Plugin
Option 1: Using MailPoet Plugin (Free but limited)
1. Log in to your WordPress dashboard.
2. Go to the Plugins > Add Plugin.
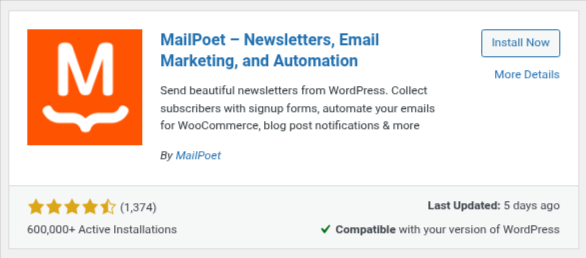
3. In the search bar, search for the MailPoet plugin.
4. Click Install Now and then activate it.
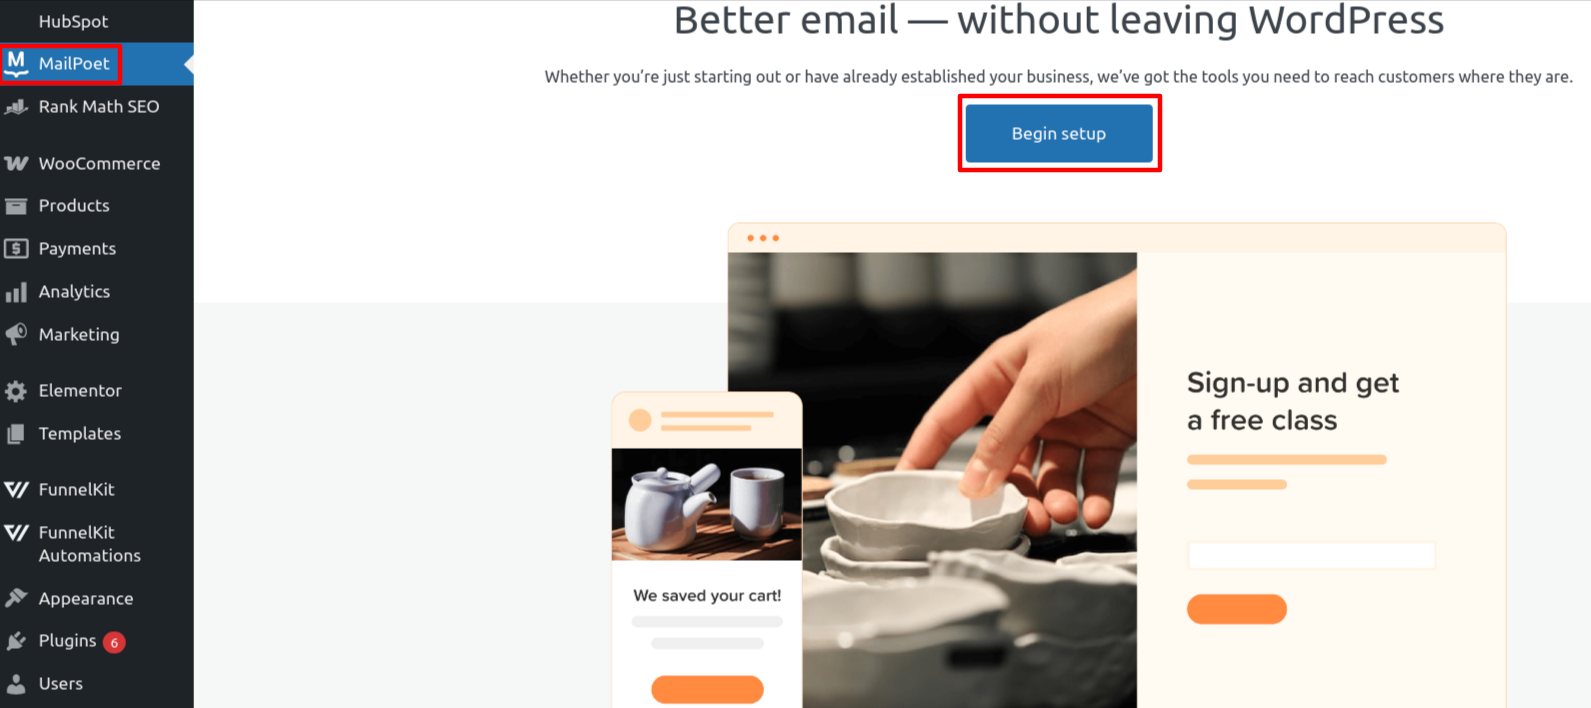
5. After that, it will ask you to Begin Setup.
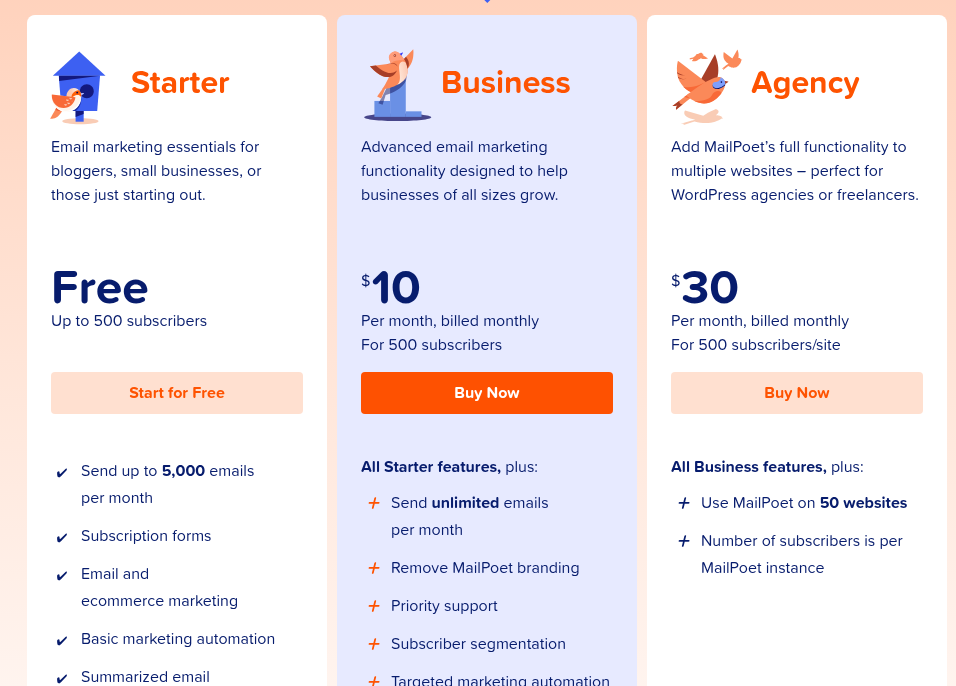
6. Click Start for Free.
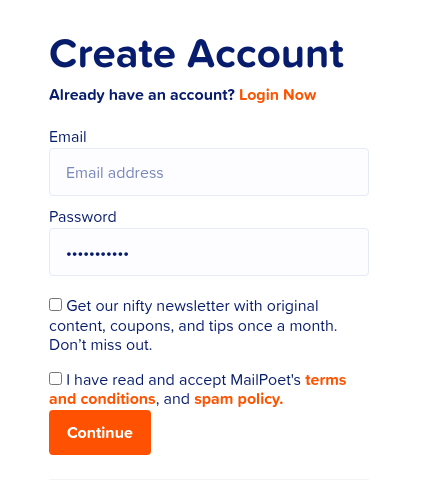
7. Enter your Email ID and password to create a new account.
8. It will create your new account and give you one key.
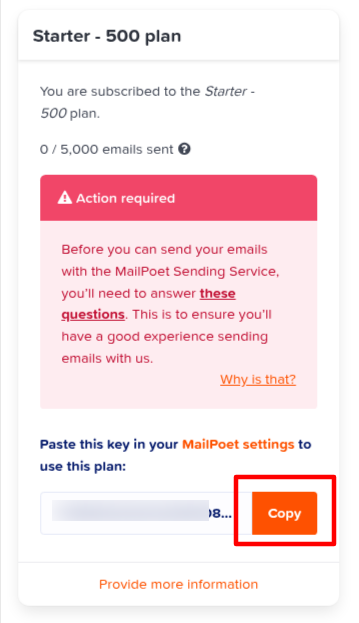
Back to your WordPress dashboard.
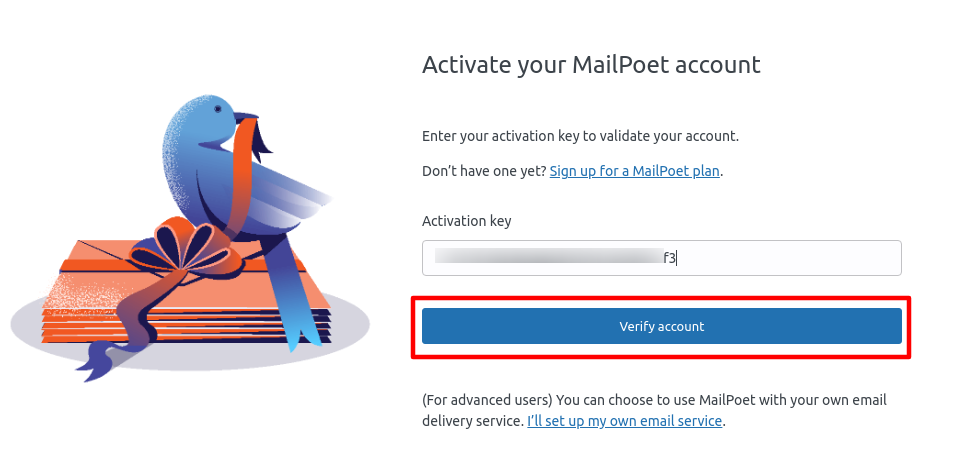
9. Paste the above copied key in the Activation Key box and then Verify account.
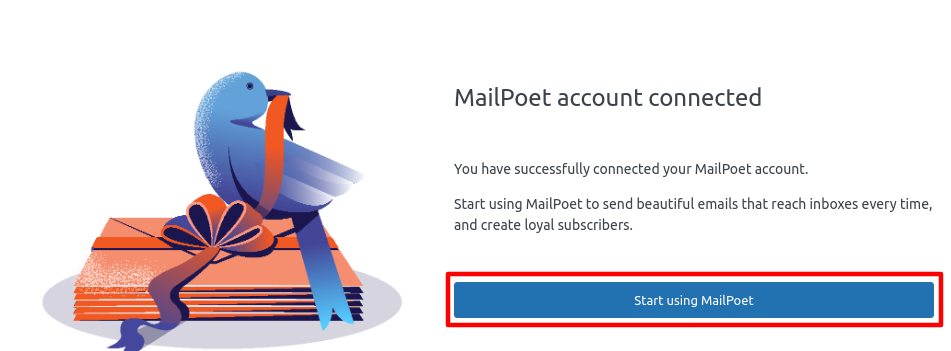
10. After the successful key verification, you can start using MailPoet.
11. Go to MailPoet > Settings > WooCommerce.
12. Check the box that says “Use MailPoet to customize WooCommerce emails” and click on Open template editor.
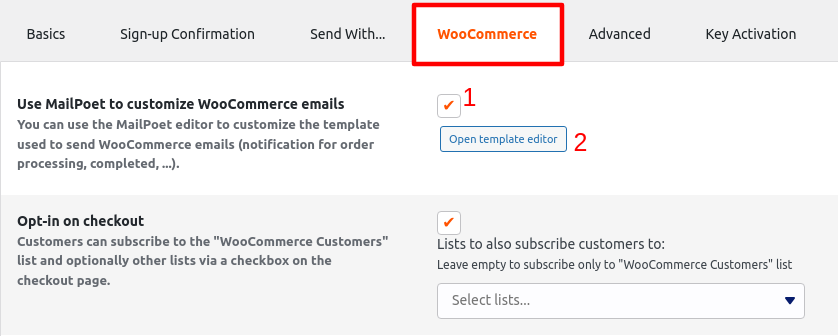
13. Click on Save Settings.
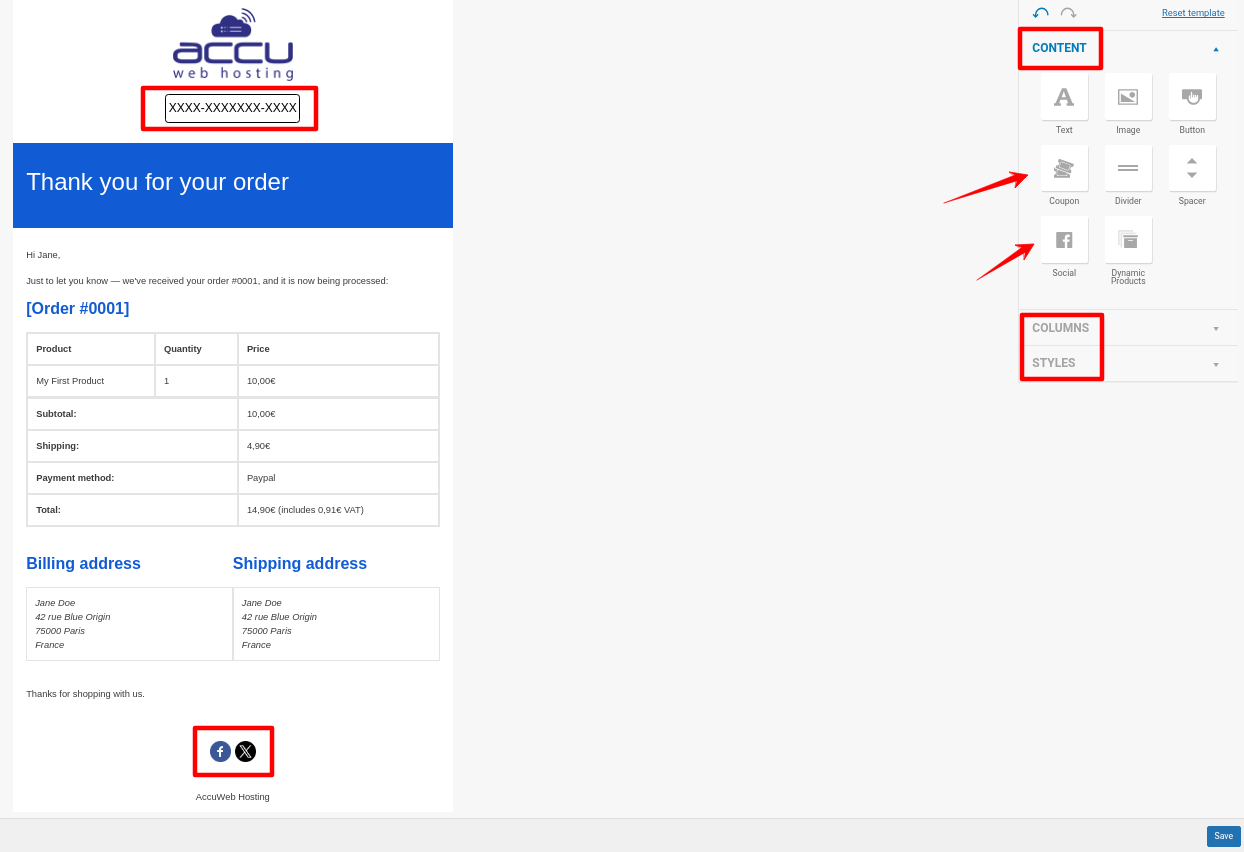
You can quickly modify areas above and below the email header and the main content section. Some of the customizations you can make include:
- Adding your logo at the top
- Matching the email’s colors with your brand
- Inserting images or buttons to make your emails more engaging
- Adding links to your social media profiles
Option 2: Using Email Customizer for WooCommerce Plugin
1. Log in to your WordPress dashboard.
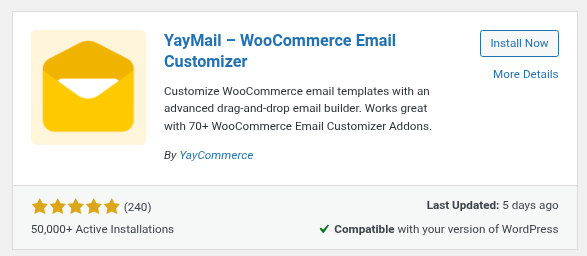
2. Navigate to Plugins > Add Plugin.
3. Search for YayCommerce, install it, and activate it.
4. Go to the YayMail.
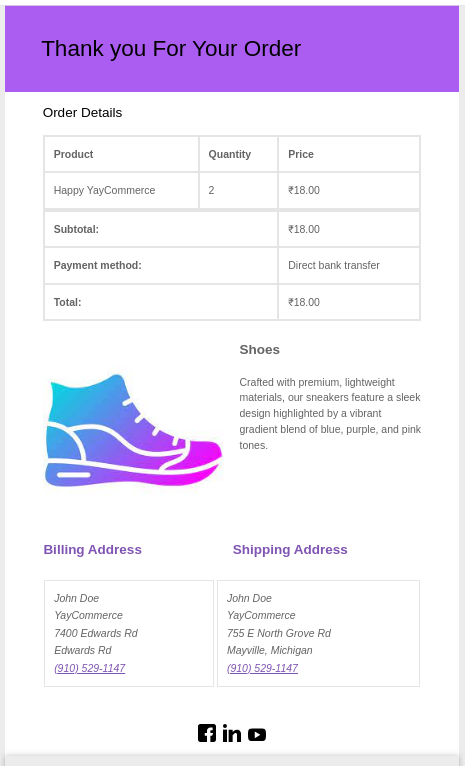
You can customize emails for various order statuses, including new orders, cancelled, failed, on hold, processing, completed, and more.
The emails include numerous elements, such as buttons, text, social links, videos, and more. You can also customize the product image’s position, thumbnail size, height, SKU, price, and other details.
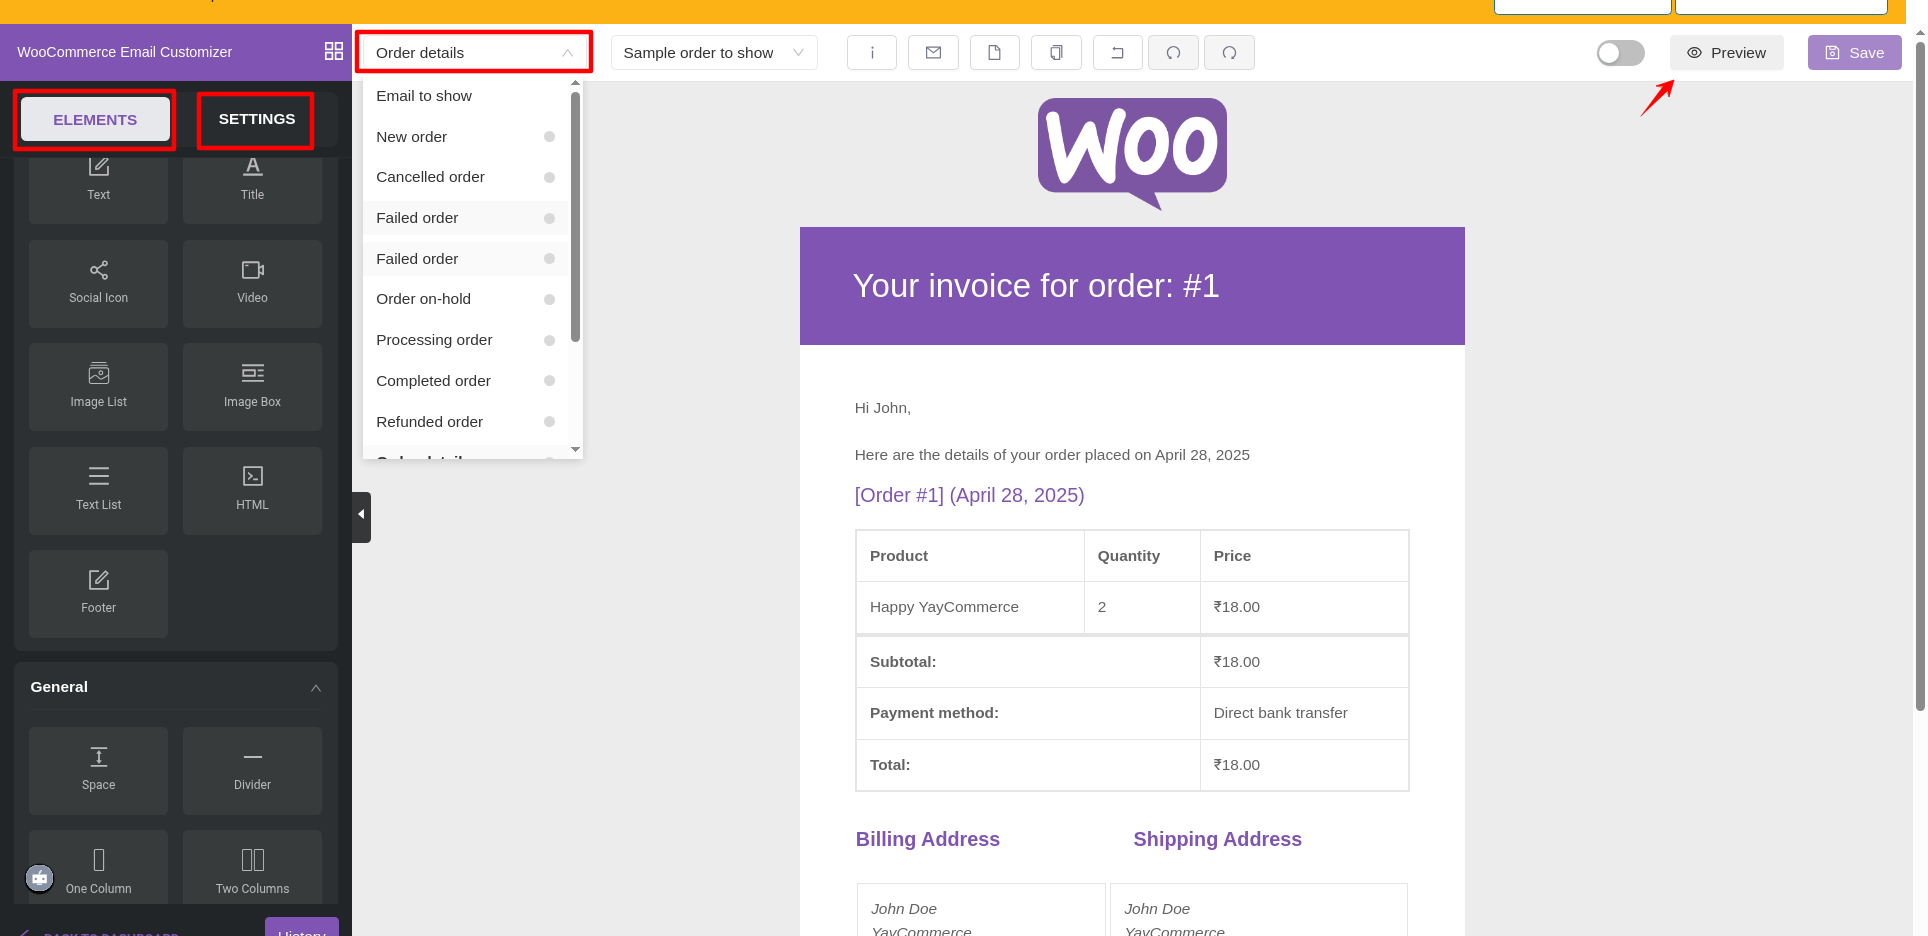
5. Preview the changes.
6. Click on Save.
Other Available Plugins
- Kadence WooCommerce Email Designer
- YITH WooCommerce Email Templates
- FunnelKit Automations (Paid)
Option 3: Using Custom Code
While plugins can make things easier, they often come with limitations that may not meet your exact needs. By coding your emails yourself, you can create designs that align with your brand and incorporate features tailored to your business.
→For Header & Footer
WooCommerce offers various hooks and filters that enable you to personalize your email content. For instance, you can utilize the woocommerce_email_headers and woocommerce_email_footer filters to modify the email headers and footers.
Add the below code inside your functions.php file.
add_filter('woocommerce_email_footer_text', 'custom_email_footer_text');
function custom_email_footer_text( $footer_text ) {
$footer_text = 'Thank you for shopping with us! Check out our latest deals at <a href="https://yourwebsite.com">yourwebsite.com</a>.';
return $footer_text;
}
→For Delivered Order
To add a custom header to the "Customer Completed Order" email, you’ll need to modify the customer-completed-order.php file found inside the woocommerce/emails folder.
<div style="background-color: #ff4dd2; padding: 20px; text-align: center;">
<img src="https://yourwebsite.com/logo.png" alt="Your Logo" style="max-width: 150px;">
<h2 style="font-family: Arial, sans-serif; color: #333;">Your Order is Complete!</h2>
</div>
OR
<link rel="stylesheet" href="https://cdnjs.cloudflare.com/ajax/libs/font-awesome/6.4.0/css/all.min.css">
<div style="background-color: #ff4dd2; padding: 20px; text-align: center;">
<i class="fas fa-anchor" style="max-width: 400px;"></i>
<h2 style="font-family: Arial, sans-serif; color: #333;">Your Order is Delivered!</h2>
</div>

→To Show Other Relevant Products
You can use WooCommerce hooks to show related or upsell product suggestions based on every customer's order. For instance, you can present complementary products depending on what is in their cart.
Add hooks to the woocommerce_email_after_order_table action to display related products below the order details in the customer's "Completed Order" email.
add_action('woocommerce_email_after_order_table', 'add_related_products_to_email', 10, 4);
function add_related_products_to_email( $order, $sent_to_admin, $plain_text, $email ) {
if ( $email->id === 'customer_completed_order' ) {
echo '<h3 style="font-family: Arial, sans-serif;">You might also like:</h3>';
// Loop through order items
foreach ( $order->get_items() as $item ) {
$product_id = $item->get_product_id();
// Get related products
$related_products = wc_get_related_products( $product_id, 2 ); // Fetch 2 related products
foreach ( $related_products as $related_id ) {
$related_product = wc_get_product( $related_id );
if ( $related_product && $related_product->is_visible() ) {
echo '<p style="font-family: Arial, sans-serif;">
<a href="' . esc_url( $related_product->get_permalink() ) . '">' . esc_html( $related_product->get_name() ) . '</a>
</p>';
}
}
}
}
}
How to Test Your Customizations?
After customizing your WooCommerce order emails, it’s essential to test them to ensure they appear correctly and function properly on various devices.
Here are a few plugins to help with testing:
- WP Mail Logging: Tracks all outgoing emails from your WordPress site, allowing you to check if your customized emails are sent correctly and review their content.
- Preview Emails for WooCommerce: Allow you to preview WooCommerce emails directly in your WordPress dashboard, making it easy to see your customizations without needing to place real orders.
- Email Client Testing Tools: Litmus or Email on Acid are tools that enable you to test how your emails will appear on various email clients (e.g., Gmail or Outlook) and devices.
Best Practices for WooCommerce Email Customization
1. Mobile-friendly design: Ensure your emails are responsive with simple, clean layouts that prioritize readability. Some plugins enable you to preview your email layout on both desktop and mobile devices.
2. Clear call-to-action: Include easy-to-find CTAs that encourage actions such as reviews or product browsing.
3. Simple language and minimal formatting: Keep content clear and avoid overloading with images or complex designs to ensure fast load times.
Common Errors and Troubleshooting Tips
1. Theme Conflicts or Broken Layouts
- Clear WooCommerce’s template cache: Go to WooCommerce > Status > Tools and click "Clear template cache."

- Check for code errors: Review your custom code using PHP debugging tools or your browser's developer console.
2. Content Not Updating in Emails
If the changes you make aren’t showing in emails, the issue might be with overridden templates or incorrect code placement. To fix this:
Check overridden email templates: Go to your theme’s woocommerce/emails folder and make sure the templates match your changes.
Customizing the email template is a great way to align emails with your store's design or add extra features for your customers. However, be aware that these template files may be deleted when you update your theme. To avoid losing your customizations, always back up these files before updating your theme.
