Using a child theme, you can safely modify and test changes without affecting the main theme. Since all edits are made in the child theme, your customizations stay intact even when the parent theme updates. This is a common practice for WordPress Hosting users, as it allows for customization without risking core theme files.
If something goes wrong, you can easily change it by deleting the child theme.
What is a WordPress Child Theme?
A child theme is a theme that depends on a parent theme for its core functions, features, and styles. It allows you to make custom changes without modifying the original theme.
Creating a child theme automatically inherits everything from the parent theme, including its style.css file. You can then add your own styles and modifications without affecting the parent theme directly.
Why Use a Child Theme?
- Preserve Customizations: Your changes stay safe, even when the parent theme updates. If you edit the parent theme directly, updates can erase your customizations.
- Safe Testing & Customization: A child theme lets you experiment with new designs and features without breaking the main theme—like a mini staging environment.
- Simplifies Development: If you have coding knowledge, a child theme makes it easier to tweak or expand only the parts of the theme you want without dealing with unnecessary code.
How to Create a WordPress Child Theme?
Method 1: Create a WordPress Child Theme Manually
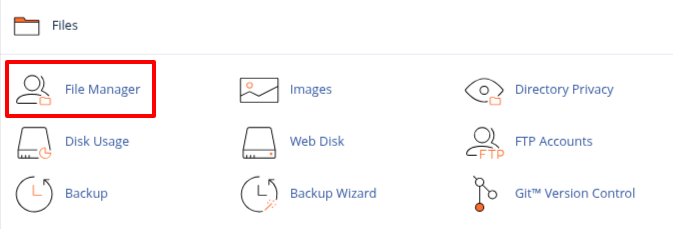
1. Log into your cPanel account.
2. Navigate to Files > File Manager.
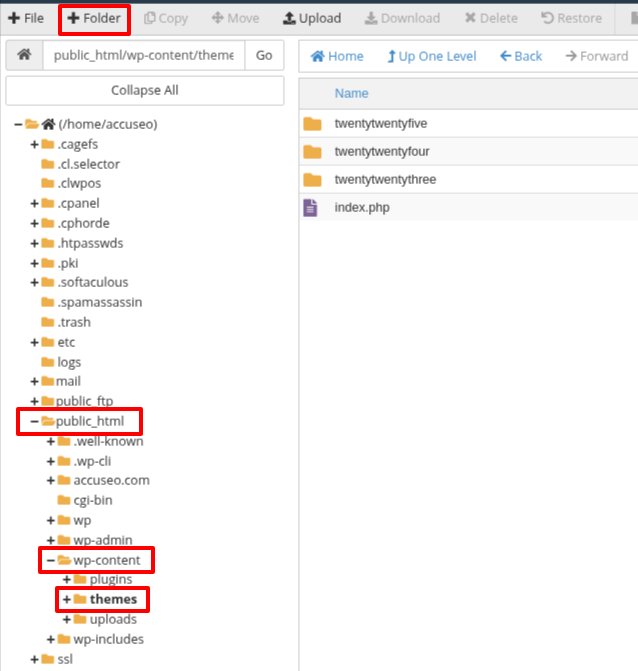
3. Go to your website’s public_html folder and open the /wp-content/themes/ path.
4. Click on + Folder to create a new folder.
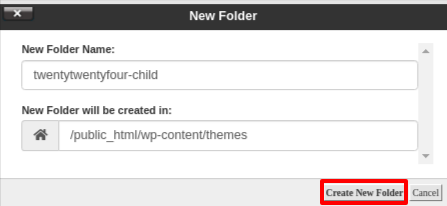
5. Add a child theme name in the New Folder Name text box and click Create New Folder.
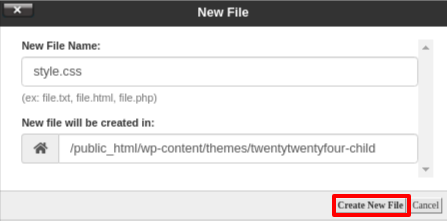
6. Open the folder you just created and click ‘+ File’ to add the first file for your child theme.

7. Name the file ‘style.css’ because it’s the main stylesheet for your child theme and holds important details.
8. Then, click ‘Create New File.’
9. Right-click on the style.css file and click on Edit.
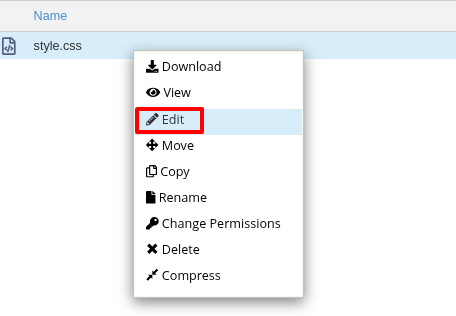
10. Add the following text and adjust it based on your requirement.
/*
Theme Name: Twenty Twenty-four Child
Theme URI: https://wordpress.org/themes/twentytwentyfour/
Description: Twenty Twenty-four child theme
Author: WordPress.org
Author URI: https://wordpress.org/
Template: twentytwentyfour
Version: 1.0.0
Text Domain: twentytwentyfourchild
*/
11. Click on the Save Changes button.
12. Next, create a second file and name it functions.php.
This file will import or enqueue the stylesheets from the parent theme’s files.
add_action( 'wp_enqueue_scripts', 'my_theme_enqueue_styles' );
function my_theme_enqueue_styles() {
$parenthandle = 'twenty-twenty-four-style';
$theme = wp_get_theme();
wp_enqueue_style( $parenthandle, get_template_directory_uri() . '/style.css',
array(),
$theme->parent()->get('Version')
);
wp_enqueue_style( 'custom-style', get_stylesheet_uri(),
array( $parenthandle ),
$theme->get('Version') );
}
13. Click on Save Changes to save all the changes.
You’ve now successfully created a basic child theme. In your WordPress CMS dashboard, navigate to Appearance > Themes, where you should see the Twenty Twenty-Four Child theme listed.
Click Activate to start using the child theme on your website.
Method 2: Create a WordPress Child Theme Using Plugin
1. Log into your WordPress dashboard.
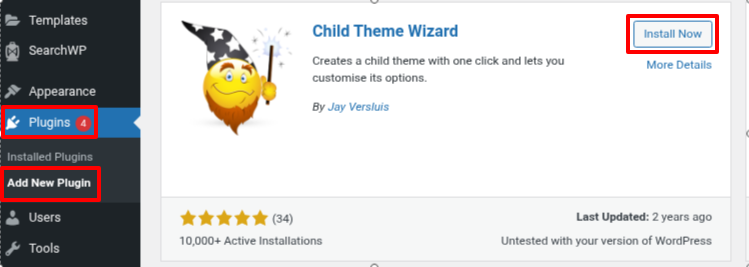
2. Navigate to the Plugins > Add New Plugin.
3. Search for Child Theme Wizard.
4. Click on Install Now and activate it.
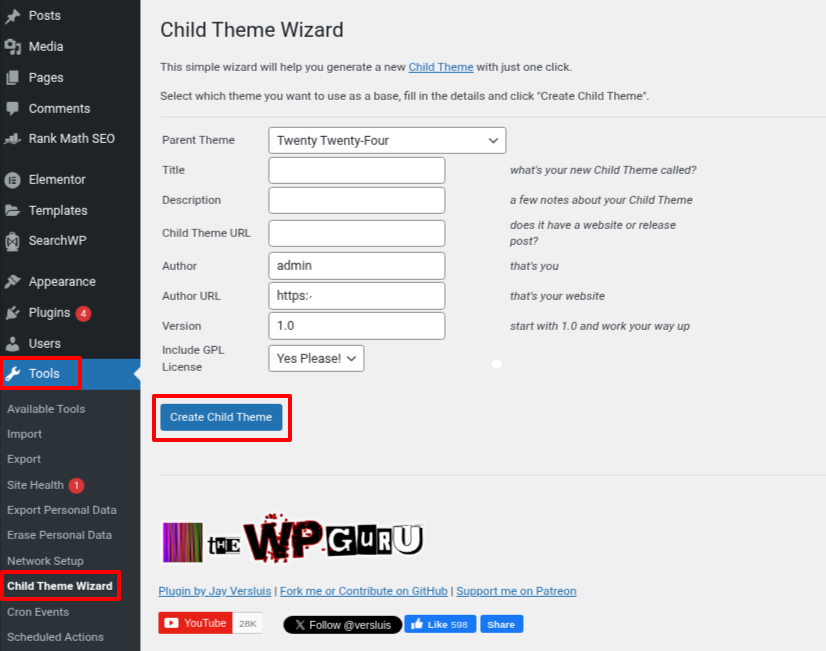
5. After successfully activating the plugin, you'll find the Child Theme Wizard option under Tools in the left-side WordPress admin menu.
6. Next, select the Parent Theme by entering the Title, Description, and Child Theme URL, then click Create Child Theme to proceed.
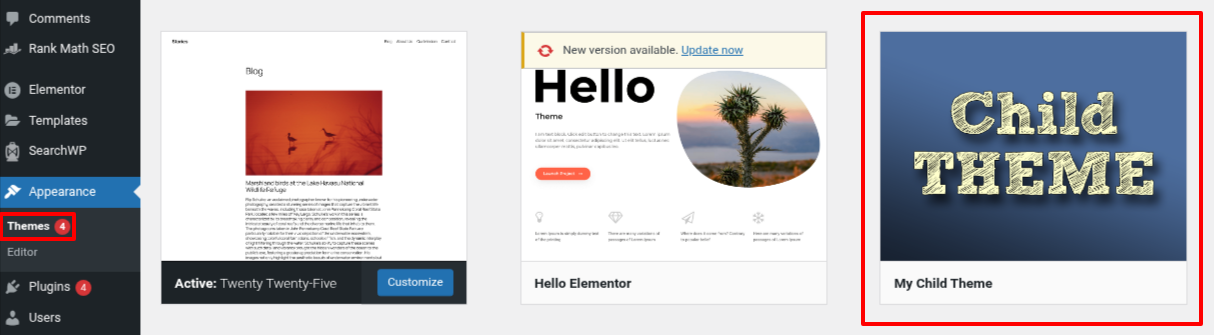
7. You will see your child theme in Appearance > Theme.
* Before installing any WordPress plugin, it's recommended to check user reviews and ensure compatibility with your WordPress version before installing.
