Businesses that use employee portals, HR management systems, or internal dashboards often face security risks when multiple users share the same login credentials. This can lead to unauthorized access, data breaches, and compliance issues.
To maintain security and ensure accountability, it's crucial to restrict each user to a single active session. In this guide, we’ll show you how to enforce login restrictions on your WordPress CMS, ensuring that employees can only log in from one device at a time. By implementing this, you’ll enhance security, data integrity, and user accountability across your system.
Note: After logging into WordPress, users typically remain logged in even after closing their browser. This is because WordPress creates a persistent session. To completely log out and terminate the active session, users must manually select the "Howdy" menu in the top right corner and click Log Out. This is crucial for security, especially on shared devices.
Method 1: Restrict User Login to One Device in WordPress using Loggedin – Limit Active Logins plugin
Loggedin – Limit Active Logins is a free and easy-to-use plugin that restricts user login to one device.
With this plugin, you can define the maximum number of active logins per user. New login attempts are blocked once the limit is reached, and excess sessions are automatically logged out.
1. Log into your WordPress dashboard.
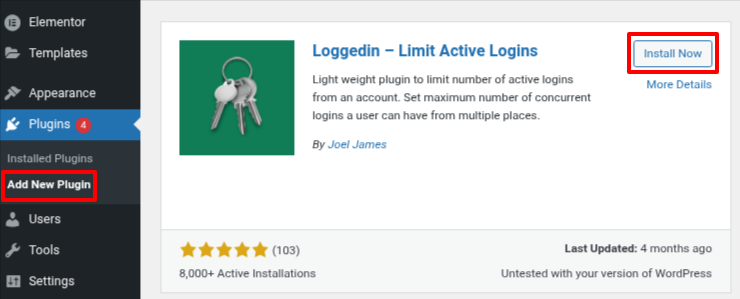
2. Navigate to Plugins > Add New Plugin.
3. Search for Loggedin – Limit Active Logins plugin.
4. Click on Install Now and activate it.
5. Next, go to Settings > General > LoggedIn Settings.
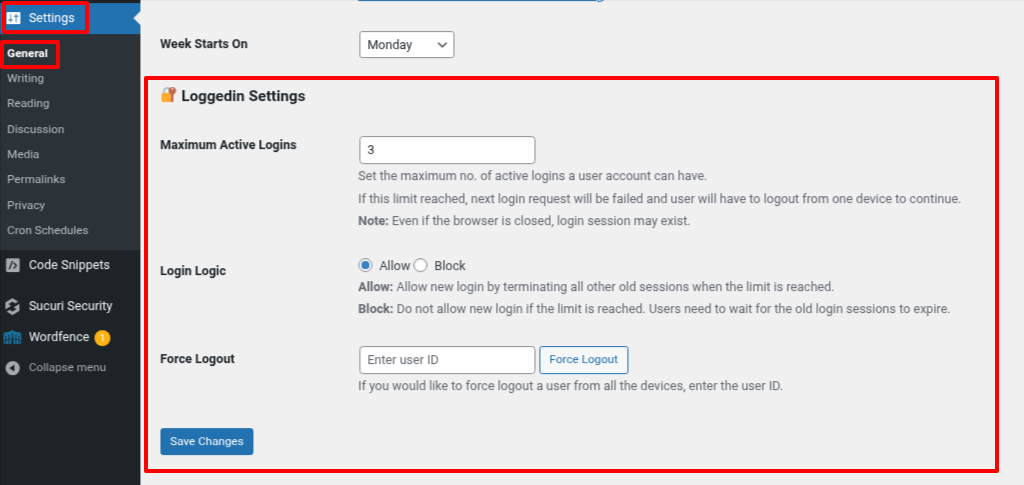
In the “Maximum Active Logins” field, you can set the number of simultaneous logins allowed per user.
The “Login Logic” setting controls what happens when a user reaches the active login limit:
- Allow: The new login is allowed, but all existing sessions for that user are automatically logged out.
- Block: The new login attempt is blocked. The user must manually log out from one of their existing sessions before they can log in from a new device.
To restrict users to one device, set Maximum Active Logins to 1 and Login Logic to Block.
If you want users to access their account from any device but limit them to one active session at a time, set Maximum Active Logins to 1 and Login Logic to Allow.
Additionally, the plugin provides an option to force logout a specific user from all devices. Simply enter their User ID and click Force Logout.
WordPress relies on caching to manage login attempts and track sessions; the Loggedin – Limit Active Logins plugin allows you to configure the Cache Level setting. You can choose from four cache levels based on your site’s needs:
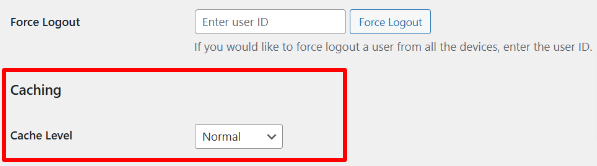
- Normal: Uses standard session caching, balancing performance and reliability. It is recommended for most websites without complex caching mechanisms.
- Asset Only: Restricts caching to static assets like JavaScript and CSS, preventing interference with dynamic login sessions. Ideal for environments sensitive to dynamic content.
- Advanced: Optimizes session handling for high-traffic sites by integrating with advanced caching layers like object caching.
- Off: Disables caching, forcing the plugin to check the database or session storage on every request. Ensures accurate session tracking but may impact performance.
6. Click on Save Changes to apply your settings.
Note: To further enhance the security of your WordPress site, consider choosing a secure WordPress hosting provider that offers robust security features like automatic backups, malware scanning, and SSL support. This ensures that your site is protected from unauthorized logins and shielded from other potential threats.
Method 2: Restrict User Login to One Device in WordPress using WPCode Plugin
For instance, you might want to ensure that site administrators and editors aren’t accidentally locked out, or allow a key team member to work from multiple locations on different devices.
To achieve this, you’ll need to add custom code snippets to your WordPress theme’s functions.php file.
1. Log into your WordPress dashboard.
2. Go to the Plugins > Add New Plugin.
3. Search for the WPCode plugin.
4. Click on Install Now and activate it.
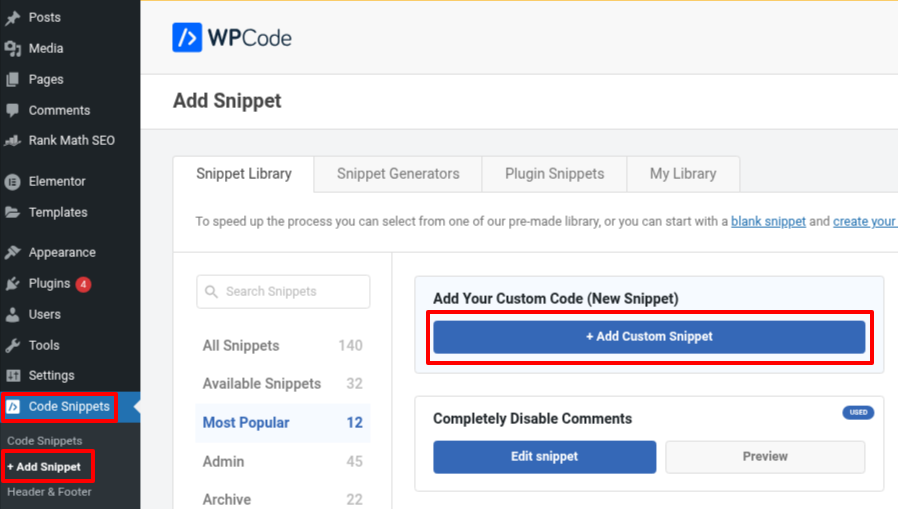
5. Navigate to Code Snippet > + Add Snippet.
6. Next, move to Add Your Custom Code (New Snippet) and click on + Add Custom Snippet.
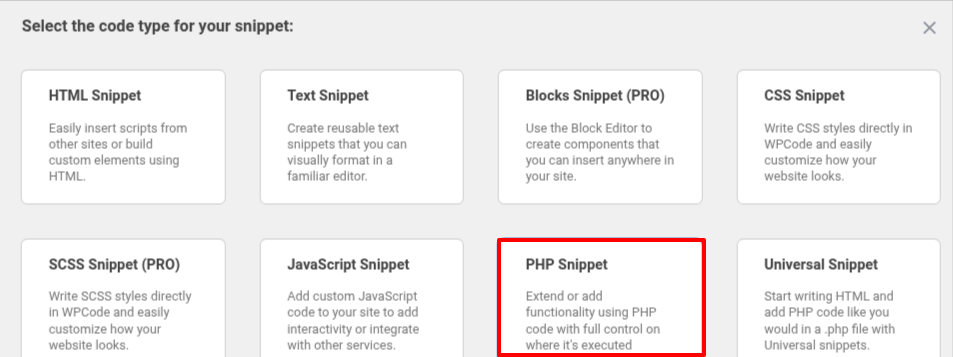
7. One pop-up will be open; choose PHP Snippet.
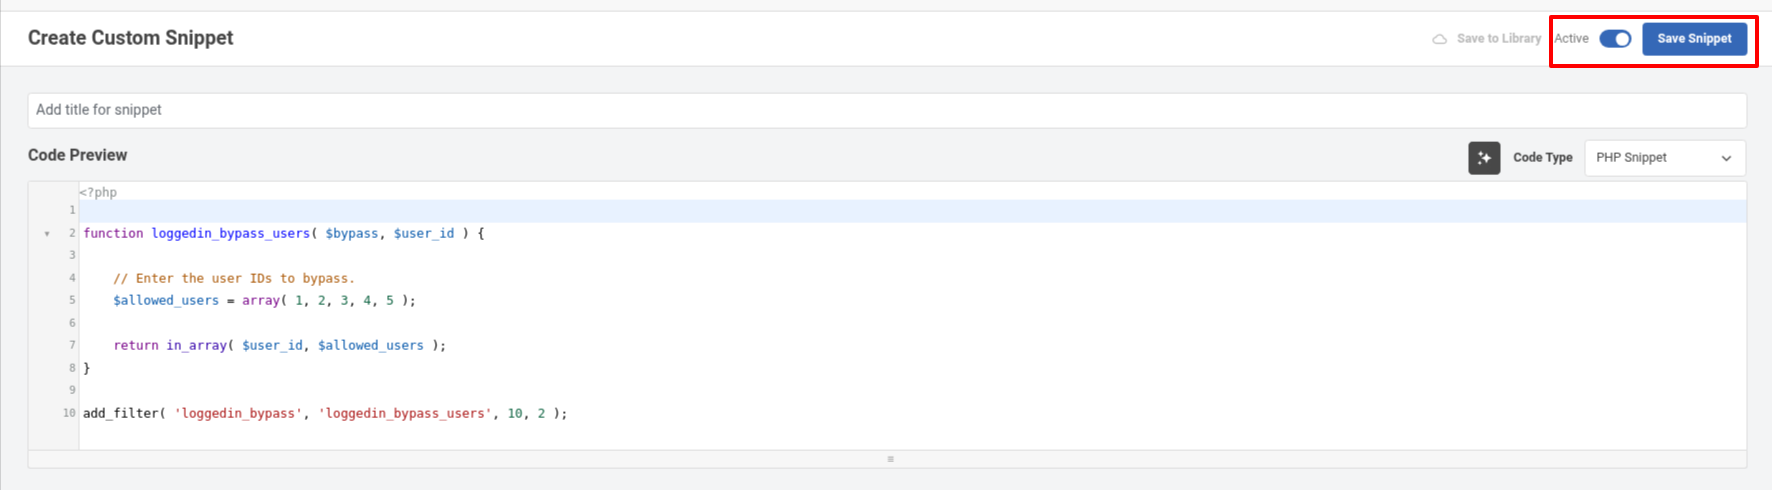
This will open the Create Custom Snippet page, where you can enter the required code. Start by giving your snippet a title, such as "Bypass Login Restrictions for Certain Users."
Add the below code in the Code Preview pane.
function loggedin_bypass_users( $bypass, $user_id ) {
// Enter the user IDs to bypass.
$allowed_users = array( 1, 2, 3, 4, 5 );
return in_array( $user_id, $allowed_users );
}
add_filter( 'loggedin_bypass', 'loggedin_bypass_users', 10, 2 );
Find the line that begins with $allowed_users = array and replaces ‘1, 2, 3, 4, 5’ with the user IDs of those you want to bypass from the restriction. You can add as many user IDs as needed, separating them with commas.
Finally, set the snippet to Active and click Save Snippet to apply your changes.
How to Find the User ID
You can find a WordPress user ID in the WordPress admin area.
1. Log in to the WordPress dashboard.
2. Go to Users > All Users.
3. Hover over the user's username.
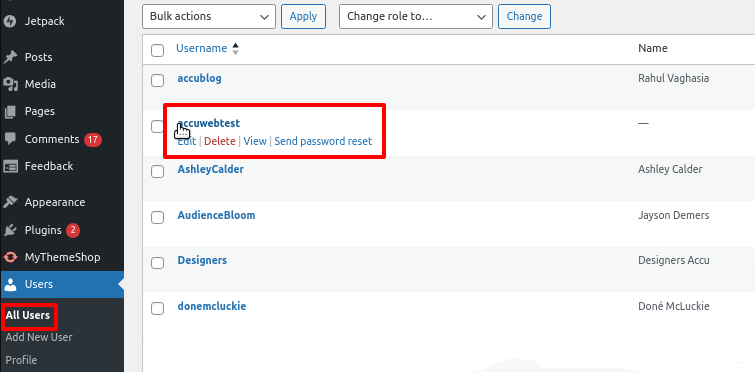
4. Look in the lower-left corner of the browser for the number after user_id=.

Bypassing Login Restrictions for Specific Roles
You can also bypass login restrictions for certain user roles by following the same steps to add a code snippet.
Start by creating a new snippet titled "Bypass Login Restrictions for Specific Roles" and paste the following code into the Code Preview pane.
function loggedin_bypass_roles( $prevent, $user_id ) {
// Array of roles to bypass.
$allowed_roles = array( 'administrator', 'editor' );
$user = get_user_by( 'id', $user_id );
$roles = ! empty( $user->roles ) ? $user->roles : array();
return ! empty( array_intersect( $roles, $allowed_roles ) );
}
add_filter( 'loggedin_bypass', 'loggedin_bypass_roles', 10, 2 );
This snippet excludes users with the ‘administrator’ and ‘editor’ roles from login restrictions. You can add other roles, such as ‘author’, by enclosing them in single quotation marks and separating them with commas.
Once done, toggle the snippet to Active and click Save Snippet to apply your changes.

