Cron is a Unix/Linux utility commonly used to schedule commands or scripts to run in the background on a web server. A cron job refers to the task itself, set to run at specified times, dates, or intervals. These tasks are typically automated and repetitive, helping to save time.
How to Set Up and Manage a WordPress Cron Job?
Method 1: Set the cron job using cPanel
1. Log into the cPanel account.
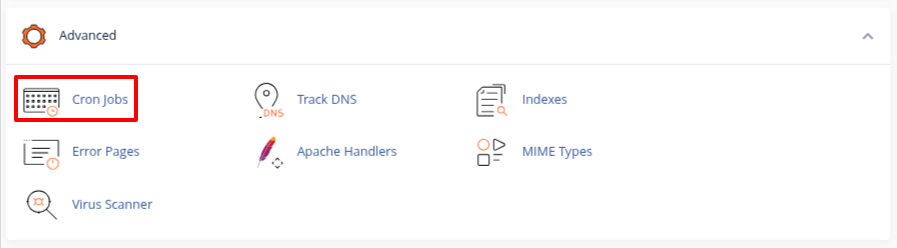
2. Navigate to Advanced and choose Cron jobs.
3. Under Cron Email, enter the email address where you want to receive notifications and click Update Email. A notification will be sent to this email each time the cron job runs.

If you prefer not to receive email notifications, append the following to the command:
This will redirect all output to /dev/null, preventing emails.
4. Under Add New Cron Job, select Twice an hour from the Common Settings dropdown menu.

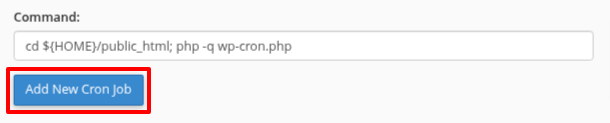
5. In the Command text box, enter:
6. Click Add New Cron Job. The new cron job settings will take effect immediately.
- Modify the Cron
You will find all your cron inside the Current Cron Jobs section.
1. Find the cron job you want to modify and click the Edit button.

2. Make the necessary changes and click the Edit Line button to save.

Method 2: Set the cron job using a plugin
1. Log into your WordPress dashboard.
2. Go to the Plugins > Add New Plugin.
3. Find the WP Control plugin.
4. Click on Install Now and then Activate it.

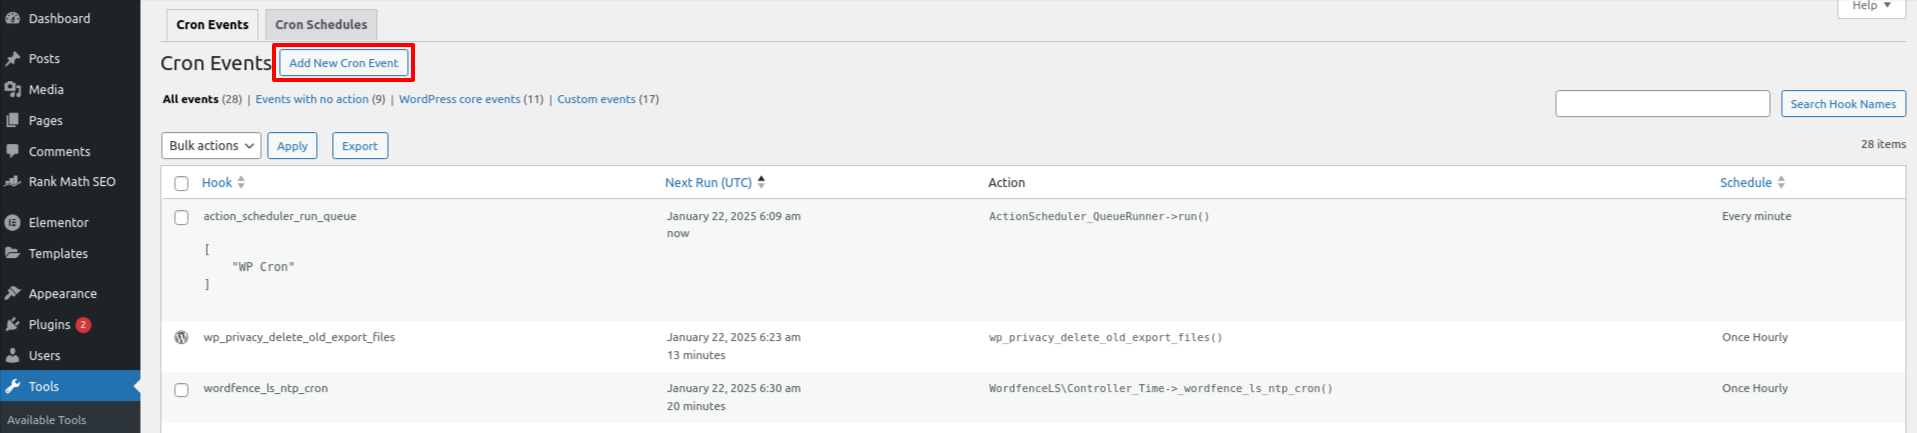
To view all the cron jobs running on your WordPress site, navigate to Tools > Cron Events.
5. Click on the Add New Cron Event button.
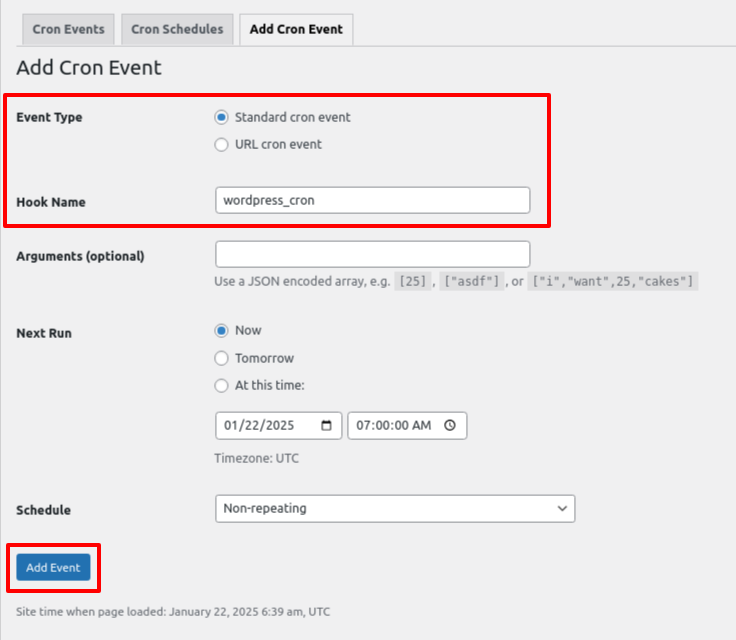
6. Select the Standard cron event option and create a WordPress hook for the new cron event.
Ensure the hook name adheres to standard PHP naming conventions. Set the run time and recurrence as needed, and you can leave the Arguments textbox empty.
7. Click on Add Event.
Now the hook is created, the next step is to add it and define the action that will run when the cron event is triggered.
8. Log into your cPanel account or WordPress dashboard.
9. Navigate to Files > File Manager.
10. Inside public_html, choose wp-content > themes > your active theme (for cPanel) or Appearance > Theme File Editor (for WP dashboard).
11. Find the function.php and add the below code:
add_action( 'wordpress_cron', 'test_cron' );
function test_cron() {
wp_mail( '[email protected]', 'Automatic email', 'Automatic scheduled email from WordPress to test cron');
}
12. Save your changes and reload your website. If you receive the test email, it confirms that the cron event is functioning properly.
Modify the Cron
1. Navigate to the hook’s name and click Edit Cron Event.

2. Do require changes and click on Update Event.
Method 3: Set the cron job using the command line
Here’s how to set up a cron job for WordPress using SSH:
1. Log in to your account via SSH.
2. At the command prompt, add below code:
3. Press o to enter editing mode and add a new line.
4. Type the following command, replacing the username with your name.
- This sets the cron job to run every 30 minutes.
5. Press Esc, type :wq, and hit Enter to save and exit.
The cron job settings will take effect immediately.
