Customizing your WordPress header is a great way to enhance your site's design and usability.
While default headers come with many themes, creating a custom one lets you add helpful elements like key links, social media icons, and a search bar.
These features can make your site more user-friendly, professional, and memorable to visitors!
How to Edit Header in WordPress?
Method 1: Using WordPress Customizer
1. Log into your WordPress dashboard.
2. Navigate to Appearance > Customize.
3. Check for sections titled Header, Site Identity, or Theme Options.
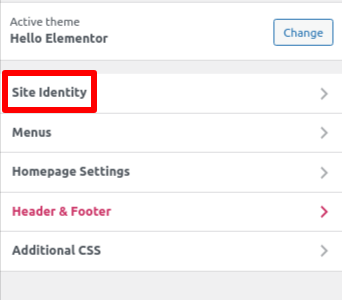
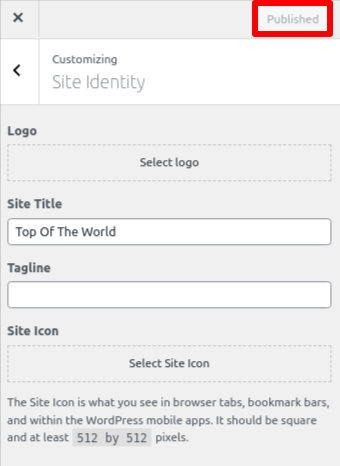
4. Here, you'll find header options like Logo, Site Title, Tagline, and Site Icon.
5. After the changes, click on Publish.
Create your website quickly with our pre-installed WordPress, saving you valuable hours! Start today with our fast and reliable WordPress hosting—the perfect solution for your site’s success!
Method 2: Using the theme’s built-in options
1. Log into your WordPress dashboard.
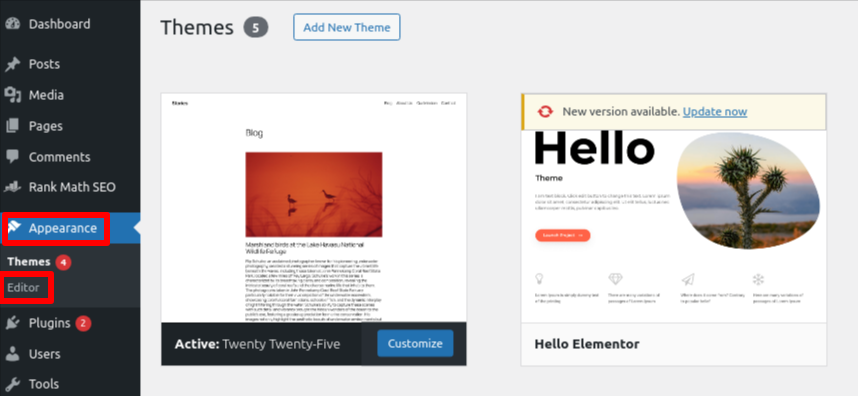
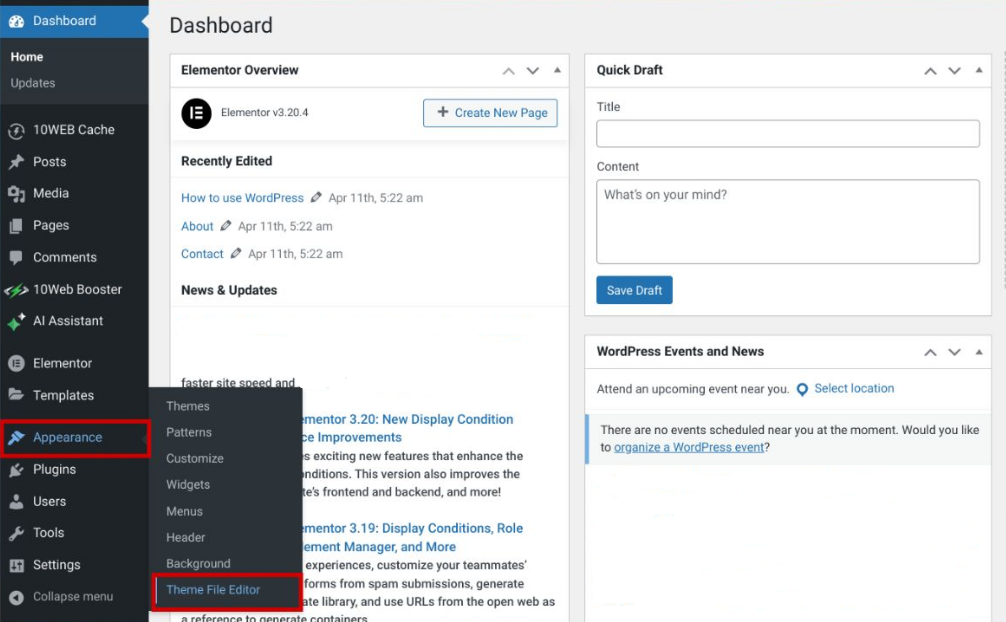
2. Go to the Appearance > Editor.
Note: If you can't find the Editor menu on your dashboard, it means your WordPress theme doesn't support the full site editor. In that case, use the Customizer instead.
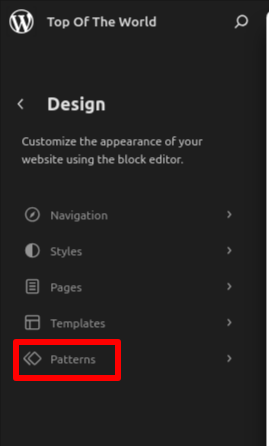
3. Navigate to Patterns > Header.
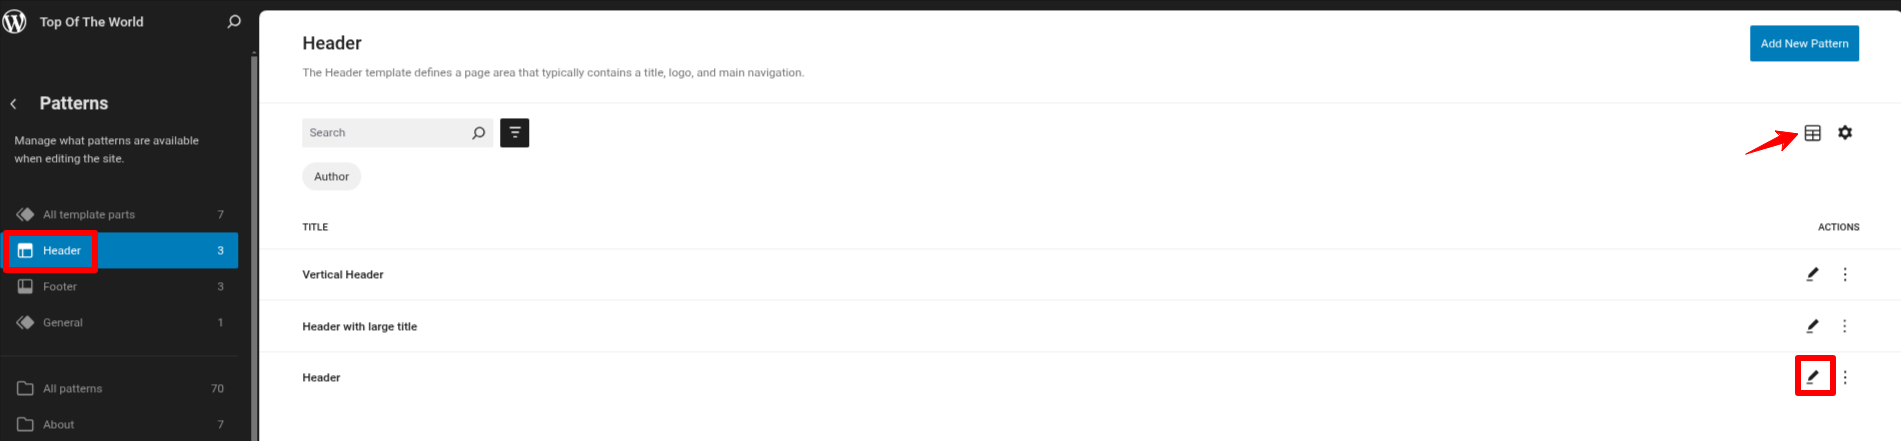
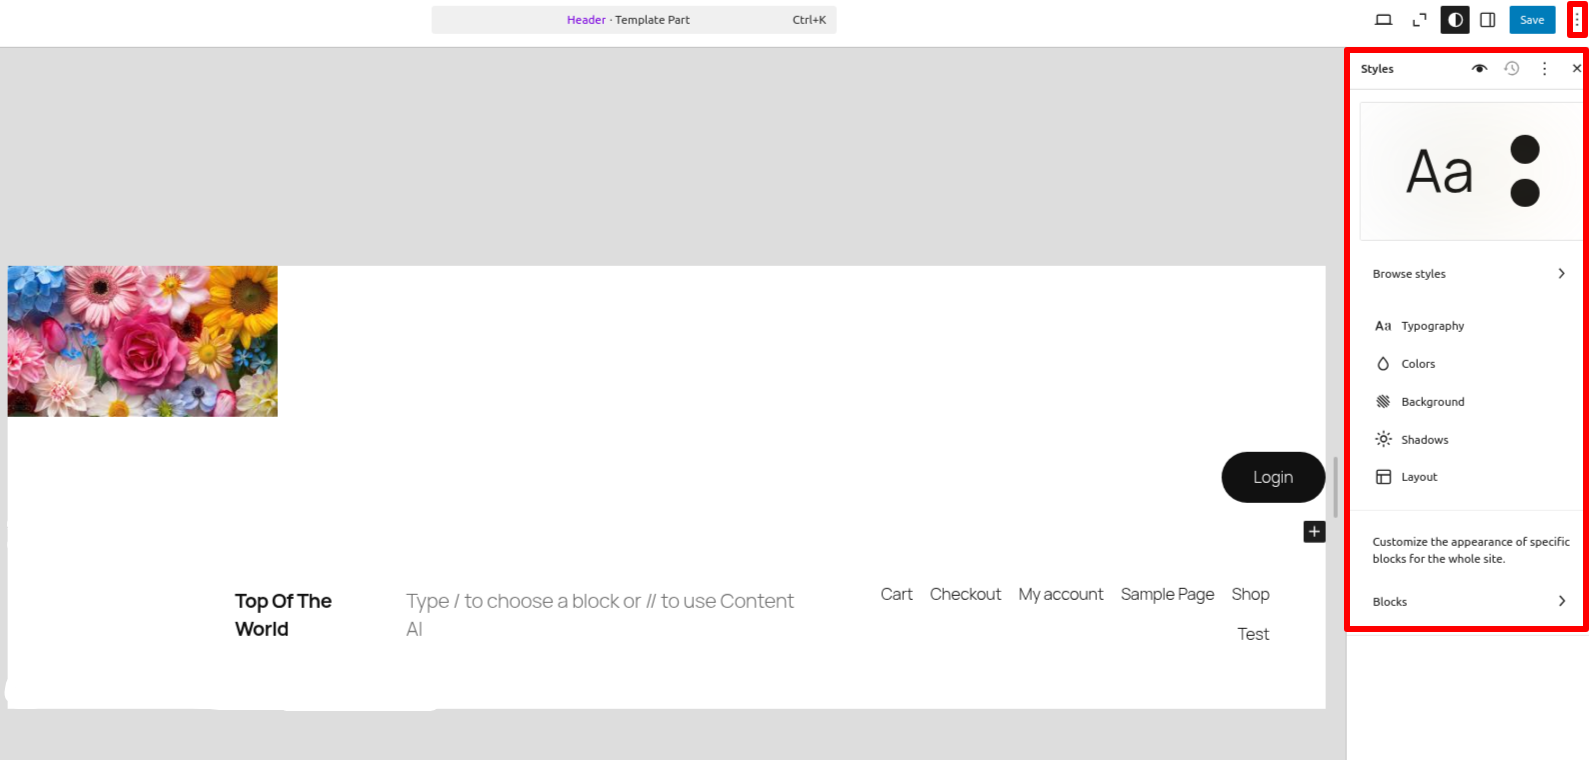
4. Click the List View button (three parallel lines) in the upper left corner. This shows all the blocks currently in your header.
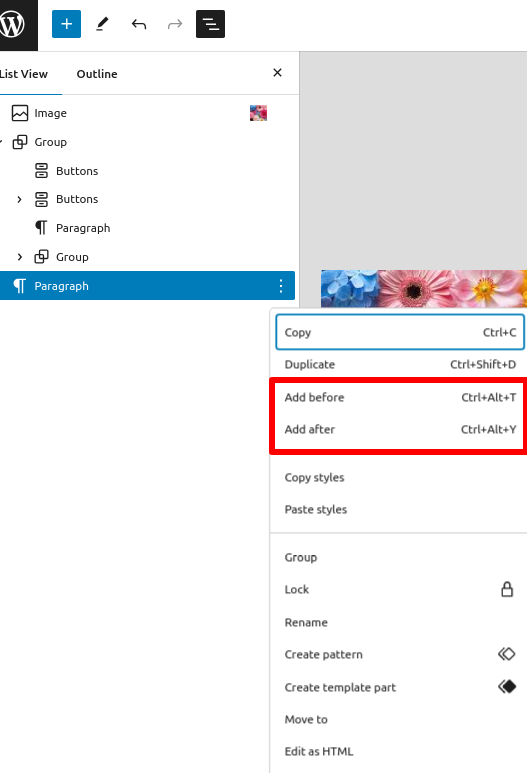
5. To edit a block, click the Options button (three dots) next to it.
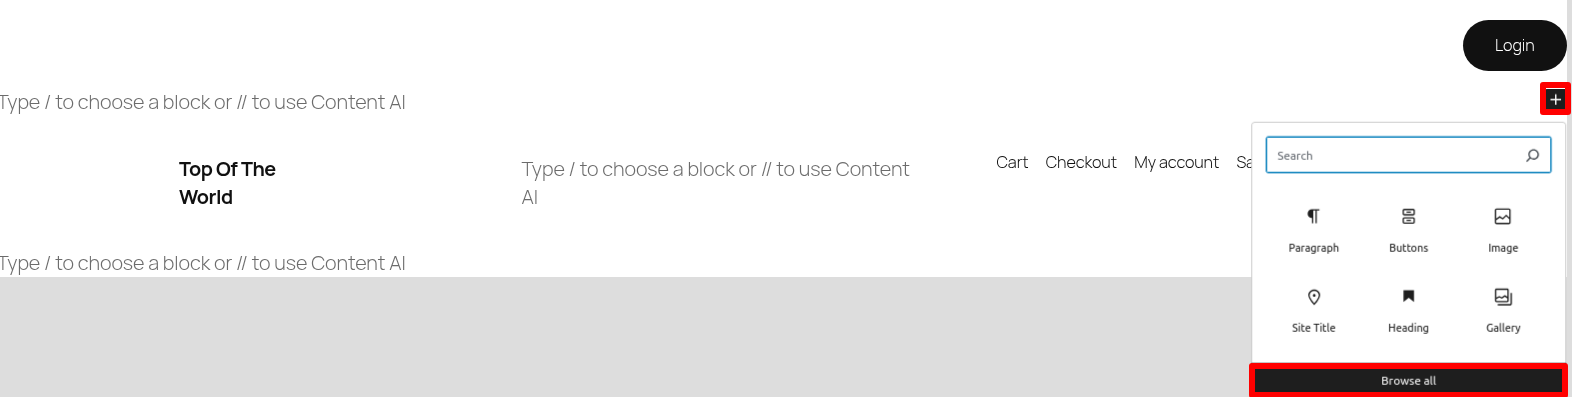
6. Add new blocks by clicking the + button. If needed, select Browse All to view all available block types.
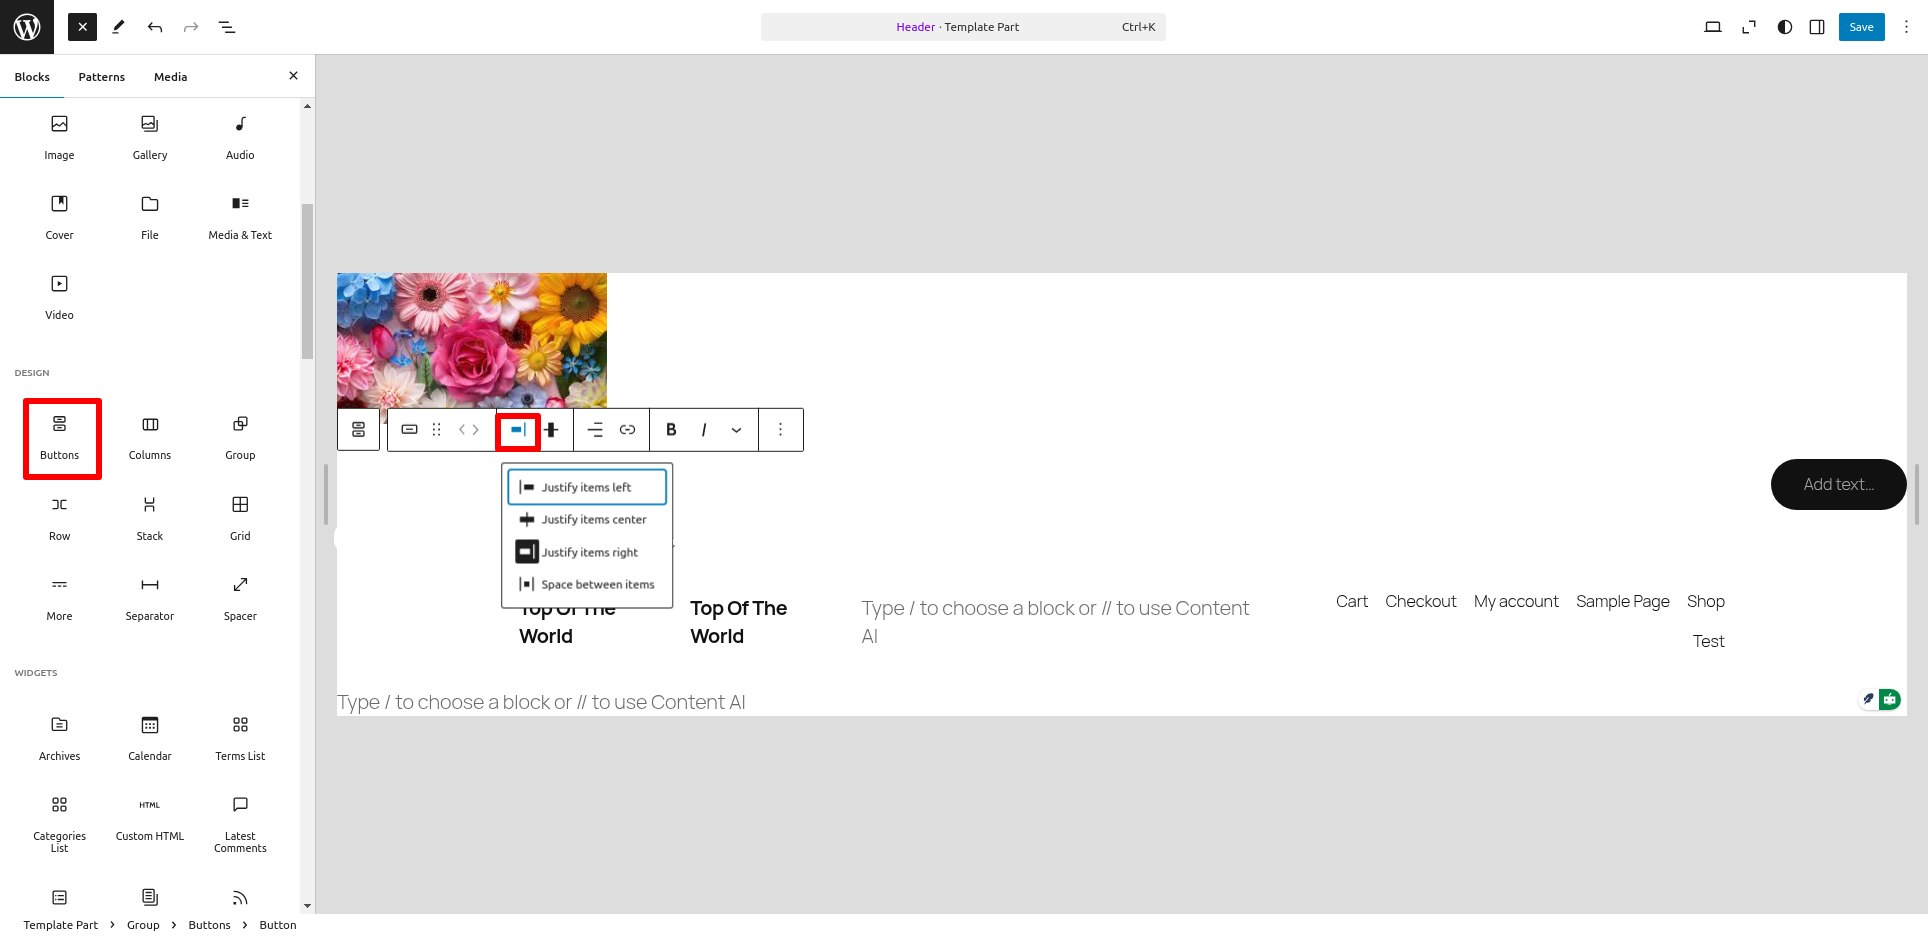
Example: Here, you can add a button and adjust its position as needed.
7. Click the Styles button (top-right corner) to adjust the header’s layout, colors, fonts, logo, and navigation menu.
8. After making adjustments, look for a Save, Update, or Save Changes button, usually at the top or bottom of the editor, and click it to apply your updates.
Note: The default navigation menu setup may vary for each classic theme. If necessary, refer to your theme's documentation to learn how to customize its navigation menu.
Method 3: Using header.php
1. Log into your WordPress dashboard.
2. Navigate to Appearance > Theme File Editor.
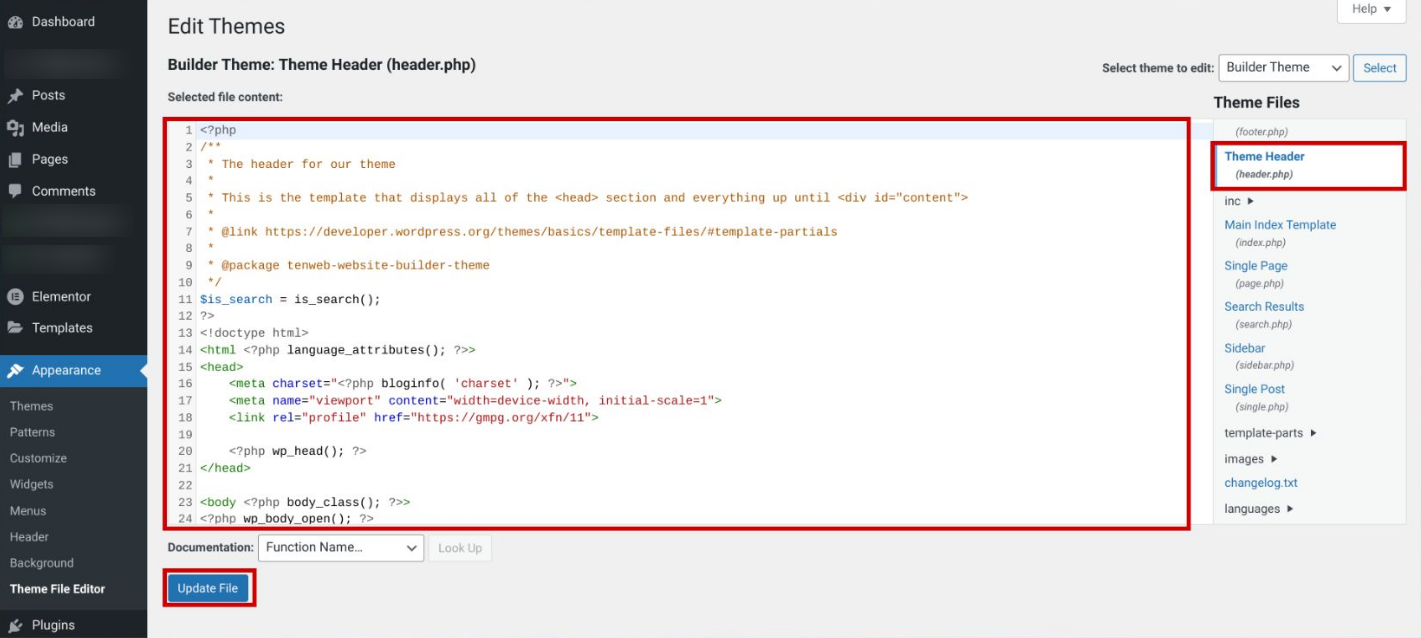
3. Choose the header.php file in the list of theme files.
4. Edit the file. For instance, place the snippet before the closing </head> tag to add custom code like Google Analytics.
5. Once done, click Update File to save your changes. Ensure the changes are correct to avoid site issues.
Method 4: Using Page Builder Plugin
1. Log into your WordPress dashboard.
2. Go to the Plugins > Add New Plugin.
3. Search for the Elementor.
4. Click on Install Now and Activate it.
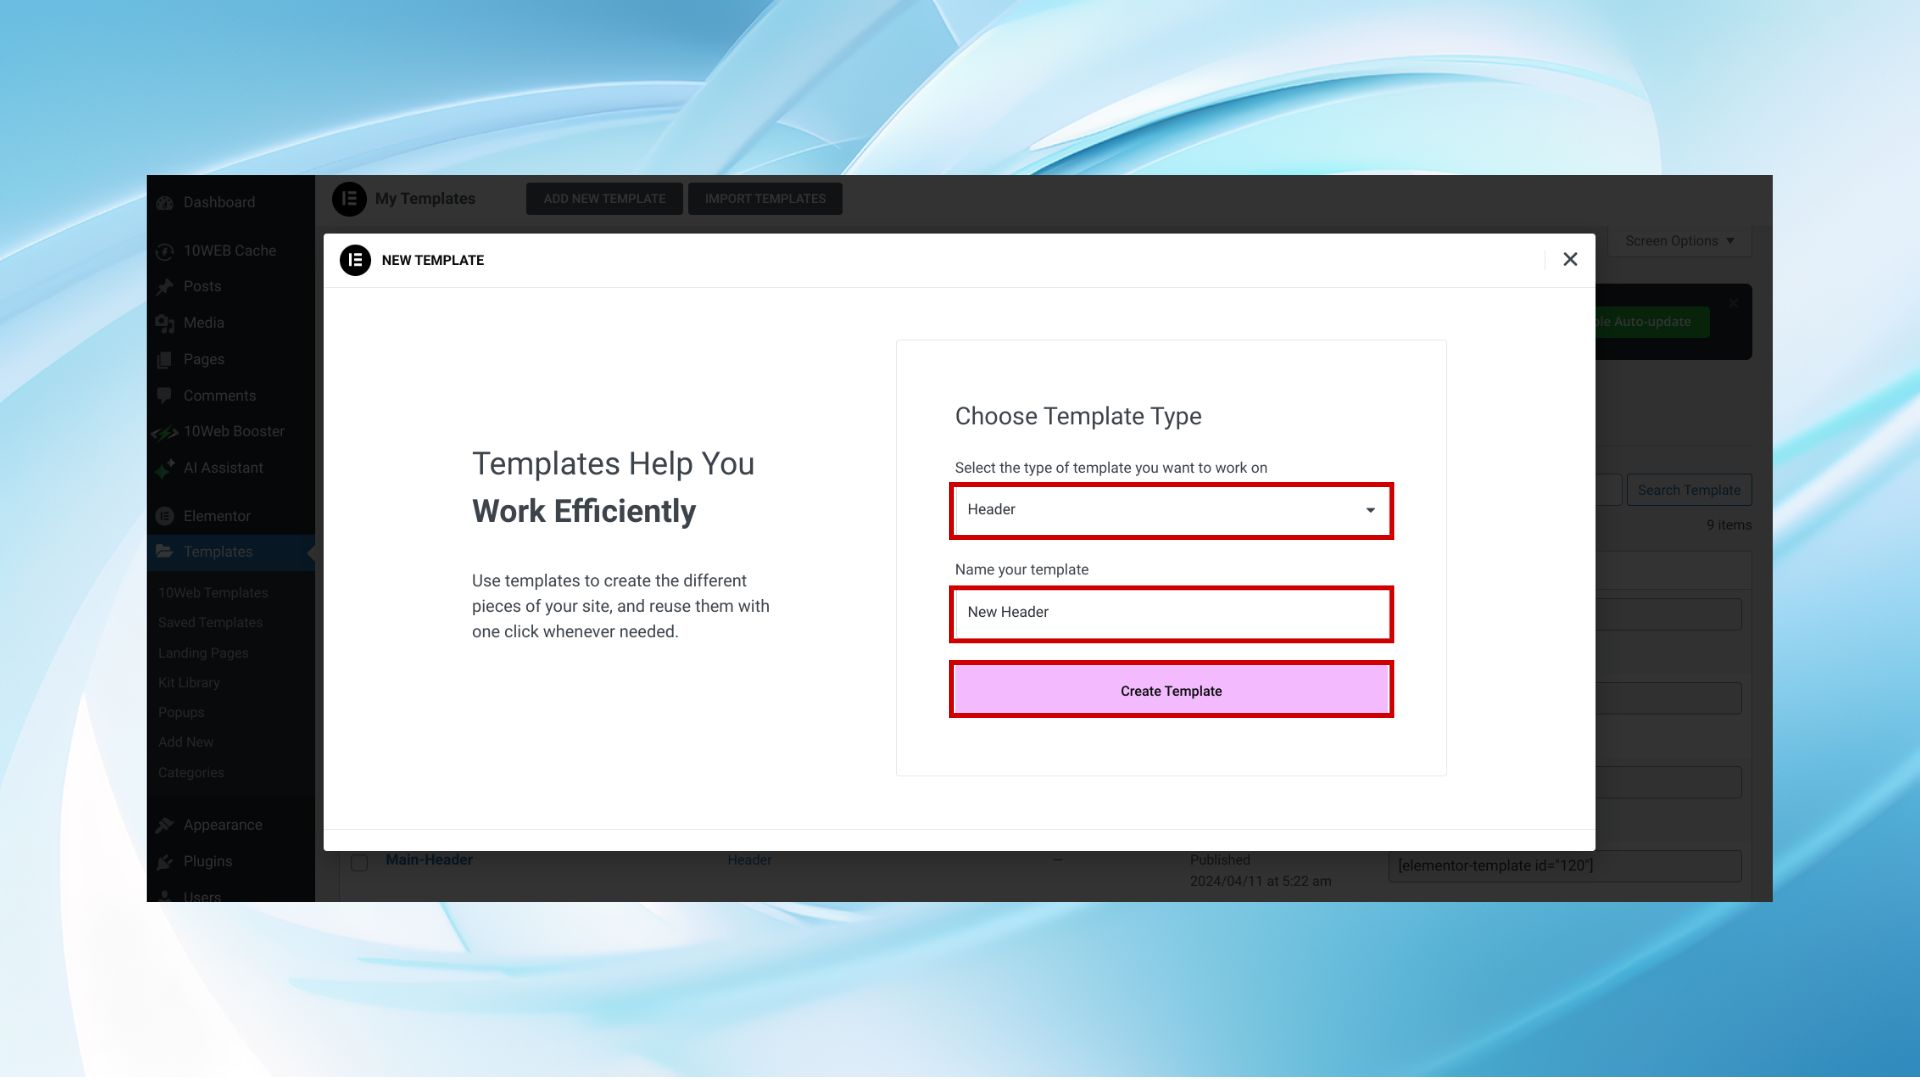
5. Next, navigate to Template > Add New.

6. In the pop-up, select Header as the template type.
7. Name your template and click Create Template.
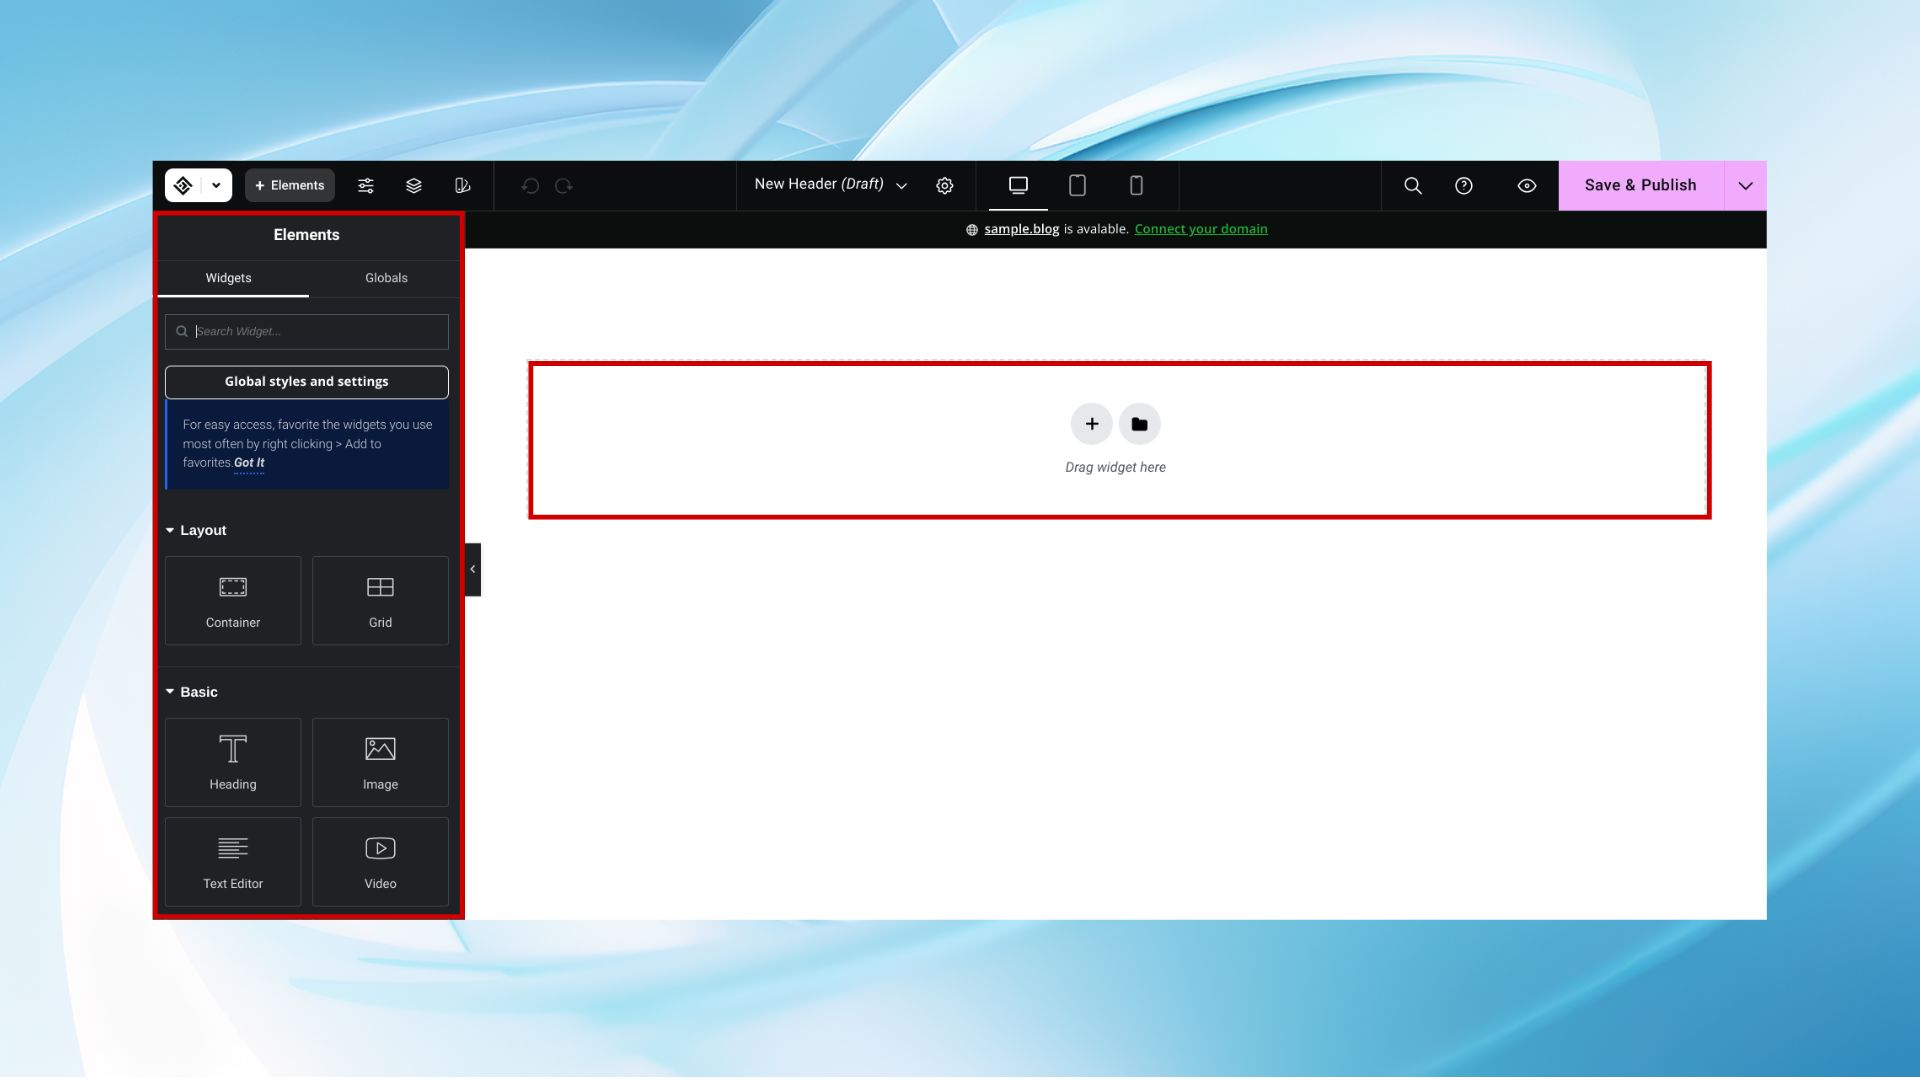
8. Use the drag-and-drop interface to add logos, navigation menus, search bars, and social media icons.
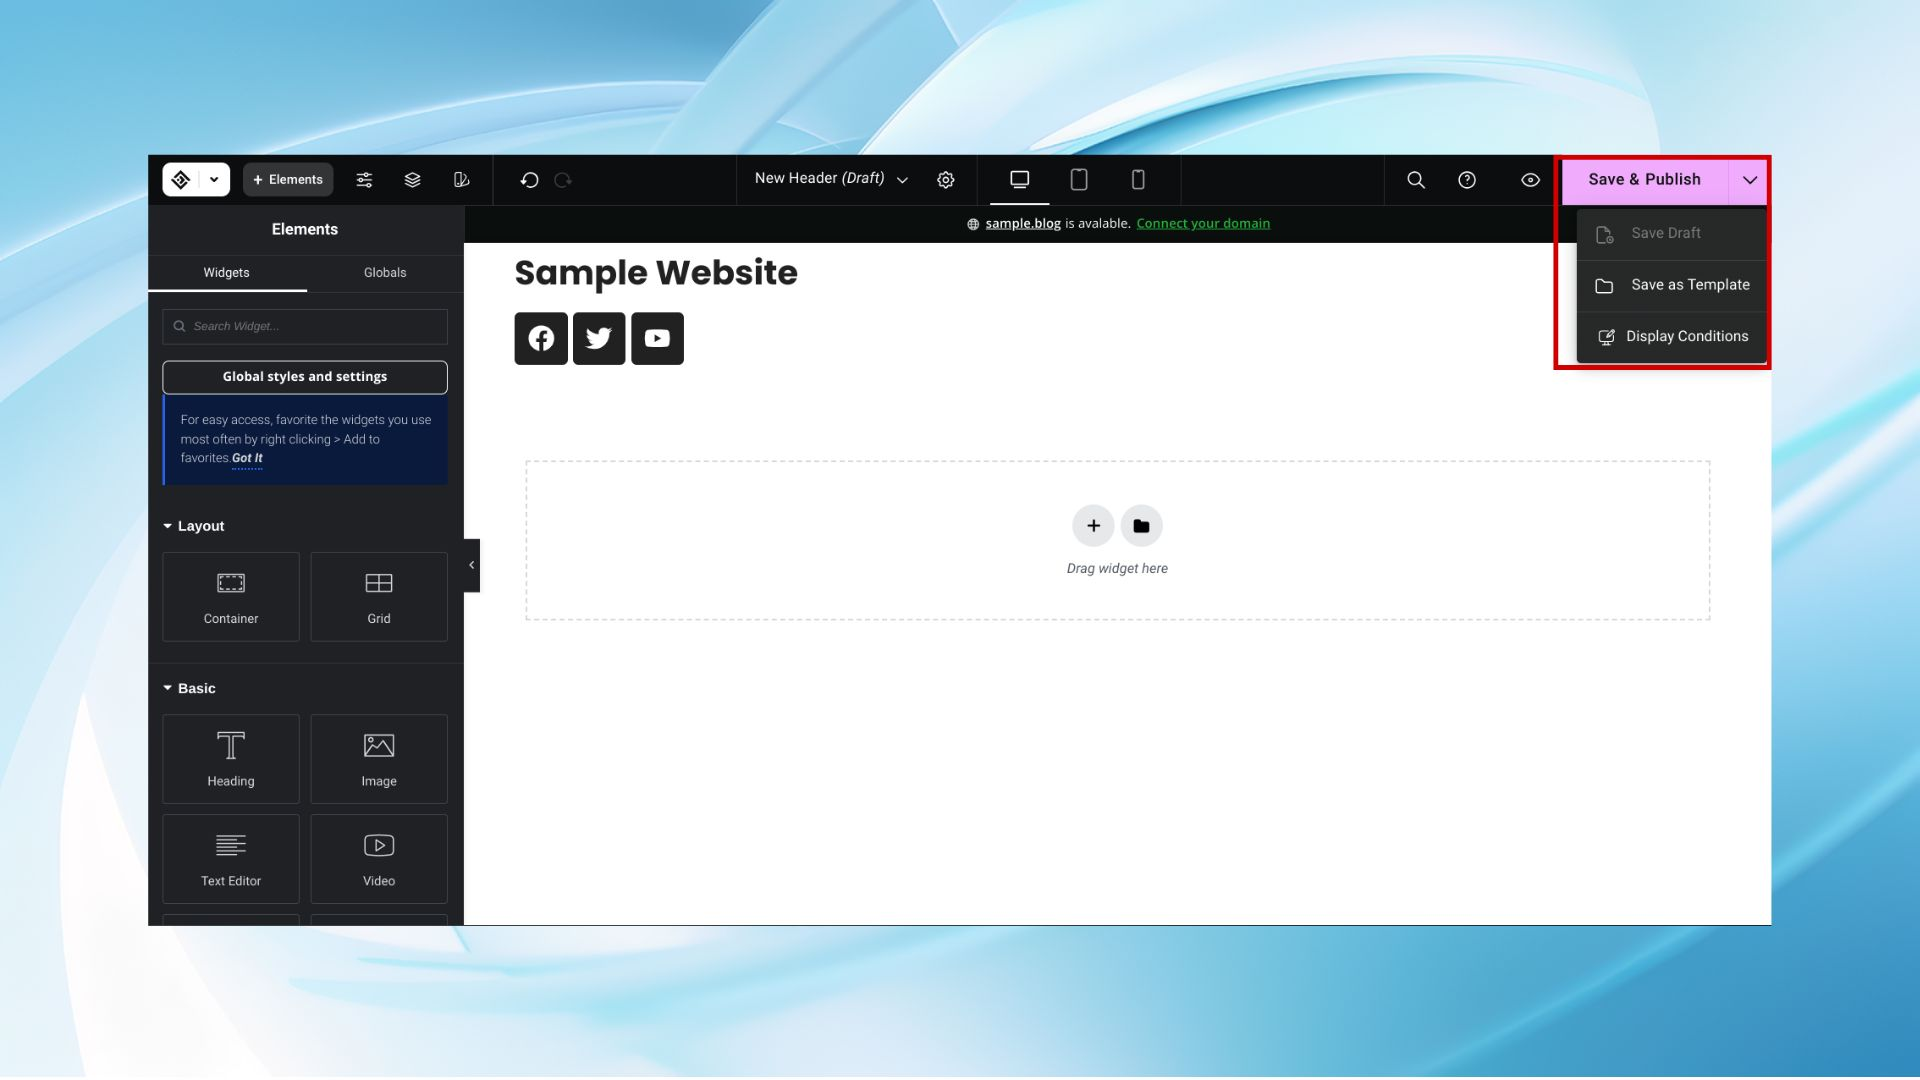
9. Click Save & Publish to save your changes.
Editing a header in WordPress is like giving your site a fresh new look. Whether adding custom code or using a simple plugin, it’s all about making your site stand out. Customizing the header is also the key to integrating tracking tools and other valuable features.
WordPress is built to be simple and intuitive, so getting started is a breeze. Ready to begin? Head over to AccuWeb Hosting and explore our affordable WordPress hosting plans. Your ideal site is just one click away!
