Sharing users, members, or visitor information between multiple sites can improve the user experience, enabling them to log into various sites using a single account. This approach also streamlines administrative tasks, saving time when adding employees, students, or other users to multiple sites.
In the below article, we will show you how you can share users and logins between multiple WordPress sites.
Why Share Users and Logins Between Multiple WordPress Sites?
If you operate multiple websites, you might want to share users' information and login credentials between them.
This can save the user time and effort, as they only need to complete the user registration process once.
If you're part of a WordPress development agency or manage multiple client sites, creating individual accounts for each developer, tester, and staff member can be time-consuming. Streamline the process by registering each person once and sharing their login information across all client sites.
How to Share Users and Logins Between Multiple WordPress Sites
The most effective method for sharing user and login information is through the use of Uncanny Automator.
Install Uncanny Automator
- Log into your WordPress Dashboard.
- Navigate to Plugins > Add New Plugin.
- In the search bar, search for the Uncanny Automator plugin.
- Click on Install Now.
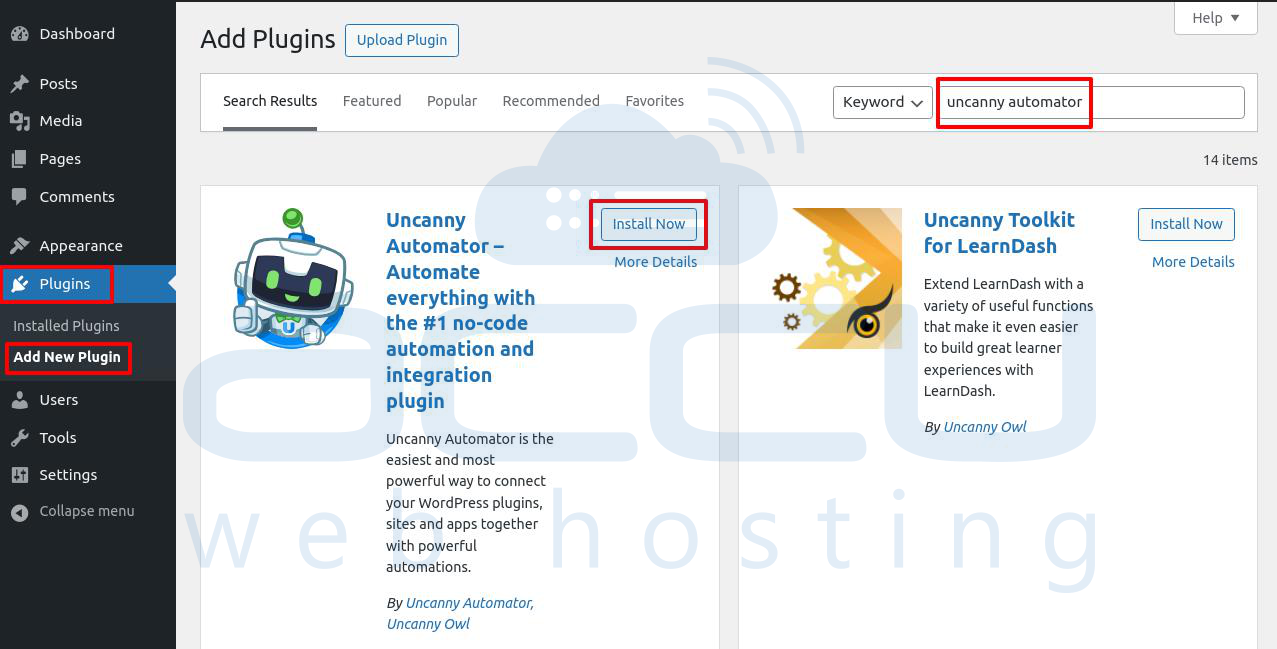
- After installation, activate it.
- In the sidebar, you get a new menu name as an Automator.
- After activation, you'll be prompted to install the free version of Uncanny Automator Core. While the free plugin has limited features, it serves as the foundation for the Pro version.
- After that, head to Automator > Settings and enter your license key.
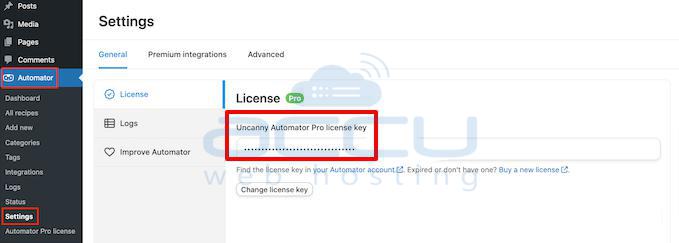
- You can locate this information in your account on the Uncanny Automator website. Once you have the key, click the Activate License button.
Important Points to Remember
- After successfully installing Uncanny Automator, you can use webhooks to share Users and Logins Between Multiple WordPress Sites.
- Initially, install Uncanny Automator on the website where users will create their original account, referred to as the 'source' website.
- Subsequently, ensure Uncanny Automator is installed on each website intended to receive data from the source site.
- Finally, use automation recipes and webhooks to transfer user information from the source website to all other relevant websites.
Create a New Automation Recipe
Upon activation, you are all set to create automated workflows in WordPress, which Uncanny Automator refers to as recipes.
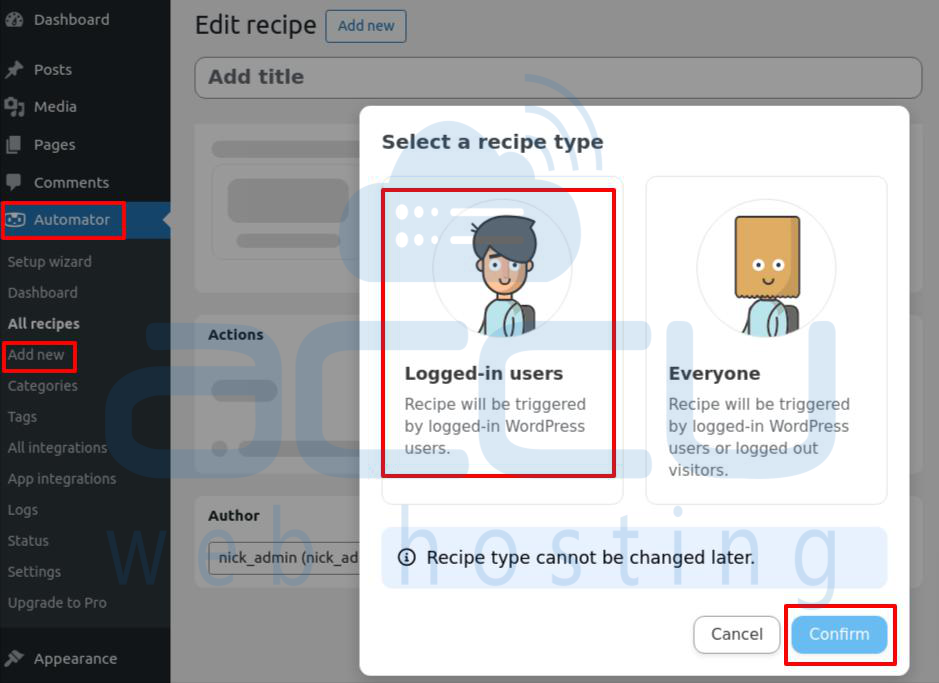
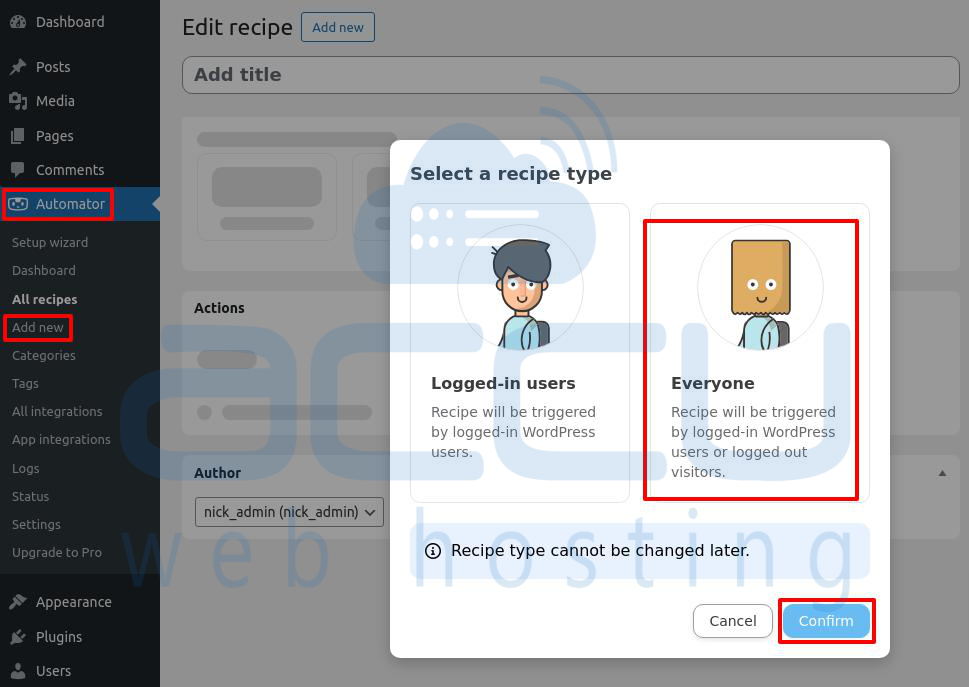
- Navigate to Automator > Add New.
- It will ask you if you want to create Logged-in users or Everyone.
- Choose Logged-in to ensure that the recipes are triggered only by logged-in users. Then, click Confirm.
Add Triggers and Actions to the Automated Workflow
A trigger is any event that initiates the automated workflow, such as adding new users and authors to your WordPress blog. Actions are the tasks the recipe will perform, such as sharing information with another website, blog, or online store.
To create a trigger and perform an action
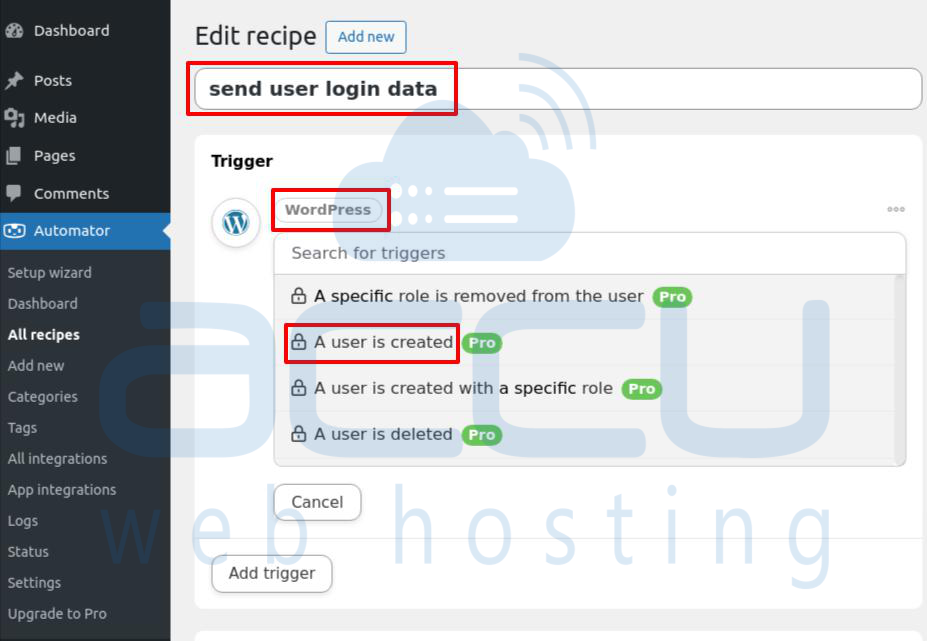
- In the WordPress sidebar, choose All Recipes > Logged-in users.
- Then add a title, choose WordPress > A user is created.
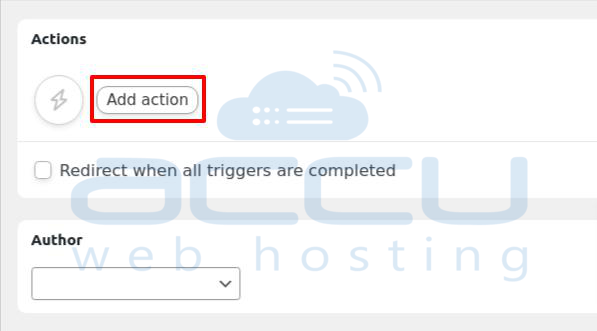
- You need to specify to Uncanny Automator what actions it should take when the recipe is triggered. To do this, click on Add Action.
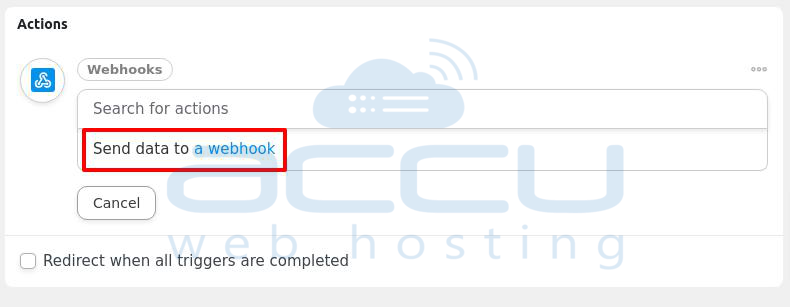
- Click on Webhooks to send data to a webhook.

- Select Send data to webhook from the dropdown menu.
- On that page, scroll down to the Body section.
- Click on Add Pair, here You need to define the data that Uncanny Automator should transfer to the receiving WordPress websites or blogs such as firstname, and email. Uncanny Automator will generate a randomly assigned temporary password.
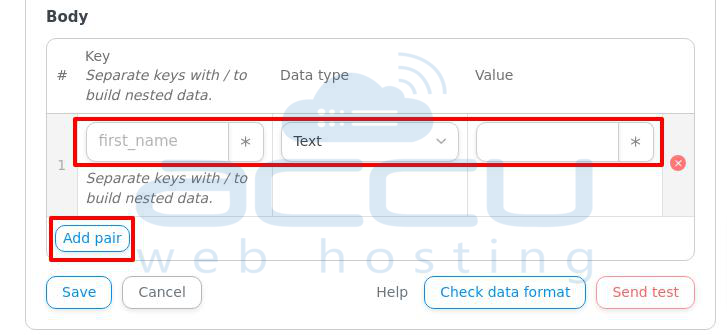
- Click on the asterisk sign next to Value. This opens a dropdown with various data options you can share, such as the person's username, first name, email, and last name.
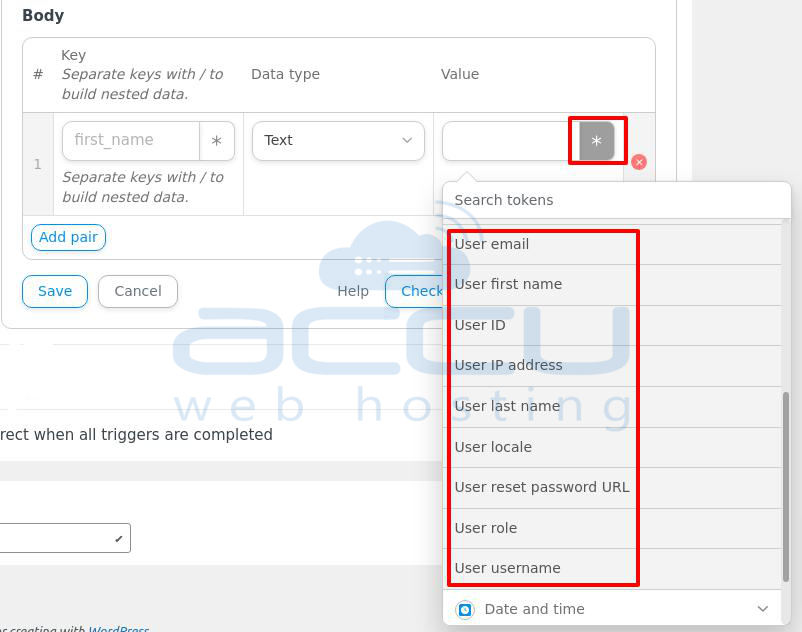
If you want to share more information, click on Add Pair, type in the key, select datatype, and choose a value from the drop-down menu.
Note: This recipe is nearly complete, but you still need to enter the webhook's URL. To obtain this link, you'll have to set up Uncanny Automator on the other website that will receive the data.
Receive User Login Information using a Webhook
In a new tab, log into the website, blog, or WooCommerce store where you want to receive the user information and login data. Follow the same process described above to install and activate the Uncanny Automator plugin.
With that completed, it's time to create a recipe that will retrieve the data from the webhook and add it to a new user account.
- Navigate to Automator > Add New.
- Choose Everyone and then click Confirm.
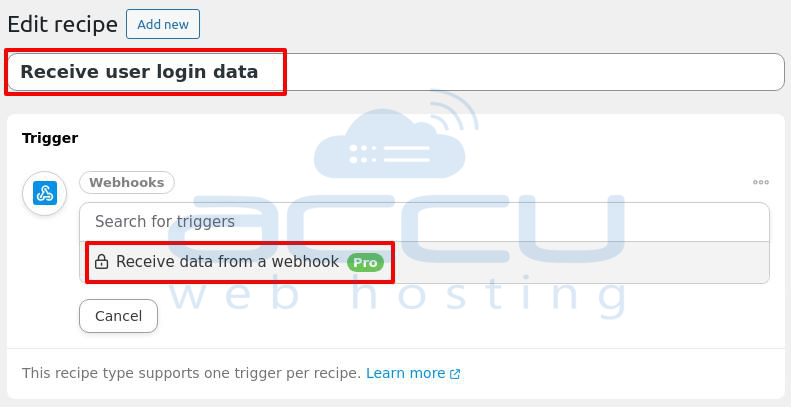
- Then add a title, and choose Webhooks under Select an integration menu.
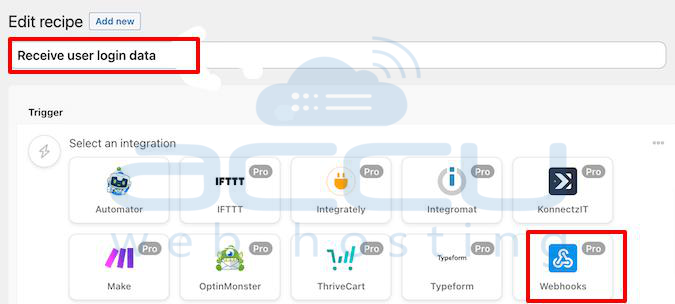
- In the dropdown, choose Receive data from a webhook.
- Navigate to the Fields section, where you'll configure all the information to be retrieved from the webhook. These correspond to the key/value pairs created in the first automation recipe.
- Under Key, input the exact key used for the first piece of information. If you capitalized 'Email' earlier, maintain the same capitalization here.
- For additional information, click on the Add Pair button.
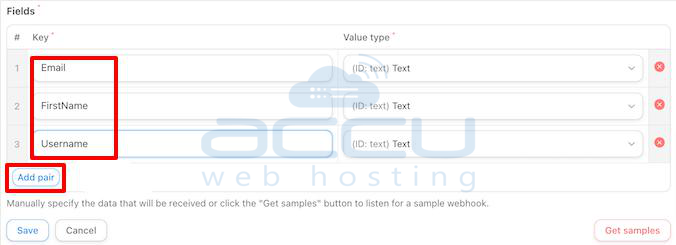
- Click on Save.
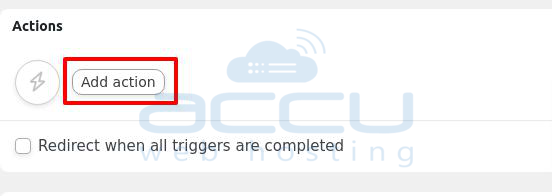
Set the User Data in Uncanny Automator
- Click on Add action.
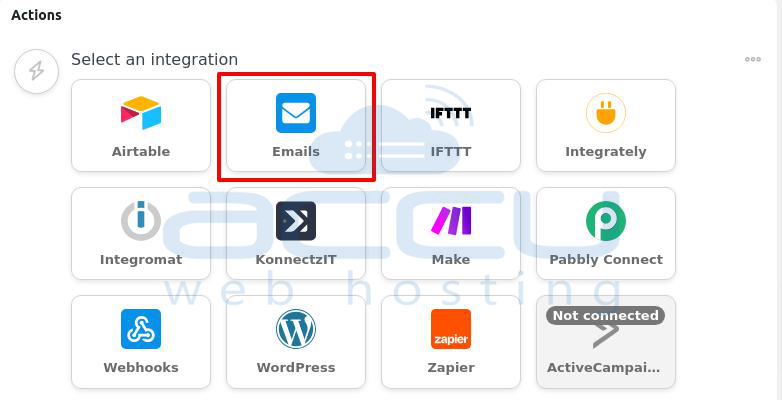
- Click on Emails.
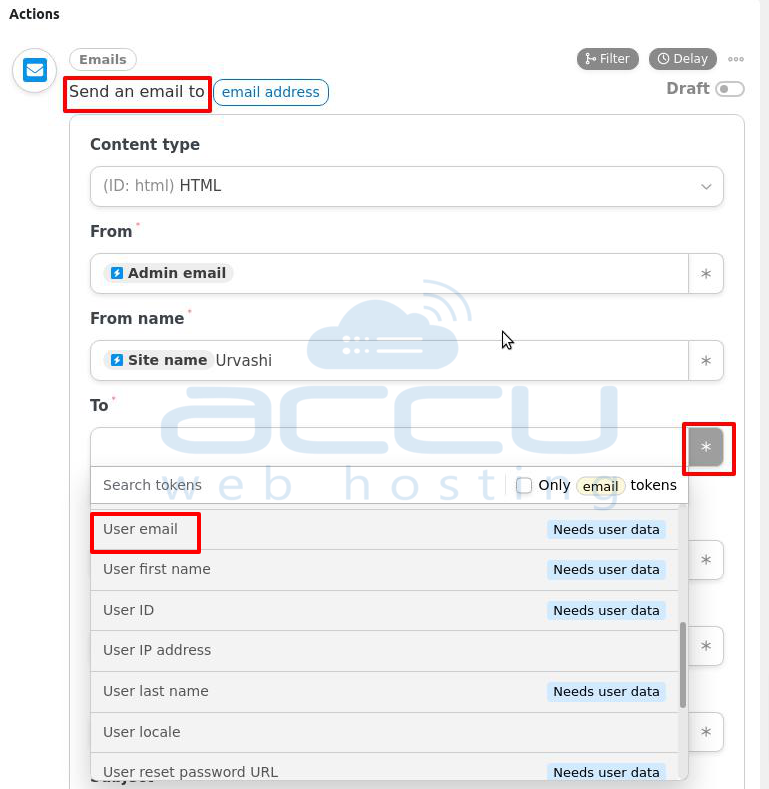
- On that page, choose Send an email from the dropdown.
- type the desired value, or click the asterisk and select a token from the dropdown menu. These tokens will be substituted with real information during the recipe execution, making them useful for displaying personalized content to various users.
- For mail, find the To field and click on the asterisk.
- Click on the command to expand the dropdown menu, and choose User email.
- In the pop-up, click on Set user data.
- Now scroll down to the Actions will be run on… and choose New User section.
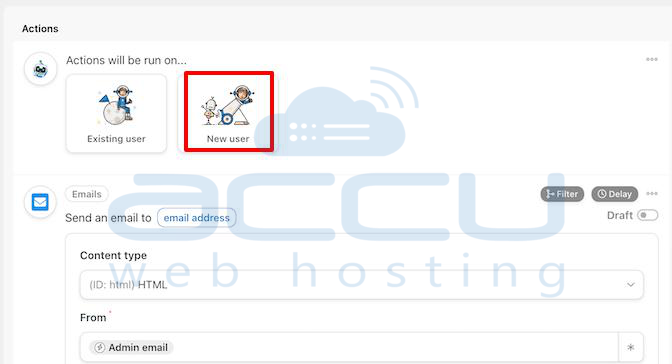
You must now associate each field with information obtained from the webhook. While some fields are mandatory, such as the username and email address, others are optional, such as the display name.
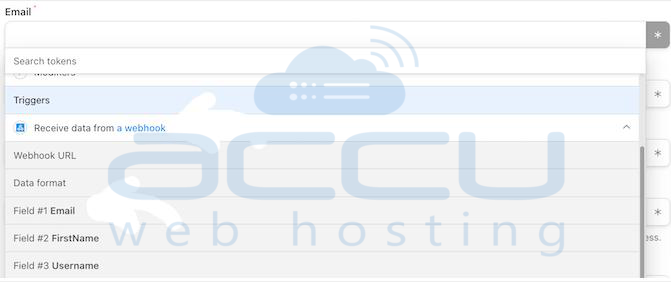
- Click on the asterisk sign and choose Receive data from a webhook from the dropdown menu.
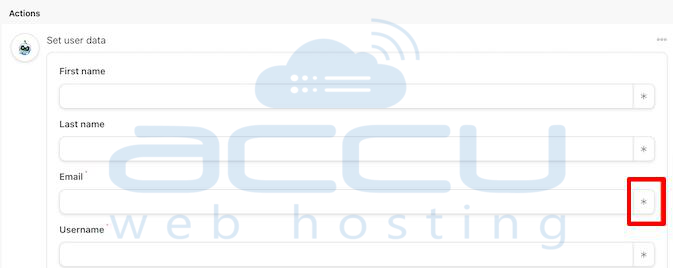
- Choose the information that you want to retrieve from the webhooks.
- Simply repeat all these steps for each field where you want to use the visitor’s information, Make sure to leave the ‘Password’ field empty so that Uncanny Automator generates a new password at random, and you are also able to assign different roles.
- Click on the Do nothing radio button to avoid duplicate accounts.
- Click on Save.
Connect Multiple WordPress Websites Using a Webhook
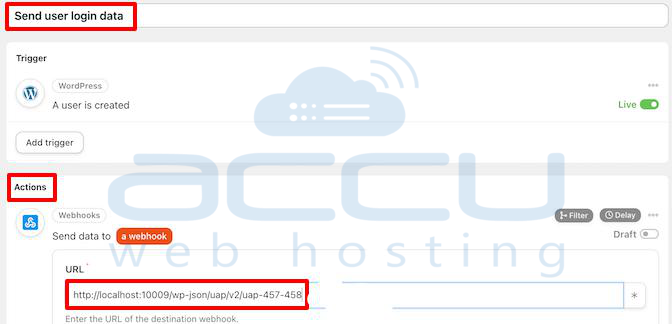
- Find the Webhook URL in the trigger section.
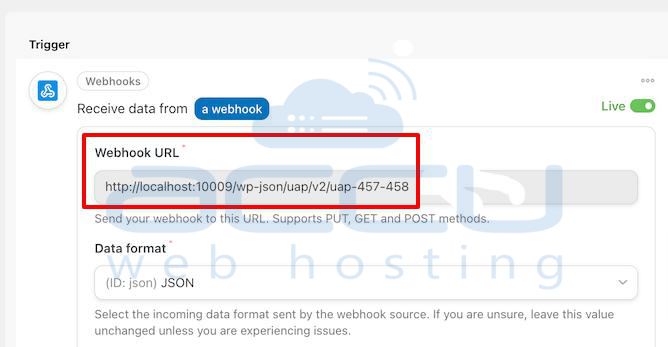
- The final step is adding a copied URL to the first recipe you created on your source site. To do this, copy the URL and then switch back to the recipe on your original website.
- In this tab, navigate to the Actions section and locate the empty URL field. Then, paste the URL into this field.
Once that's completed, the source website is ready to share users and logins between multiple WordPress sites.
At this point, you have two active Uncanny Automator recipes on two distinct websites. Now, whenever someone creates an account on the source website, Uncanny Automator will share their information with the second website.
Conclusion
In conclusion, sharing users and logins between multiple WordPress sites can significantly enhance user experience and save valuable time for website administrators.
By implementing automation tools like Uncanny Automator, users can seamlessly register across various websites with a single account, streamlining the process and eliminating the need for redundant registrations.
This improves efficiency for both site owners and visitors and opens up possibilities for collaborative user management across different platforms.
With the right tools and workflows, managing multiple WordPress sites becomes more centralized and user-friendly, offering a convenient solution for those seeking a streamlined and efficient user registration process.
