nopCommerce allows you to manage multiple stores through a single installation using a single administrative interface. This means that you can operate multiple storefronts on different domains while still being able to manage all of them using the same control panel. Additionally, you can easily share product information between stores.
Adding a domain to your nopCommerce website is a straightforward process that can be completed in just a few steps. Follow these instructions to add a new domain to your nopCommerce website:
1. Hosting control panel part:
The following example outlines the process for setting up two sample stores, www.store1.com and www.store2.com, using a hosting control panel.
1.1 The first step is to upload and install nopCommerce on www.store1.com, which is where the software files and DLLs will be stored.
1.2 Next, you need to configure your hosting control panel for www.store2.com so that all requests to this domain are forwarded to www.store1.com using CNAME records. This is a crucial step.
1.3 Then, log into the control panel of www.store1.com and set up a domain alias for www.store2.com.
After completing these steps, when you access www.store2.com in your browser, the content of www.store1.com will be displayed.
1.4 The next step is configuring the stores in the nopCommerce administration area, after which you can start uploading content for both stores.
2. nopCommerce administration area part
After completing the installation and technical setup, you can manage your stores through the nopCommerce administration area by navigating to Configuration → Stores. This will bring up the Stores window where you can manage your stores.

To create multiple stores, select the "Add new" option and configure the settings for each store.
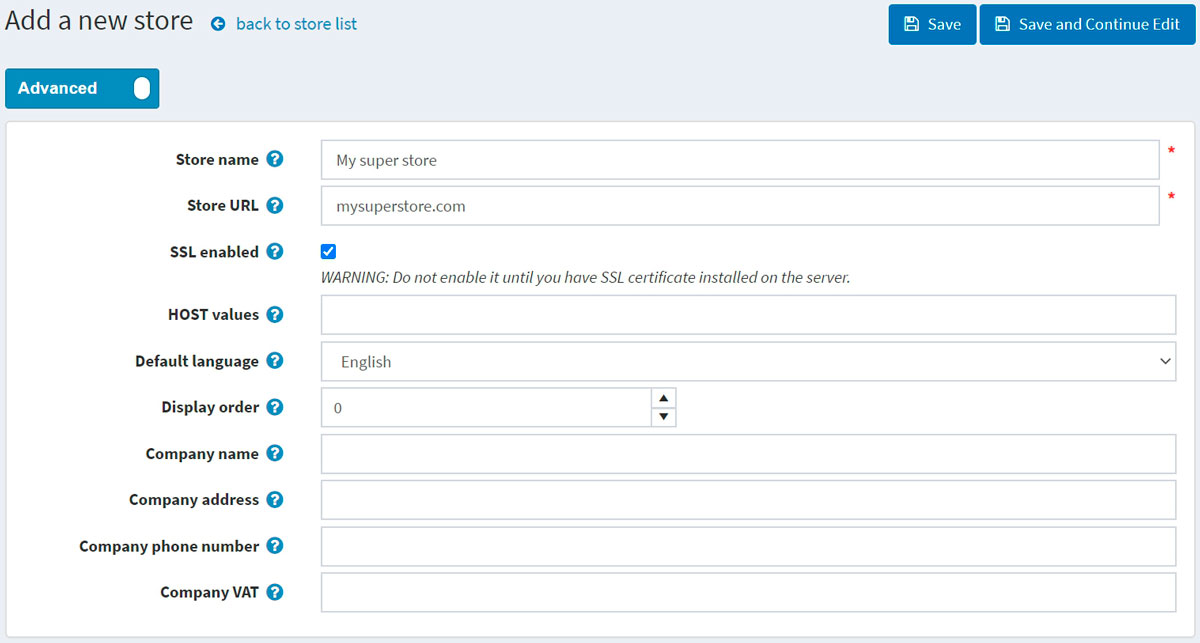
Store name: Give a name to your store.
Store URL: Provide the URL of your store.
SSL enabled: Check the SSL enabled option if your store has SSL security. This technology creates an encrypted connection between a web server and a browser, ensuring that any data exchanged between them remains private and secure.
HOST values: The HOST values field is a list of possible HTTP_HOST values for your store, such as store1.com or www.store1.com.
Default language: In the Default language field, select the default language for your store or leave it unselected. If left unselected, the first language found (with the lowest display order) will be used.
Display order: Define the Display order for this store, with 1 being at the top of the list.
Company name: Enter the Company name.
Company address: Provide the Company address.
Company phone number: Enter the Company phone number.
Company VAT: In the Company VAT field, add the VAT number of your company (if applicable in EU).
Now click on the Save button.
Now both stores have been set up using a single nopCommerce installation.
www.store1.com
www.store2.com
That's all.


