A favicon or site icon is a small image that appears next to your website's title in your browser. It helps users identify your site, and more frequent visitors will immediately recognize that tiny image.
This increases brand awareness and builds trust with your audience.
Most users usually have many tabs open in their browser window. This hides the site title as the number of tabs increases. Favicons help users identify your website and quickly switch to the desired tab.
How to change the favicon in a WordPress website?
Below are the steps on how to change the favicon in the WordPress website.
Step 1: Log in to your WordPress Admin site.
Step 2: Go to the left side of the screen and click on the Appearance option. After then, click on the Customize option.

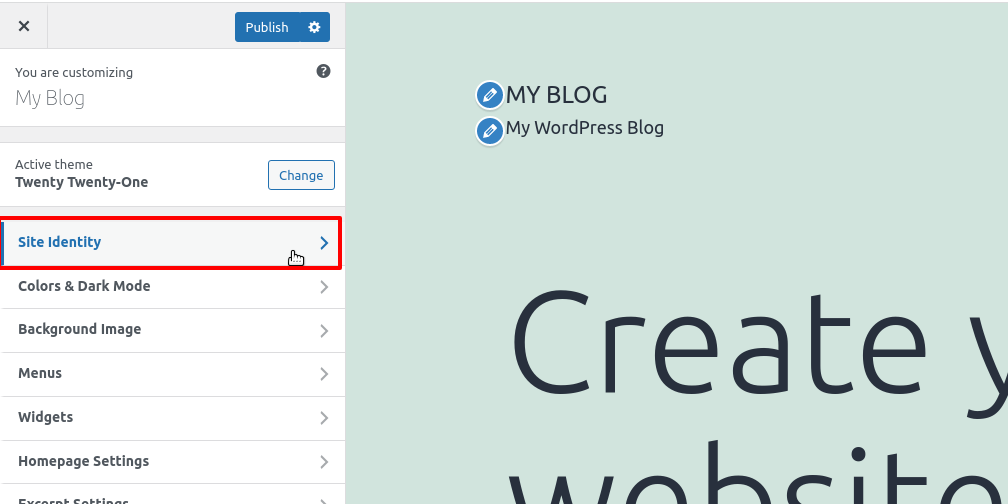
Step 3: Click on the Site Identity option located under WordPress customizing window.
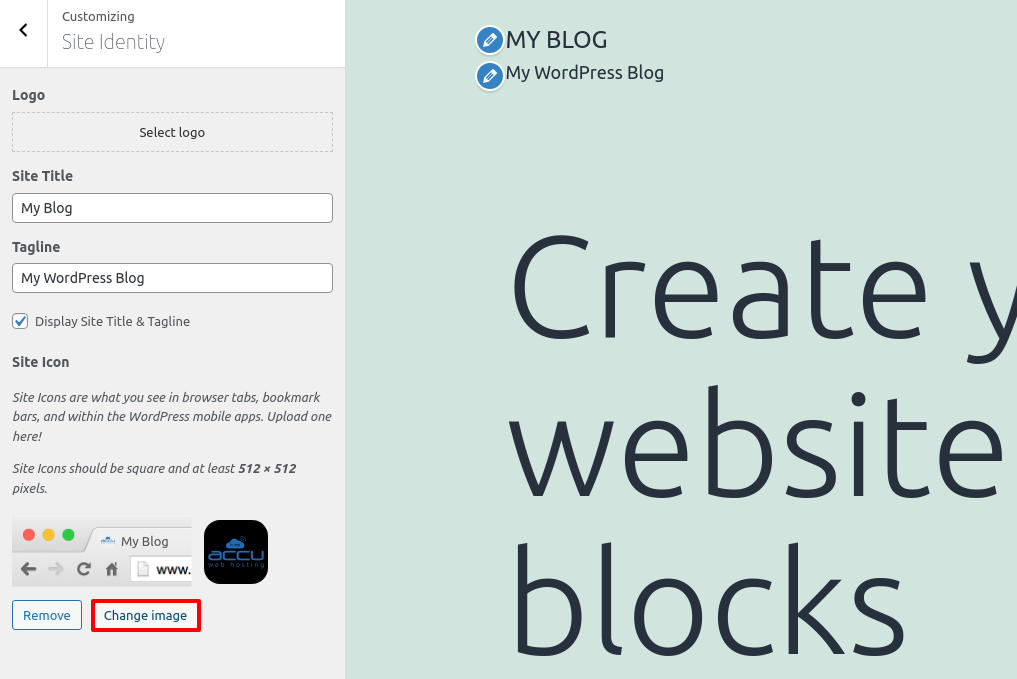
Step 4: In the Site Identity section, go to the Site Icon. Here, you can see the current favicon if you have defined it. Click on the Change image option to change the favicon image of your website. You can also remove the existing favicon by clicking on the Remove option and add a new one that you want.
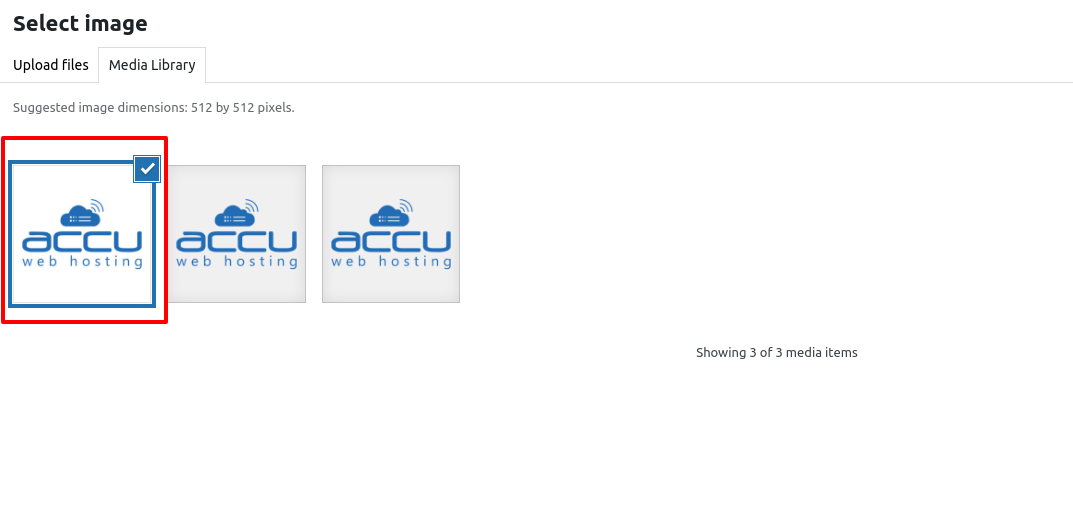
Step 5: In the select image window, click on the Upload files tab. After then, click on the Select Files button to upload the files from your local system.

Step 6: Once you upload the image file from your local system, it will be saved in the Media Library. Select the image from the Media Library and click on the Select button to change the current favicon image with the new one.
Step 7: You can see that the favicon image has been successfully changed. You can also verify it from the upper left side of the screen.

That's all.
