Before we show you how you can install Cloudflare on your WordPress site, let us first determine whether Cloudflare is worth using with WordPress or not.
For the uninitiated, Cloudflare is a content delivery network (CDN), a system of several servers that are pretty fast and run globally. Besides offering free CDN, Cloudflare also provides security services and effectively speeds up a site once you connect the WordPress site using secured SSL and bot protection.
In this detailed tutorial for Cloudflare for WordPress, you'll learn how:
- Cloudflare can help you set up your WordPress site
- To install and activate the official Cloudflare plugin.
- To acquire the green checkmark, use Cloudflare to activate HTTPS.
What are the Advantages of Cloudflare for WordPress Sites?
If you are unfamiliar with Cloudflare, here's a quick rundown of some of the advantages of utilizing it with WordPress:
- CDN - Cloudflare's content delivery network (CDN) helps your site load faster by providing static material from a worldwide network of servers.
Cloudflare is the most widely used free CDN. - SSL - Cloudflare will let you use HTTPS on your WordPress site to get the green padlock in visitors' browsers if your site doesn't already have an SSL certificate.
- DNS - Cloudflare is a fast DNS service that can cut your site's time to the first byte in half (TTFB) to determine the responsiveness of a web server.
- Security Rules - Security rules need to be set up in Cloudflare to safeguard certain areas of your site, such as your WordPress dashboard.
- DDoS Protection - Cloudflare can aid in the prevention of distributed denial-of-service (DDoS) assaults.
It is also used to filter out harmful communications in general. - Other Performance Benefits - Cloudflare can assist you with code minification, Brotli compression, and other best practices.
How to Install Cloudflare on your WordPress Site?
You must first link your site to Cloudflare before customizing the other options.
Cloudflare also acts as a reverse proxy service for web traffic while controlling your domain's nameservers to provide cached material from its CDN while filtering out fraudulent actors (if you enable the security features).
You'll need to connect your domain's nameservers to Cloudflare to do so, which contributes to the majority of the initial setup process; here's how to go about it –
Step 1
Sign up for a Cloudflare Account for Free
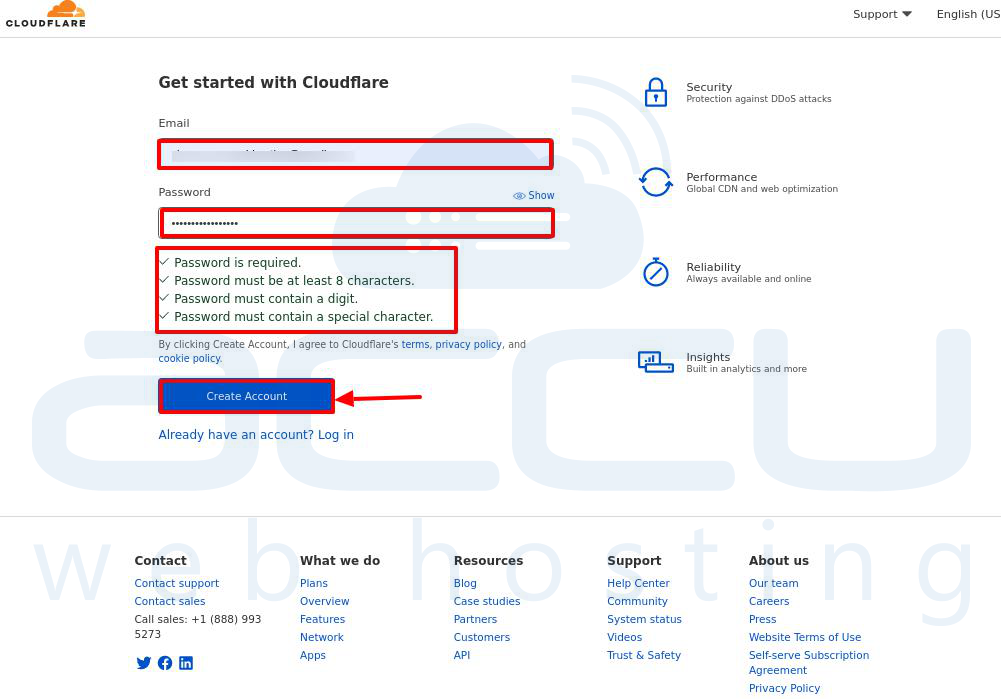
- To begin, go to Cloudflare and create an account.
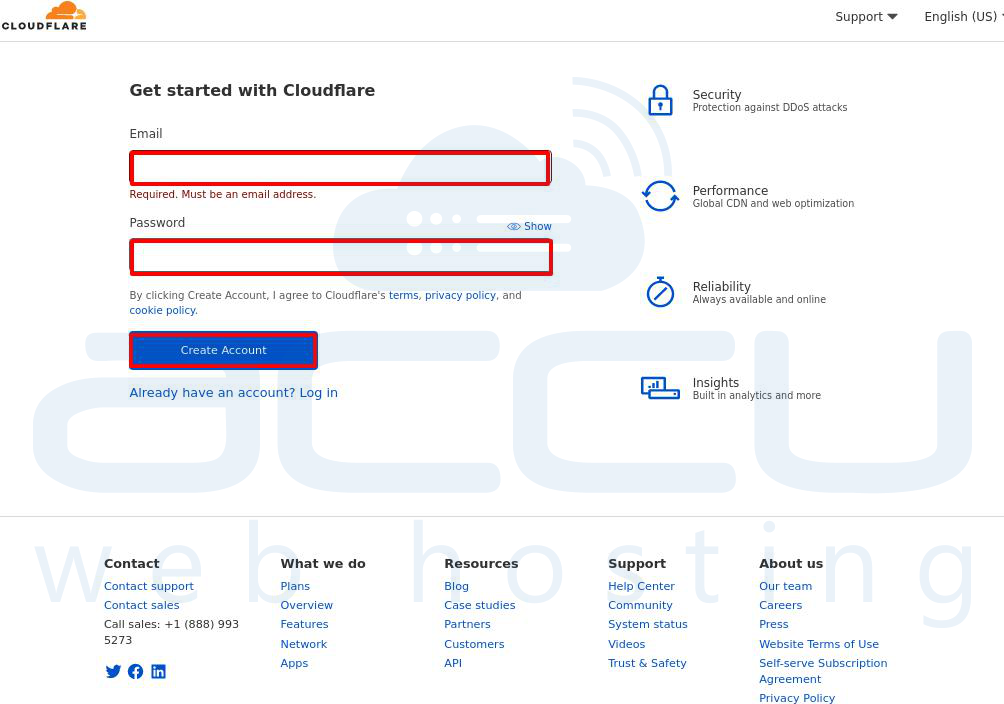
- Enter your email id and password for creating an account.
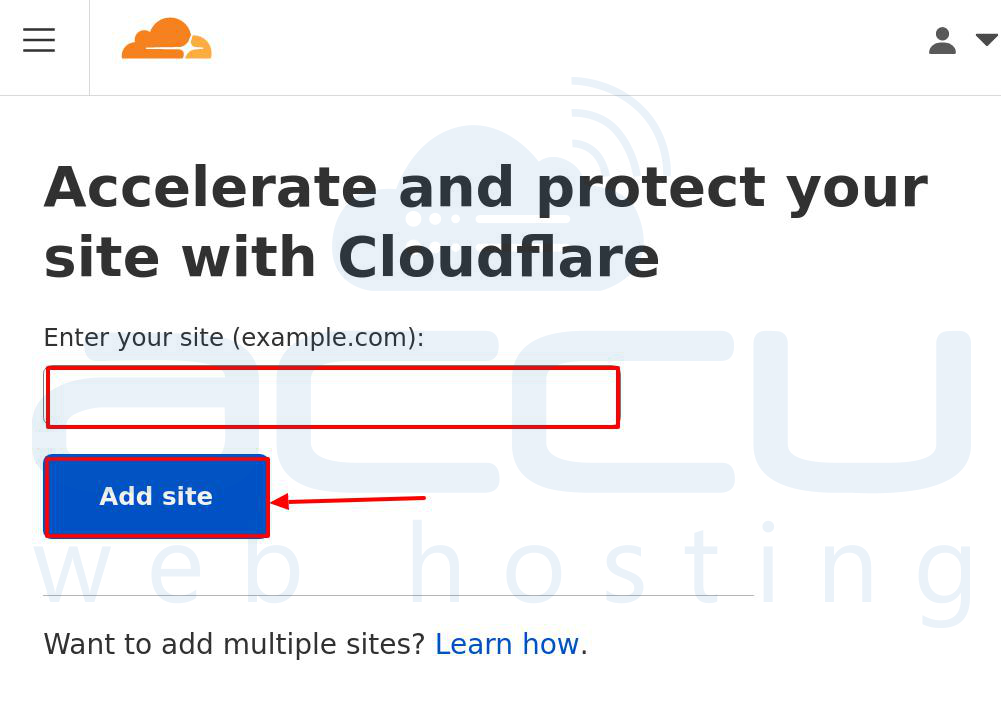
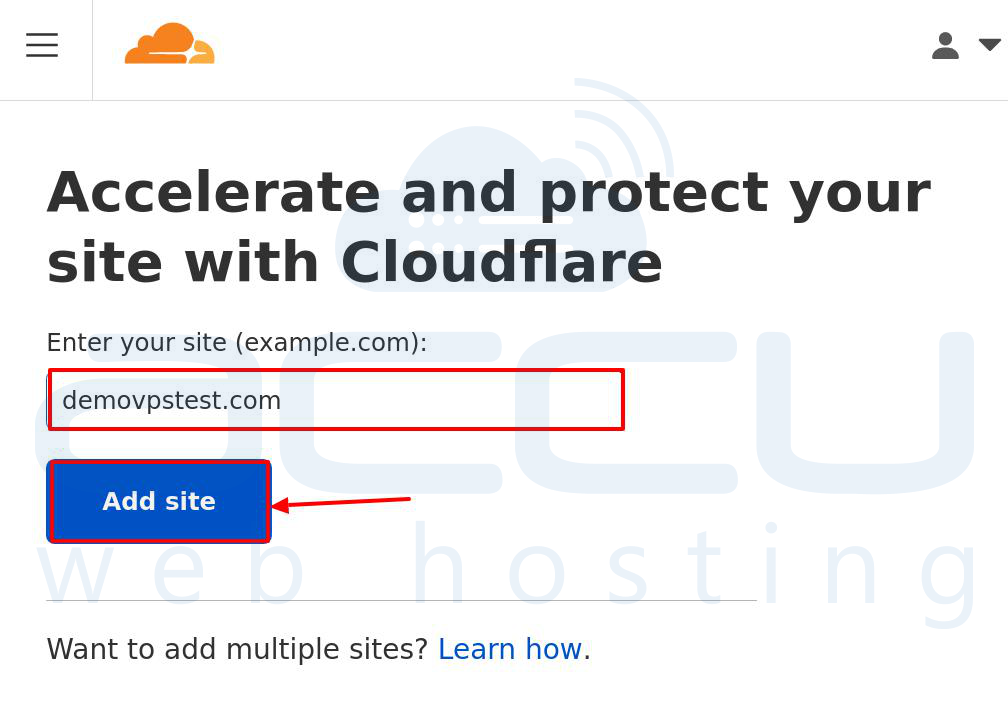
- On the following screen, click Add site and enter the domain name of the WordPress site you wish to use with Cloudflare.
- After that, you'll be asked to select a plan.
For the time being, you may go for the Free Plan, which includes all of the functionality most WordPress blogs require.

Step 2
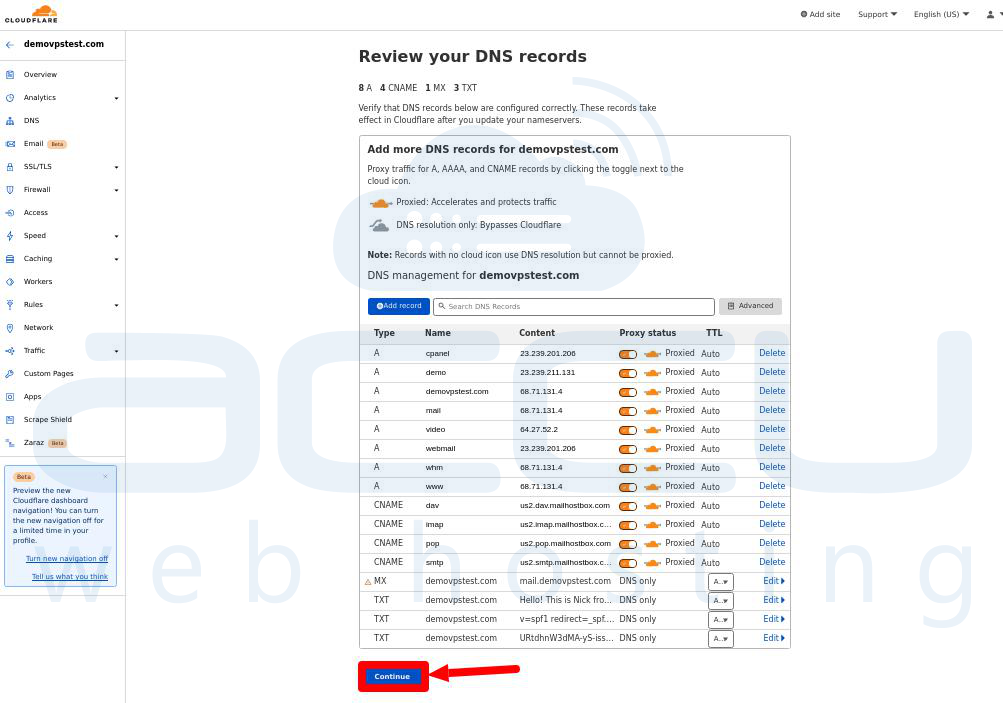
Verify DNS Records
Cloudflare will analyze your site's DNS records when you select a package.
- If you're not sure what's going on, don't worry.
You only need to ensure that an orange cloud appears next to your primary domain name (which should happen automatically – no action is required).
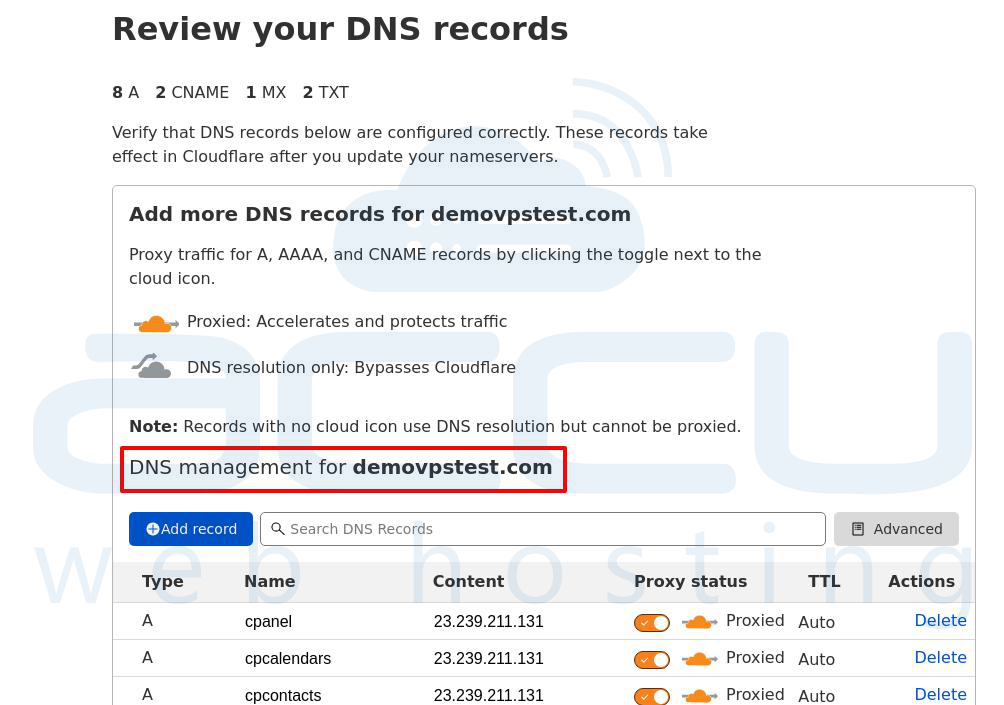
- Then click on the Continue button.
Step 3
Change your Nameservers to Refer to Cloudflare
Cloudflare will now provide you with new nameservers to replace your current ones.
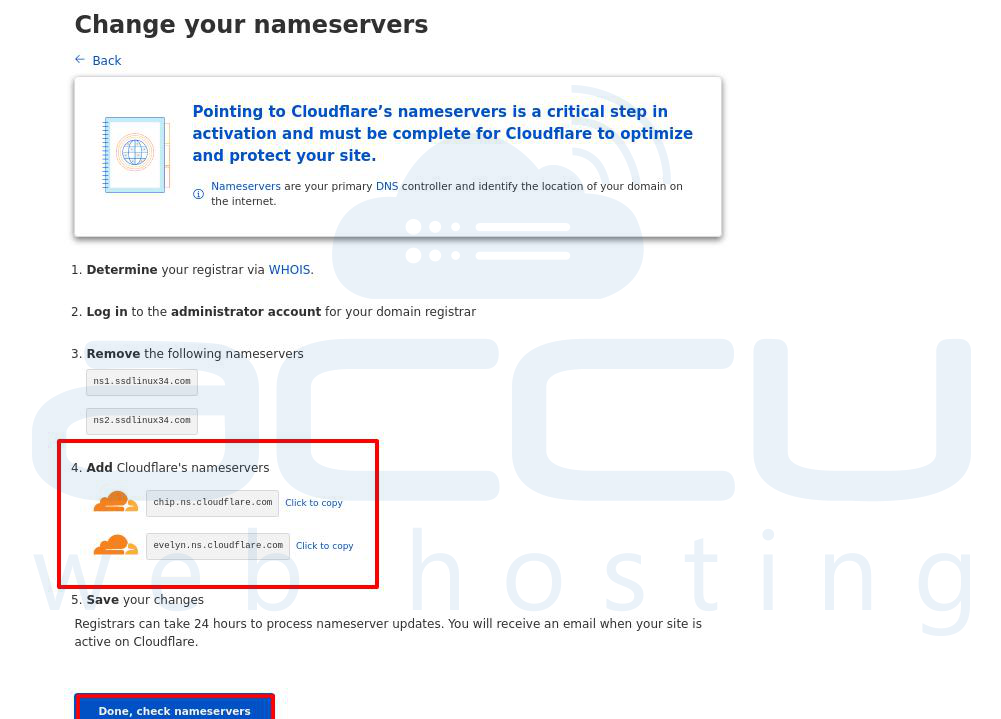
Nameservers are used to connect your domain name to your web hosting account.
For example, Cloudflare may send traffic to your website when you use Cloudflare's nameservers. It will effectively take advantage of its strength to:
- Filter harmful traffic and will transmit ordinary traffic to your website as usual while screening out malicious elements.
- Deliver Static material from the nearest server in the company's vast worldwide network (the CDN part)
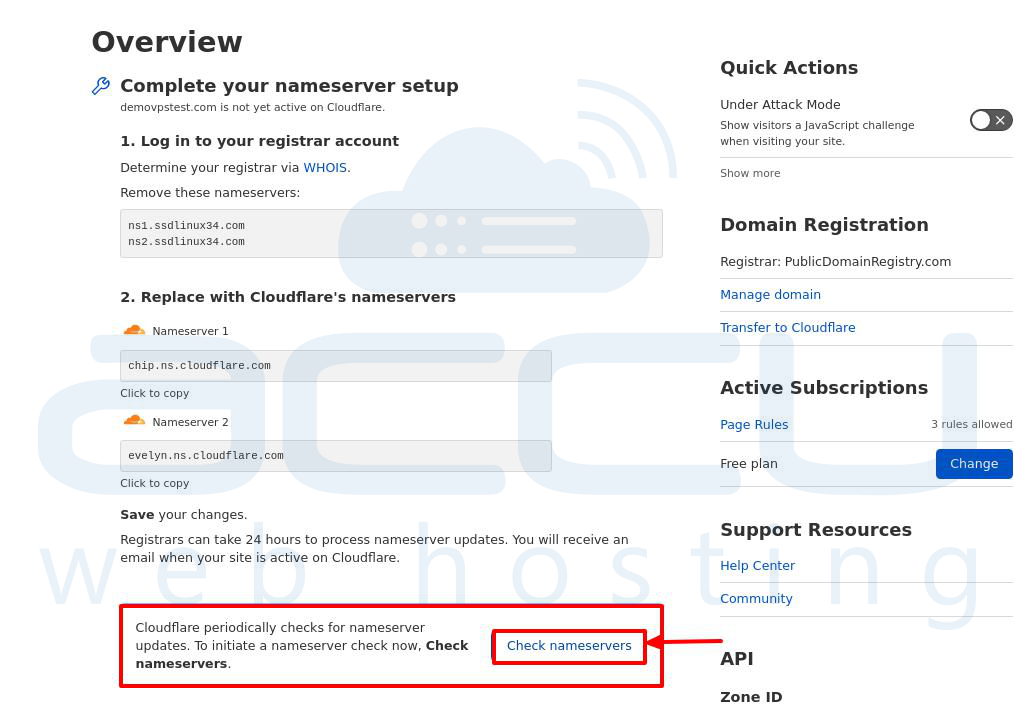
Return to the Cloudflare interface and click the Done option; check the nameservers option once your domain's nameservers are updated.
Note
The nameservers updates might take up to 24 hours, so you may have to wait a while for Cloudflare to update. However, if it hasn't been at least 24 hours, don't worry, and don't assume you have made a mistake.
Step 4
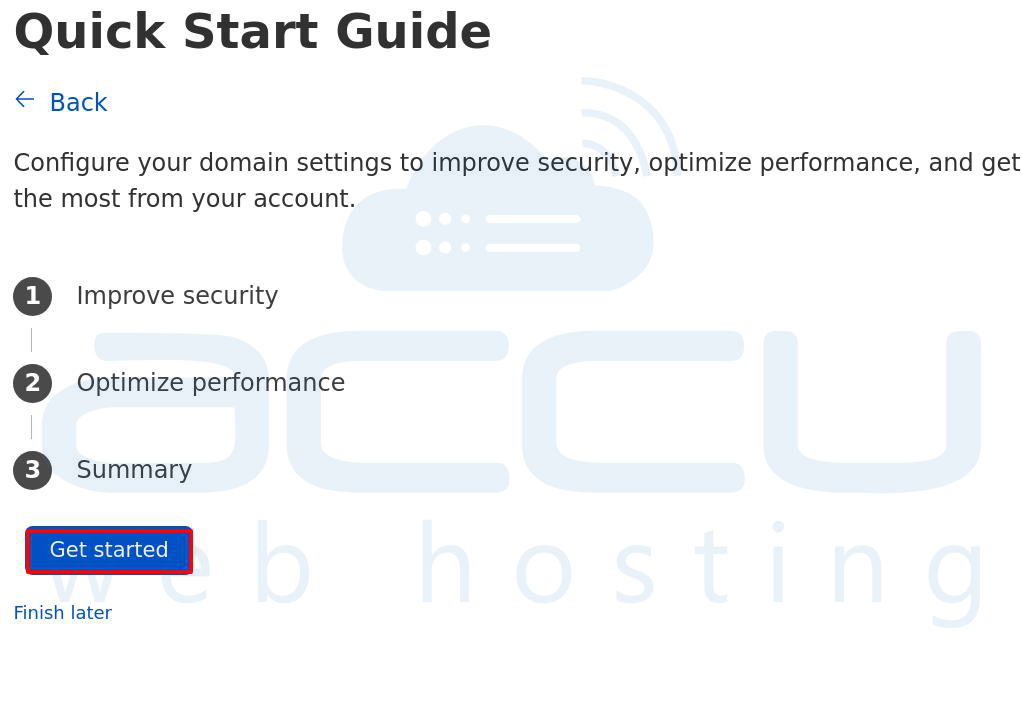
Configure some Basic Settings
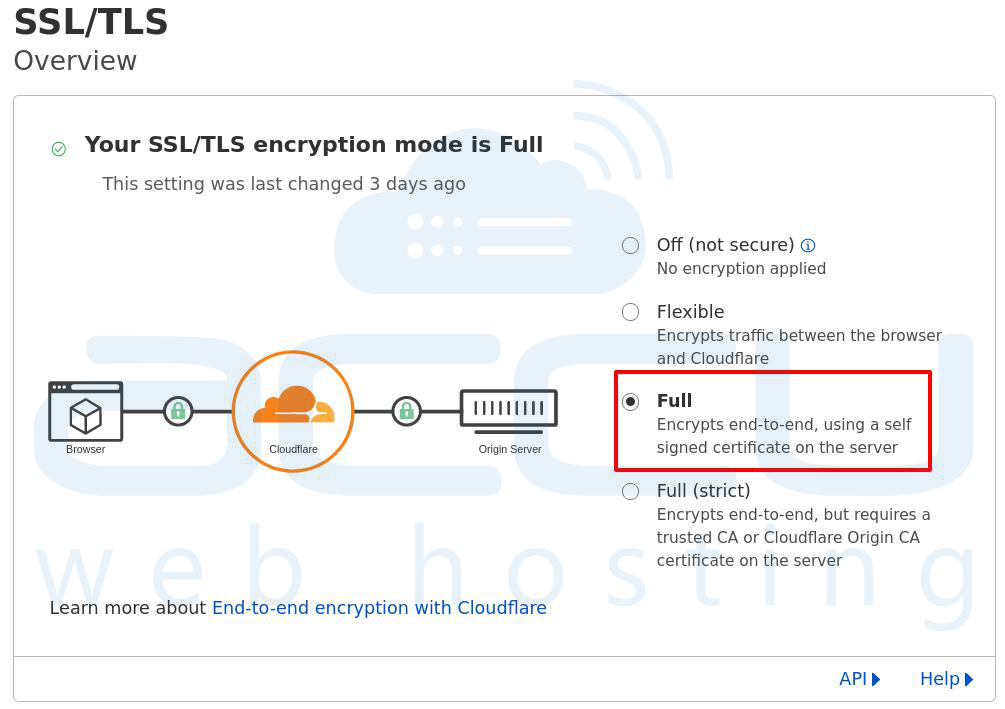
- You may have to customize some of Cloudflare's basic settings on the next page.
- You should choose the Full option if you wish to use SSL/HTTPS.
It aids in the security of your site's traffic and obtains the green padlock in visitors' browsers. - If you utilize Cloudflare's Full SSL, make sure to upgrade your WordPress site to use HTTPS.
- In addition, your WordPress site's URLs will need to be updated.
- Configure your domain settings to improve security, optimize performance, and get the most from your account.
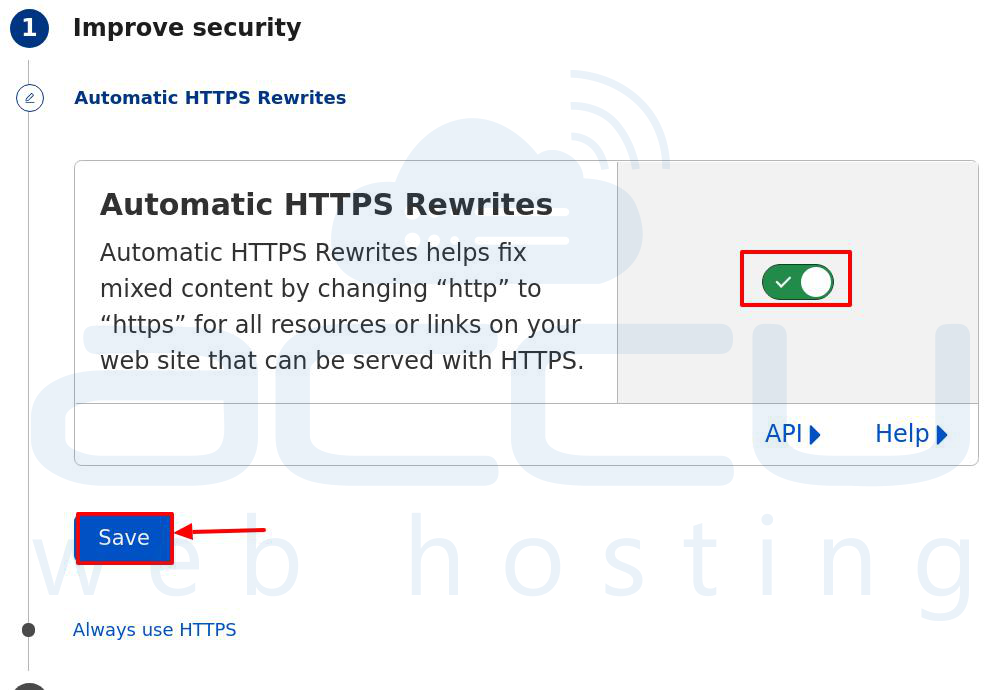
- Then click on the Save button.
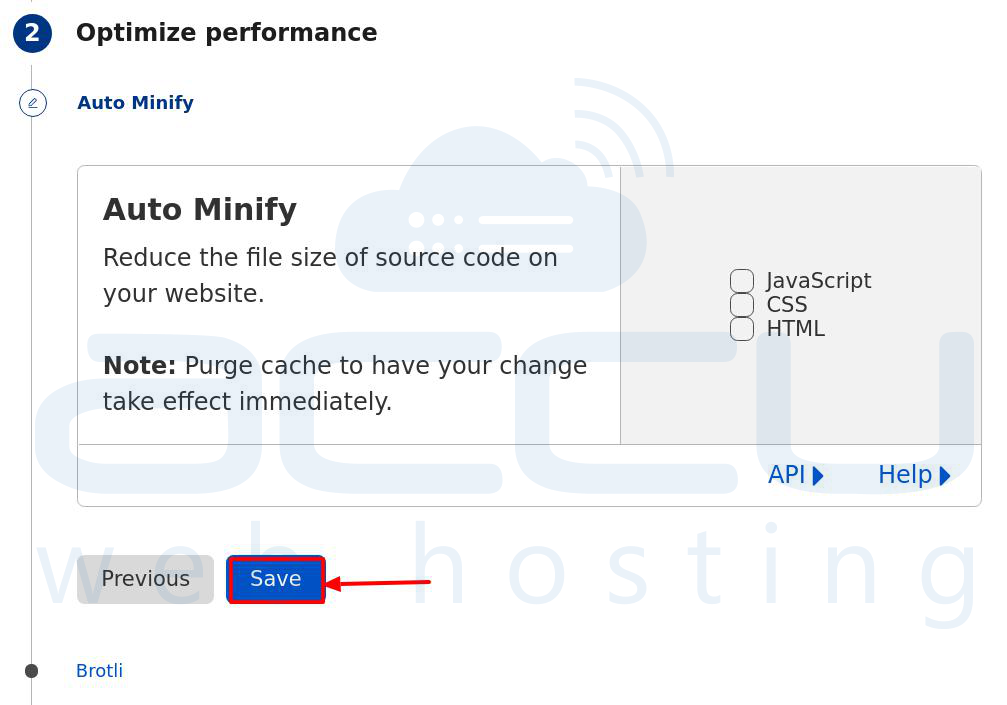
- Activate Minification, the process of reducing the amount of your code.
Several WordPress speed plugins support minification. However, you should not activate this in Cloudflare if you currently use a plugin that accomplishes that.
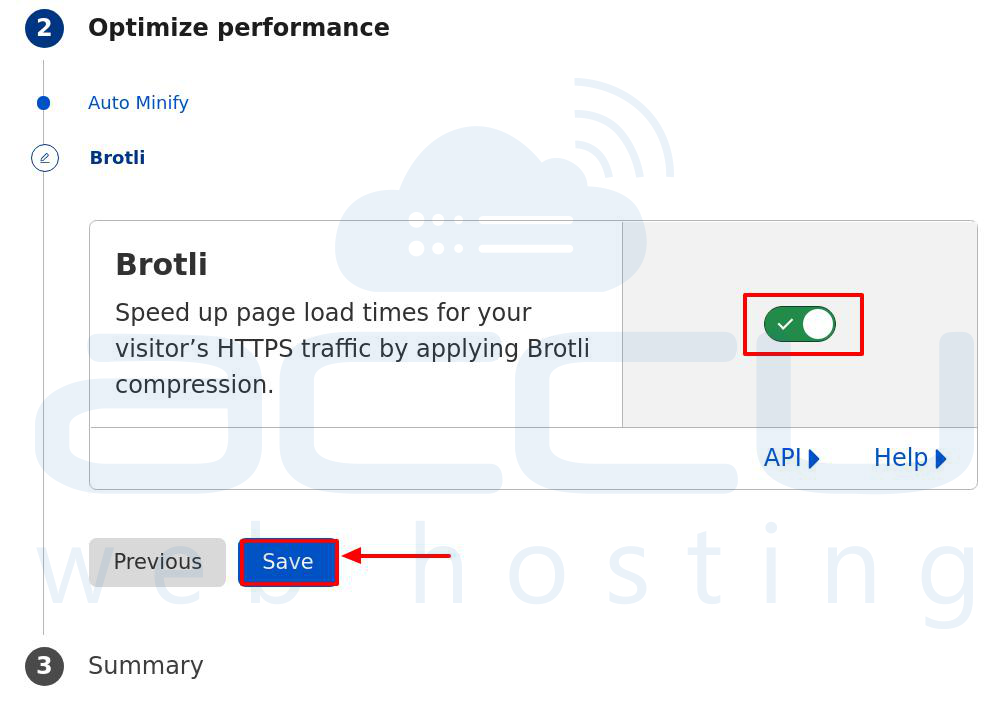
- Enable Brotli, a server-level compression alternative to Gzip; it is recommended that you enable it.

- Click Finish once you've made your selections.
Step 5
Verify that your Connection is Complete
- Once you click Done, you may see a message letting you know if you want to finish your nameserver setup.
- Don't be alarmed; it is typical to see this warning for a few hours even if you completed everything correctly because nameservers might take up to 24 hours to change.
- To see if the nameservers have changed, wait 30 minutes to an hour and click the Re-check Now option.
- You will get a success message once the process is completed.
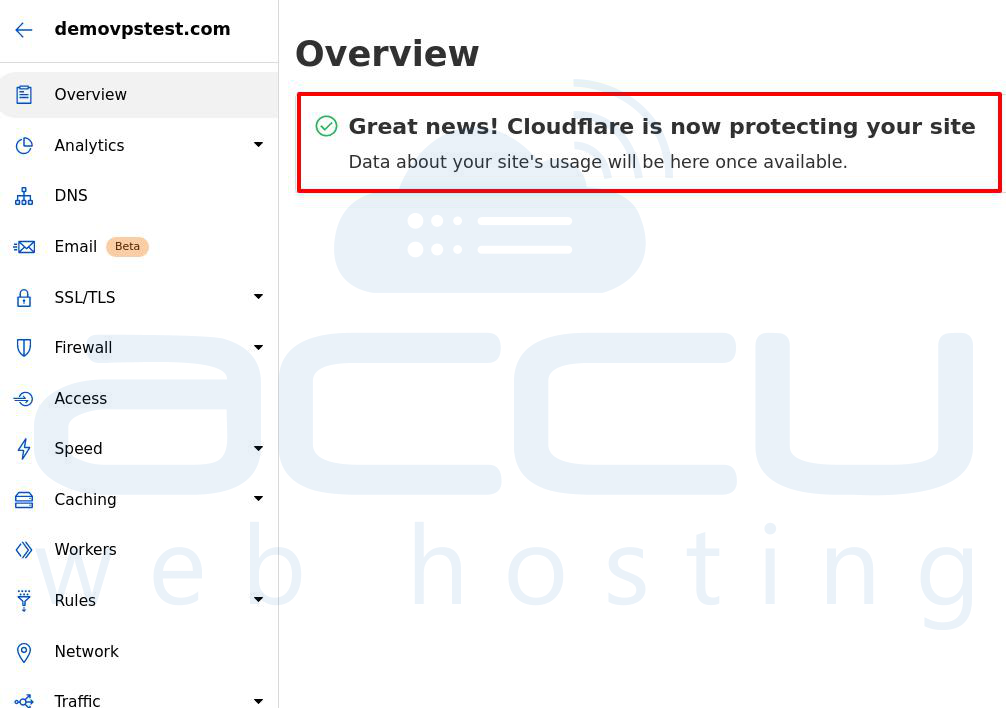
And that's all there is to it!
You've just finished configuring Cloudflare for WordPress.
Conclusion
You can see that it is pretty simple to install Cloudflare on your WordPress site. Following the steps mentioned above, with their corresponding images for your reference, you will be able to complete the process of installing Cloudflare once you sign up for it.
