An image gallery in a WordPress post is a great way to display more images within less space in a more visually appealing and neat format. It is possible to add photographs into rows and columns in the image gallery to allow you and the viewers to see more photos easily.
This article will demonstrate how to effortlessly construct an image gallery in WordPress to professionally display a more significant number of photographs even in less space.
Gallery Function in WordPress
When building a gallery, you may see your photographs in a grid arrangement with columns and rows. You may also see thumbnails of your images, which viewers can click to see the complete picture. In addition, WordPress has a Gallery Function that makes it simple to build photo galleries to make image sharing more professional.
The new WordPress block editorial manager incorporates an exhibition block, which permits you to rapidly develop a WordPress display with a couple of snaps to enable you to examine more photographs. You may also use the WordPress Image Gallery plugin to make larger, more feature-rich galleries.
Create an Image Gallery without Plugins
You may build galleries with WordPress' built-in capability. This feature is quite essential and has a lot of settings, but it does the job. The steps below show how you can make a picture display in WordPress without requiring a module.
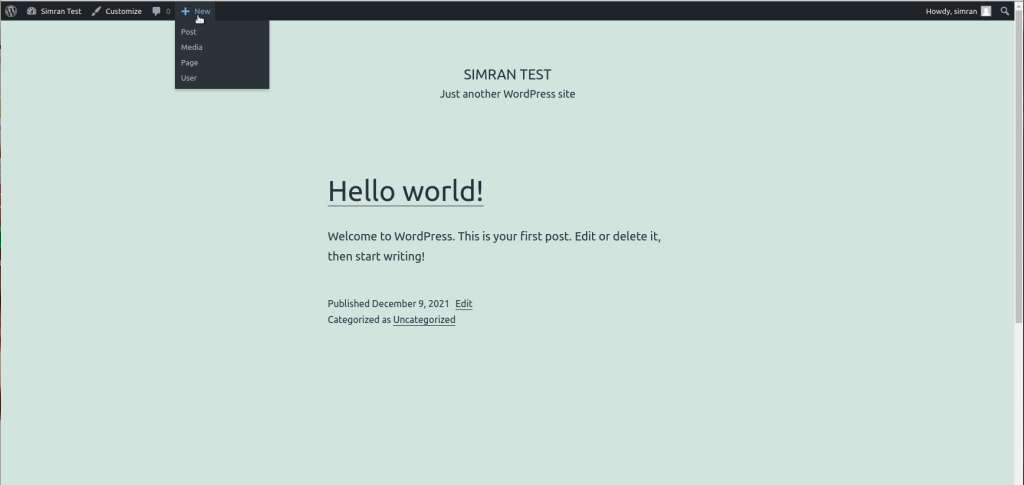
- To begin, alter the post or page to add the picture display.
- Then, pick a gallery block on the post-processing screen by clicking the Add New Block icon.
- It will add an exhibition square to your WordPress editorial manager, and you can transfer your photos from your PC by tapping the Upload button.
- You may also pick from photographs in your library that have already been uploaded.
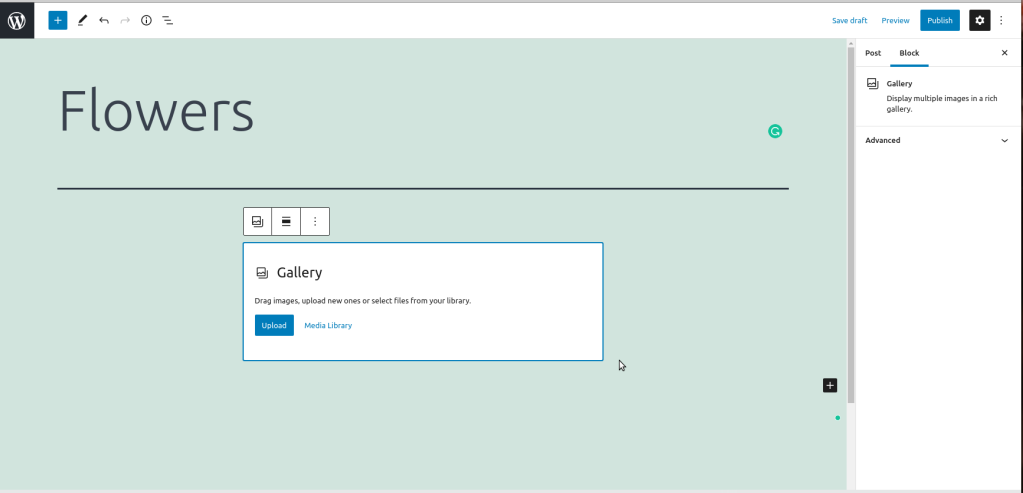
- You can transfer each photograph individually by selecting the Upload button or multiple images at once by holding down the Ctrl key on your keyboard to pick and open numerous photos.
- After you've uploaded all the pictures, give each one a caption.
- Then, when you click on the picture, you'll get the option to "write Caption...," where you may add the caption.
- Click the Media Library icon to pick all the photographs in the gallery at once.
- In the attachment information field on the right, you may write an alternate text, title, and caption for the photo if you select it.
- Select the image you wish to add and click the Create New Gallery button in the bottom right.
- The Edit Gallery page will show up immediately, where you might add/survey inscriptions.
- Click the Update Gallery image in the lower right corner.
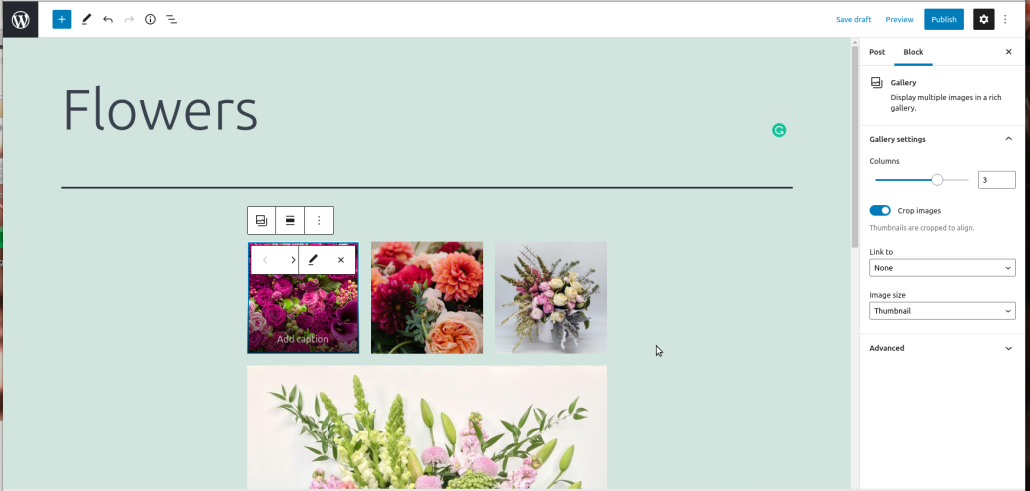
The exhibition block settings box shows up on the right half of the post alter screen.
- You may now select the number of columns in each row, turn on or off Image Crop, and decide where to connect the gallery photos.
- Select the Media File choice and snap on the picture to open the image document
This setting turns off the ability to click on images.
- Select the Media File choice and snap on the picture to open the image record.
- To open the attachment page, pick the Attachment Page option.
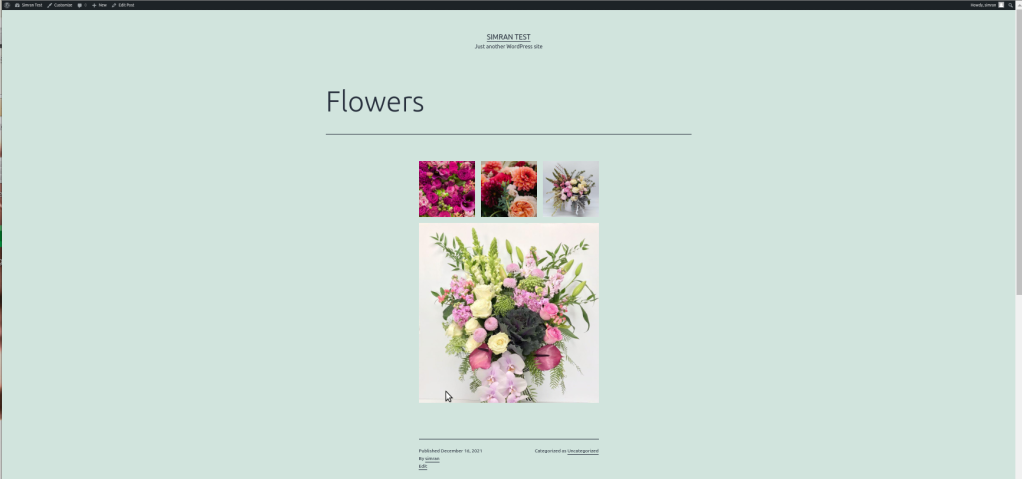
You might distribute your article and review the display on your live site, assuming you're happy with the settings.
The image below is an example of how the picture gallery on the sample website appears.
Conclusion
Following the tips discussed in this post will help you add single or multiple images into the image gallery to your WordPress post. This simple yet impressive addition will aid you in enhancing the appeal of your post to your viewers and make it impressive.
