Today, we will guide you through connecting to a Linux Dedicated Server through SSH from Windows. To do so, you will have to download the following SSH Client for Windows.
- Putty
- Bitvise SSH client
- Solar-PuTTYNote: We have installed the Bitvise SSH client as a demo in our Windows system.
Follow the below steps to connect to the Linux Dedicated server through SSH.
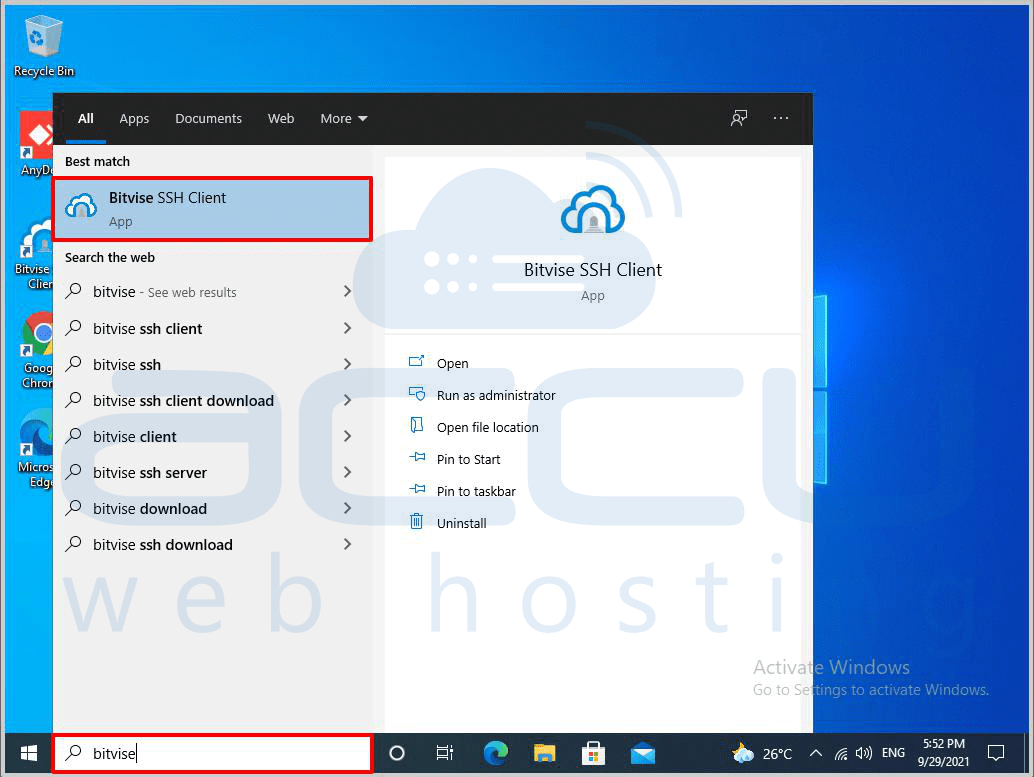
- Go to the taskbar and type SSL Client, which you have installed in your Windows system, in the Search box.

- Here, we have used Bitvise SSH client as an SSH client because we have installed it in our system. Once you type it in the search box, the Bitvise SSH Client application will appear above. Select and click on it to open it.
- Once you click on it, the Bitvise SSH Client application will open. To connect to the dedicated server, click on the login tab at the top of the application.

- In the host field, enter the IP address of your VPS or server. Here, we have entered 192.168.2.152 as an example. You need to replace this IP address with your dedicated server IP address.
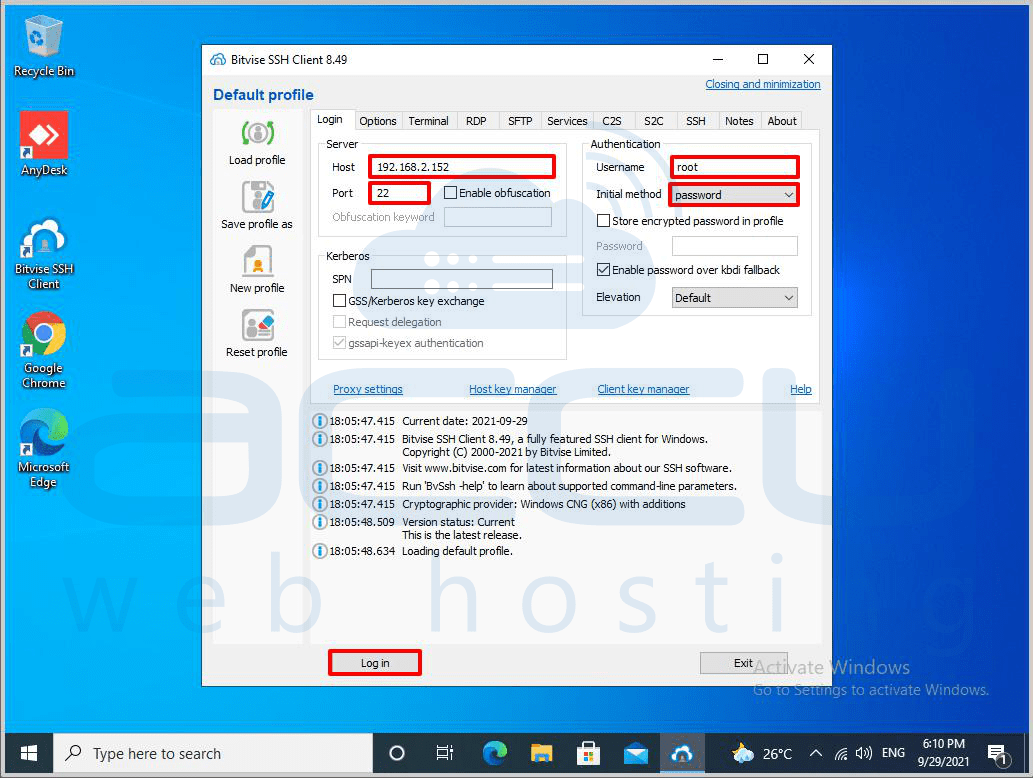
- In the username field, enter the username of the dedicated server which you want to access. Here, we have entered the root as an example. You can replace the username (root) with the username you wish to access.
- In the Initial method field, you need to select the authentication method to log into your dedicated server. Generally, we select only the password method. If you want to connect to SSH with high security, then you can choose public key, public Key+password, or other suitable methods. However, for such a method, the public key should be with you. However, here, we are selecting the password.
- In the port field, enter the port number on which your server is listening. The standard port of the SSH service is 22. Since it is a widely known port, it can be an easy target of Brute force attacks. AccuWebHosting has started delivering the dedicated server with SSH service on a non-standard port to mitigate such attacks. Here, we have entered a standard port in the port field. Here, we have used port number 22 as an example. You need to replace it with your dedicated server port number, which our hosting service provider provides.
- Now, click on the Login button to access the dedicated server. Once you click on it, the bitwise ssh client establishes a secure connection with the server once that happens successfully.
- Bitvise will ask you to accept the host keys to establish the connection. If you want to connect to the host only once, select Accept for this session.

- If you want to access the remote server daily or intermittently and don’t want to enter the host address and perform all this again and again, you can click on the button Accept and Save. Here, we have selected the Accept for this session as an example because we want to connect to the host only once.
- Afterwards, you will be asked to enter the password of the remote machine to authenticate state.
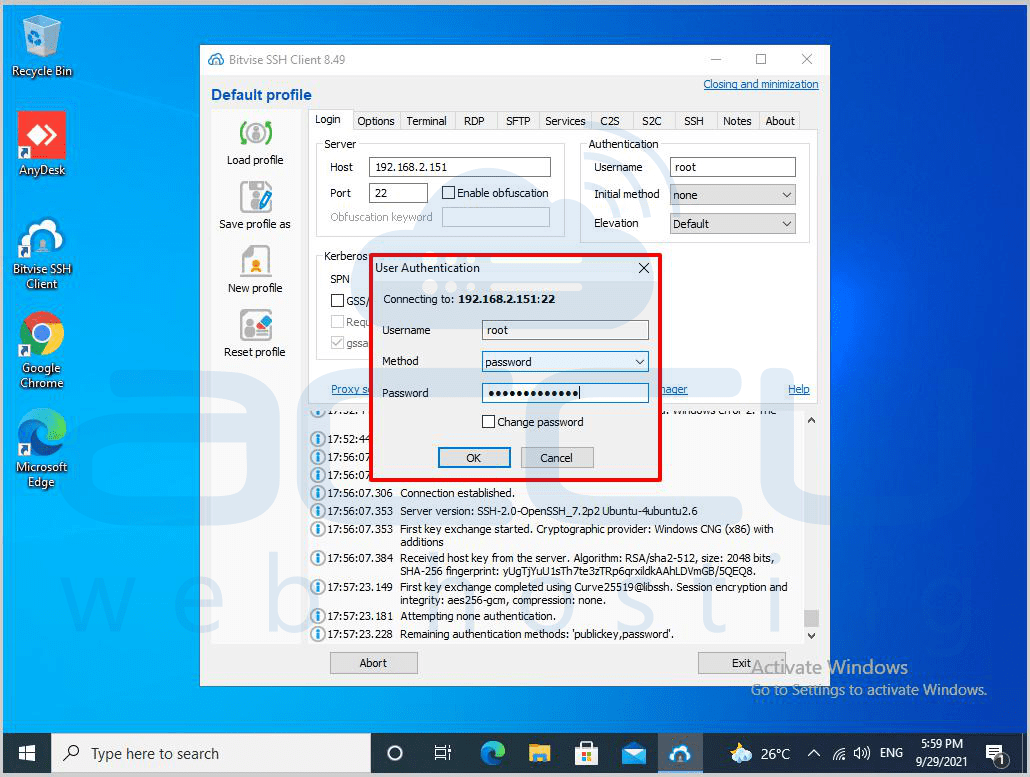
- Once you click on the OK button, Bitvise will start authenticating the server with the provided password. If it is successful, you will get a message on the screen: Authentication completed. This means that we have successfully connected to the dedicated server.
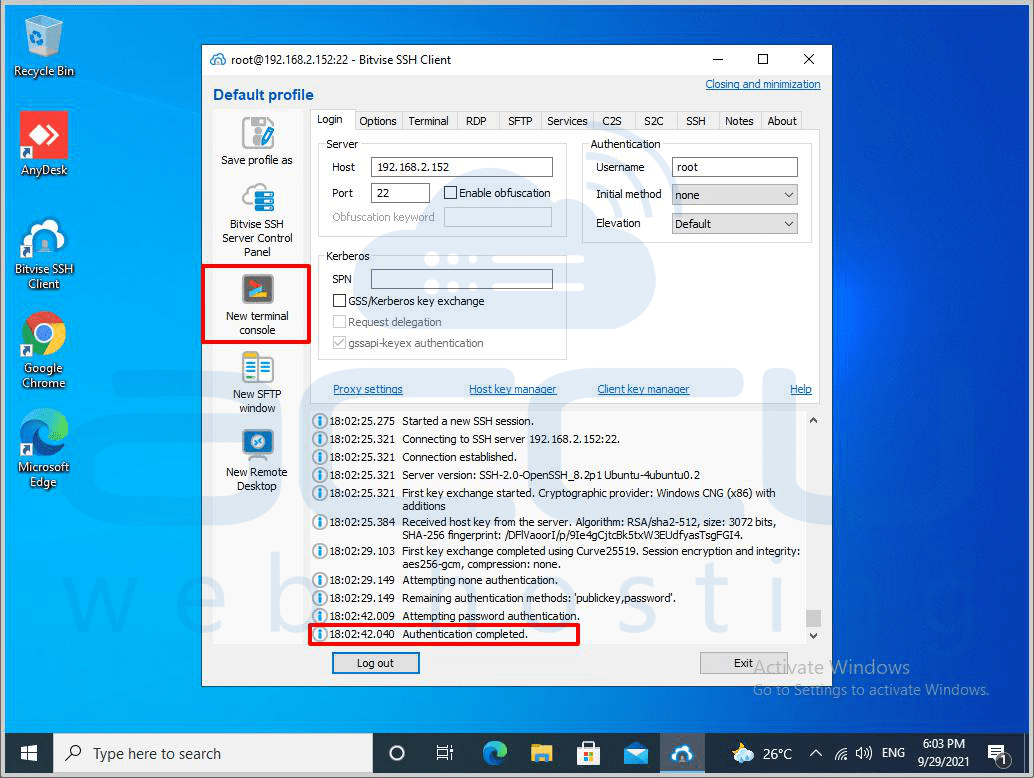
- To open a terminal, click on the New Terminal Console option located on the left side of the Bitvise SSH client window.

