In this article, we will show you how to install a plugin on the WordPress site, which can be done via any of the following three options –
- Install a WordPress plugin using the search option.
- Install a WordPress plugin using the upload plugin option.
- Manually install a WordPress plugin using an FTP account.
I. Install a Plugin using WordPress Plugin Search
The simplest way of installing a WordPress plugin is to use the plugin search. The only disadvantage of this option is that the plugin must be in the WordPress Plugin directory, limited to only free plugins.
Below are the steps to install a WordPress plugin using the search feature.
1. First, log in to your WordPress admin area.
2. Go to the Plugins option on the screen's left side and click on the Add New option.

3. Once you click on it, Add Plugins window will open.
4. Go to the Search box (Search Plugins) and type the plugin name you wish to install.
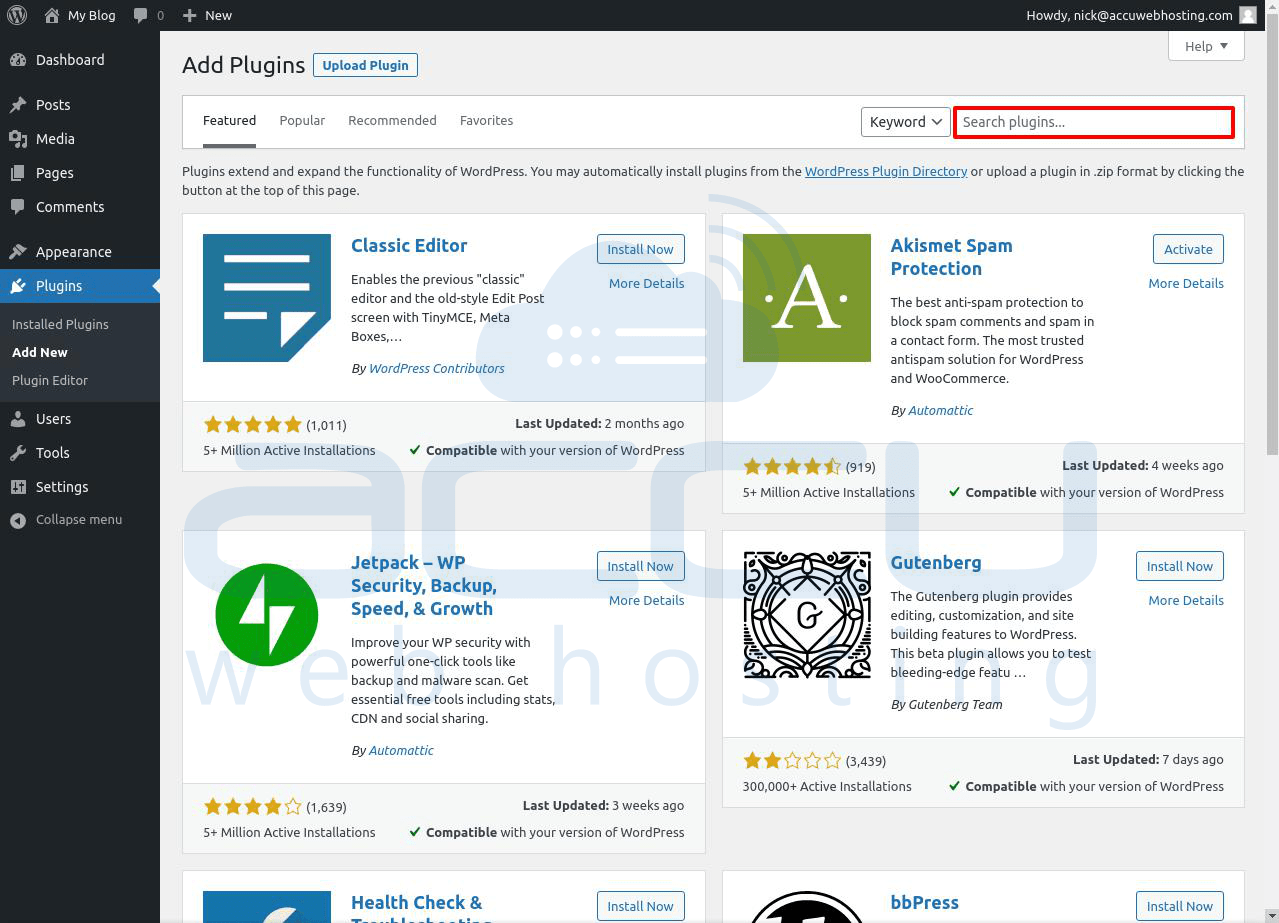
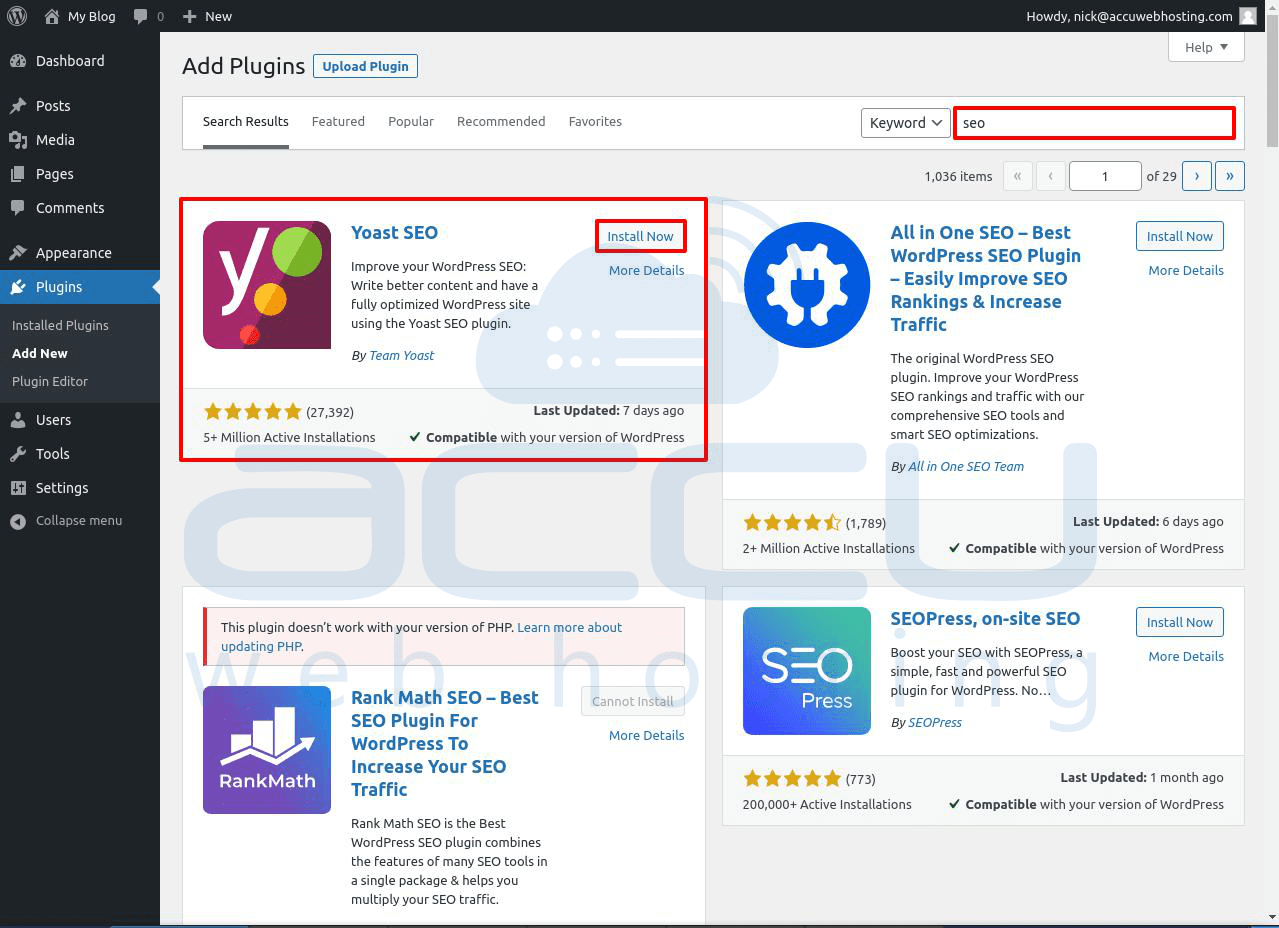
5. Here, we have entered Yoast SEO as an example.
You will get a group of listings like the attachment you see below. Next, you can select the plugin you want to install and click on the Install Now button to install it on your WordPress site.
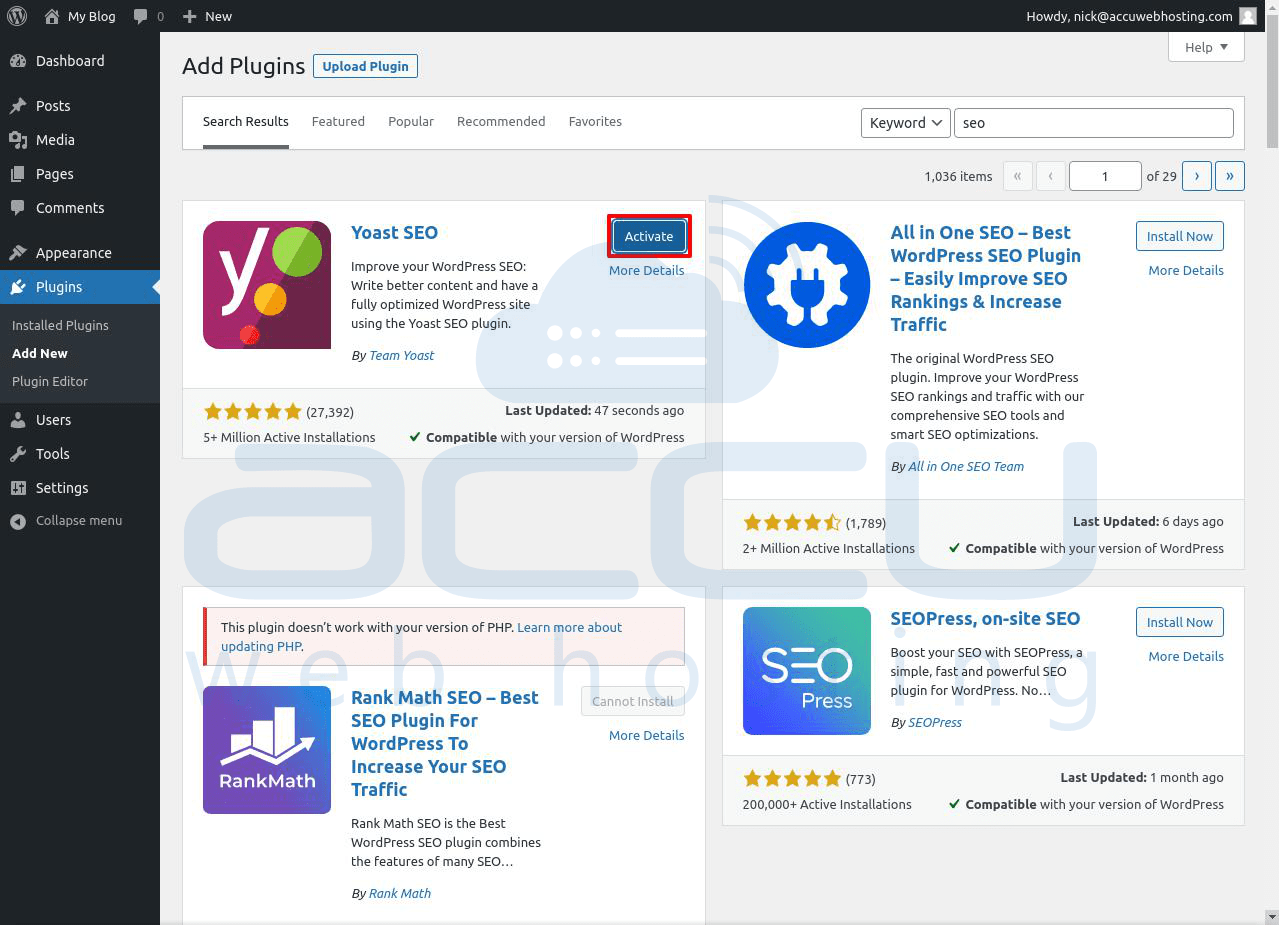
6. After the installation, you need to click on the Activate button to use that plugin for your WordPress site.
7. A plugin can be installed on your website, but it will not work unless activated.
8. Once you click on the Activate button, it will activate, and you can see it under the Plugins -> Installed plugins option.
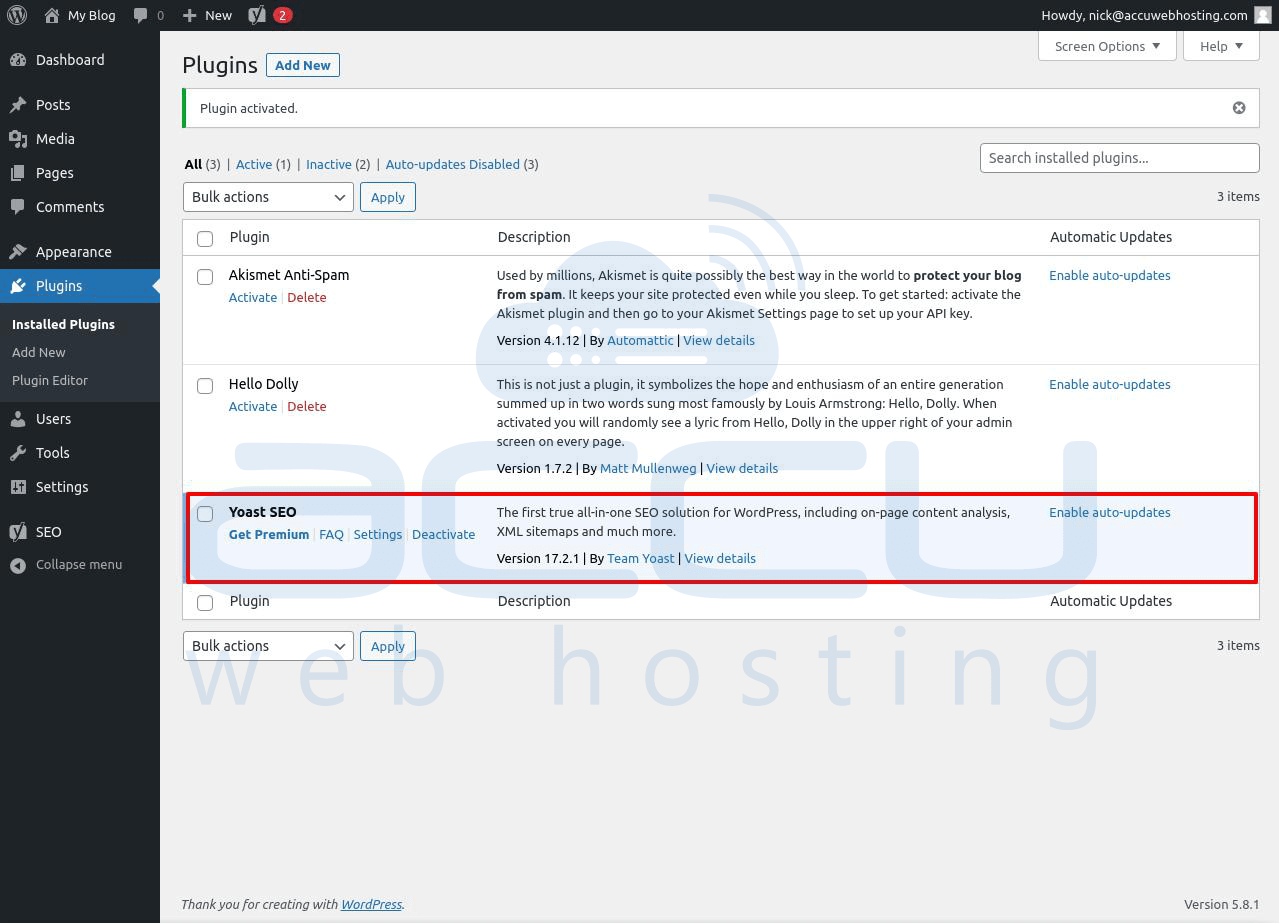
You have successfully installed a plugin on your WordPress site!
II. Install a WordPress Plugin using the Upload Plugin Feature
You must know that paid WordPress plugins are not listed in the WordPress Plugin directory. So, this plugin cannot be installed using the first method.
That's why WordPress comes with the upload method to install such plugins. We will show you how to install WordPress plugins using the upload option in the admin area.
1. Log in to your WordPress admin area.
2. Go to the Plugins option on the screen's left side and click on the Add New option.
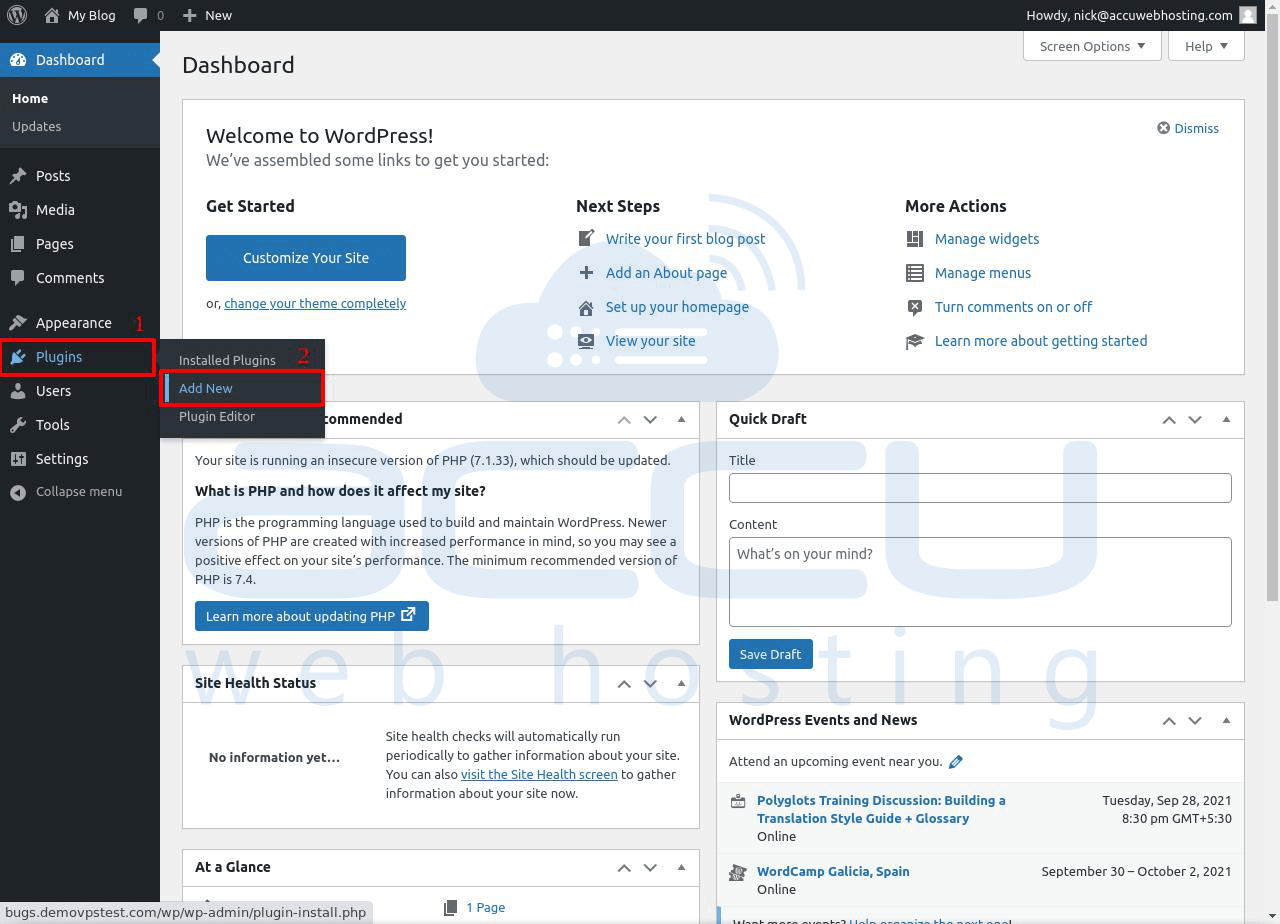
3. Click on the Upload Plugin option on the screen's upper left side.
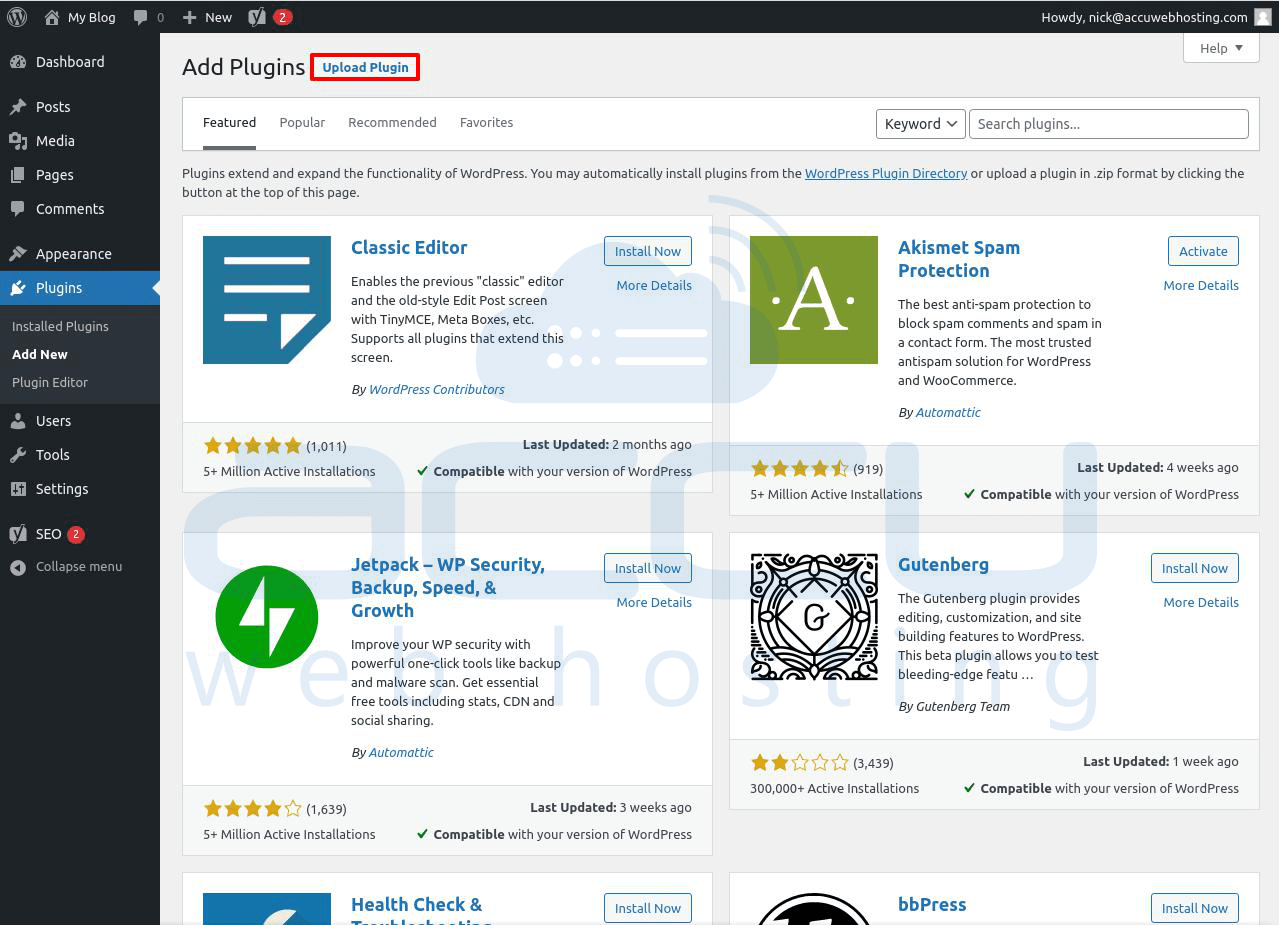
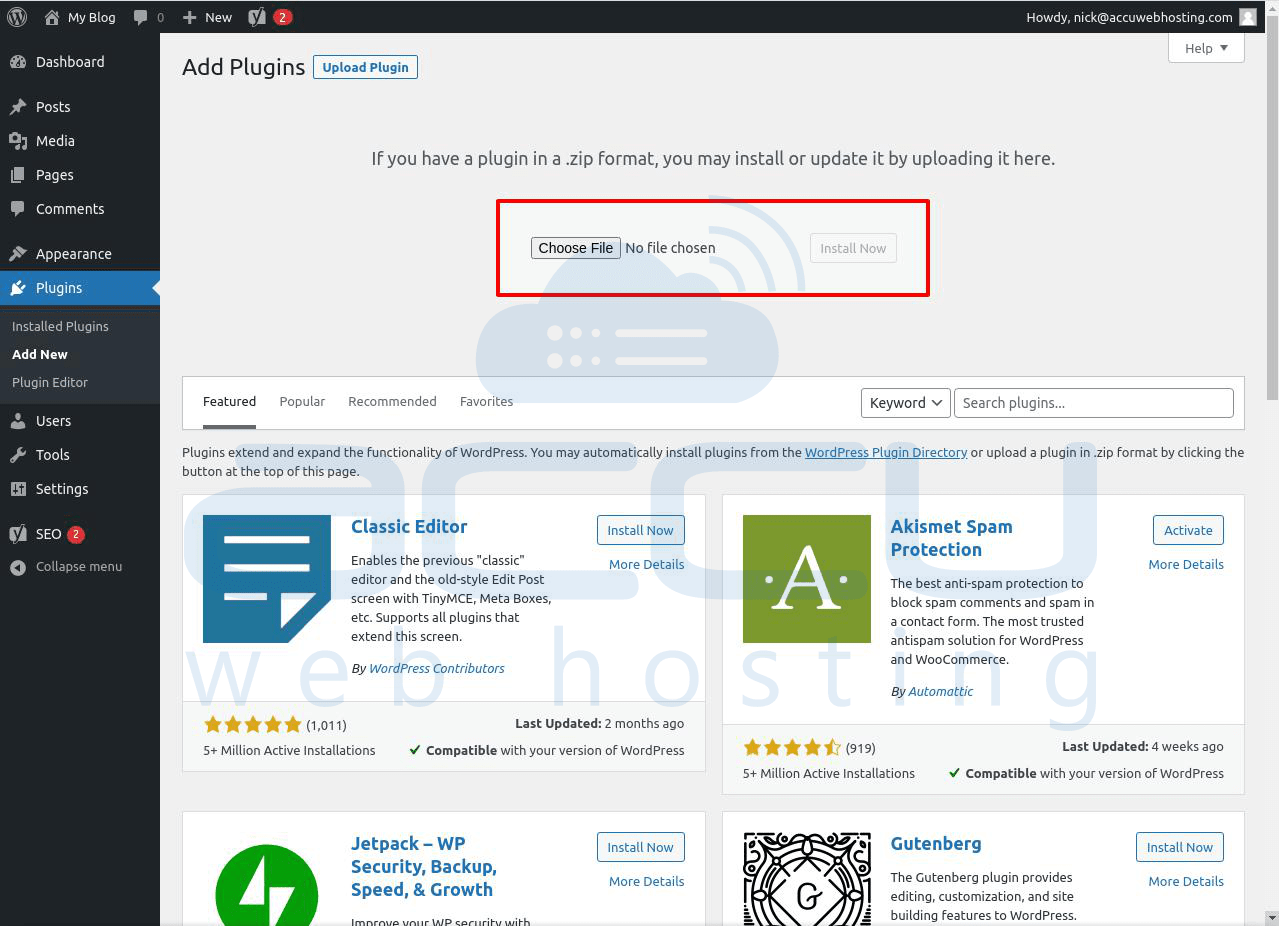
4. This will open the plugin upload form.
5. You need to click on the Choose File button and select the plugin file where you have downloaded it on your local system.
6. After you have selected the file, you need to click on the Install Now button to install it on your WordPress site.
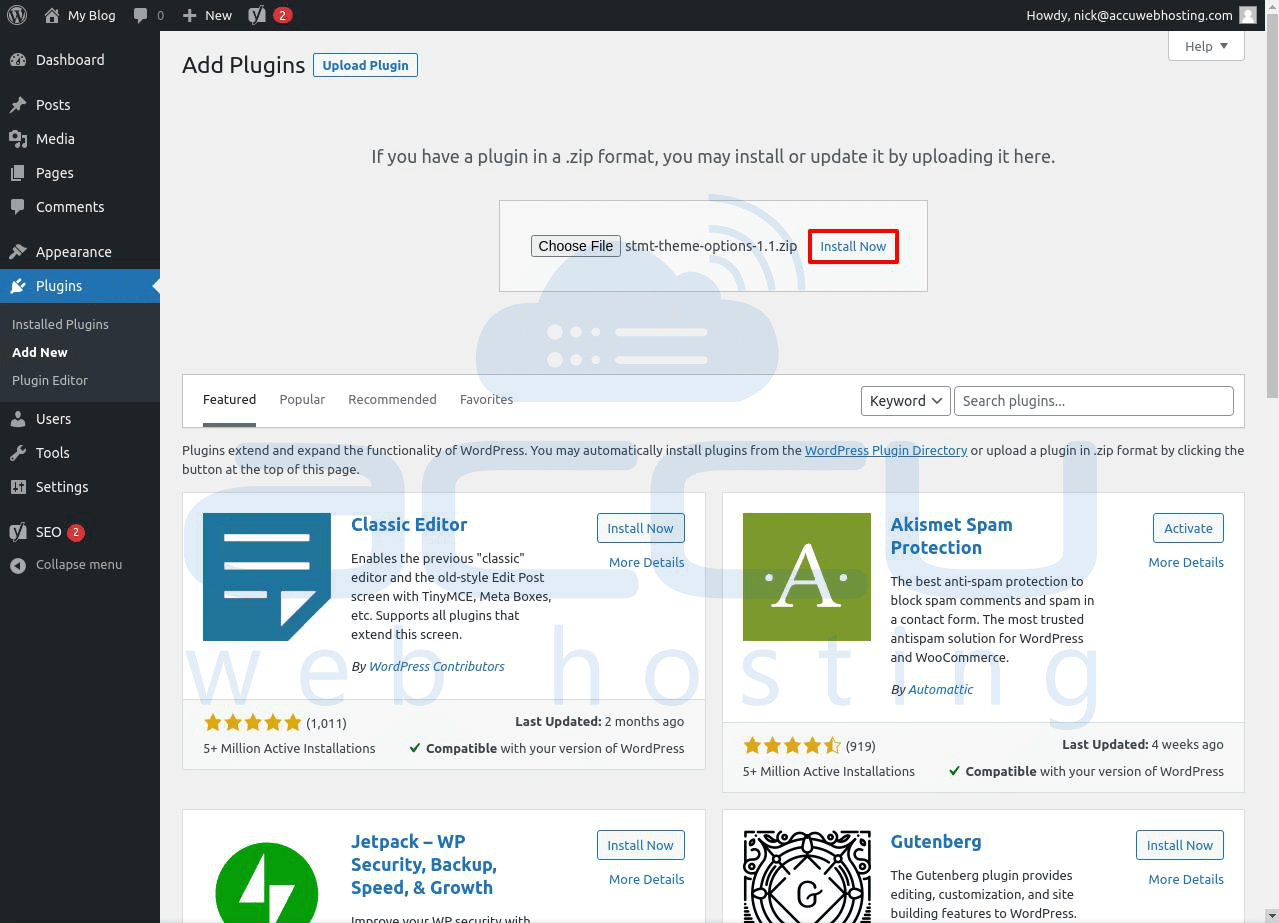
7. Once you click on it, WordPress will upload the plugin file from your local system and install it for you.
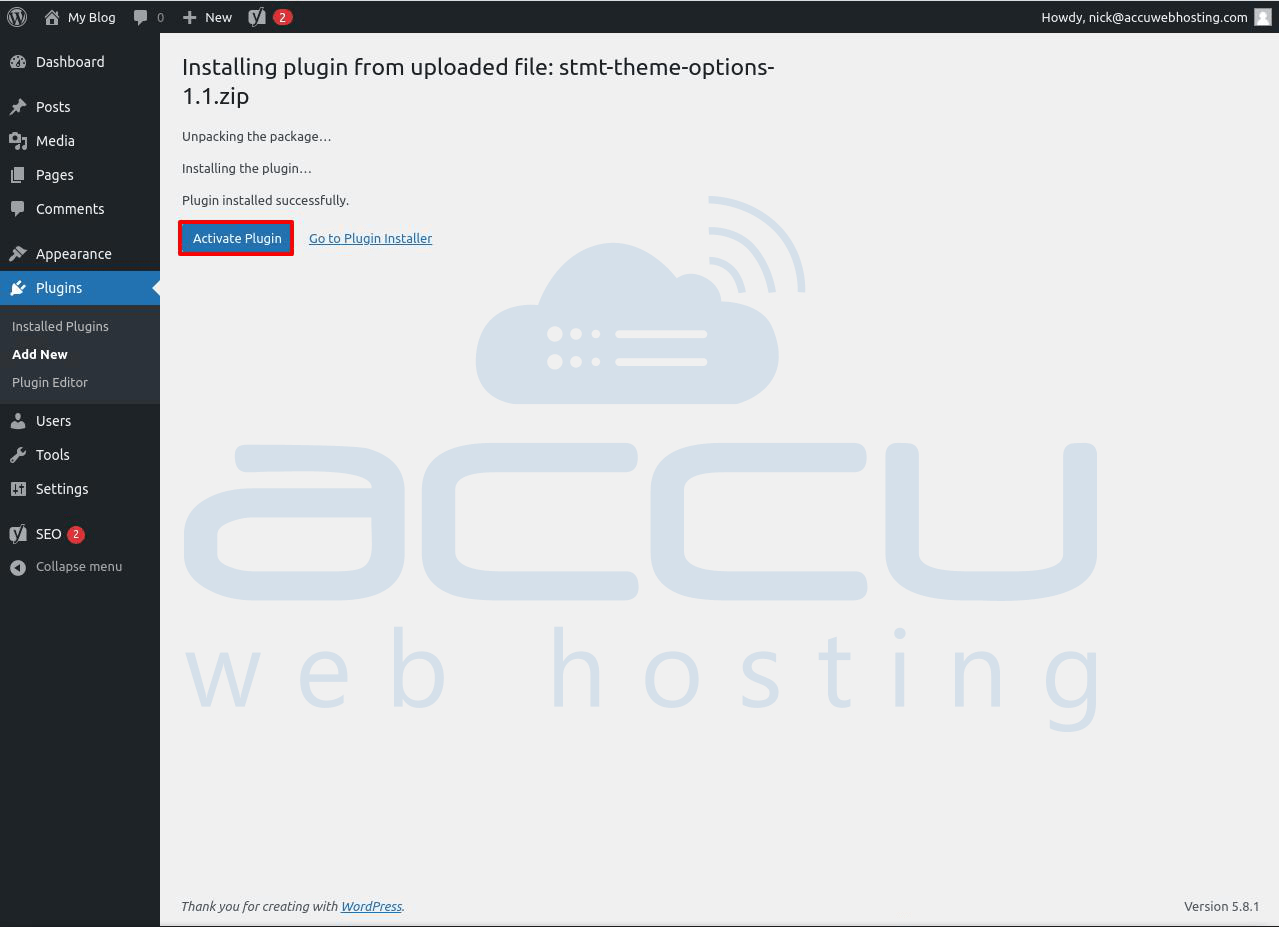
8. You will get a success message below after the installation is finished.
9. Click on the Activate Plugin link to start using the plugin.
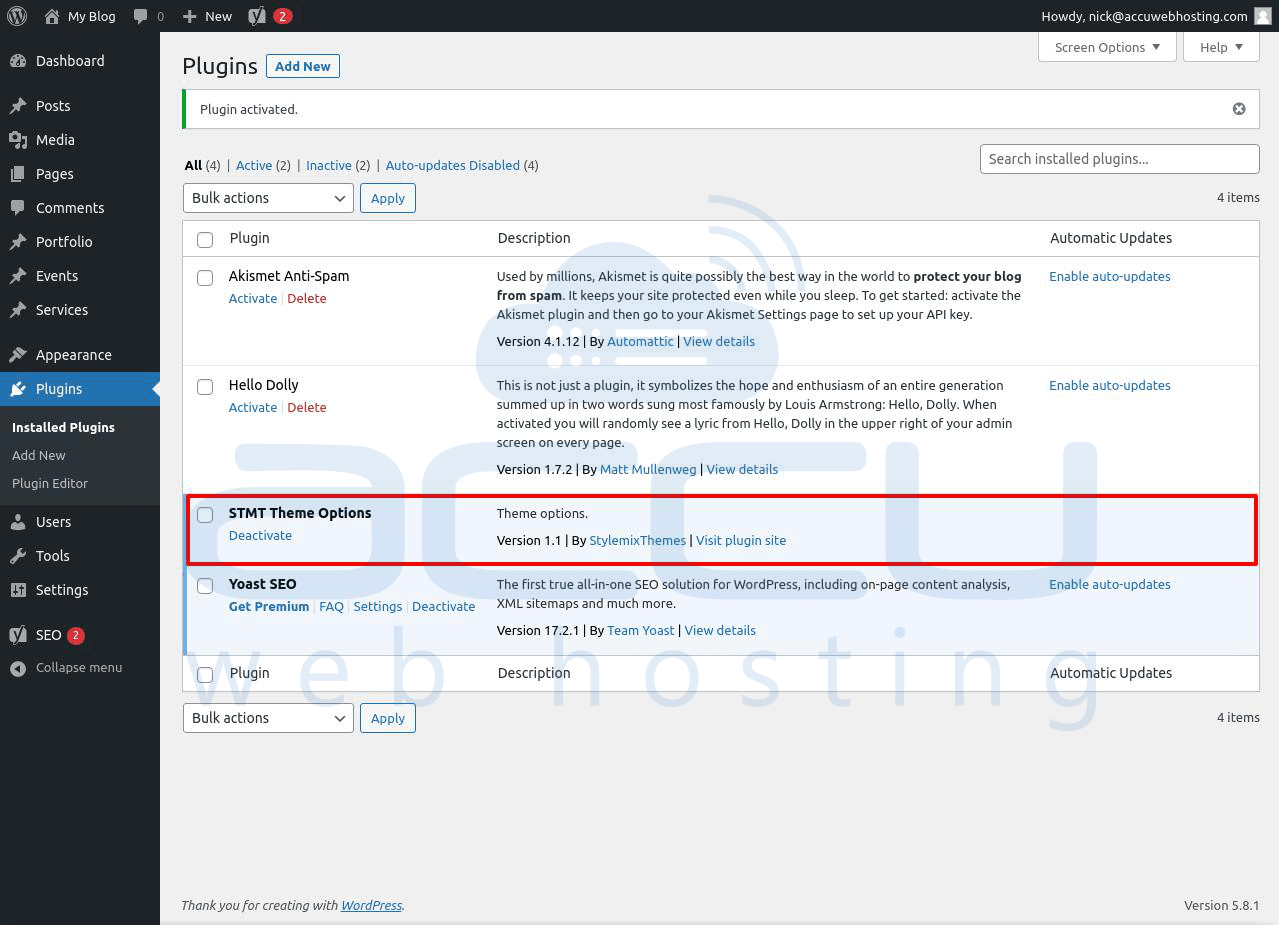
10. Once you click on the Activate Plugins button, it will be activated, and you can see it under the Plugins -> Installed plugins option.
And you would have successfully installed the plugin on your WordPress site.
III. Manually Install a WordPress Plugin Using an FTP Account
If your WordPress hosting provider has file restrictions or an upload file size limit, you can't install a plugin from the WordPress admin area. In that case, the best option is to install the WordPress plugin manually using the FTP account.
Below are the steps on how to install a plugin manually using FTP -
1. Download the plugin's source file in your local system and extract it in a zip format.
2. Extracting the plugin zip file will create a new folder with the same name.
This is the folder that you need to manually upload this folder to your website using an FTP client such as FileZilla.
3. Now, you need to access your hosting account through the FTP client.
If you do not have the FTP username and password, you should contact your hosting service provider; they will provide you with the login details.
4. Open the FTP client on your computer and connect to your website using the login credentials provided by your web host.
5. Once connected, you need to go to the /wp-content/plugins/ folder.

6. Next, upload the folder you extracted from the zip file to the /wp-content/plugins/ on your hosting account.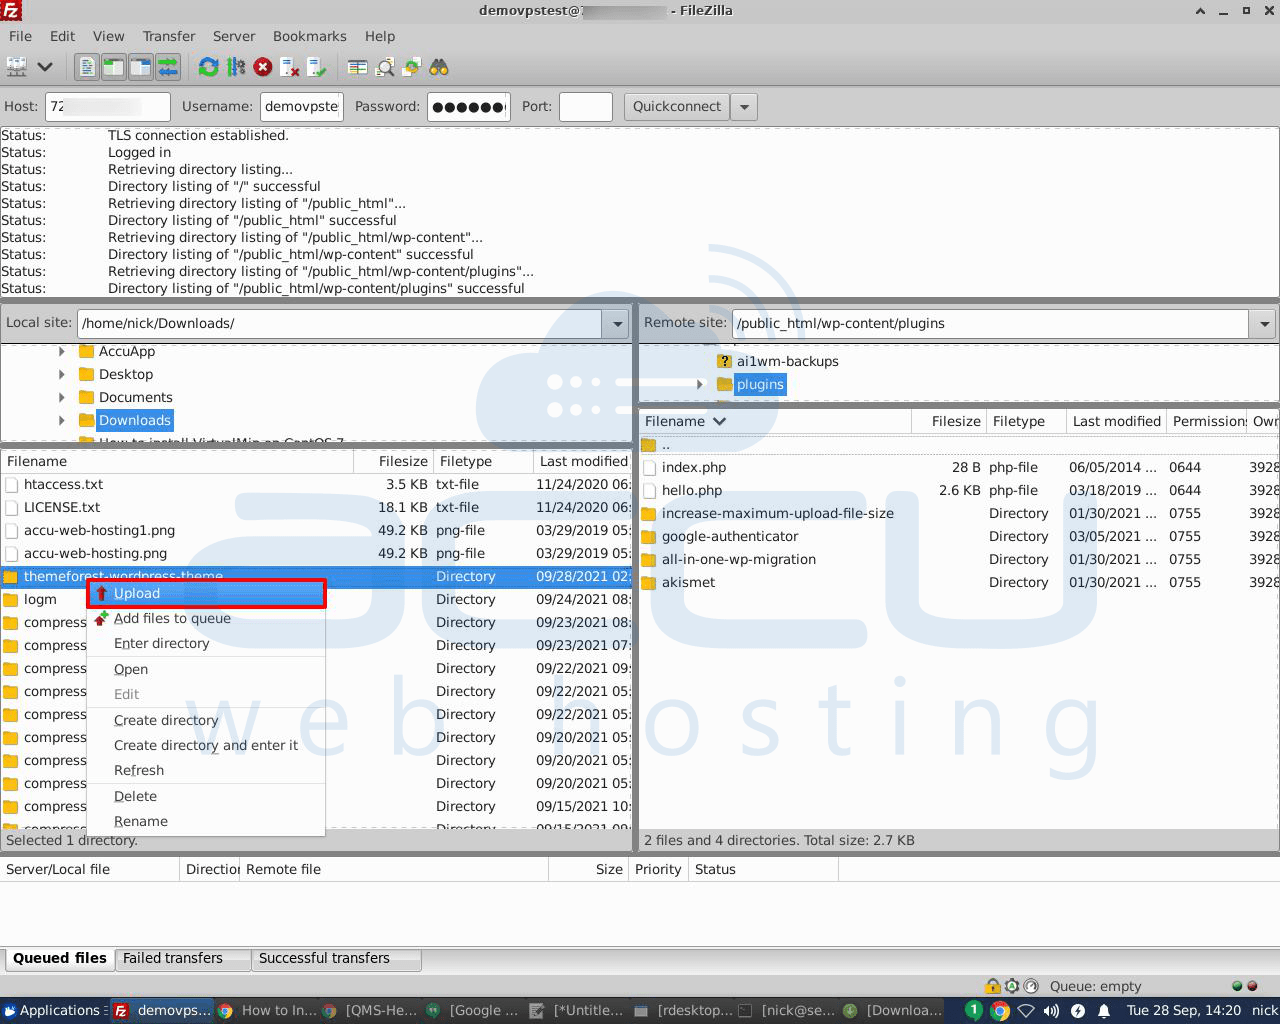
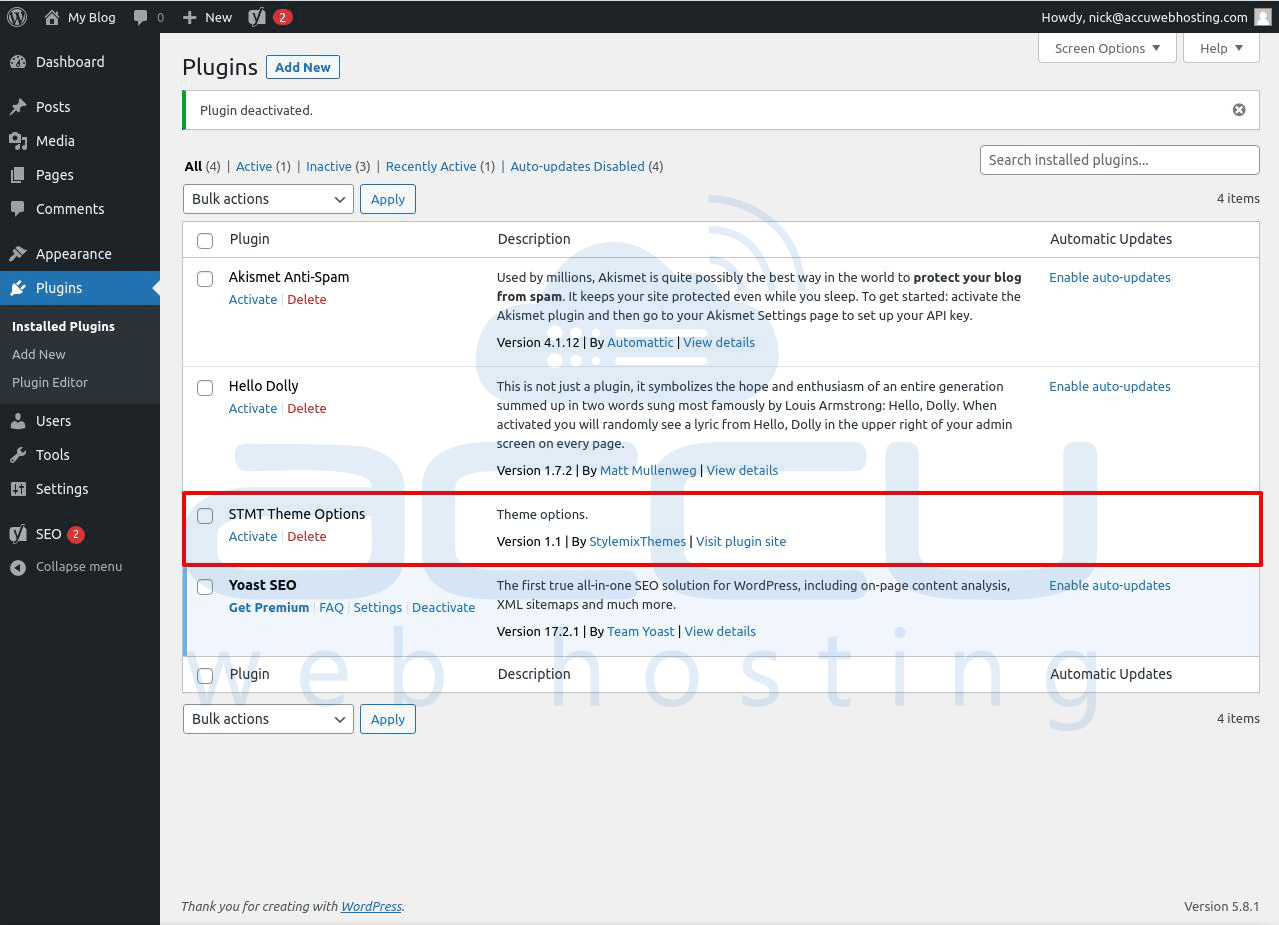
7. After uploading the files, you need to log in to the WordPress admin area and click on the Plugins option.
You will see your plugin has been successfully installed on the plugins page; you need to click on the Activate link below the plugin to start using it.
So, depending on which option is feasible, you can easily install a WordPress plug using any of the three methods listed above.
